

Productive first month of 2015!
As it reads above, I have been very busy recently with pre-production for a number of up coming projects, one of which is with Screen Subtitling Systems!
Screen is creating new branding for sales and online, and to go with that I've been set the task of producing a number of animations for them. I've done plenty of research into Screen, and have a great relationship with the marketing team, which means we have very good communication.

Tip No.1: build relationships from the outset of meeting someone.
Since our last meeting, I've developed a number of mood boards and narrative/VO ideas of the script/dialogue and a storyboard to go with it to represent the animations on screen. After drawing a number of ideas and storyboards I managed to narrow down the content for the first animation, and the graphics as well. I've then worked this into an After Effects storyboard with still images for preparation for a presentation.

Tp No.2: preparation and planning what you are going to do, for when, any why is really important. In terms of the animations I'm working with, that means producing mood boards, storyboards, sketches and basic designs, building into digital mock ups. These can then be used as elements in the animations!
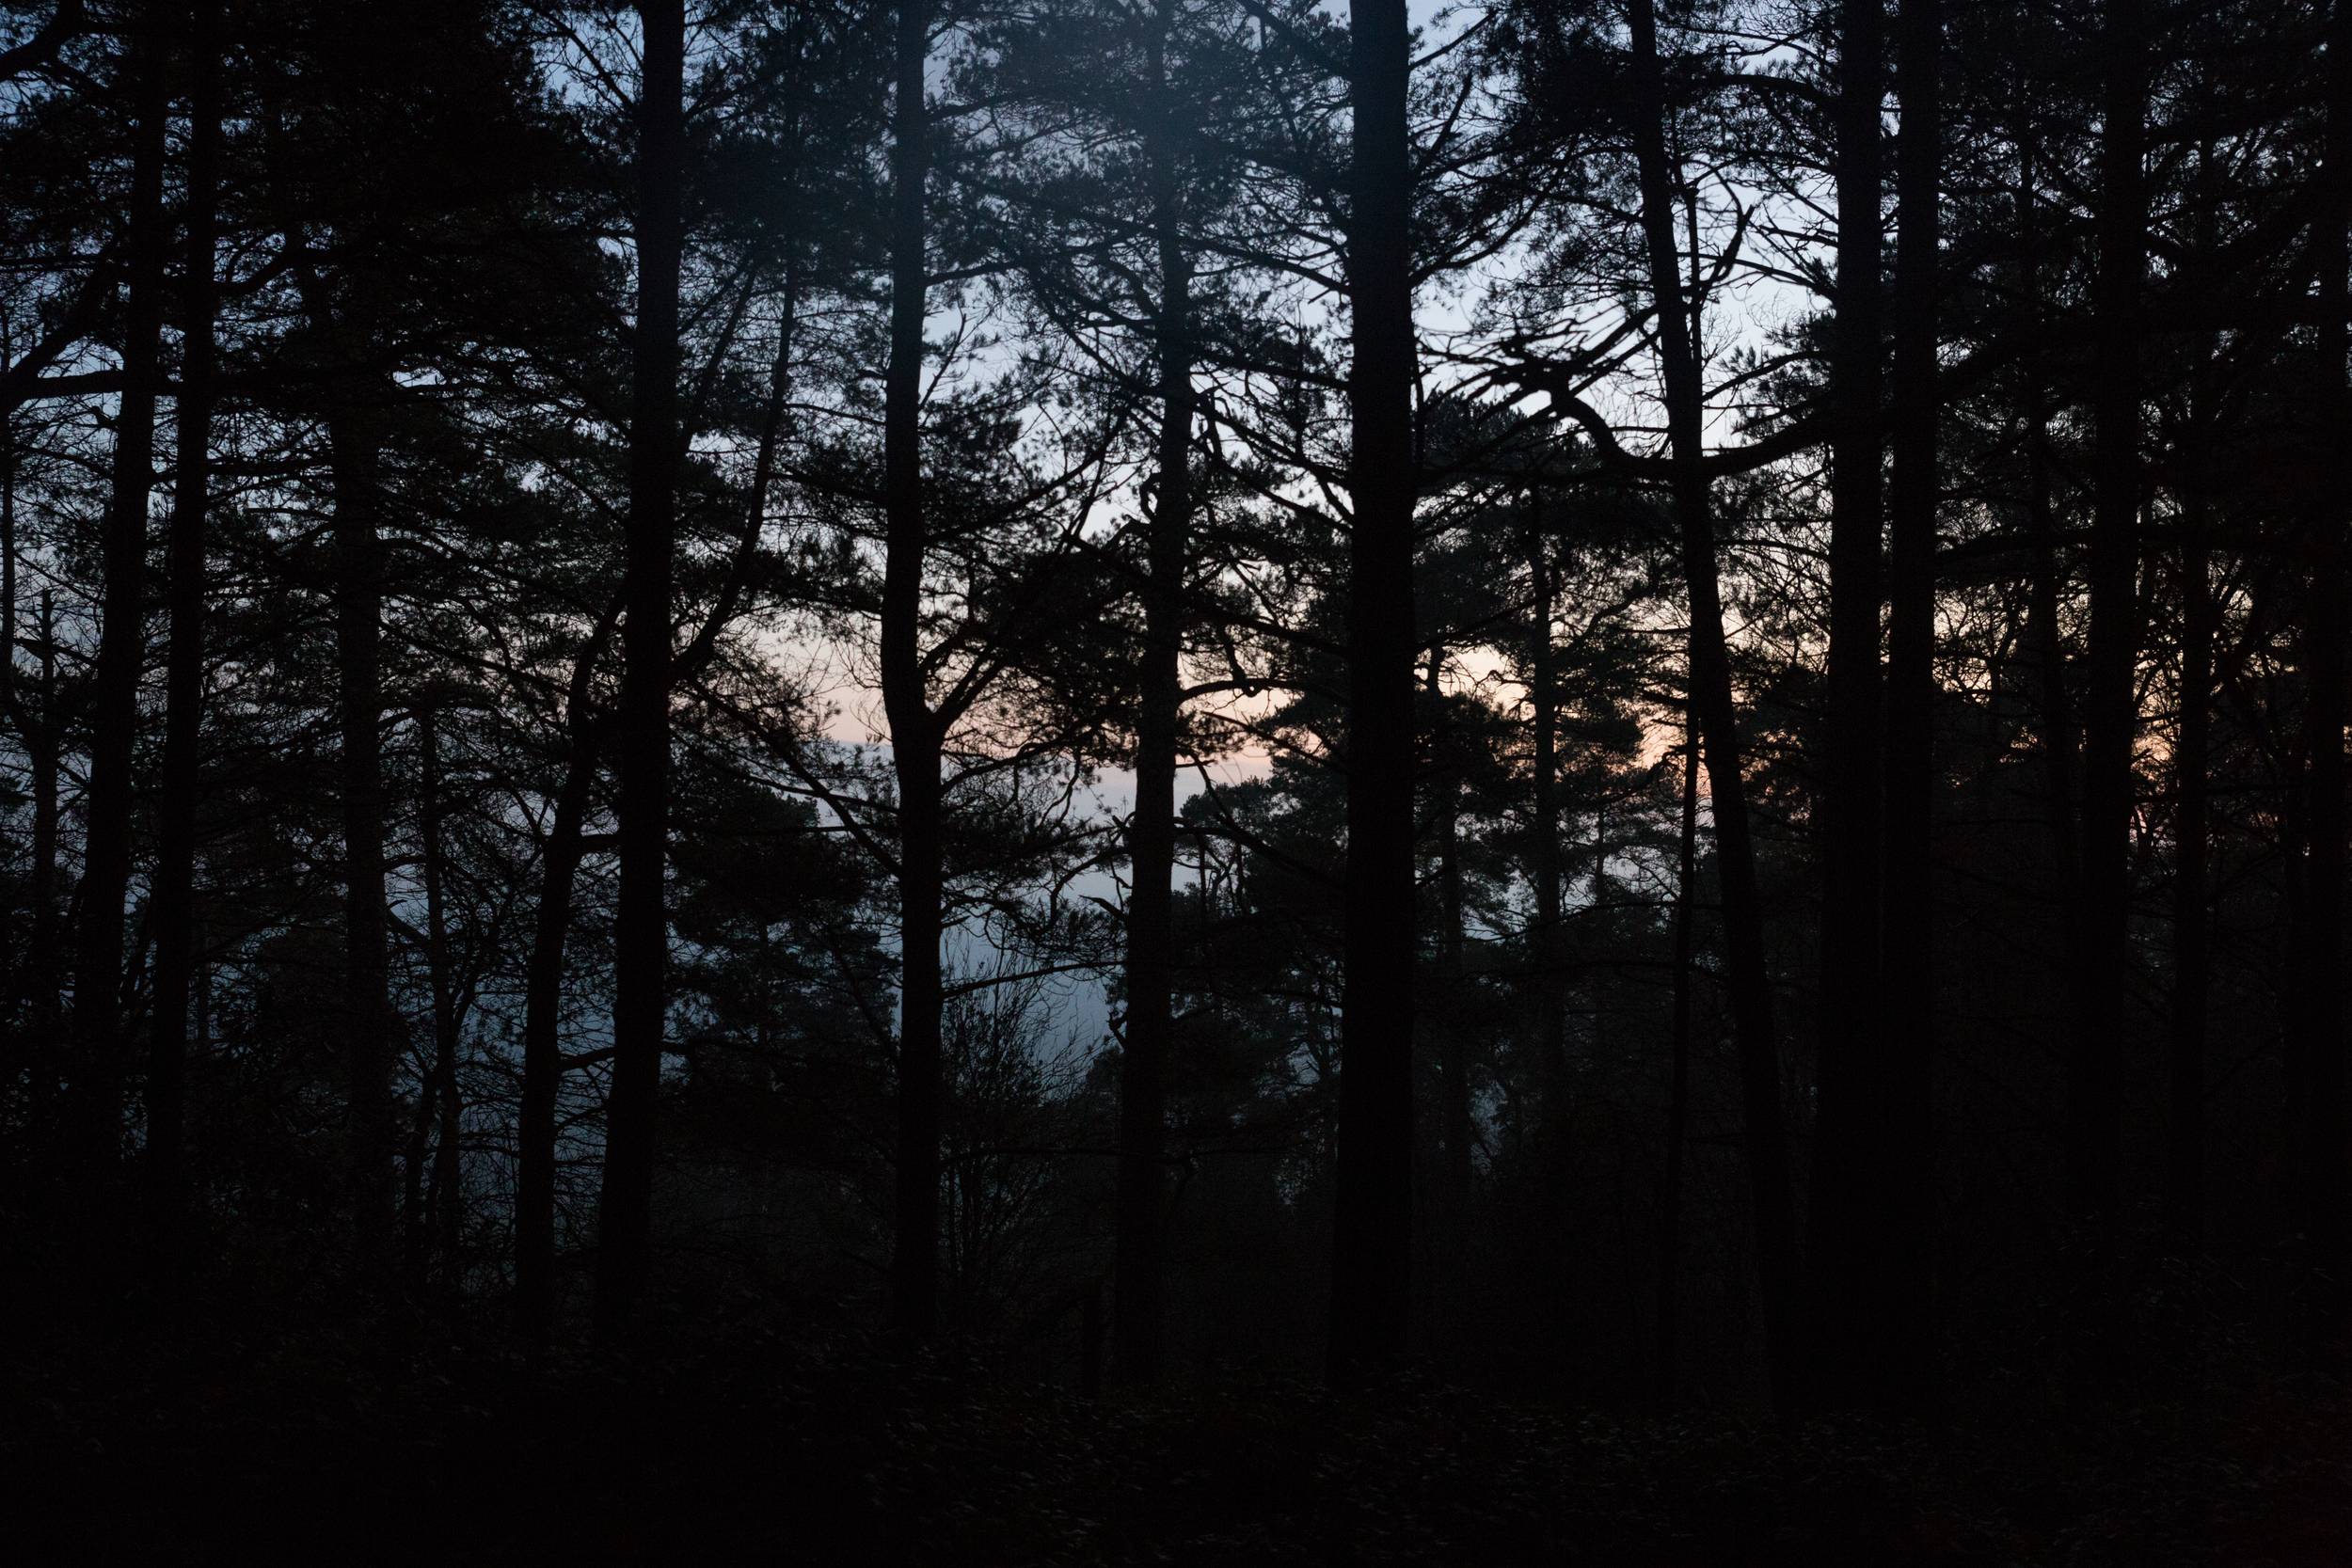
I've also been out with Glen, we had a walk around Leith Hill a couple of weekends ago, I took the 24-70 and 100mm L on the 5D mk III. The hill was so high up that we were in cloud, combined with a constant beautiful golden hour made for beautiful photos. Glen took his film camera with him, and captured some gorgeous shots. Here's some of mine..


I'm still working on the videography business/investment post, it is a long one as you can imagine but it will be coming soon. I'll be going the the CVP Sony A7S event featuring Philip Bloom on the 11th which will be a great contributor to my knowledge. As well as narrowing down potential kit choices for this years video productions, I may be able to get some info from the CVP team about my potential kit choices and finance options.
“UPDATE (06/02/2015) Canon have now officially announced two new 5D model DSLR’s with a 50MP count, with a photography focus rather than video. This reinforces industry voices that Canon are pushing video pro’s up to their high end cinema cameras.. Sony for me I think!”
Tip No.3: Never stop learning. Get yourself to BVE for FREE from the 24th-26th Feb for seminars on 4K, editing, lighting, broadcast and the great expo!
Lastly, back in the beginning of January I was out filming Sarah and Matt's wedding. I started with the preparations while Glen was at the venue capturing some shots of the location, Matt and the guests arriving. I had the Pro Media Gear Dual-arc slider on Manfrotto 055 Pro-B legs, with a range of lenses for shooting in potential low light (not knowing what the day or location might turn out like later on, and if the weather changes..)

Chosen equipment for filming a funky wedding - Canon 5D plus a range of fast zooms and primes. Not to forget audio!
I captured some of the days footage in 50fps slow mo, when the light was available for a little bit of luxury with moving shots. When in video mode on the 5D mk III the 50fps mode is only available in 720p, not 1080p. This does make the footage softer, but I've found using the Red Giant 'Instant 4K' plug-in works well to upscale the clips to 1080, and sharpen them a little.

Throughout the day I switched mainly between the Tamron 24-70 and Canon 100mm L for wide/standard framing and then more detail/close ups. I've found this works well as there is no 24-135 F/2.8.. If you are working with a Canon 60D, or an APS-C camera you get a lovely look when using an 85mm or 100mm (as the focal length is multiplied), with a pretty bokeh as well. For cool-perspective ultra wide angle, the Samyang 14mm T/3.1 works a treat, for skate videos and music videos where you want to warp reality a little!
There will be more on the wedding film production in an up coming Manfrotto Ambassador blog!
Tip No.4: tell a story through your video/film, narrative-speaking there is a beginning, middle and end set around key events. It may sound like redundant advice, but many videos I watch fail to build the narrative or story through the visuals. It provides an immersive experience for your viewers, getting them involved with what you've produced.
*Now following up a few days later, the meeting with Screen went very well, I traveled up to their Suffolk HQ, a beautiful old building in the country. Myself, the marketing dept and business development were present as I showed my basic concepts and ideas, and we discussed further the ideas and terminology.
Tip No.5: if you're working with clients in a different industry to yours, do your best to learn as much as you can about their business, products, services, strategies, and what their clients want.
This has been fantastic progress for the end of January, which is usually a slow month for productions. With the wedding film almost complete, and the design beginning for the Screen Systems project I am confident it's the beginning to a great year. Not to mention the potential of IABM event coverage too! I'm due to visit the IABM team next week to talk further about this years videography.
After the CVP event with PB I'm sure to have worked to some conclusion for the video business investment post, but it may have to wait until BVE.. We shall see!
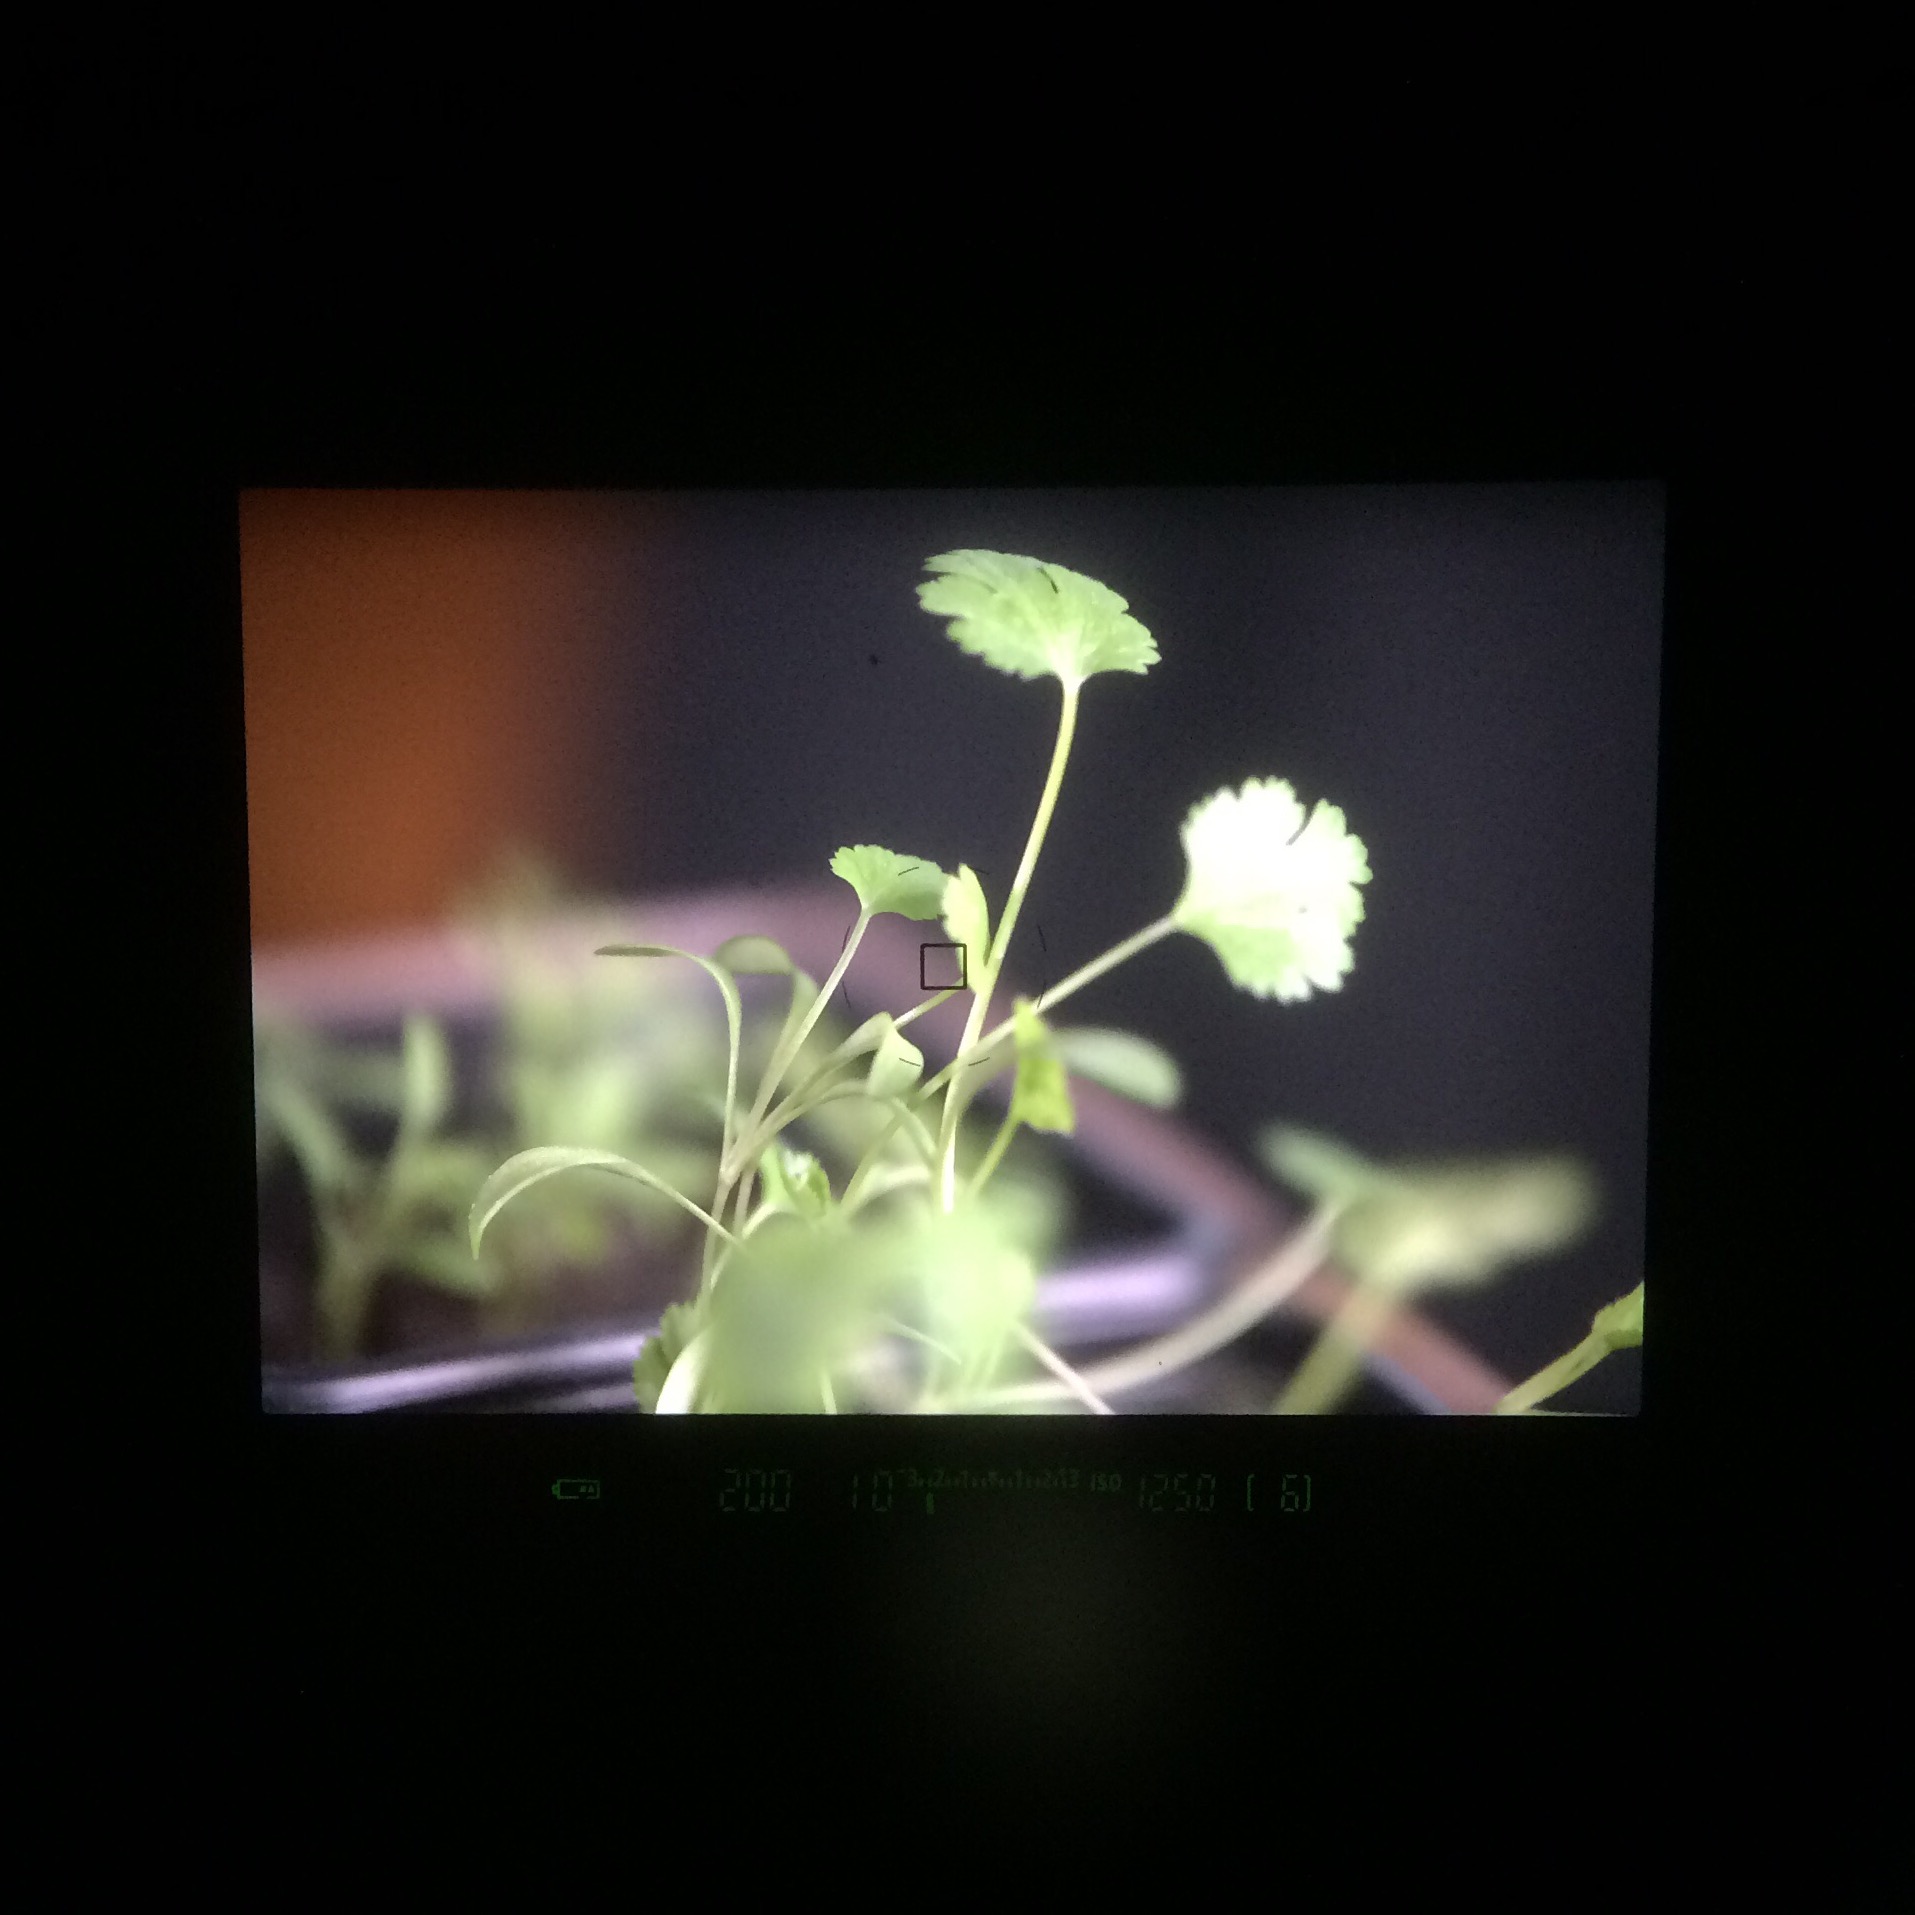
Some macro photography going on in the background, little herbs going!
From a quick walk in the morning.. Kids in Epsom and Ewell leaving their childhood behind!
Keep an eye out for my new Manfrotto Ambassador blog about filming weddings with Manfrotto gear, and I'm going up to London tonight for some night photography so I'll share the results with you later!
Seasons Are Changing
Here it is! A collaboration between Tristan Noon (composer) and myself, expressing the transition into Autumn. Filmed at NT Winkworth Arboretum and the North Downs Way (Ranmore Common), and composed with the talent of both Tristan and a clarinetist, we wished to coney the continual and dramatic cycle of the seasons through both the visuals and sound.
I approached Tristan to work collaboratively on this project, and he was happy to work with me, and what an experience it has been! I can extremely commend Tristan on his musical talent in both playing immersing melodies on piano and composing scores. Please check out his portfolio of work here :www.soundcould.com/tristannoon
Stunning timelapse film from Finland!
Hats off to Riku, a four month summer project across Finland capturing incredible timelapses!
Capturing Autumn (part 1)
This will be a series of posts acting as a videography diary for my latest personal project which is out filming Autumn in Surrey.
North Downs Way (Ranmore, Surrey)
This time of the year is my absolute favorite. There's a chill in the air, leaves turn stunning tones of oranges, reds and browns, hidden spider webs become visible in the morning dew. Autumn bring a series of treats from the first frost, harvest festival, Halloween and fireworks night, most of which I'll try to capture over the coming weeks as the night draws closer.

Rainbow after a passing storm
I made my first seasonal video back in Jan/Feb called 'Quiet Sunshine', I loved being out with just my camera and me. It was silent and still as I crept around the pond, capturing the life in the Winter. This was also one of the first videos I made with my new videography kit; Canon 5D mkIII, Samyang 14, 35, 85mm cine lens, Manfrotto 755CX-3 carbon fibre tripod and MHV-500AH video head. It's the ultimate in quick, steady shooting with a beautiful image from Samyang's top quality glass.
This ethos of simplicity while filming is aided greatly by wise equipment choices, good planning and being inspired. Taking a little time to research the sunset and weather, the locations you're going to visit, and checking out other creatives work all contribute to the story that is composed and told through the video. For me, my Manfrotto tripods, video heads, bags and lights give me the flexibility to film in a variety of scenarios without needing a set of heavy legs.

Filming the sunset.

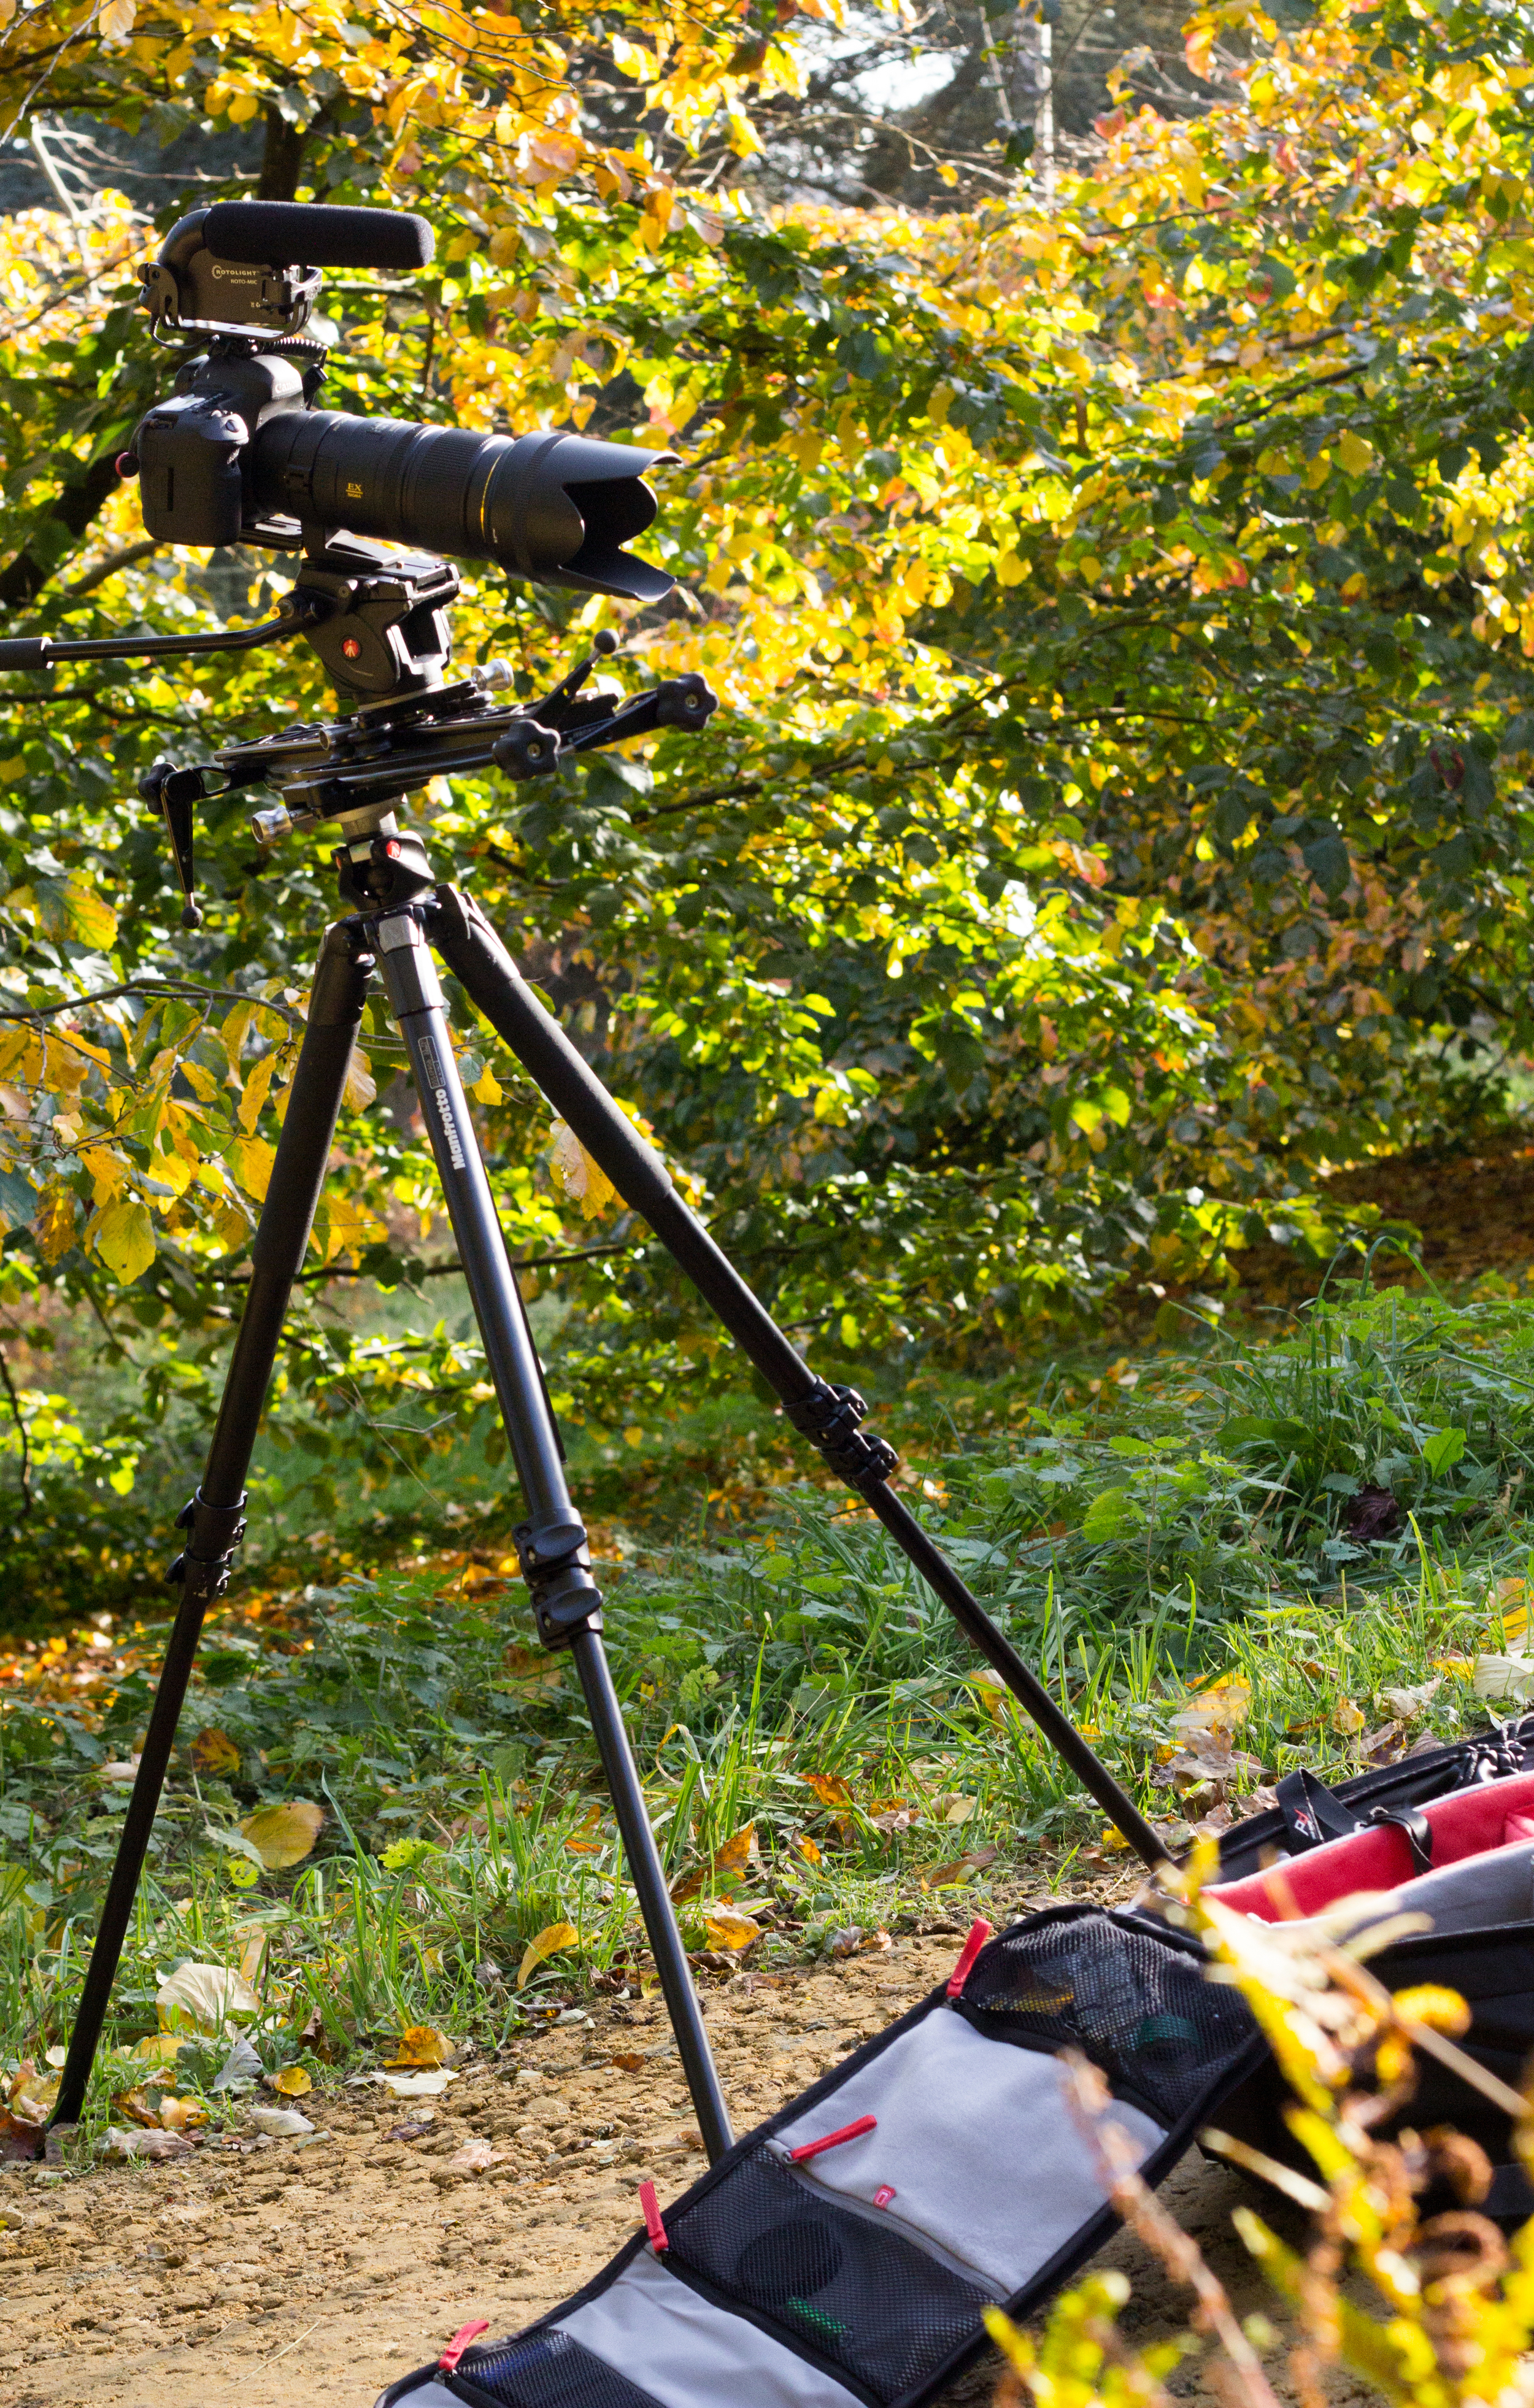
Kit of choice for one afternoon's filming
The above pic shows how simple my setup was:
- Canon 5D mkIII (Technicolor Cinestyle picture profile).
- Tamron 24-70mm
- Sigma 70-200mm
- Canon 100mm macro
- Samyang 14mm cine
- Manfrotto 055ProB tripod
- Manfrotto 701HDV head
- Pro Media Gear dual arc slider
- ND filters
- Manfrotto SPECTRA 900FT LED light (just in case).

Some macro shots of fungi!
I never go out with an idea of what the final edit will look like, or what I'm distinctly looking for, apart from to give the audience of the video the experience of what it's like to be in the scene. The story is a visual meditation, taking you on a journey. Ron Fricke has mastered this art through his films 'Baraka' and 'Samsara'.
"Give your audience something new, something they perhaps haven't seen, heard, felt or experienced before. Put them in the scene and give them an immersive experience."
I don't think many viewers of the video would have been in a World War II Pill Box.. So I gave them that experience! It had also started to pour with rain when we arrived at North Downs Way, so the dug out shelter provided ample protection from the elements!
The little details of the changing seasons are what we have as memories of autumn. The turning of the leaves and crunch they make as you step on them. The glorious colours of sunset silhouetting the trees! Shooting with the Cinestyle picture profile allows me to capture the video with an extended DR, that I can then manipulate and restore the details in the shadows and highlights when grading in post. This really pops the colours.
If you're out walking, or somewhere new, stray off the path and discover something new. It's a tactic I use when I'm out, it's how I find 'interesting' things to shoot!

Sunset, white balance of 5800K; golden orange tones.
When I am out shooting, there aren't set rules that I follow as every scenario will be different; indoors or outdoors, subjects will vary and so will the kit you choose to use. I do however make sure I correctly set the following:
- White balance/colour temperature.
- The image is level with the horizon line (more so for landscape, unless artistically intended).
- Sound being recorded with a mic, and that it is ON, with the sound level set appropriate to the environment.
- Shutter speed set to 1/50th (on DSLR).
- The shot must show me something new, with framing and composition telling the next part of the story.
- Am I using an appropriate aperture?
The last one about 'appropriate aperture' is more due to the variety of shots you want to capture. For example: intimate portrait with a wide aperture (F/2.8) vs large landscape with narrow aperture (F/16). Yes, shooting as wide as possible (T/1.5 is the widest I can shoot) produces incredible bokeh, extremely shallow depth of field for intimacy and can keep you shooting in darker scenarios.. But it can also produce softening at the edges (lens dependent), and may not fit the subject; a row of trees, a crowd of ravers. On the other hand, shooting with a deep depth of field (F/11 +) of a babies fingers or the dew on a spiders web does not isolate the subject, makes the image darker and sometimes produces vignetting (lens dependent).
My point being: It is subjective. There is no right answer. Find the right aperture to expose the shot as you wish, using the depth of field to move the viewers attention through the frame.
To summarize, by checking those above points, you'll save a lot of time and work later!

Taken on the North Downs Way, Ranmore, Surrey by Adam Plowden on Canon 5D mkIII and Tamron 24-70.
Winkworth Arboretum (Godalming, Surrey)
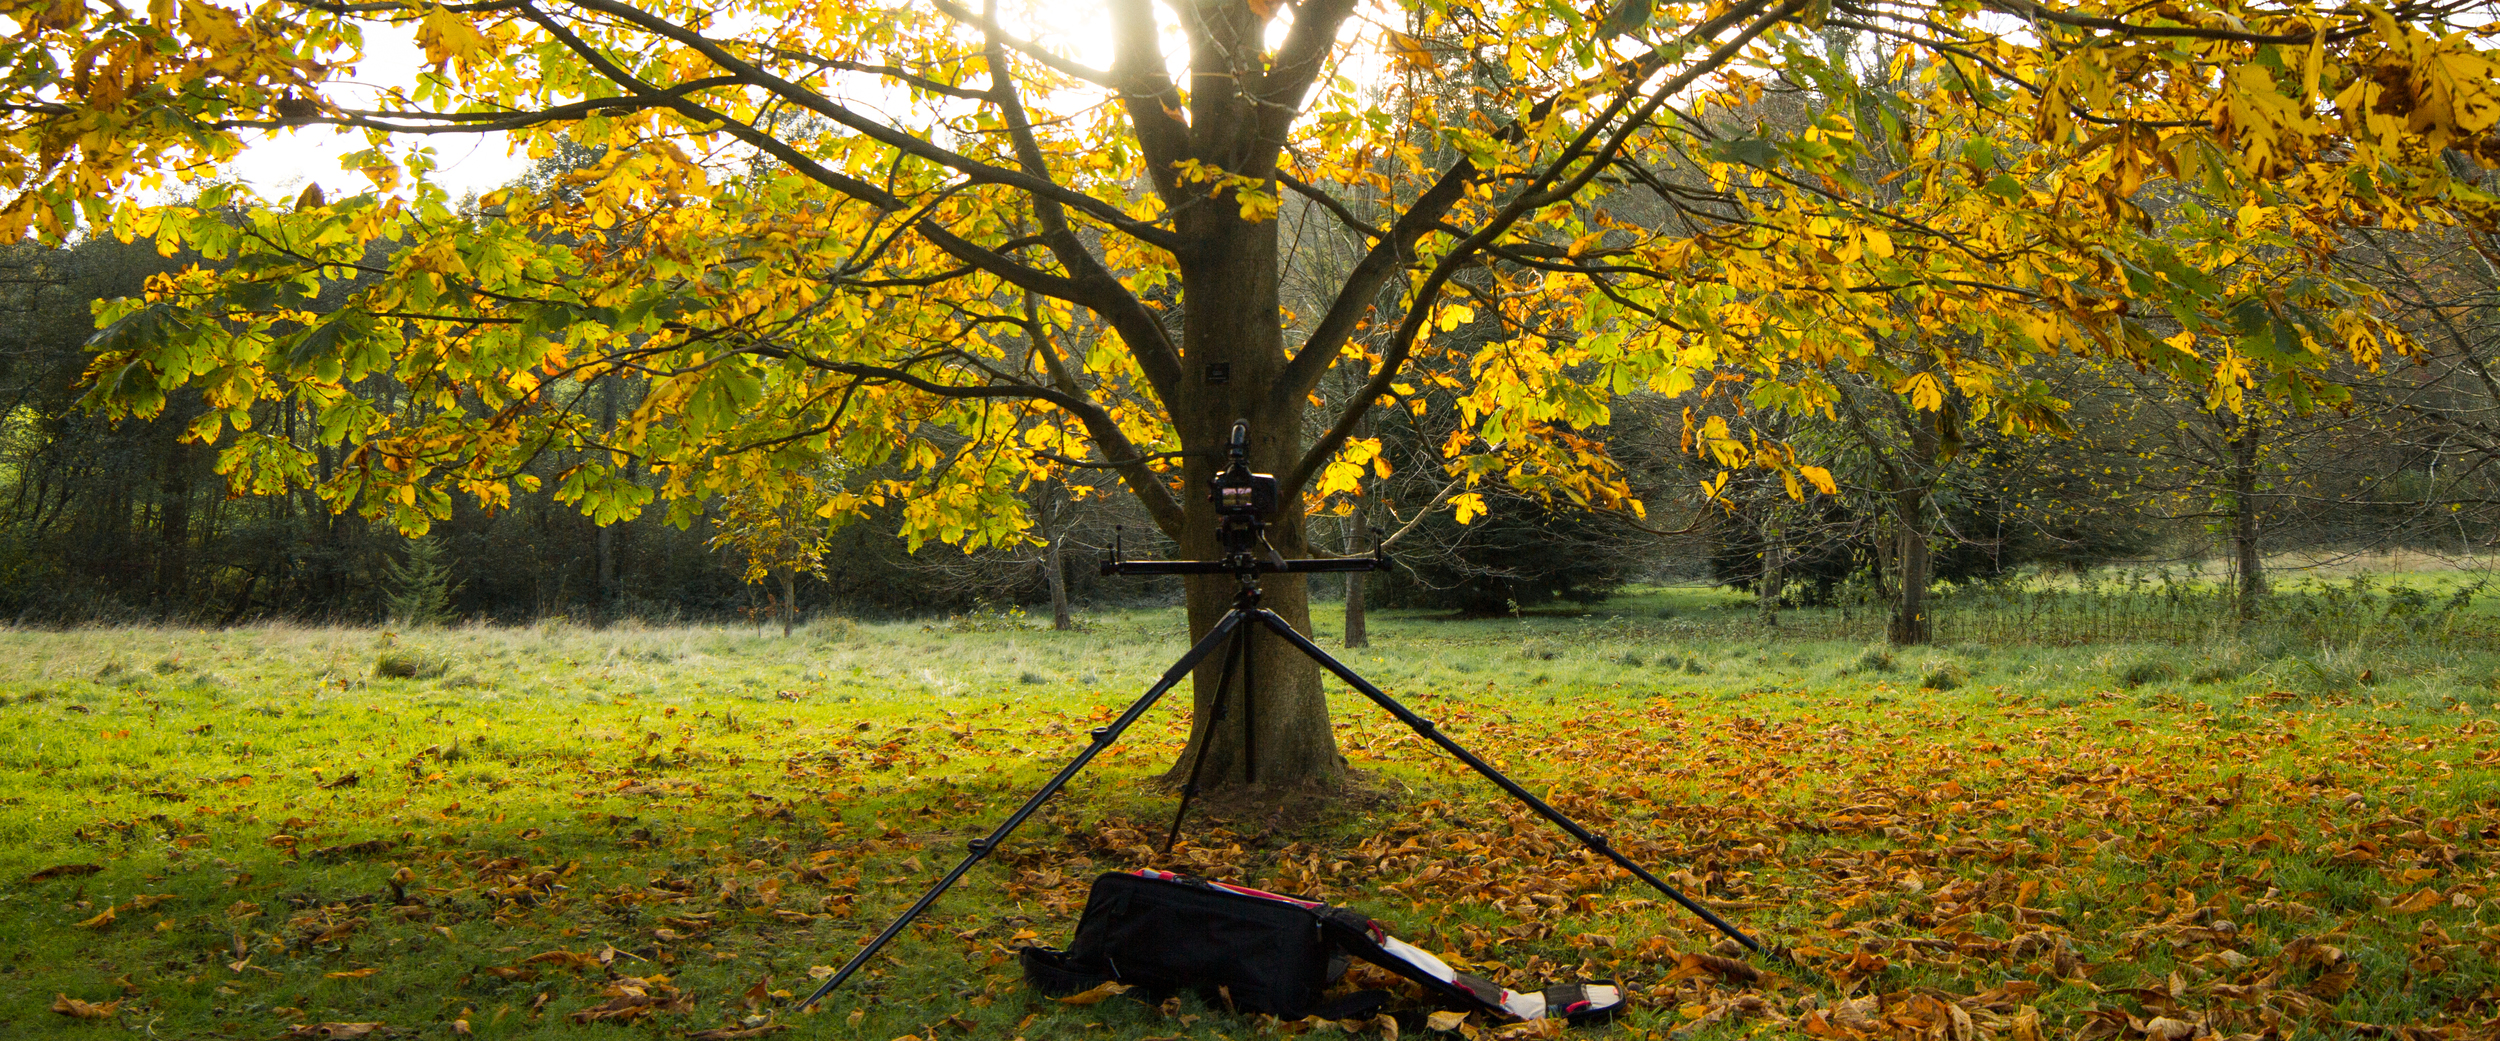
I've been wanting to visit Winkworth for months now, originally purchased by Dr Fox in the 20th Century, it is home to over 1000 trees and plant species created to 'paint a picture' of the landscape. The dream of Dr Fox lives on to the hundreds of visitors of all ages through the National Trust who were very accommodating during my days visit.
It was my first time at the arboretum, so while I was discovering the beauty of the location I also snapped up plenty of autumnal shots. My kit list varied to what I used at the North Downs Way, but I still used my trusty Manfrotto 055 ProB tripod, 701HDV head and Pro Backpack50! It's so versatile, and trust me, you really can fit everything in this bag for videography!
APV setup: 5D mkIII with Sigma 70-200 on Manfrotto 055ProB, Pro Media Gear dual arc slider, 701HDV head, Roto-mic and Manfrotto Pro Backpack50. And Peak Design strap!
I wasn't surprised at the number of photographers in the arboretum, the foliage from the range of trees was stunning, a mix of still turning greens, oranges, deep reds.

Beautiful day to be out with the camera!
Acer is my favorite species of tree because of its delicate and intricate leaves and branch structure, it has very unique leaf colours that dramatically change throughout the seasons too.

My favorite!
It was a pleasure strolling around the massive arboretum. I was up for filming anything I liked, I had my Manfrotto Pro Backpack50 filled with my favourite lenses to shoot nature with. The Canon L series 100mm F/2.8 macro lens has been gratefully welcomed into the collection, it definitely being my favorite lens! It has the intimacy and clarity I like to capture, getting the details.

Stunning colours and light, beaming through the trees.
My larger go to kit setup!
The above photo I think captures the essence of my work; simple, unique adaptive.. The ability to move the camera using the Pro Media Gear dual arc slider gives the ability to move and orientate around the subject, in the above case around the trunk of a tree, showing the array of interconnected branches and leaves.
For a number of these shots I would have been using the 14mm cine lens, at around T/11 to T/16, so that I could expose both the darker branches and the bright light bursting through the leaves.

Abundant autumnal foliage scattered the landscapes hillsides.
For photographers and videographers I would definitely recommend a trip to Winkworth. It offers a unique view into nature throughout the seasons, walk freely through the meadows or copses capturing the beauty of nature.
Thanks to the National Trust for upkeeping the arboretum and the volunteers that maintain the site, as well as Manfrotto for their continued support! Get out there and film the lip-chapping mornings, or fireworks night that is coming up soon. It's a stunning time of year, go capture it!
The autumn video is currently in post production, and I am collaborating with Tristan Noon, a composer to produce the soundtrack to accompany the visuals. I'll post up part 2 of the the autumn filming blog when the editing is complete, and the video uploaded!
Filming on the North Downs Way

Surrey North Downs Way, Adam Plowden Videography
I've been waiting for a clear skied afternoon to film some autumn material for another personal project. Heading for the open North Downs Way, accompanied by the 5D mkIII, Tamron 24-70, Sigma 70-200, Samyang 14mm, Canon 100mm, Manfrotto 055 tripods and 701 head on the Pro Media Gear Dual-arc slider.
The video is to come very soon, I want to go out and shoot some more in the early morning!
Fractured burning sky
[gallery columns="4" ids="4238,4239,4240,4241"]
How do you make a timelapse? Video Questions
Finally got round to this!! A time lapse is a method of photography and videography that captures sequential images from a static camera over a certain period of time, and then sped up in post production to create the illusion of time moving fast.
There are so many reasons why you'd want to use time lapses in your work; from establishing locations to capturing a long event like the northern lights or sunrises and sunsets. Time lapses create a visual spectacle in which time speeds up, you see nature at work and things you would normally miss or take for granted.
If you want to check out some awesome time lapse films, please watch Ron Fricke's Samsara which includes awe inspiring cinematography captured in 70mm film.
http://www.youtube.com/watch?v=P0xVp3N-M84
There are a couple of ways you can create a time lapse, dependent on the length of time you wish to capture, the changing exposure settings of the location, and the kit you have.
Cameras and Kit
I assume that most people interested in this post own a DSLR or video camera of some kind, as it is difficult to capture a time lapse otherwise. In all honesty, what model of camera you use won't make a big difference on the overall video. Whether it is a Canon 110D, 550D or 1D-C, Nikon D3200 or D90, Sony A-7 or Olympus OM-D EM1 your photos and video will look great. Just make sure you have your exposure and focus point set correctly. In regards to what lens you use, in general wide angle lenses give a better perspective of the environment; we've all seen GoPro videos, that is ultra wide, but you don't need a fish eye or specific lenses to do this. Usually the standard kit lens that comes with your camera has a wide angle, whether it be 11mm on MFT cameras or 16mm on full frame, keeping a wide field of view is key to achieving the perspective of a time lapse.
Lets start with time. The longer you wish to capture, the more memory and battery you will need so ensure you've got a fresh card and charged batteries, or even better a battery grip. Depending on what camera you are using you may also need an intervalometer; a device that plugs into the camera and releases the shutter for a pre-set duration at a pre-set interval.
Here's one made by Canon - ![Canon-Intervalometer1[1]](http://ajp1991.files.wordpress.com/2014/02/canon-intervalometer11.jpg)
So, if you wanted to capture a sunset, you will be shooting for a couple of hours. This little device will release the shutter and take a picture for you, however you need to set the interval duration. The longer the interval, the greater the difference between each image as the objects in the frame move and change. For a sunrise or sunset, an interval of 10 seconds should suffice, as the sun and clouds move slowly.
If you were in a city shooting a TL of a busy public place, a shorter interval should be used so the objects or people move smoothly through the frame and don't jump around.
What are you capturing?
Where will you be shooting the time lapse? Bright daylight at the beach, or in arctic winter? Or star trails and fireworks at night? Your DSLR's shutter speed will allow you to control the amount of time the shutter is exposed to light, so a longer shutter speed (anything under 1/30 can be used when the sun or bright light is not available) should be used at night when light levels are low. You can also use the BULB setting I believe to capture exposures longer than 30 seconds if you are capturing star trails.In the opposite situation, you can set your shutter to a reasonable speed depending on the light available; but remember changing light is inevitable and uncontrollable in nature so using shutter priority mode (T) or aperture priority mode (A).
REMEMBER YOUR TRIPOD! Shooting for long periods of time need a steady support, to keep the camera locked off and weighed down if needs be! My Manfrotto tripods work a treat.
Experiment and test at the time to judge your exposure settings. Keep your aperture or F stop small so that all objects in the frame are in focus; something like F/11 down to F/22 if in bright light or you can increase the aperture to F/4 up to F/2.8 if you're working at night. Increasing your ISO to 1000 or 1250 is perfectly fine if your doing a night-lapse, so no worries about that.
Also use the digital zooming capabilities on the camera to get critical focus on a key static point.
If you have less time for a time lapse, then you can always hit record on your camera and film continuously for as long as it can. This is an easy option for those out and about shooting as you can simply wait for 10 minutes or so. Obviously here you have the time restriction to only 10 minutes, so this works best for short burst time lapses of clouds, people & crowds and quick changing landscapes.
For any other setting it would be better to use an invervalometer, mainly as keeping your camera recording will suck the juice out of your battery like anything.
For savvy videographers and photographers alike who may have Magic Lantern already, there is an intervalometer built into the ML firmware which acts just like an internal one. If you don't want to pay for an external device then Magic Lantern which is open source and free is your best option. Plus having ML on your camera expands its video capabilities greatly.
Post Production - If you have taken a series of photos
You've captured an amazing sunset, it has taken you hours and all you want to do is see the finished product. Some methods of editing time lapses are long, boring and not neccessary; taking the photos into After Effects for example, its not needed!
Adobe Premiere Pro is a much simpler and quicker method of getting your TL into a video. Firstly, create your project as you would normally, setting scratch disks to your project folder where the photos are stored. Next, create a sequence dependent on what resolution you would like the video to be. Nearly all photos taken on a DSLR are larger in size than 1080p high definition, so this is a good place to start.
Depending on where you are in the world, your frame rate should be 25fps for UK/EU/Rest of world, or 30fps for USA. This will play your video back at the same frame rate as television and internet, so the time lapse will be smooth.
Now you have your sequence open in the timeline, go to Edit>Preferences>General. Here you can set the default 'still frame' (picture) duration to ONE frame; in timecode this will appear like: 00:00:00:01. This sets the sequence of images to play one after the other with 25 pictures in each second.
Now you are ready to import your photos! Simply Ctrl-I or Cmd-I to open the import window, select the folder with your time lapse images and click 'Import Folder'. Premiere will now import all the photos in the folder and set the duration. You can now simply drag the folder with the photos into the sequence, and your time lapse is now a video. Make sure you render (hit Enter) and watch it back in case you need to correct any frames.
If it looks like the photos are going too quickly, you can change the duration of all the photos very simply; select all the photos in the sequence, right click > Speed/Duration. Here you can increase the frame duration from 00:00:00:01 to 02 frames instead. Here you will need to see what suits your time lapse best. One last tip is to highlight/select all the photos in the sequence, right click, and click 'Frame Blend'. This calculates the interpolation (movement) of subjects between two images, so it fills in the gaps so to speak.
Post Production - Long Video Files
So you've taken the easy road! This method is just as simple as above, and is a quick way of processing a short time lapse. Once you have followed the steps to create your sequence, you can import the video file like you would the photos, instead you simply click the video file needed and click 'Import'. Then drag the video file into the sequence; here if you have been videoing in a different video format Premiere will let you know that the video and the sequence do not match. It is easier to stick with the format of your original video, so if this happens click 'Change Sequence Settings'.

With the video now in the timeline, right click and click 'Speed/Duration'. Here you can increase the speed % to make it faster, and again will need some experimenting to see which looks the best. Remember the higher the speed increase percentage, the faster the time lapse happens.
Colour Correcting
You can add any colour correction to the time lapse by creating an 'Adjustment Layer' and adding brightness and contrast, curves, levels, tint, whatever you like to make the time lapse look great.

For a 'tilt-shift effect - like the incredible New York Sandbox video you will need to use additional plug ins like Magic Bullet, or add the effect in Photoshop before importing to premiere.
http://www.youtube.com/watch?v=Fk9EBOOAYiU
Exporting - finally creating the time lapse video!

Once you are all done, with the sequence selected go to File>Export. If you are uploading to the web, then the H.264 format will work the best for quality and compression. From the drop down menu select H.264 and the Vimeo, Youtube or any other format you wish. There are loads, and plenty of confusing settings so don't get bogged down in the different types for now. When you think you are ready, and have chosen your file destination and name, you can hit 'Export', or if you wish to carry on working in Premiere on another project you can 'Queue' to export to Adobe Media Encoder which will export it in the background!
[youtube=http://youtu.be/QMwpA02IKdI]
A little example of a video time lapse I shot at Epsom Downs!
I hope this covers your time lapse photography and videography questions? If there is anything I've missed or if you have other questions please send them in!
[contact-form][contact-field label='Name' type='name' required='1'/][contact-field label='Comment' type='textarea' required='1'/][/contact-form]
Golden Hour - Manfrotto Backpack50
Another snap from the shoot today for Manfrotto's new professional bag for photographers and videographers "Backpack50".

Sunset Timelapse
Out shooting a timelapse for the trailer!
