lens

Exciting things to come at APVideo

October Update with lots of 4K

Evening all! It's been a long summer, made even longer by fantastic work with friends and brilliant clients. My last post 'Filming with the JVC GY-LS300..' has actually been in the works for months, but I didn't see fit to release it without a couple of the accompanying videos. As well as completing productions for Screen Systems, I also worked with NewsShooter.com to produce the coverage and blogs over IBC 2015. It was great to work with Dan, Elliot, Matt and the others from the NewsShooter team, more on IBC in another post.

On returning from IBC, I met up with Dan and we played around with some old 'budget' manual lenses with the LS300 and got some interesting results. Many of the lenses were purchased for £5 or at least under £10, giving it the budget aspect. The LS300 is also somewhat of a budget option for a video camera, but with the eagerly anticipated J-LOG gamma curve firmware update, much more visual quality and dynamic range can be captured. Together, that makes the 'budget lens challenge', in which you purchase a cheap lens, and make a short vid with it on a budget setup!

Can you do the 'Budget Lens Challenge'? Send over your results and #budgetlens on twitter to @plowman91 and @theNewsshooter!

Coming up, I am working on part 3 and 4 of the JVC GY-LS300 camera review which will include using J-LOG; filming and grading with it, as well as including the budget lenses I've acquired as part of the budget lens challenge!

Thanks to Manfrotto and WTS Broadcast for your support.

Filming with JVC GY-LS300. Is it the next underestimated camera? (Part 1 and 2)

Filming with the JVC GY-LS300 (PART 1)

I first met the LS300 at BVE 2015 in London where I went to the soft launch of JVC's 4K flagship video camera. There I met with Mike and John from JVC Pro UK who gave me of the walk through of the prototype they had on show.

Since then the camera has intrigued me as a production camera for filming and video. On paper it has similar specifications to the Canon C300 mk II and FS7, but only working with it would determine whether it weighs in as a contender. Time was rather tight for actually filming with the camera itself, so I timed it right for a music gig and extra time away from the desk to get out and shoot some material.

I got the GY-LS300 from WTS Broadcast

The wonderful guys at WTS Broadcast helped me out with the camera as I was looking to test it out and they had one in stock. I've got a great relationship with Alex at WTS and after a long conversation back and forth I was tempted to finally use the camera for filming, so I loaned one out for a gig and test shoot.

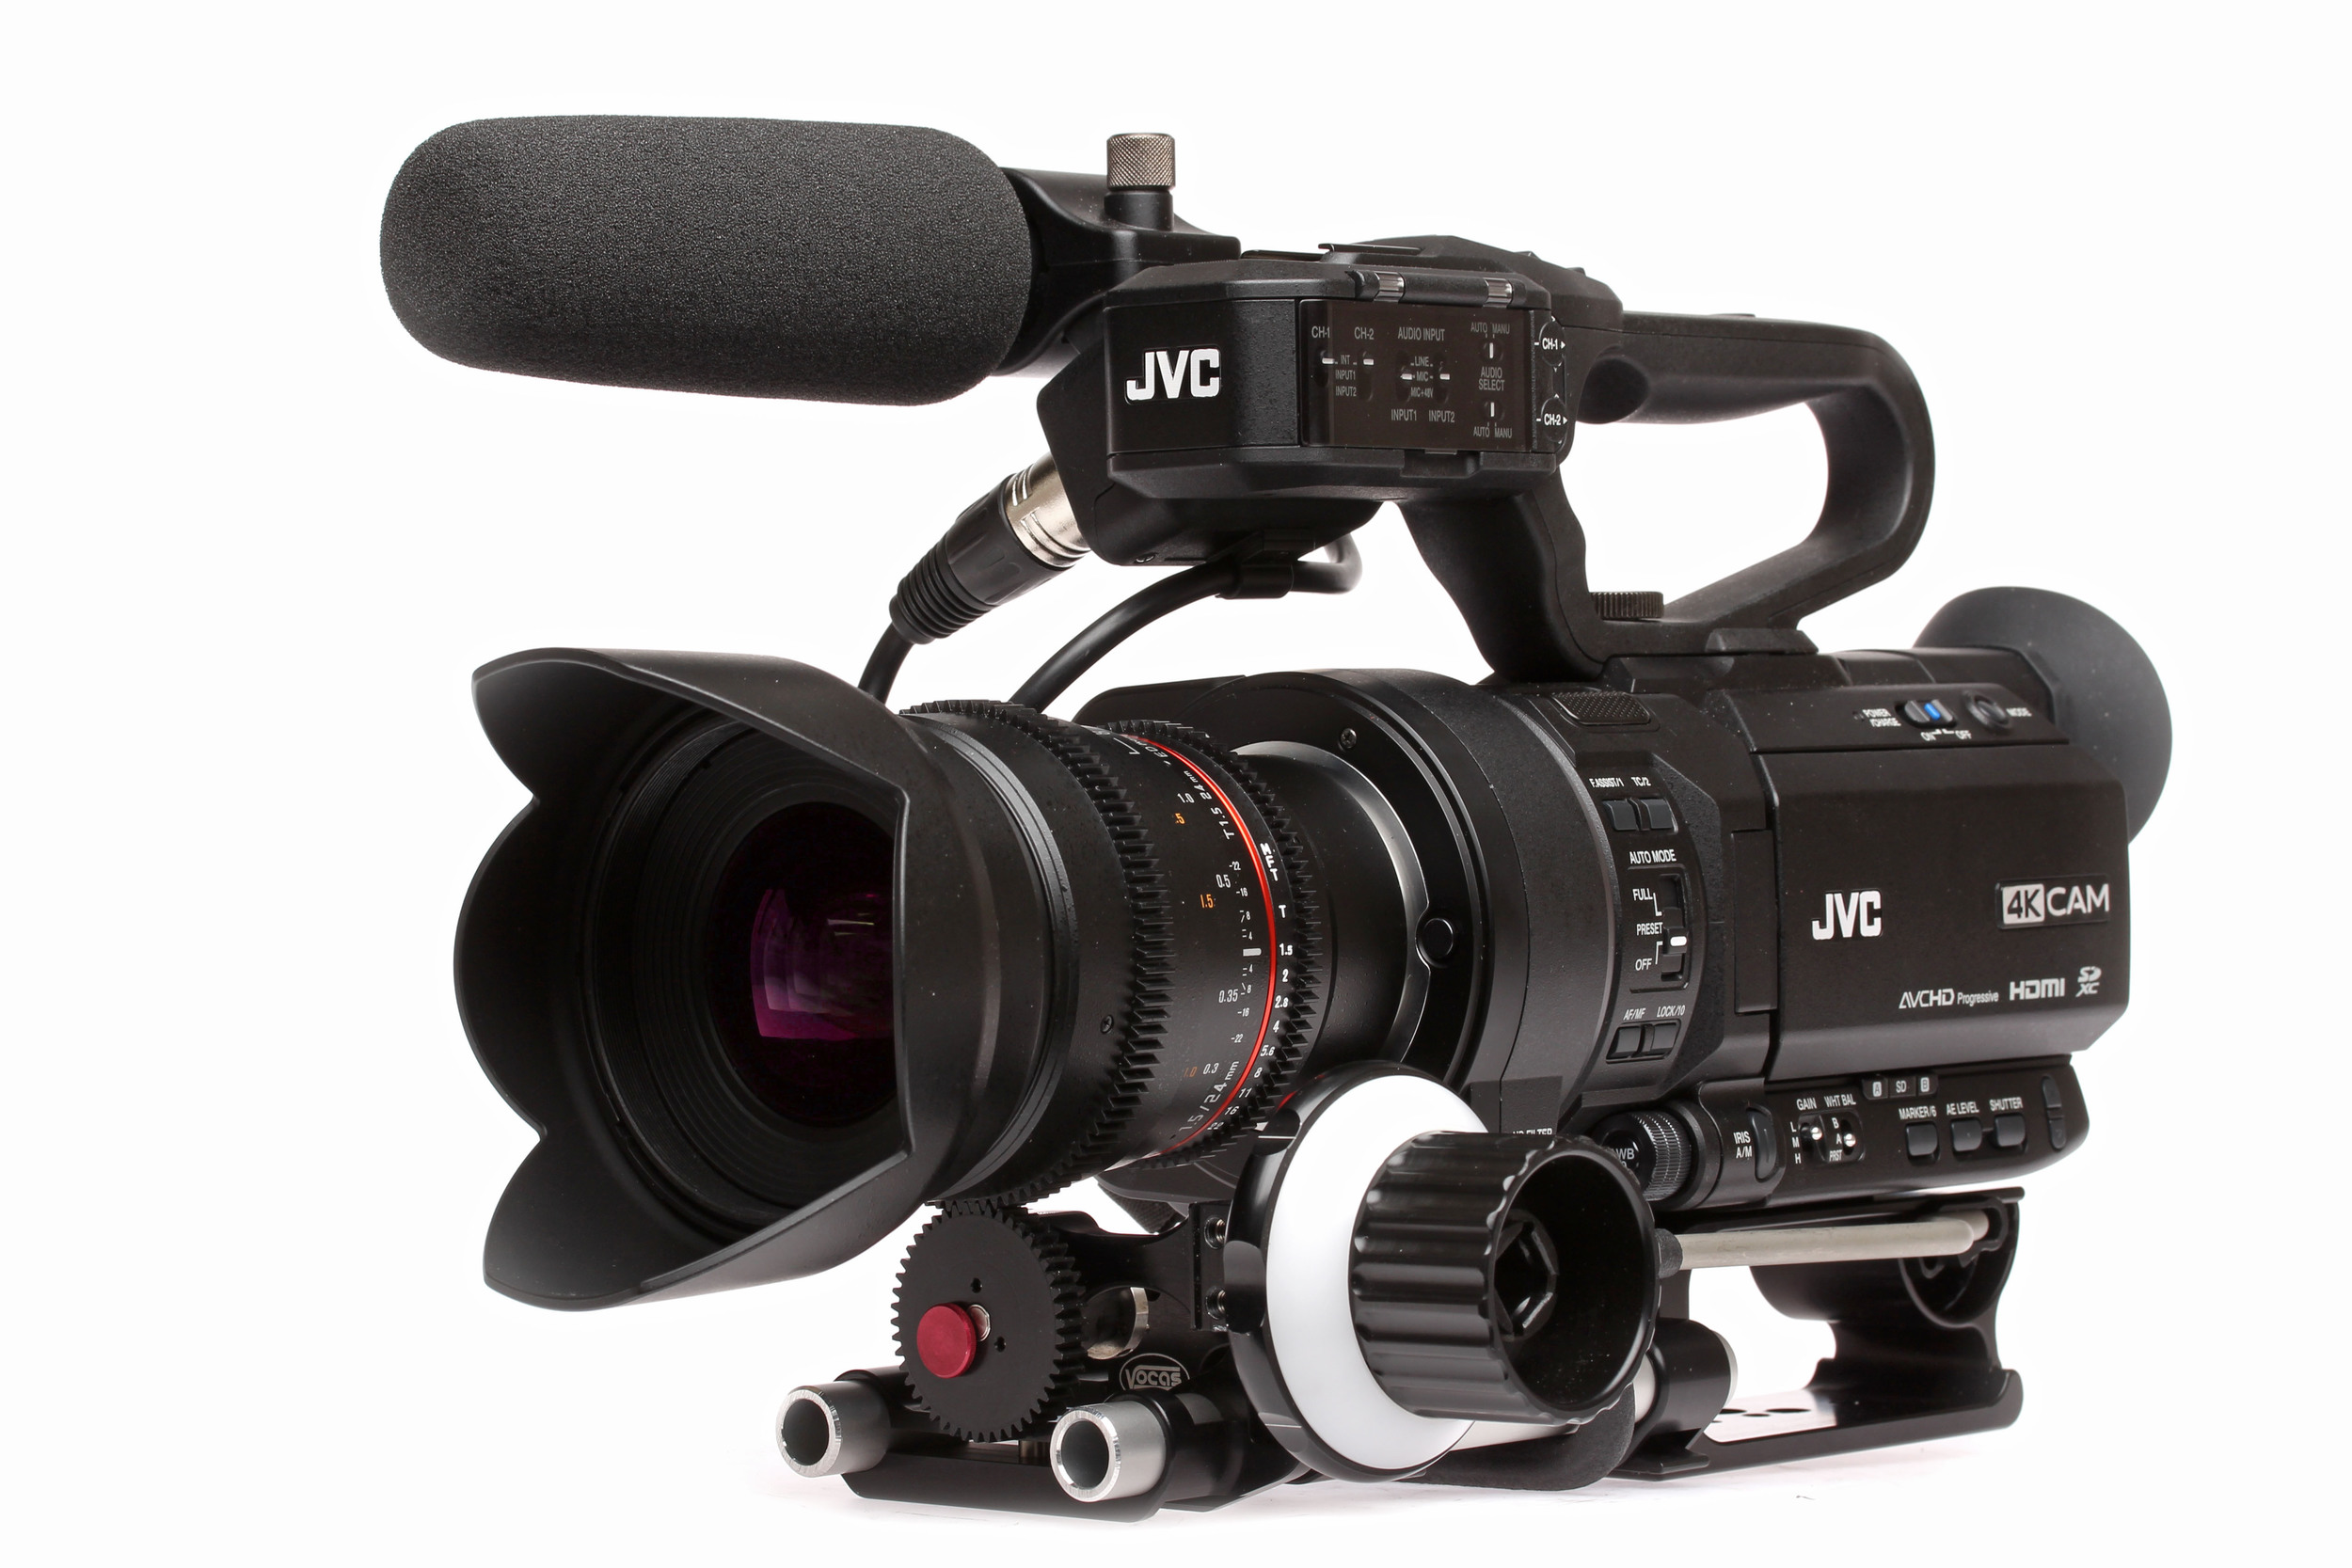
JVC LS300 4K video camera

Specs of the LS300

  • Internal 4K (UHD) 3840x2160 at 150Mbit/s in 24/25/30p.
  • HD in 24/25/30/50/60 interlaced and progressive.
  • Wireless video transmission capability.
  • Super 35 size sensor.
  • MFT mount.
  • Variable Scan Mapping (VSM).
  • Dual SD card slots.

Coincidentally, James from LogoLogo (Brighton) was up in London for an appointment, and keen to meet up after getting to know each other at Shadows and Light, this was the perfect opportunity to talk tech and film together at the Fleetmac Wood gig I had lined up for us at Birthdays in Dalston. We met up at WTS Media HQ in Fitzrovia where I introduced James to Duncan, and caught up over a drink overlooking the busyness of Oxford Street. It's awesome to meet up with a new friend, there are always so many stories to share.

We made our way to Dalston on the hot and sticky underground. Luckily I had no backpack as I'd packed all the kit (including the LS300) into the Manfrotto Roller Bag 70. It is a well padded case, and with varying foam dividers I simply constructed the bag sections before leaving home to accommodate the JVC camera, top handle, microphone, for example. It's an awesome bag for (definitely more than) two reasons - transportation and diversity. Transportation in which I can comfortably travel with the bag, and diversity in which I can securely store both photography lenses and pro production cameras.

The Manfrotto Roller Bag 70 also accompanied on my recent trip to Hollywood, and on both occasions it was perfect for the job. When I arrived at WTS Media I simply rearranged the dividers to accommodate the larger LS300 and its accessories. Flexibility is definitely at the heart of this bag.

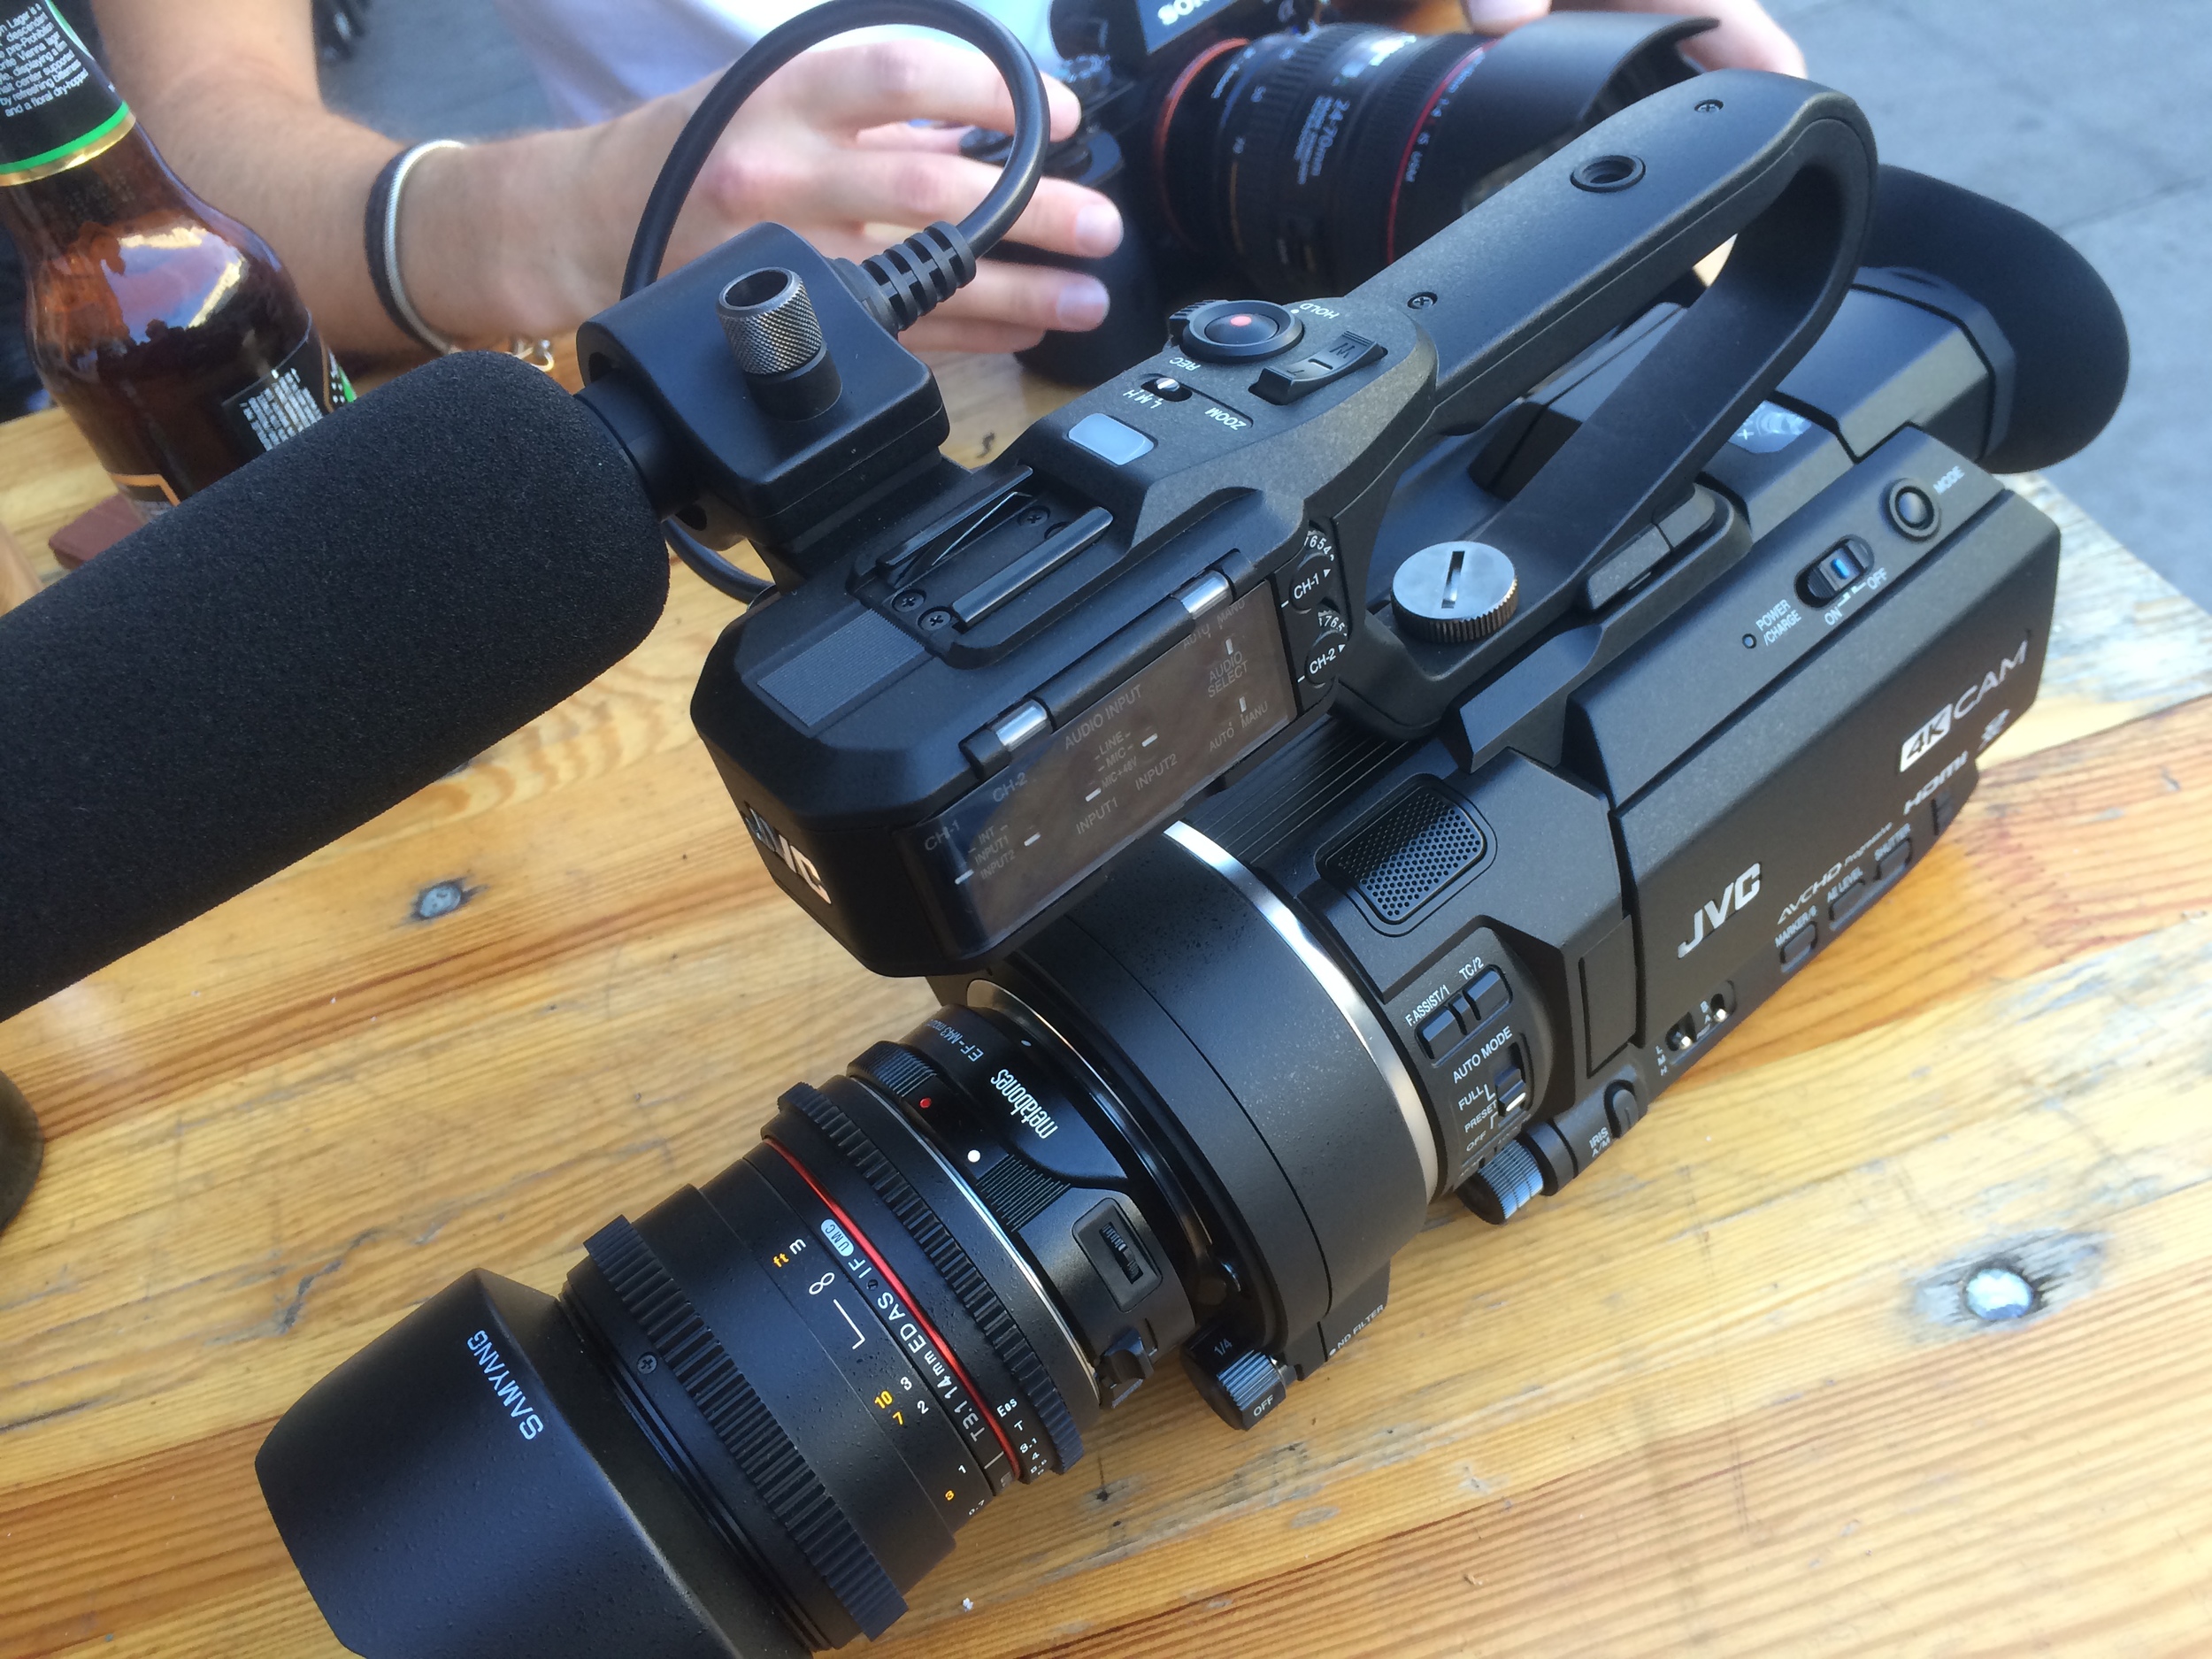
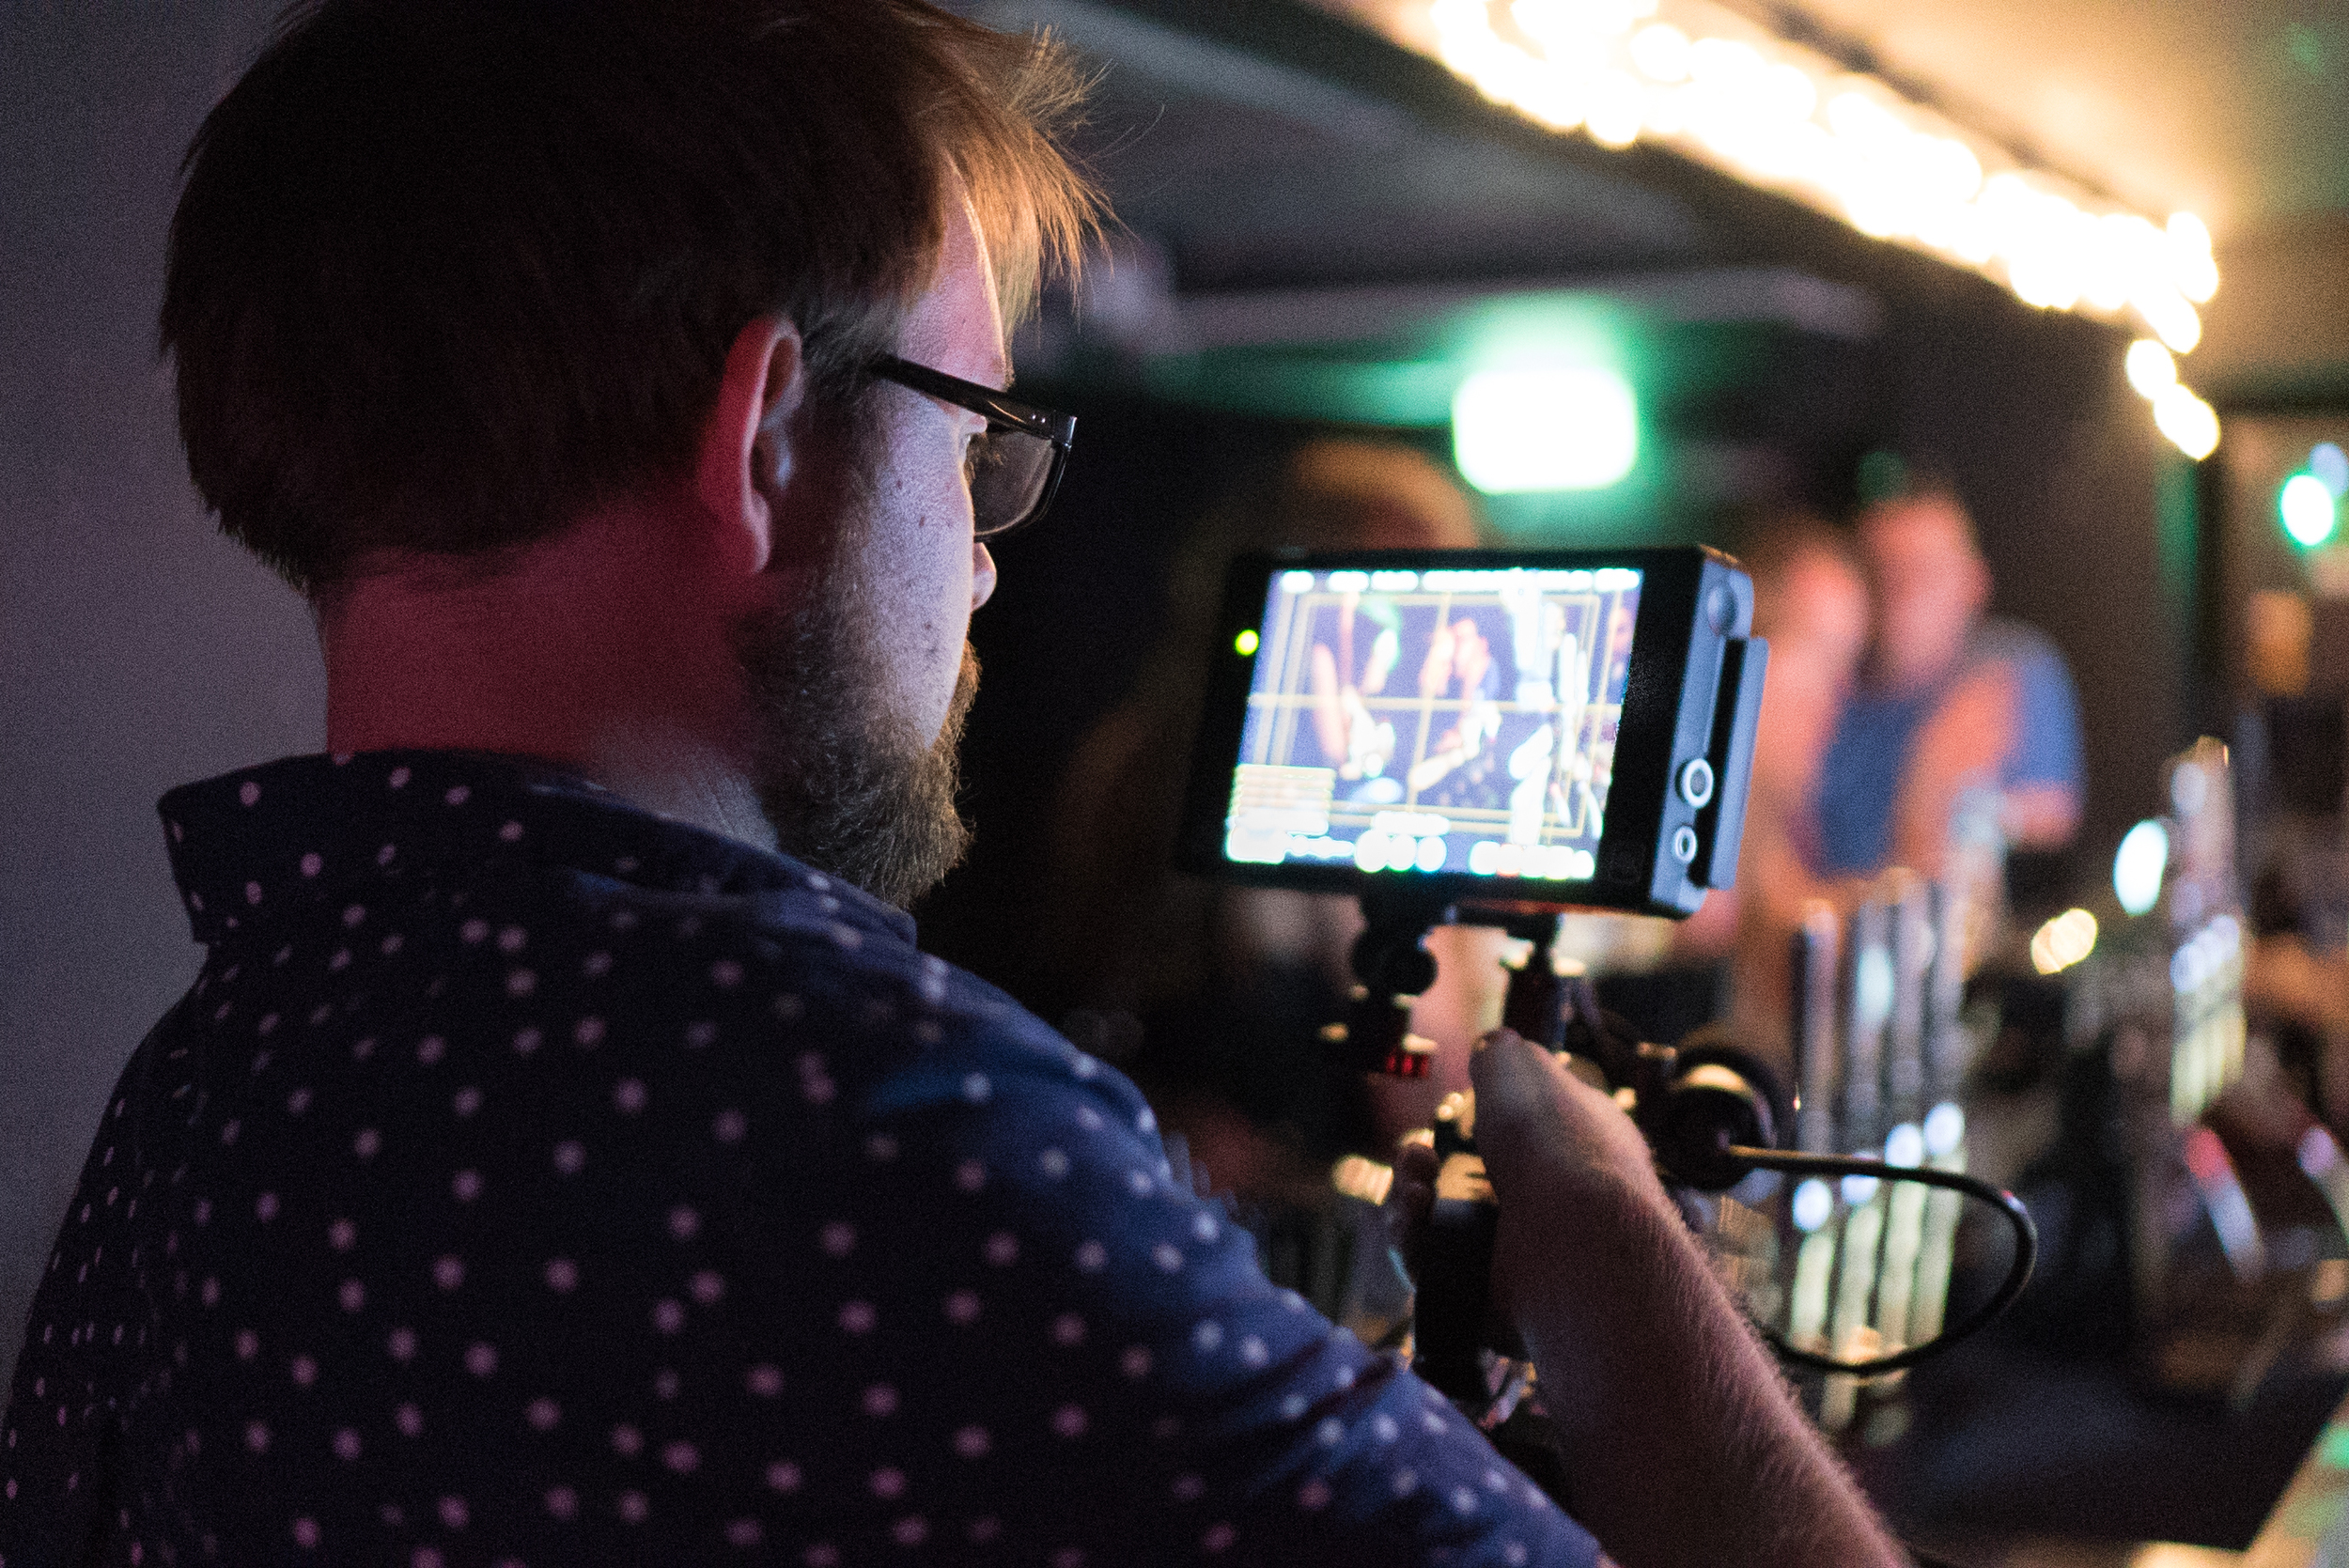
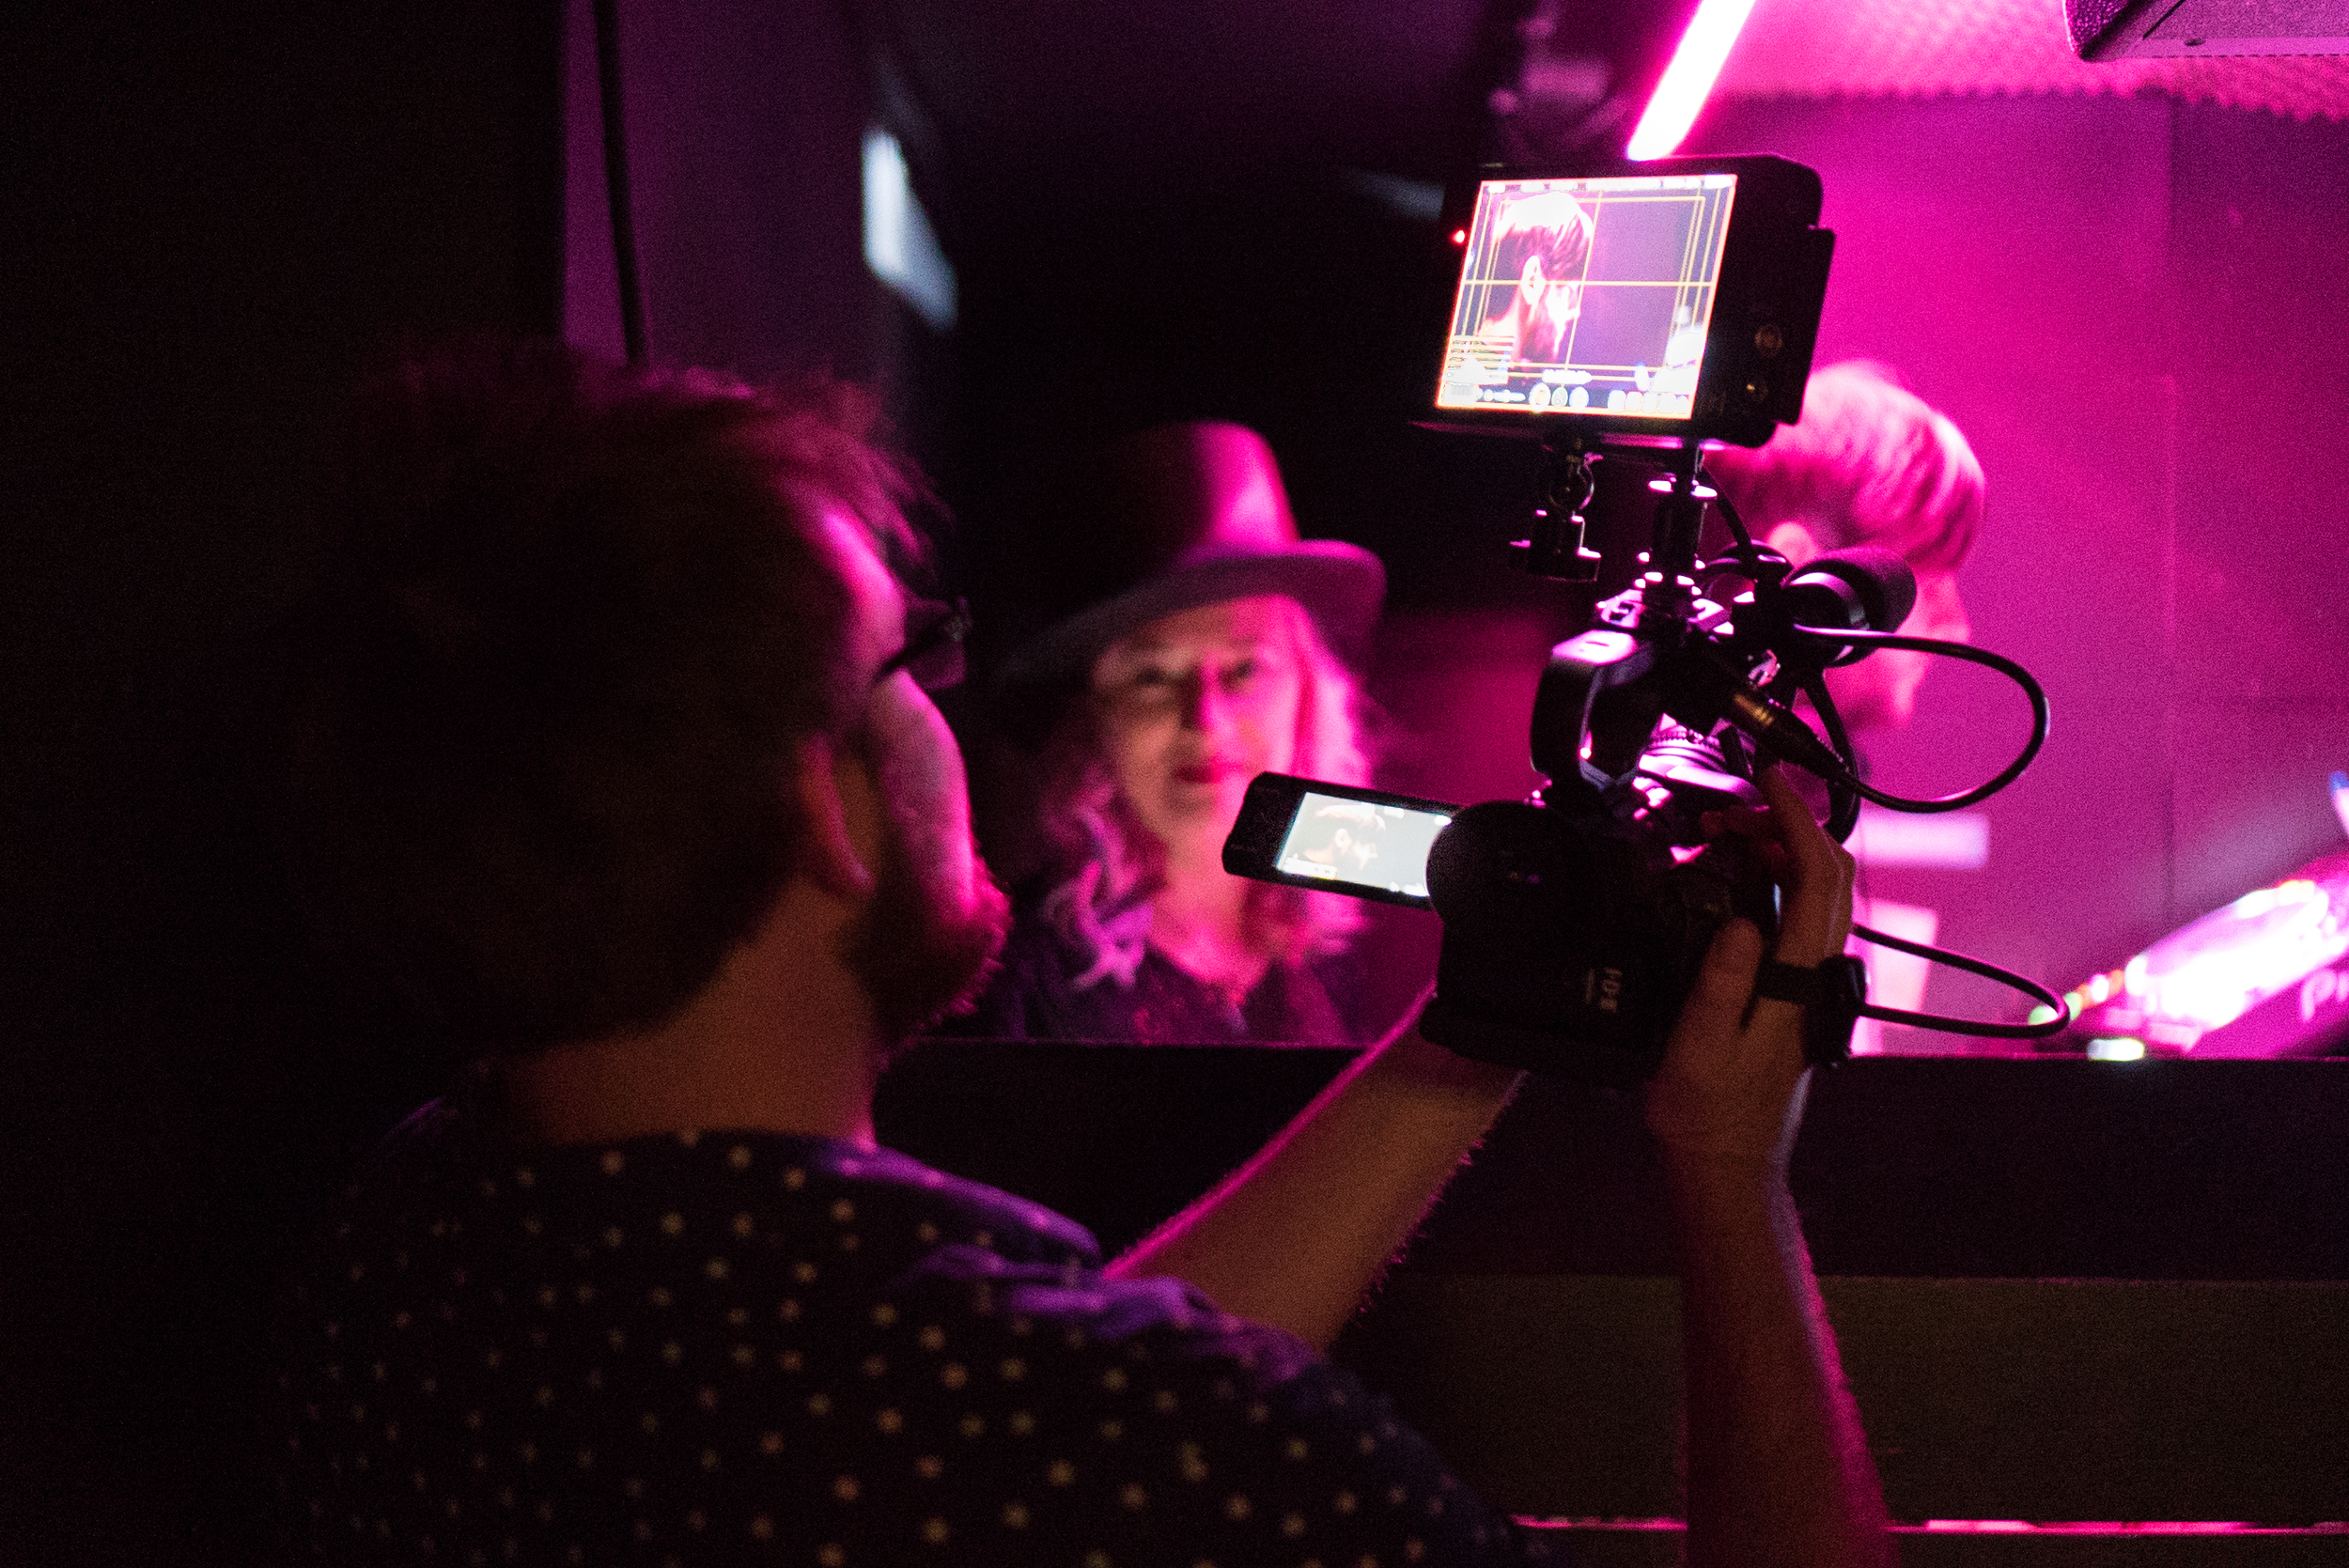
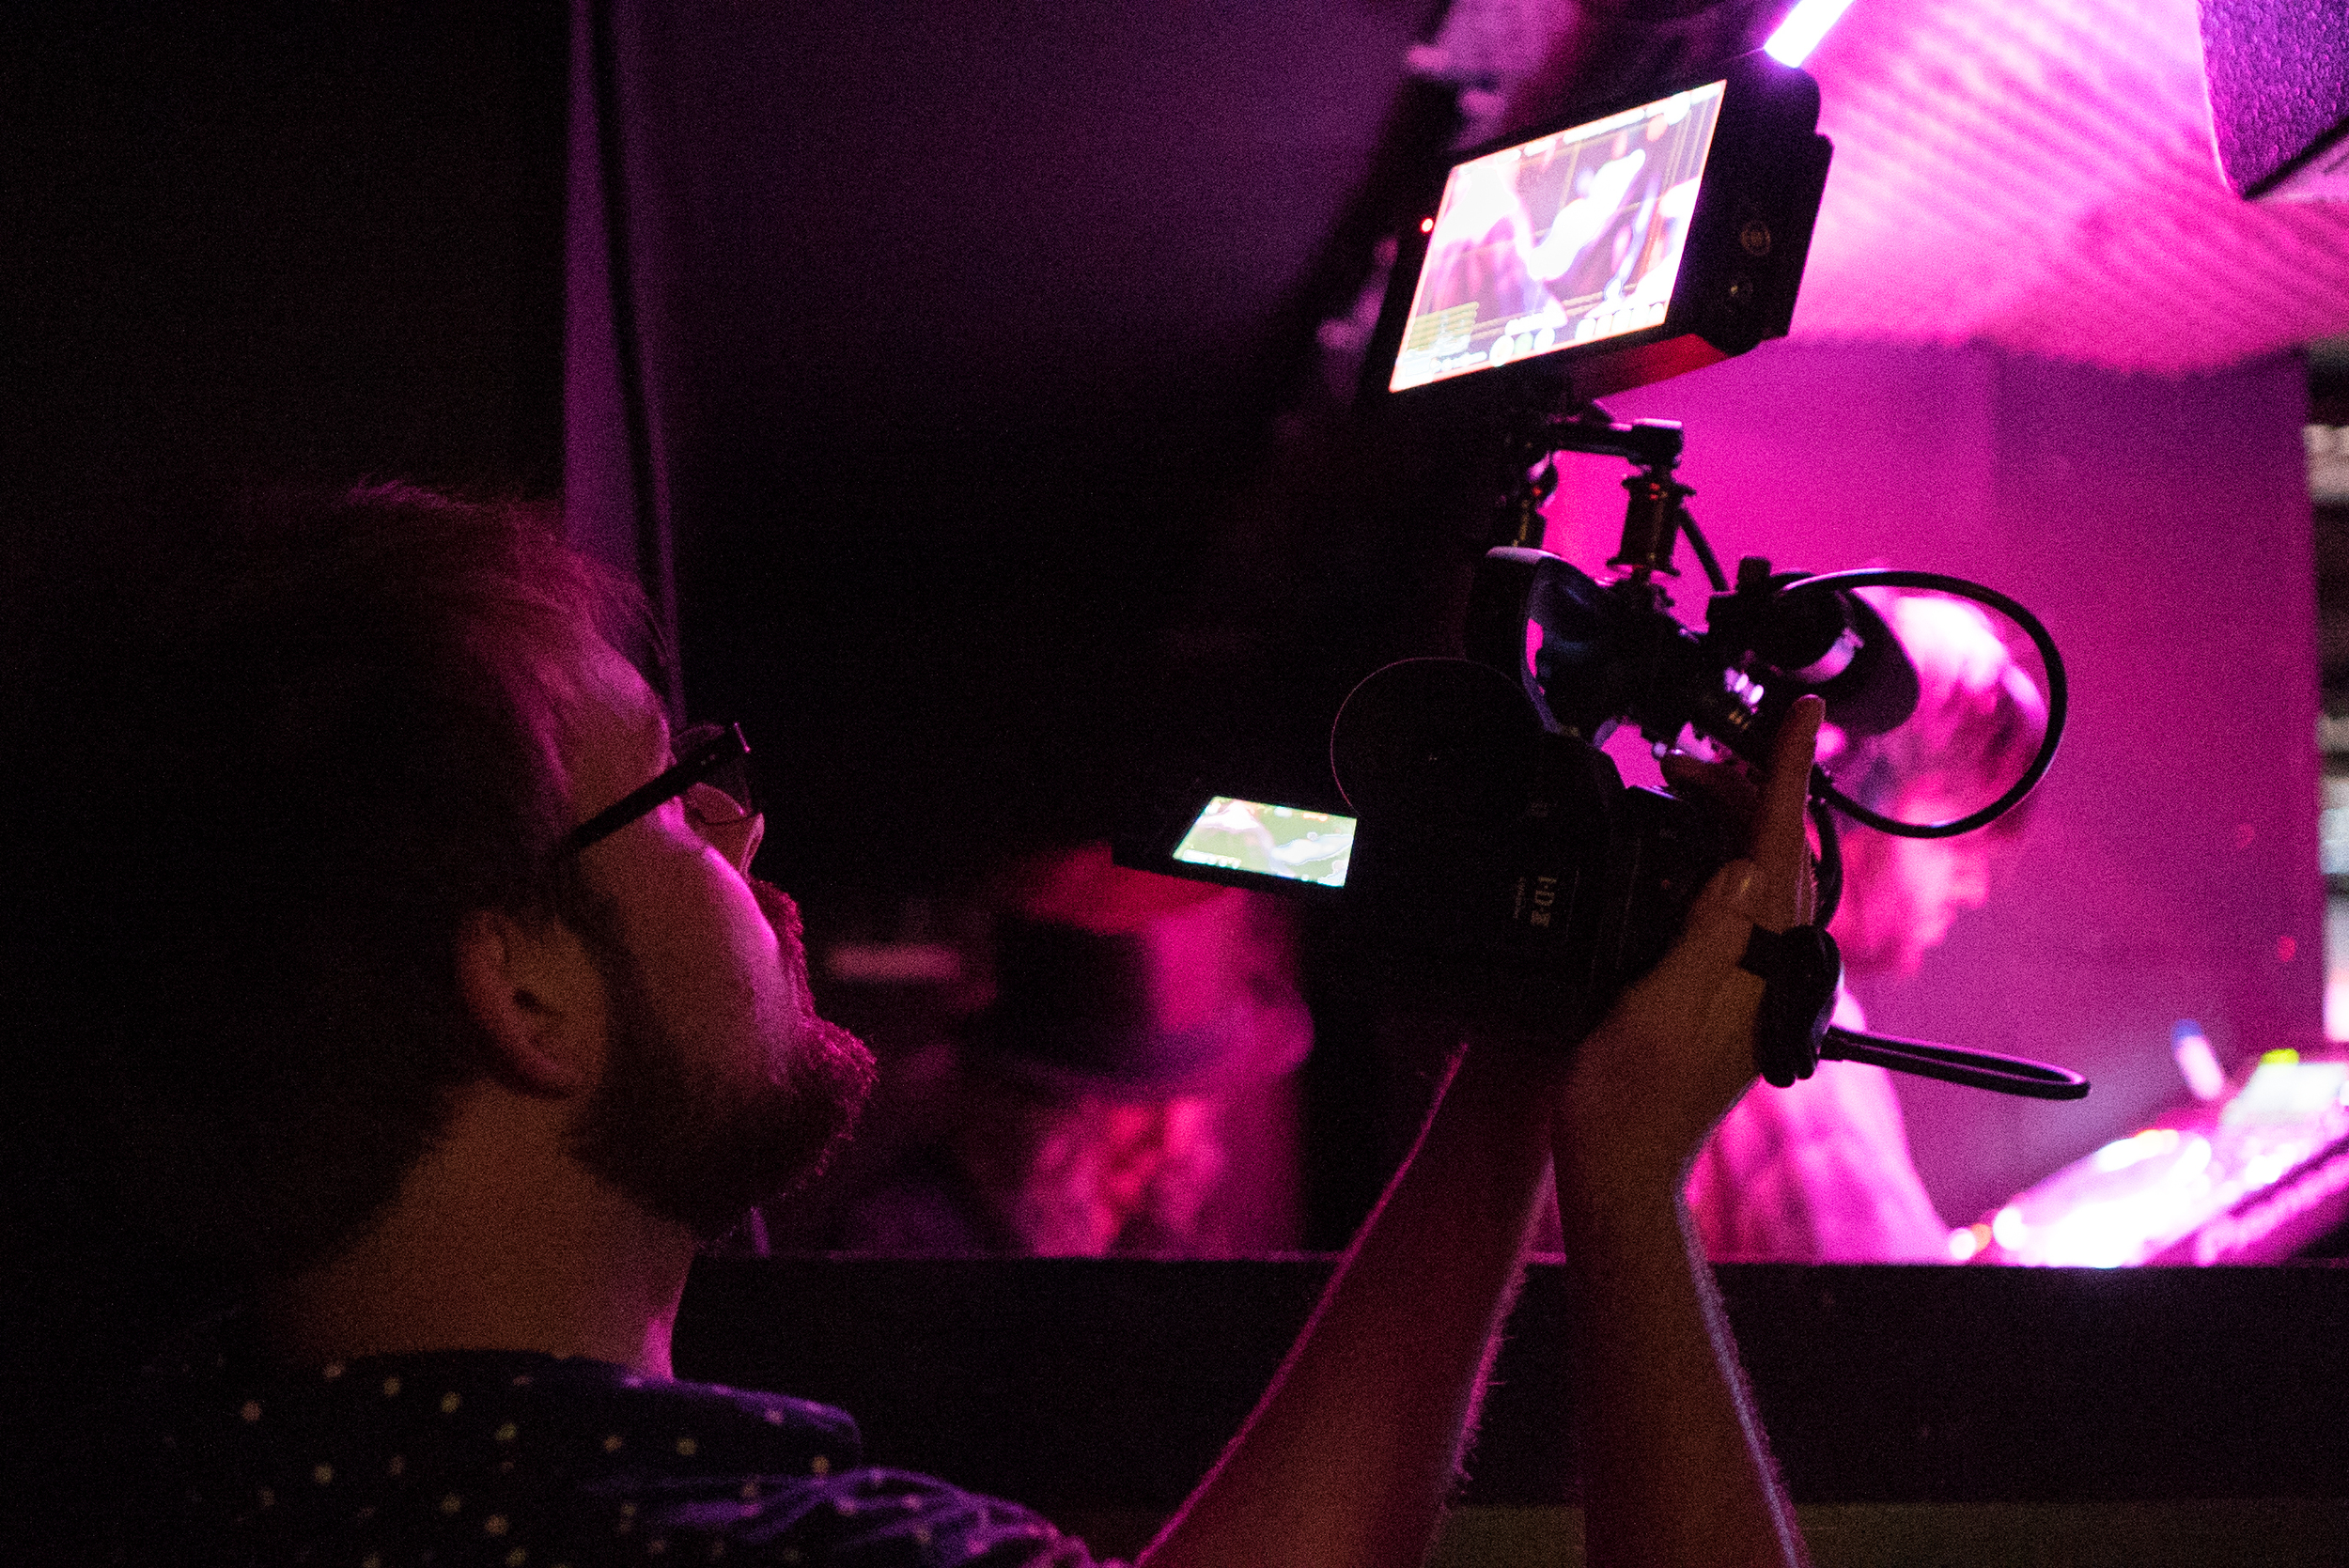
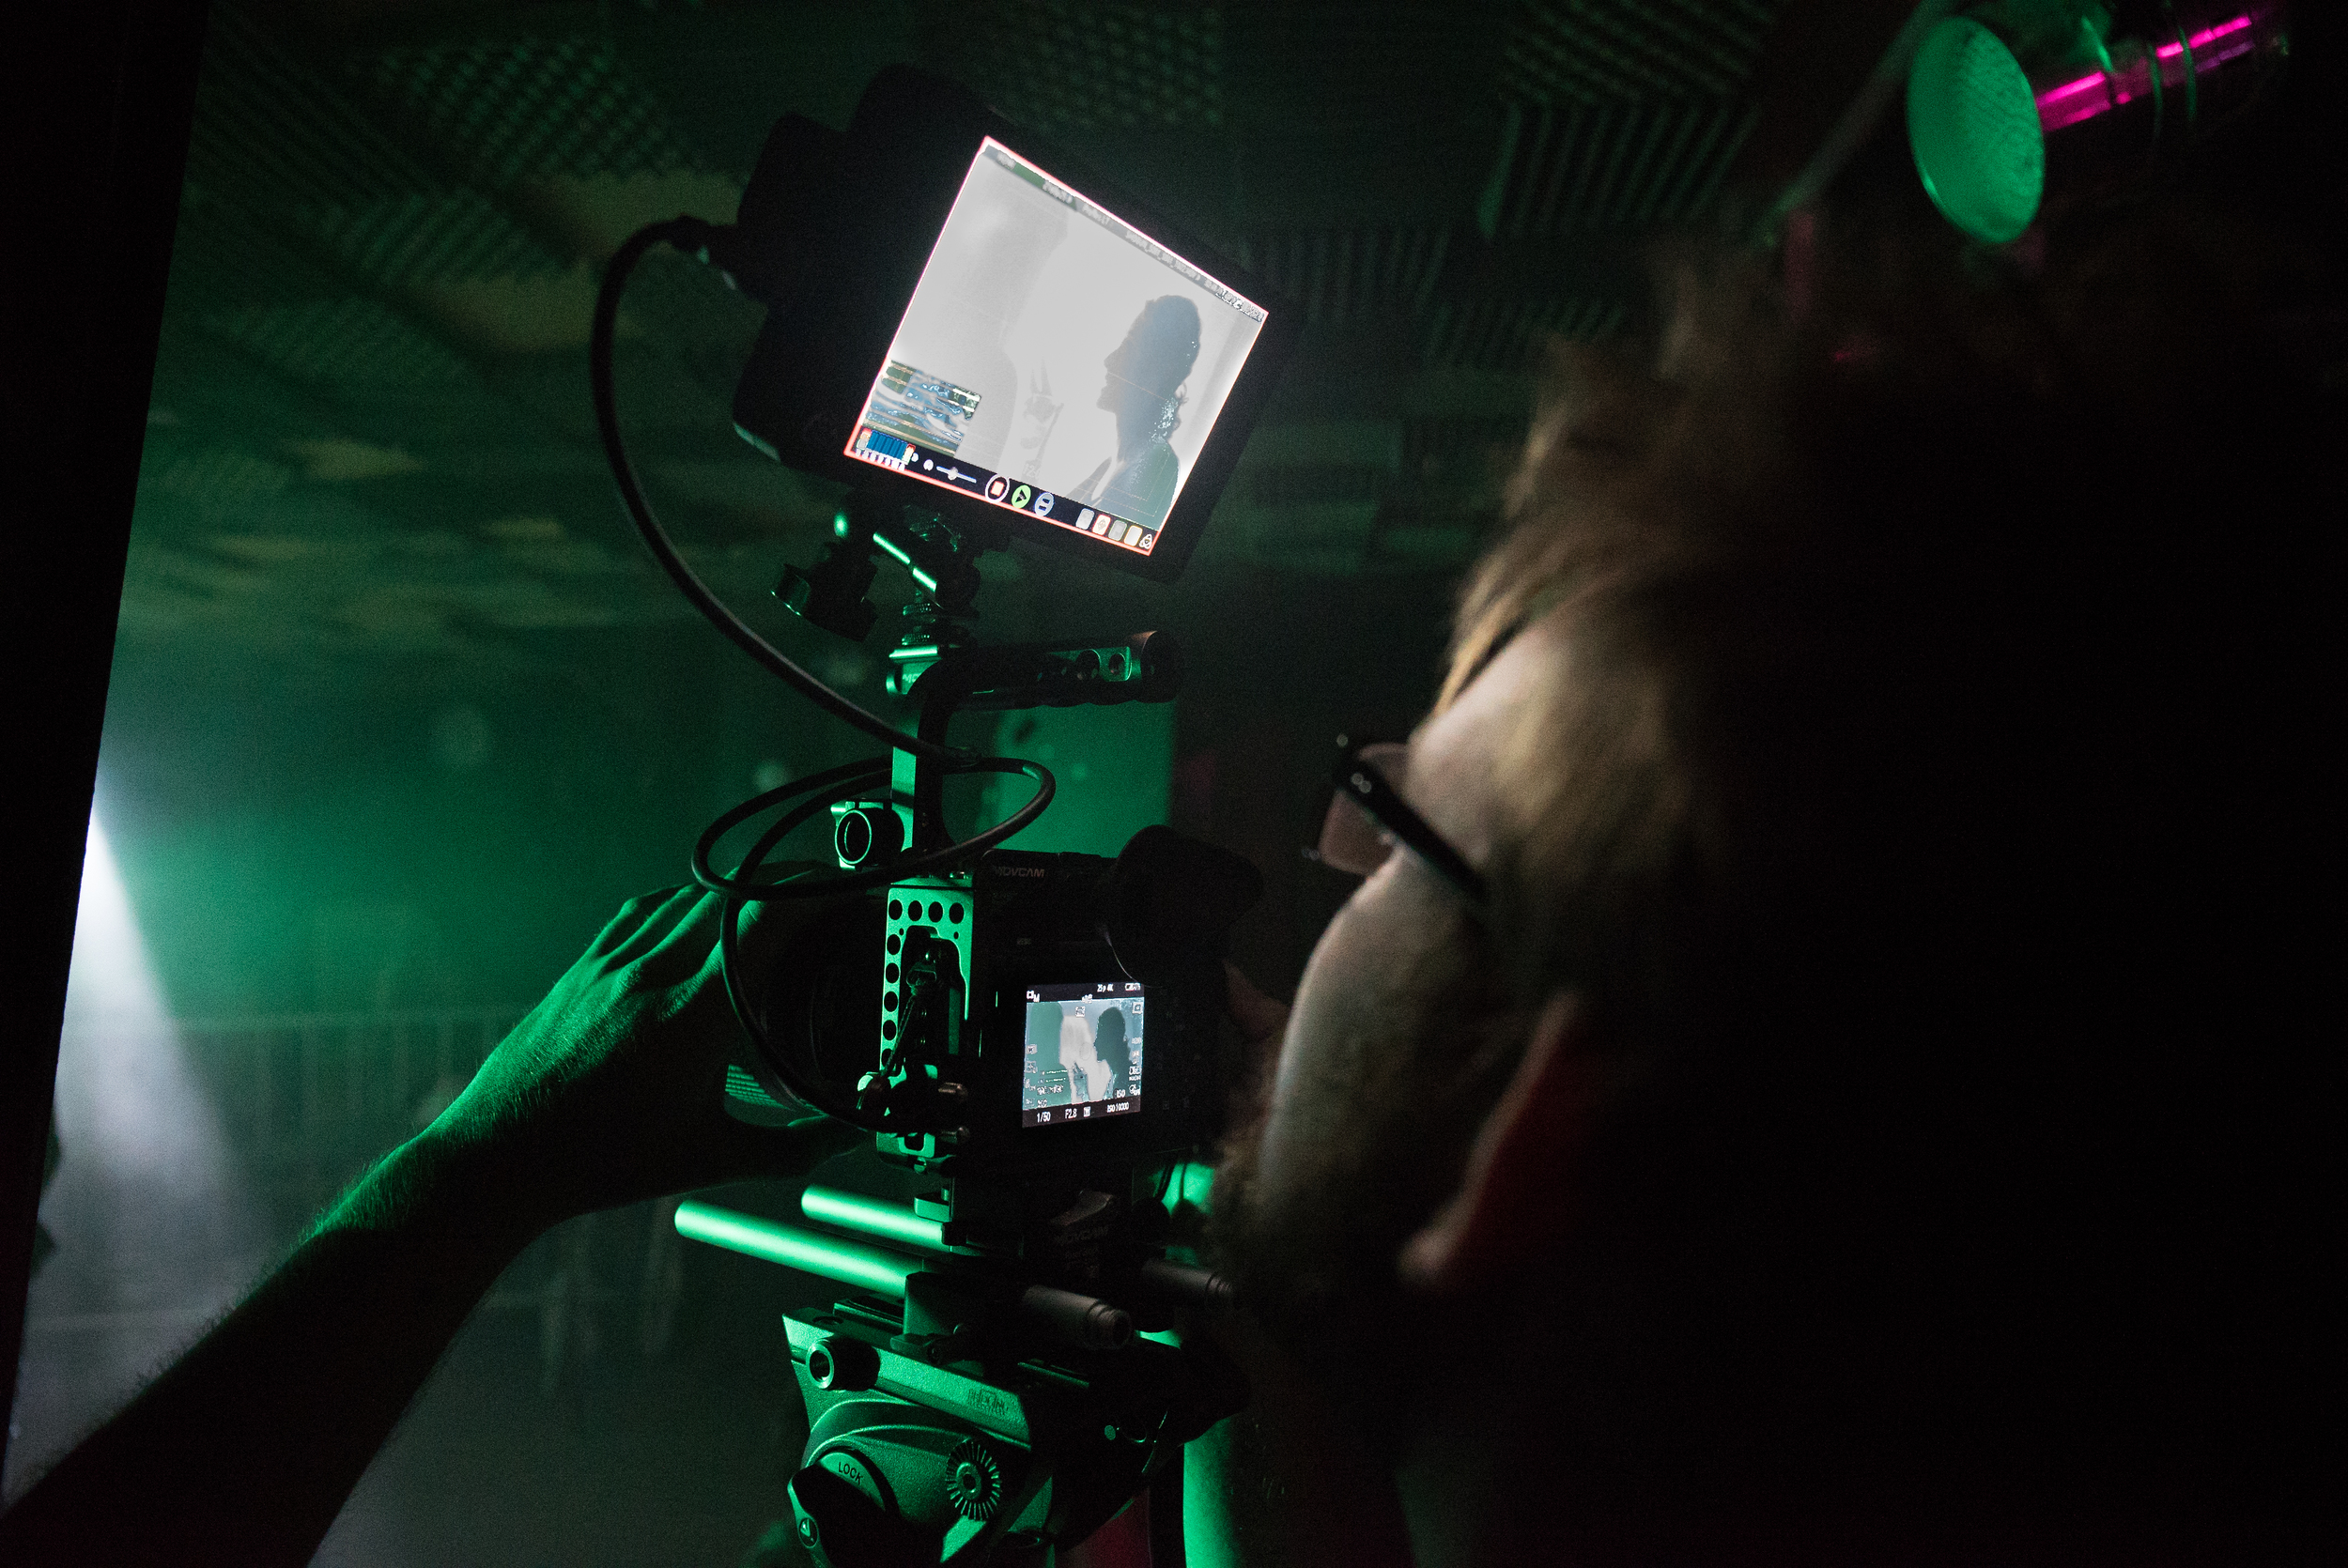
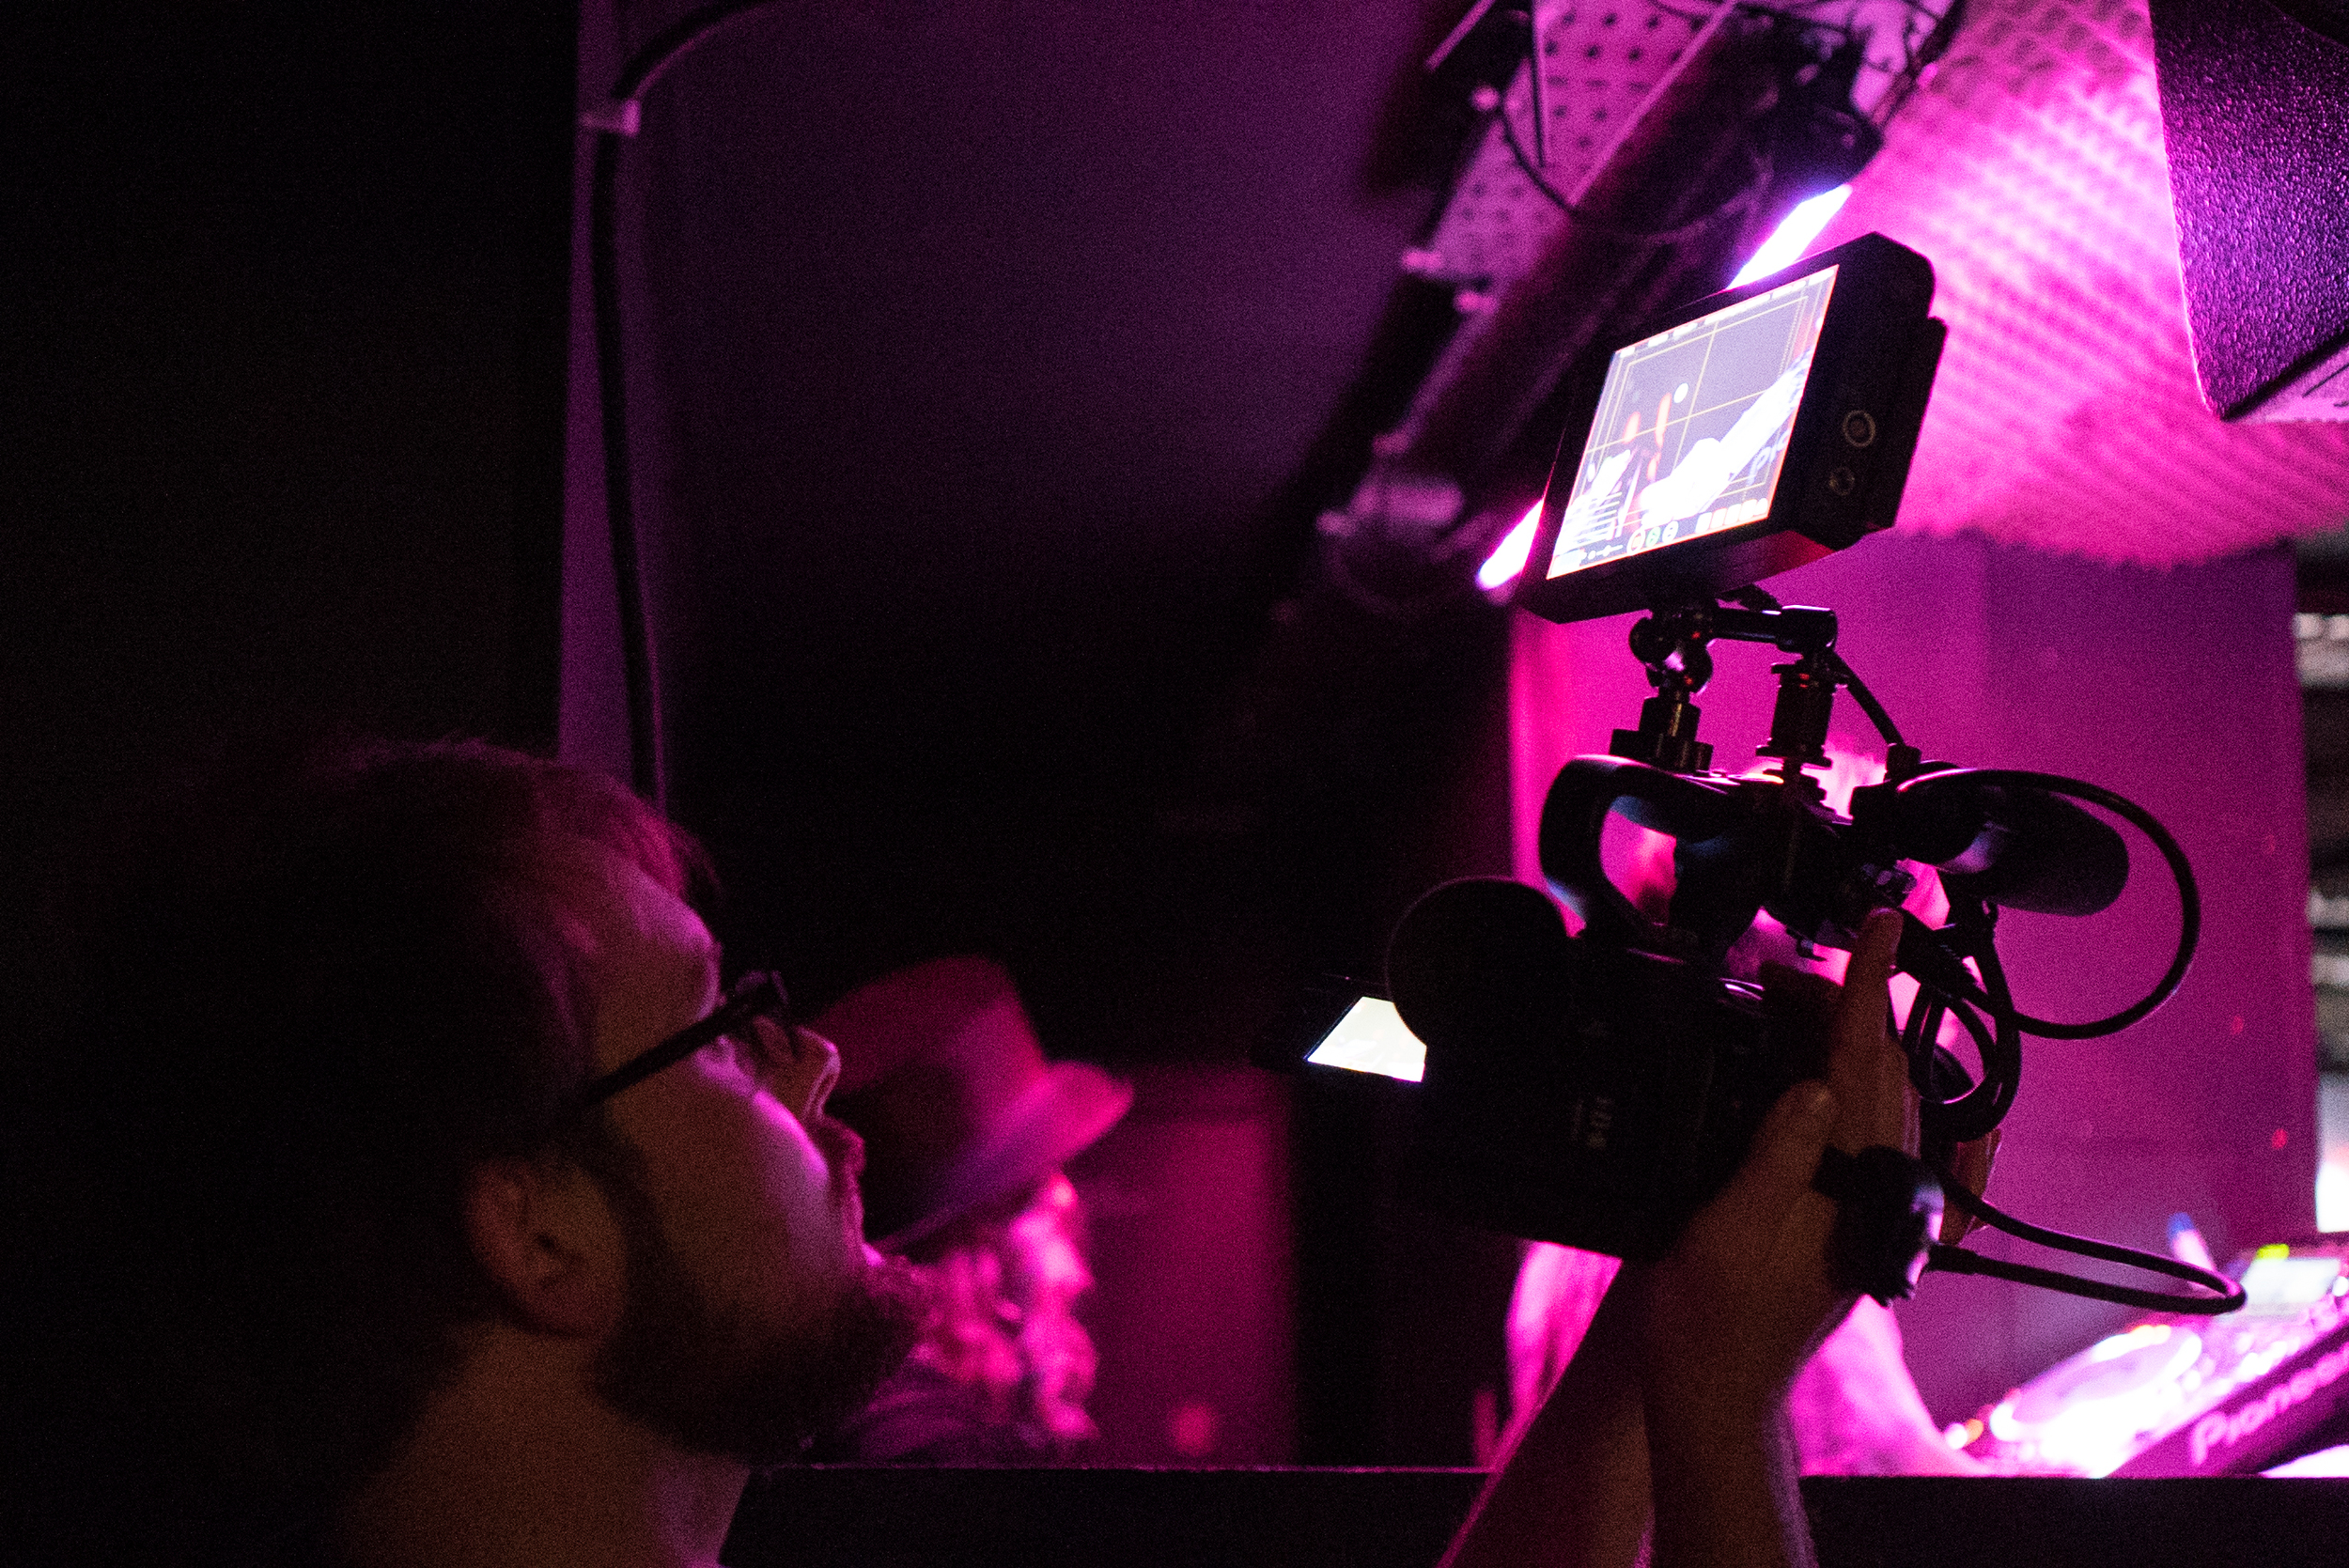
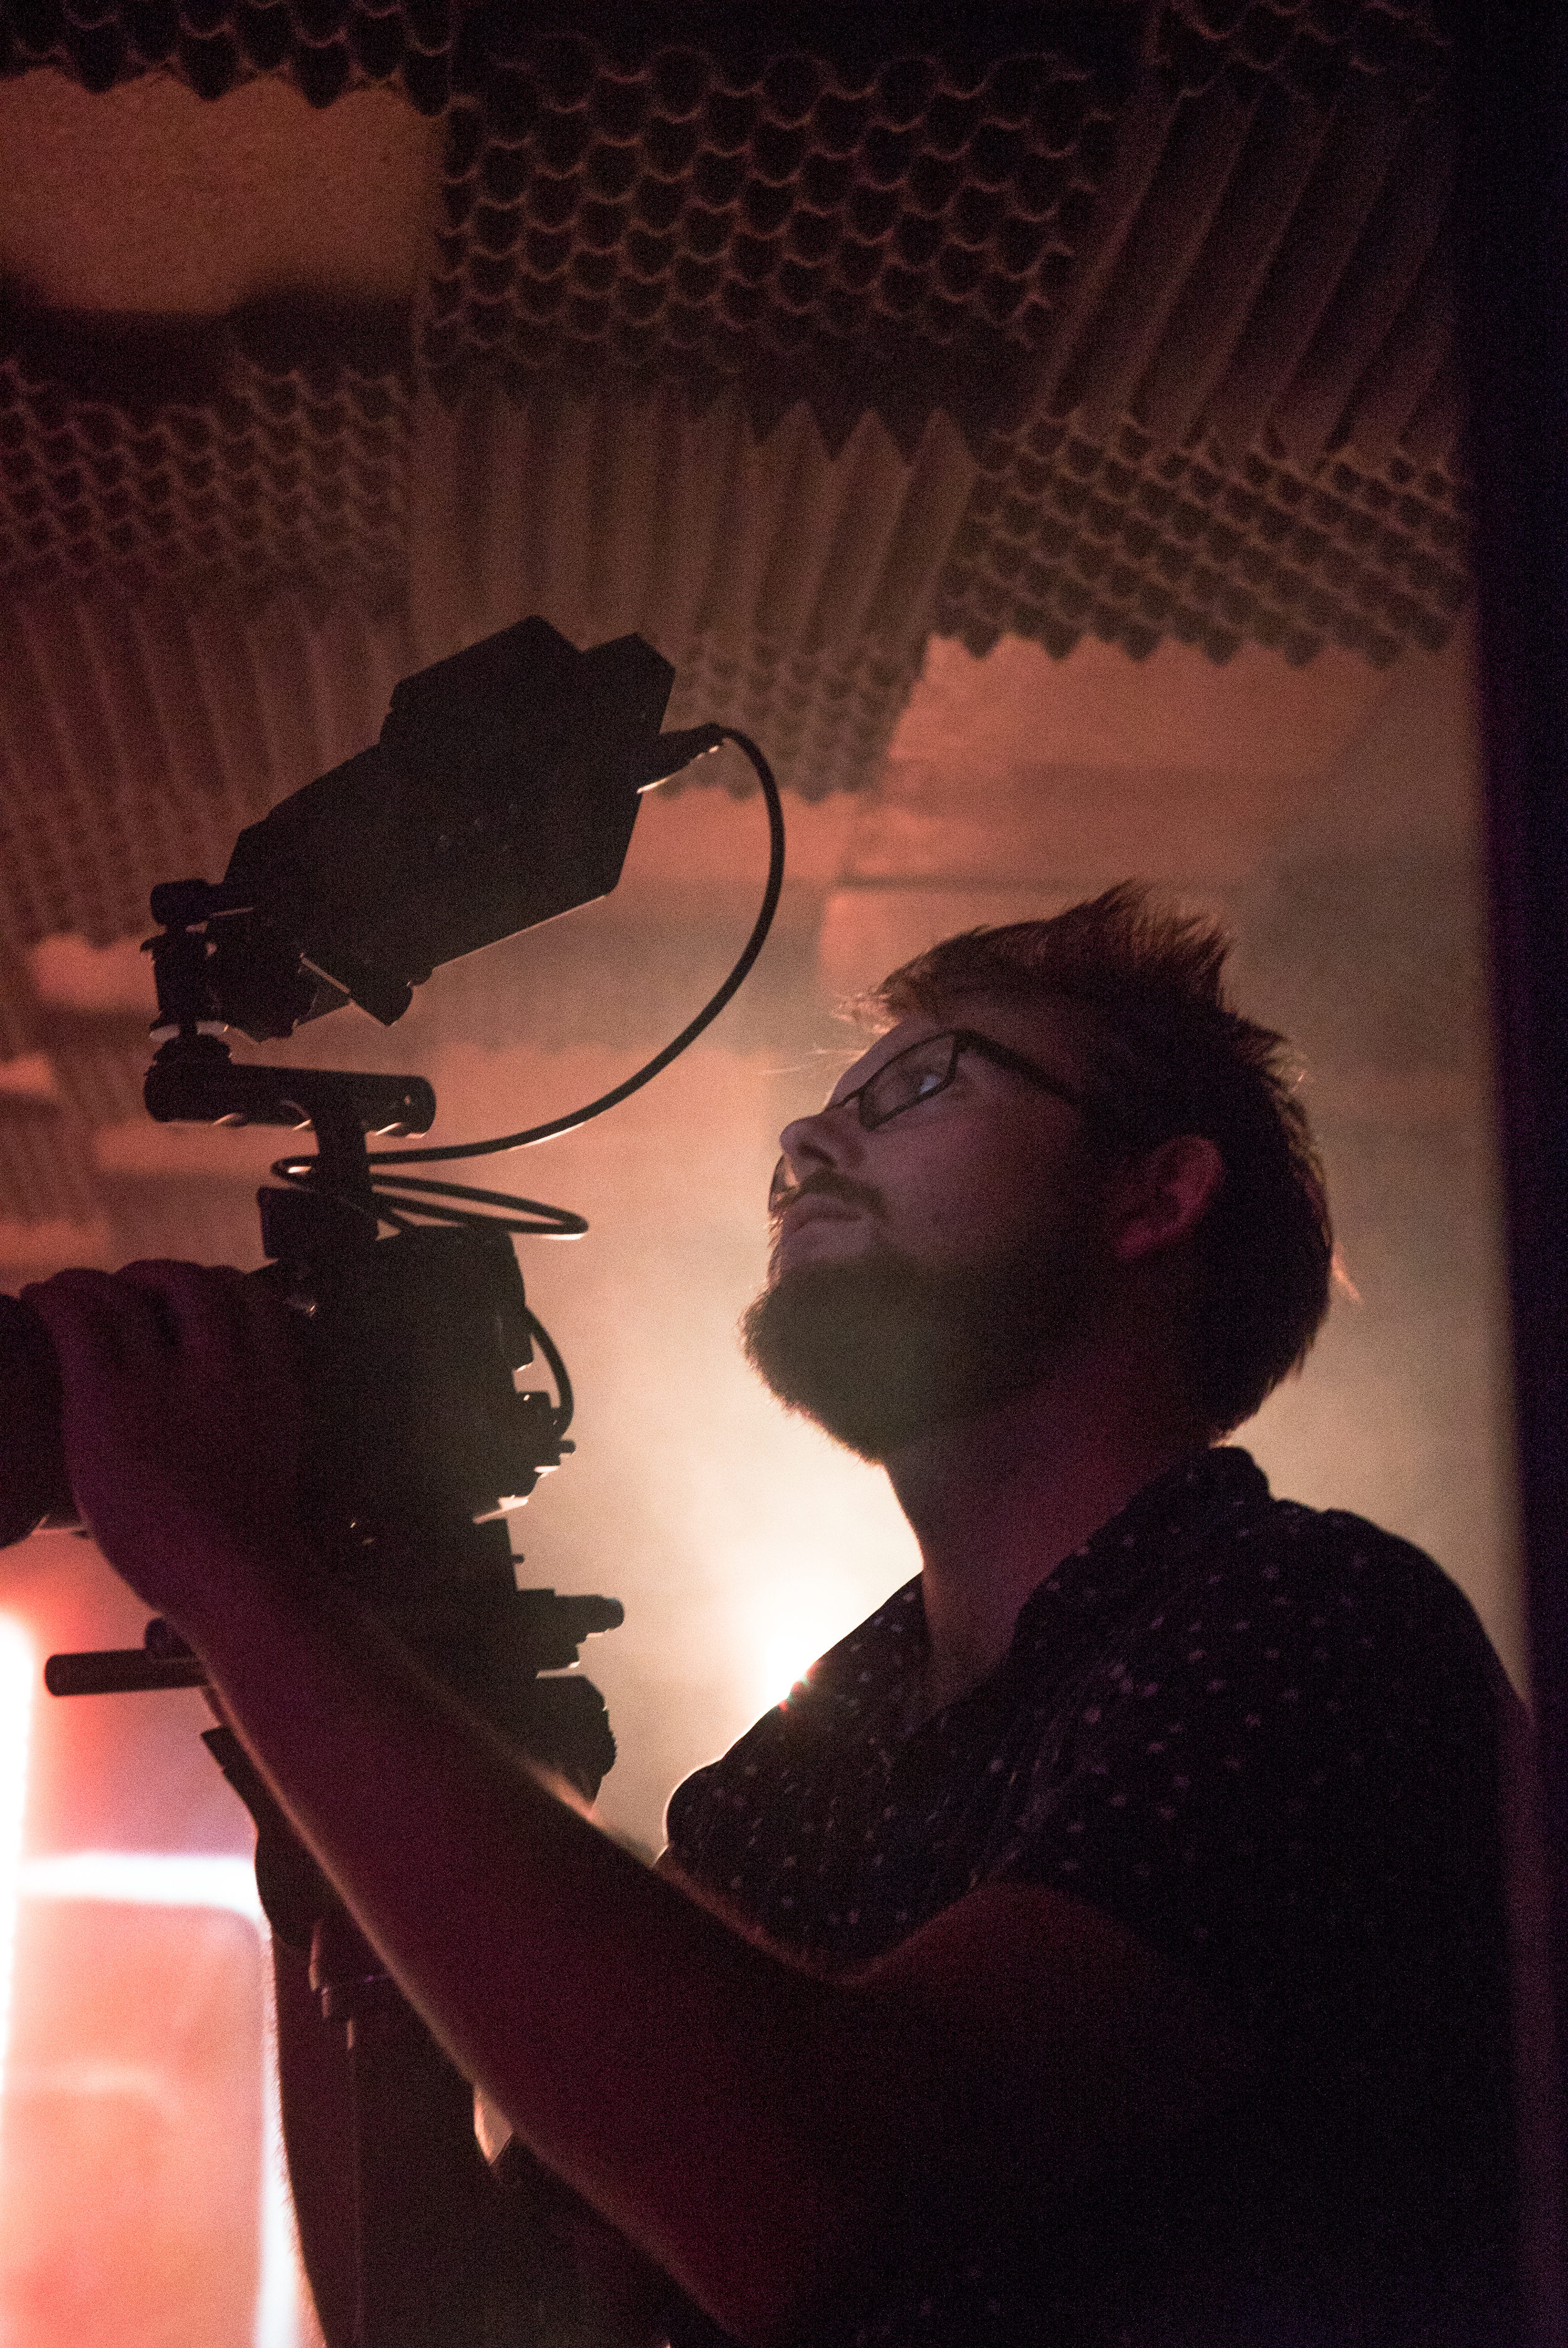
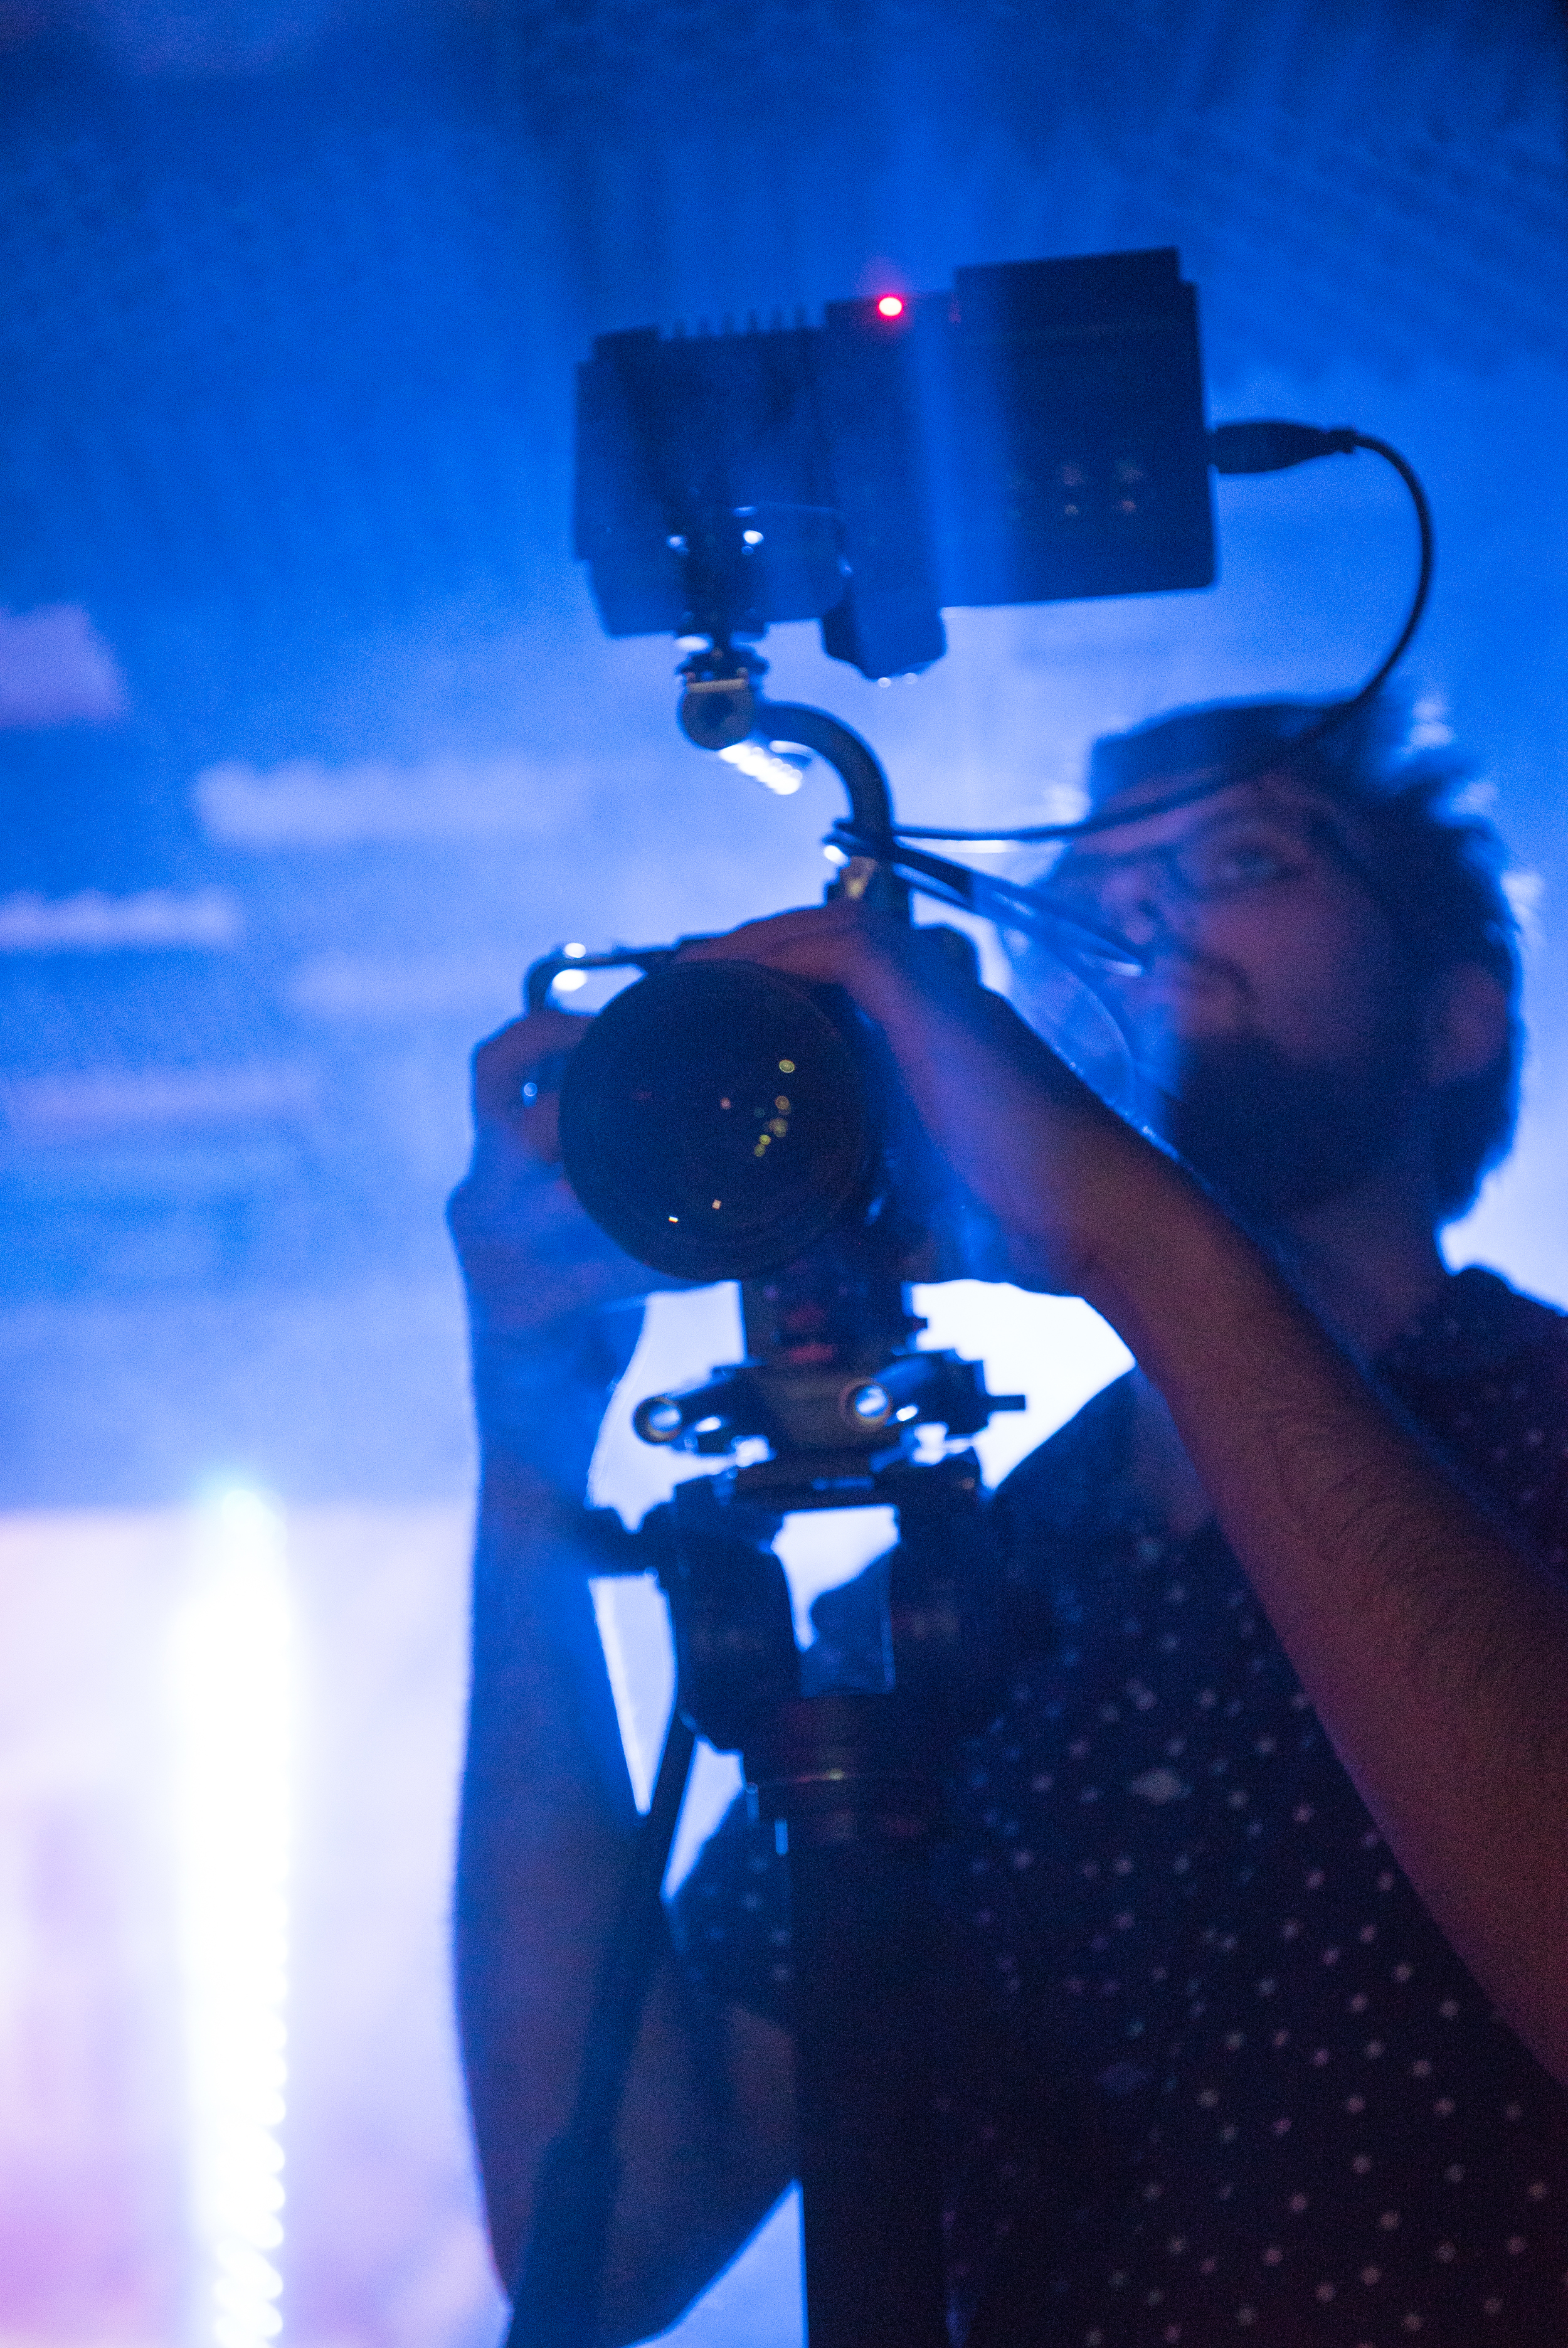
In the restaurant across the road I got the camera set up and ready to film with, attaching the Metabones EF-MFT lens adapter and the Sigma 35mm T/1.5 lens. On arrival at the venue (Birthdays), I discovered that the settings are not easy to navigate; it takes a silly amount of time to locate the essential settings such as changing the video resolution, codec and format. Not very functional for run and gun or quick shooting work especially when you like switching between real-time and slow-mo, or using the VSM feature.

I went a bit retro with using a 17-50mm for APS-C on the A7S to give it the vignetting, and I like the outcome!

I went a bit retro with using a 17-50mm for APS-C on the A7S to give it the vignetting, and I like the outcome!

Because of the MFT mount and sensor size, it's possible to use EF-S or APS-C lenses with this camera, and also Micro Four Thirds (when you use VSM). I have the Tamron 17-50mm VC that I use on the 60D which is an ideal wide angle lens, however I chose to use the 24-70 (full frame) instead, which made the camera + lens combo extremely front heavy. However even with a smaller lens, the build of the camera itself seems somewhat plastic-like and unbalanced. I'd expect if the camera was rigged out with a shoulder pad, V-lock battery and recorder it would be much more balanced, but the camera isn't constructed for this, or at least it didn't feel like it.

Note: If you are using native MFT lenses directly to the camera mount, the combo is much smaller and lighter. Of course, you will have to use the VSM to crop in on the sensor to around 80% for the correct sensor coverage.

From JVC Pro with adapter and EF lens

From JVC Pro with adapter and EF lens

From HD Warrior with MFT lens

From HD Warrior with MFT lens

Honestly, I was rather disappointed with the quality of the flip out LCD screen and back eyepiece. I guess I've been spoiled with the A7S' viewfinder which is fantastic in quality and contrast. The LS300's didn't stack up, and I often found myself needing to use the eyepiece instead of the screen to judge the focus and exposure. What became difficult was finding the critical focus in contrasty situations. I could have used the digital zoom (expanded focus), but didn't know it existed.

The LS300 with Samyang 14mm T/3.1, which on this camera equates to around 20mm.

The LS300 with Samyang 14mm T/3.1, which on this camera equates to around 20mm.

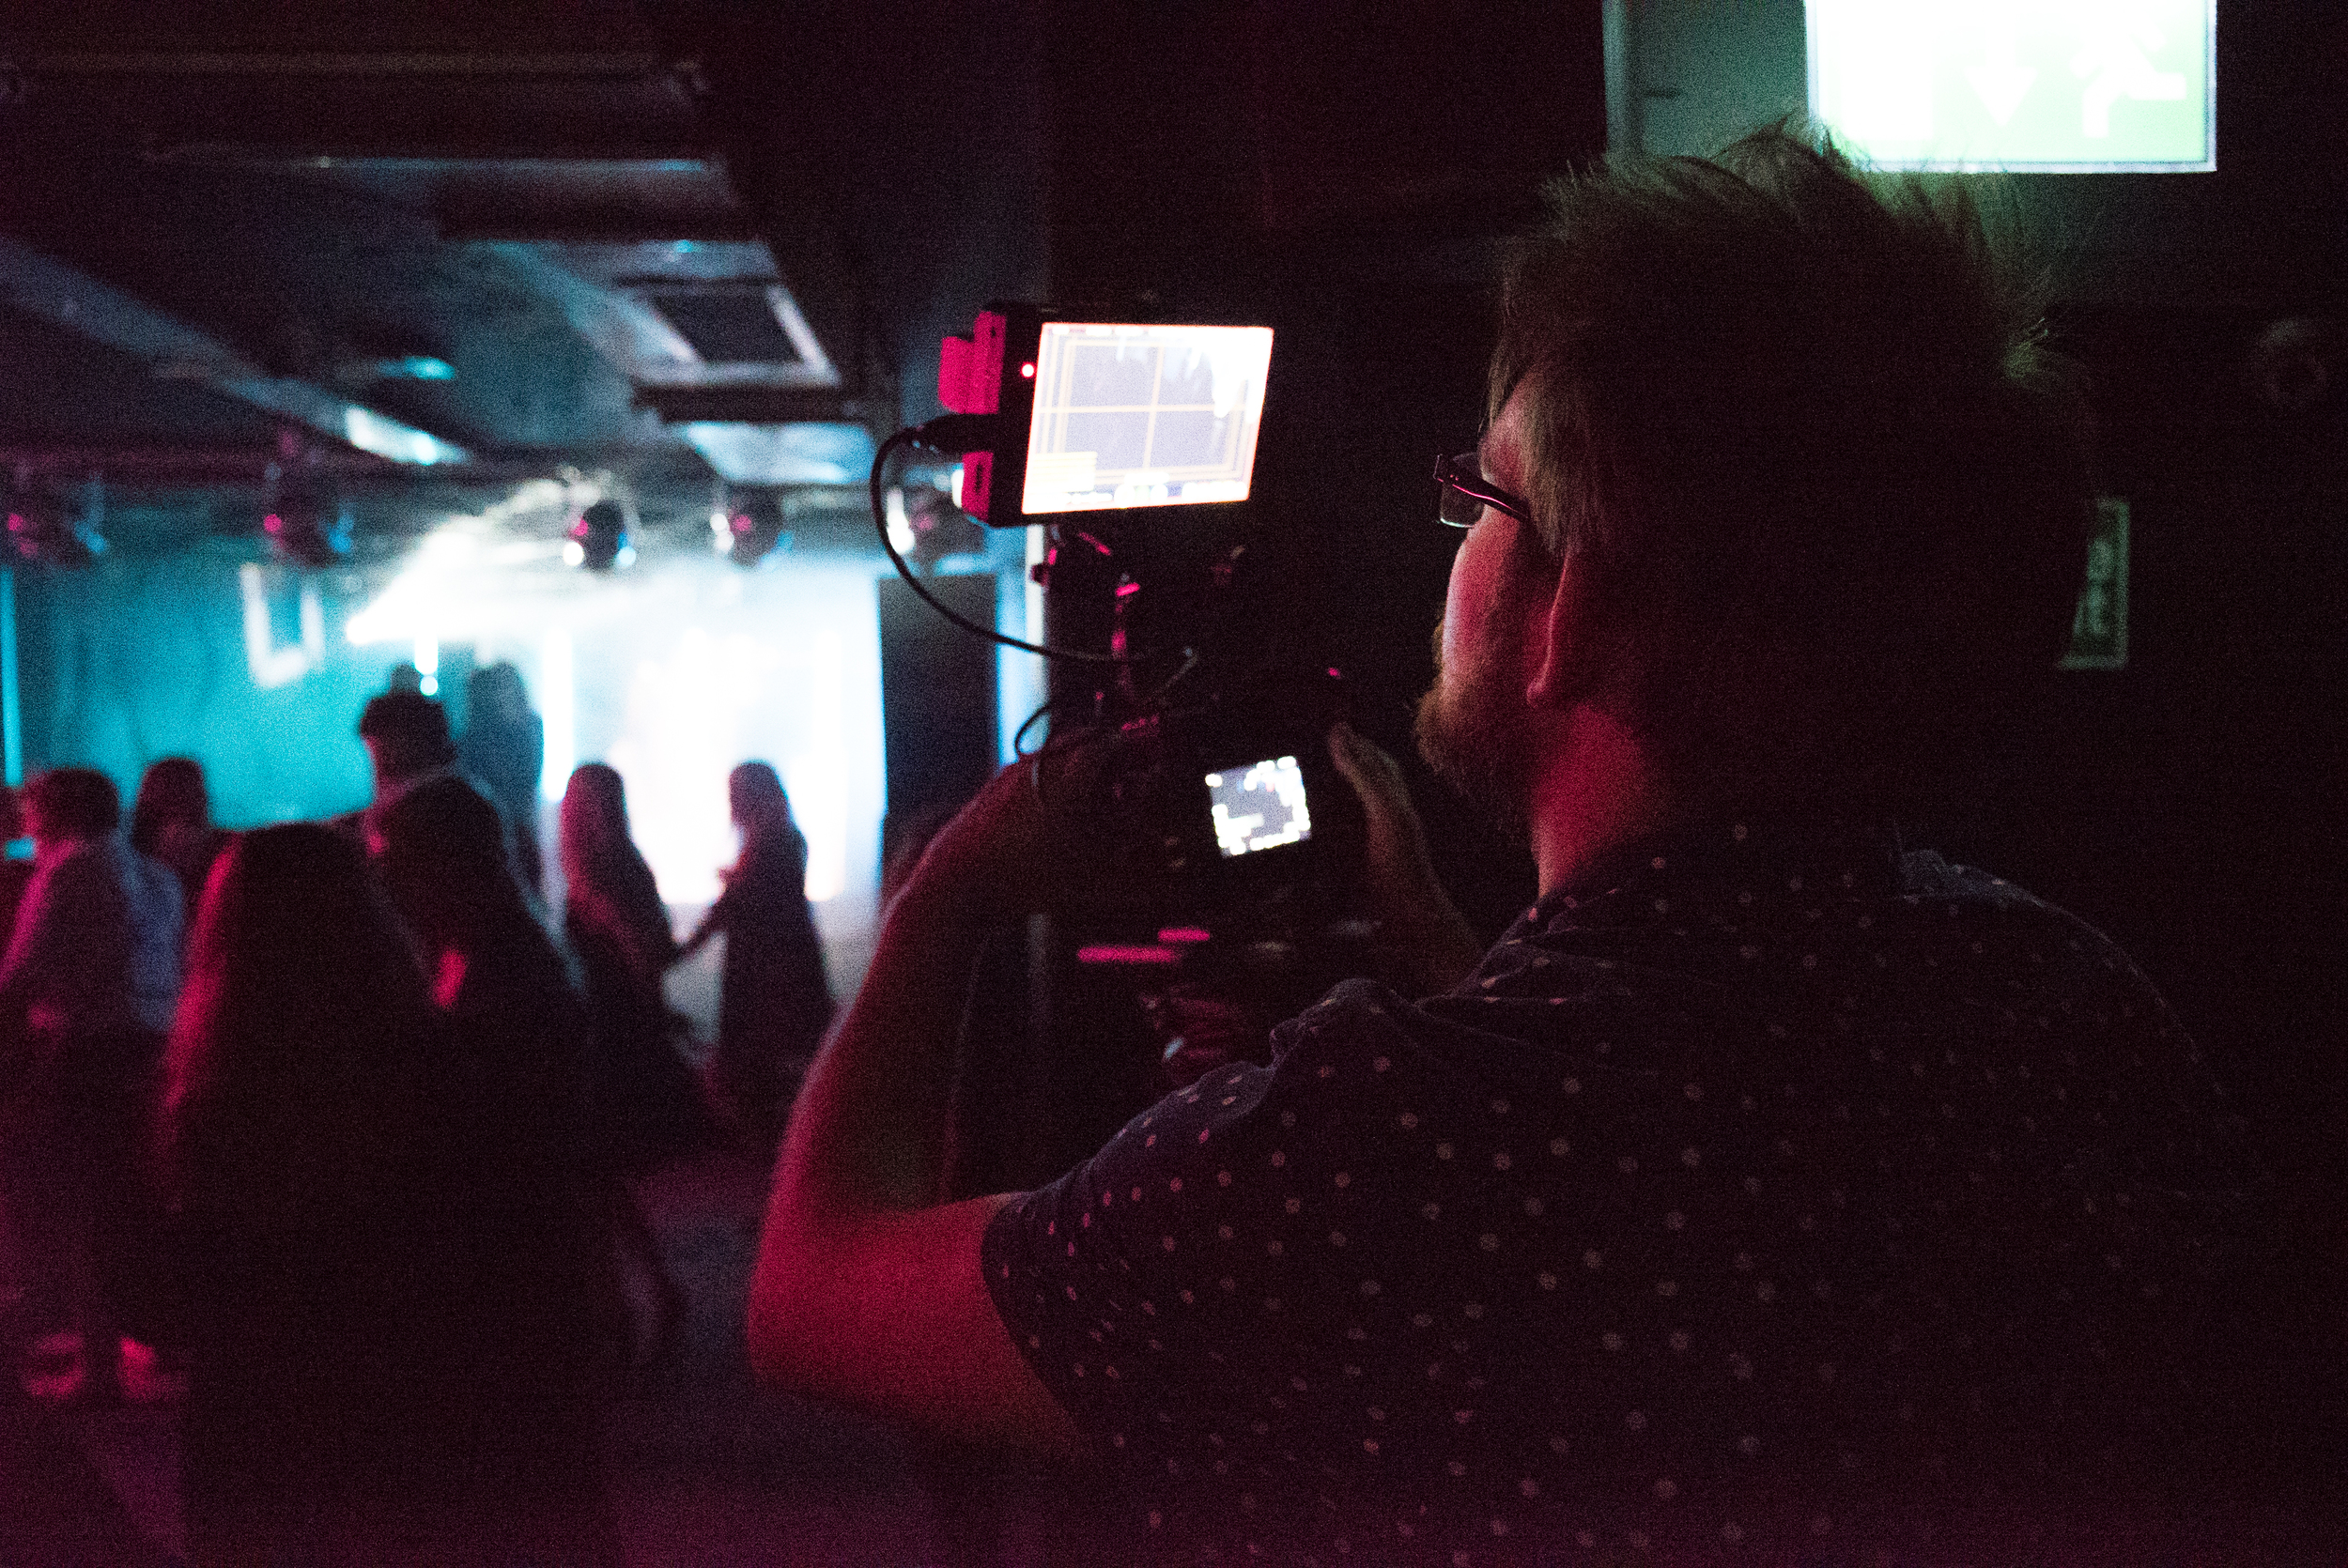
Unfortunately I didn't have a lot of time in between eating and the gig to sus the camera out apart from checking the resolution, setting the white balance, setting pre-rec run etc. As we were filming a DJ gig I didn't want to have the camera (I was borrowing) out for long in case it got damaged or covered in booze.

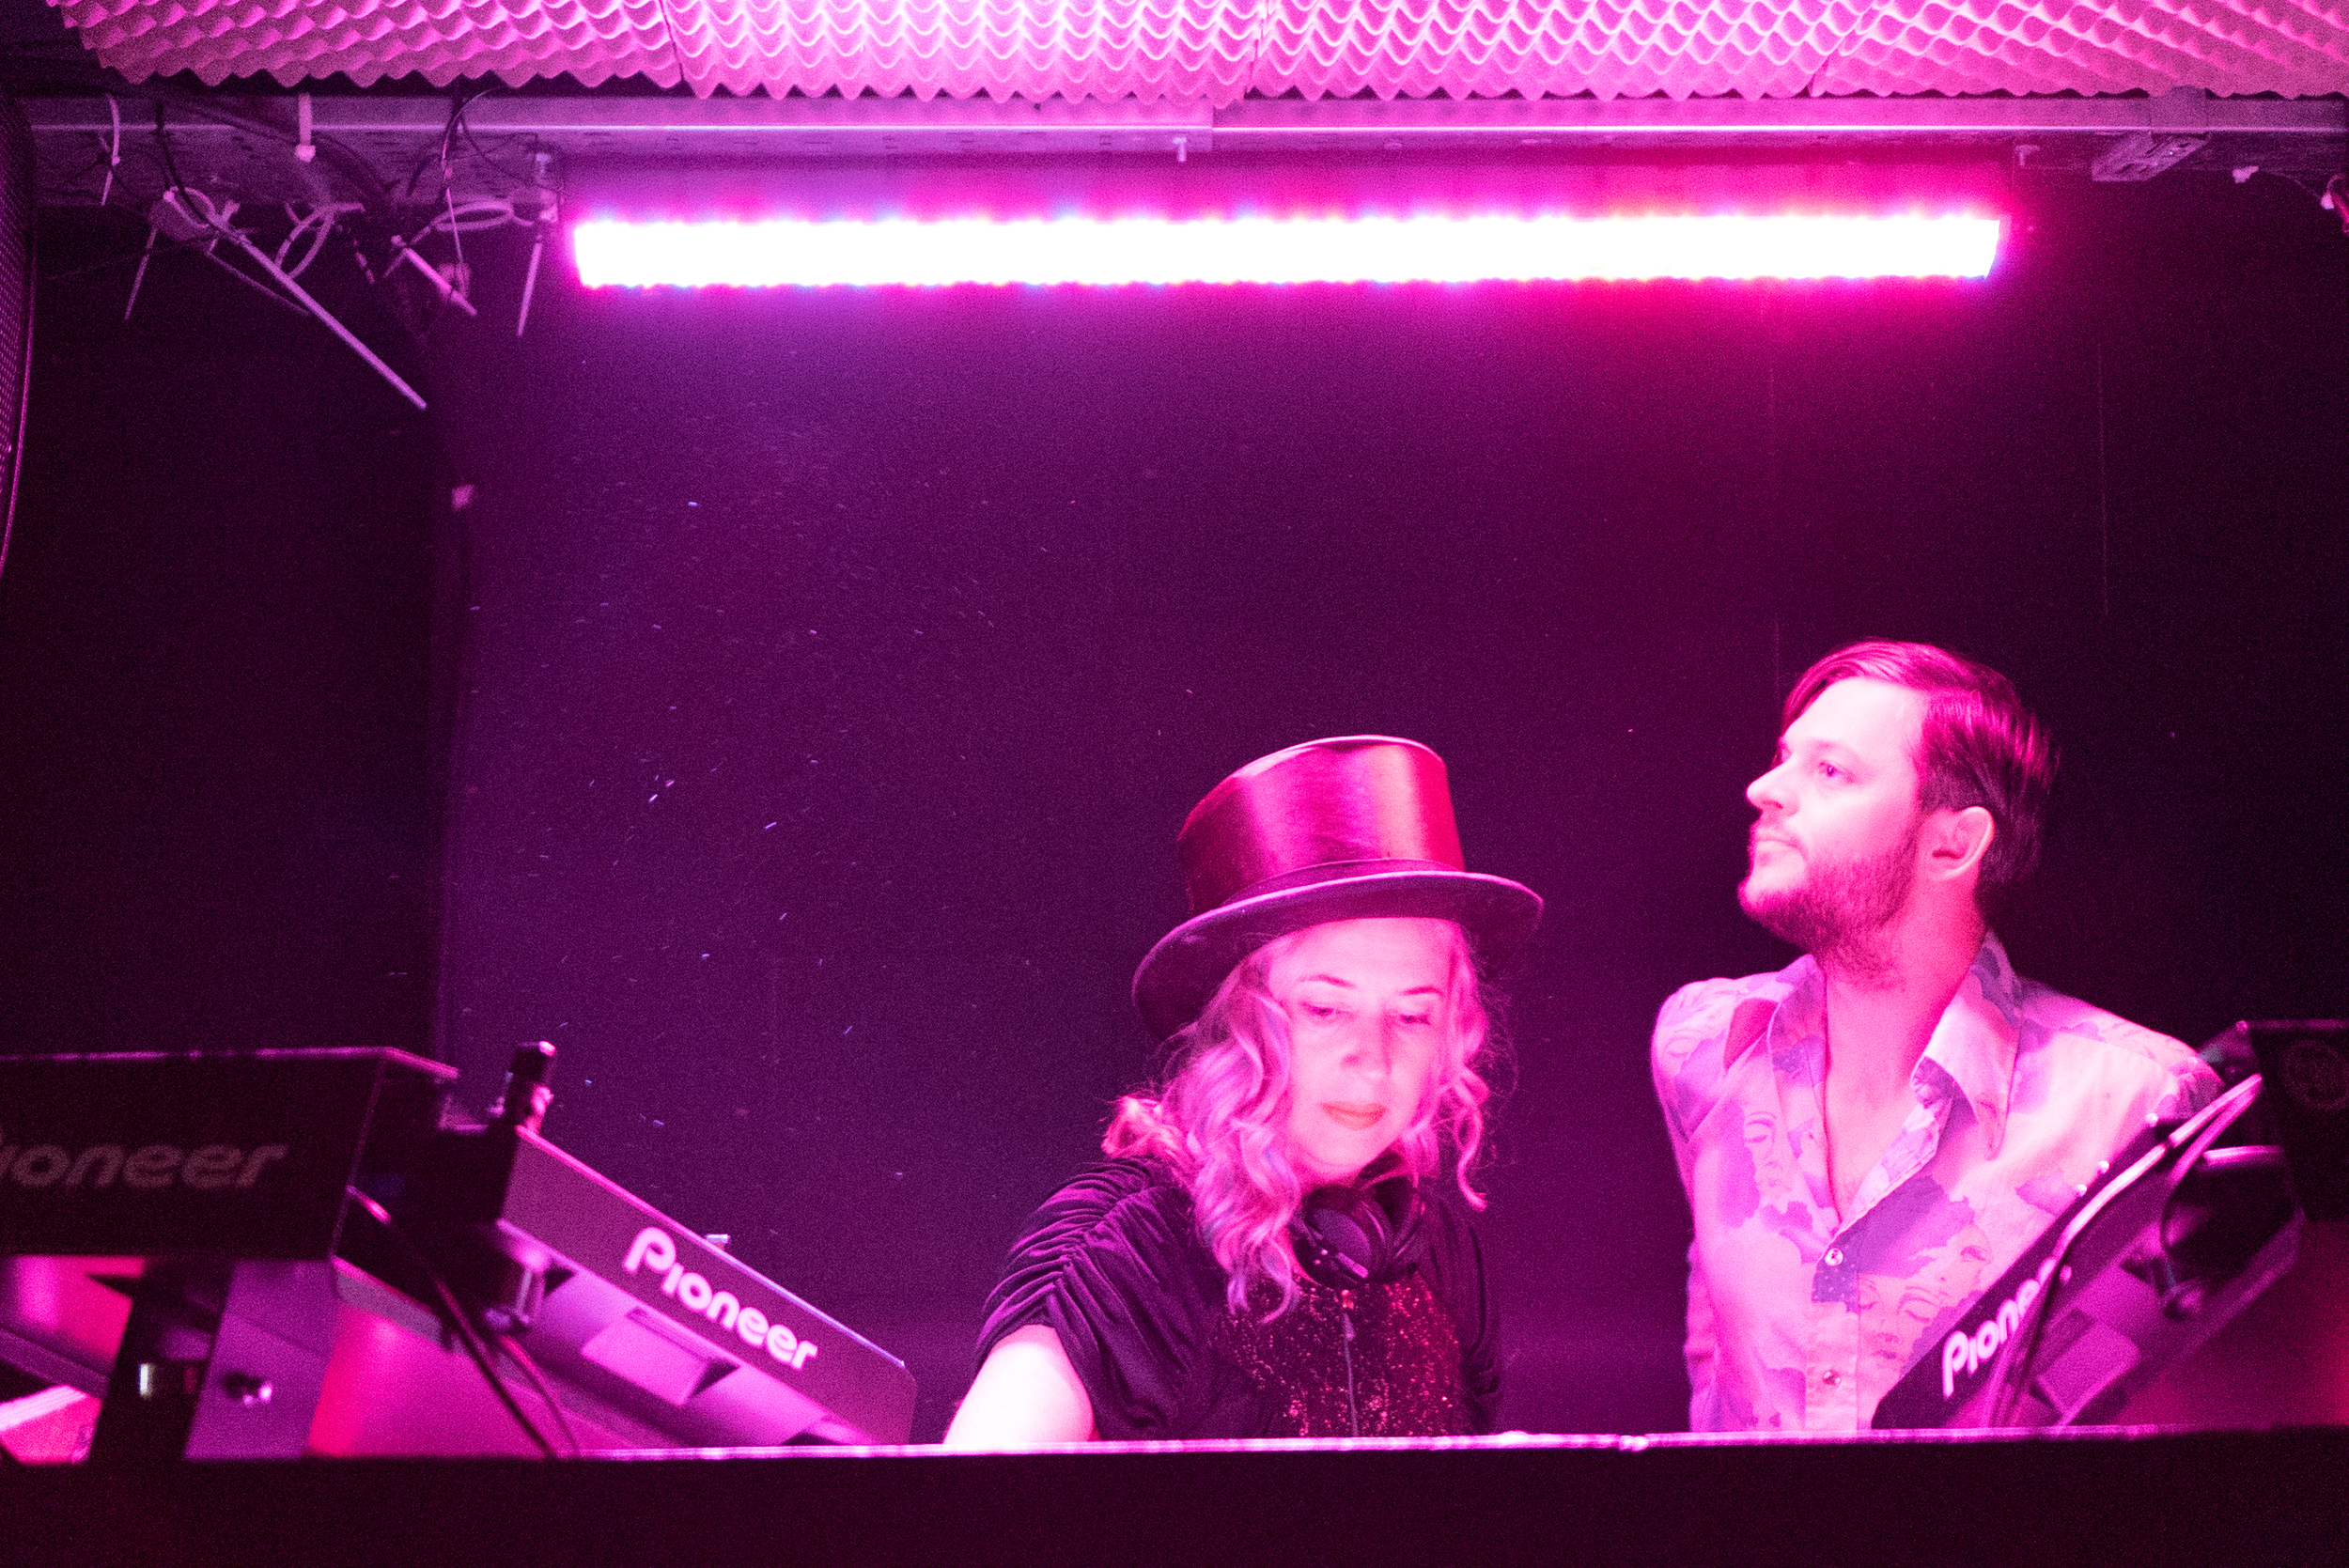
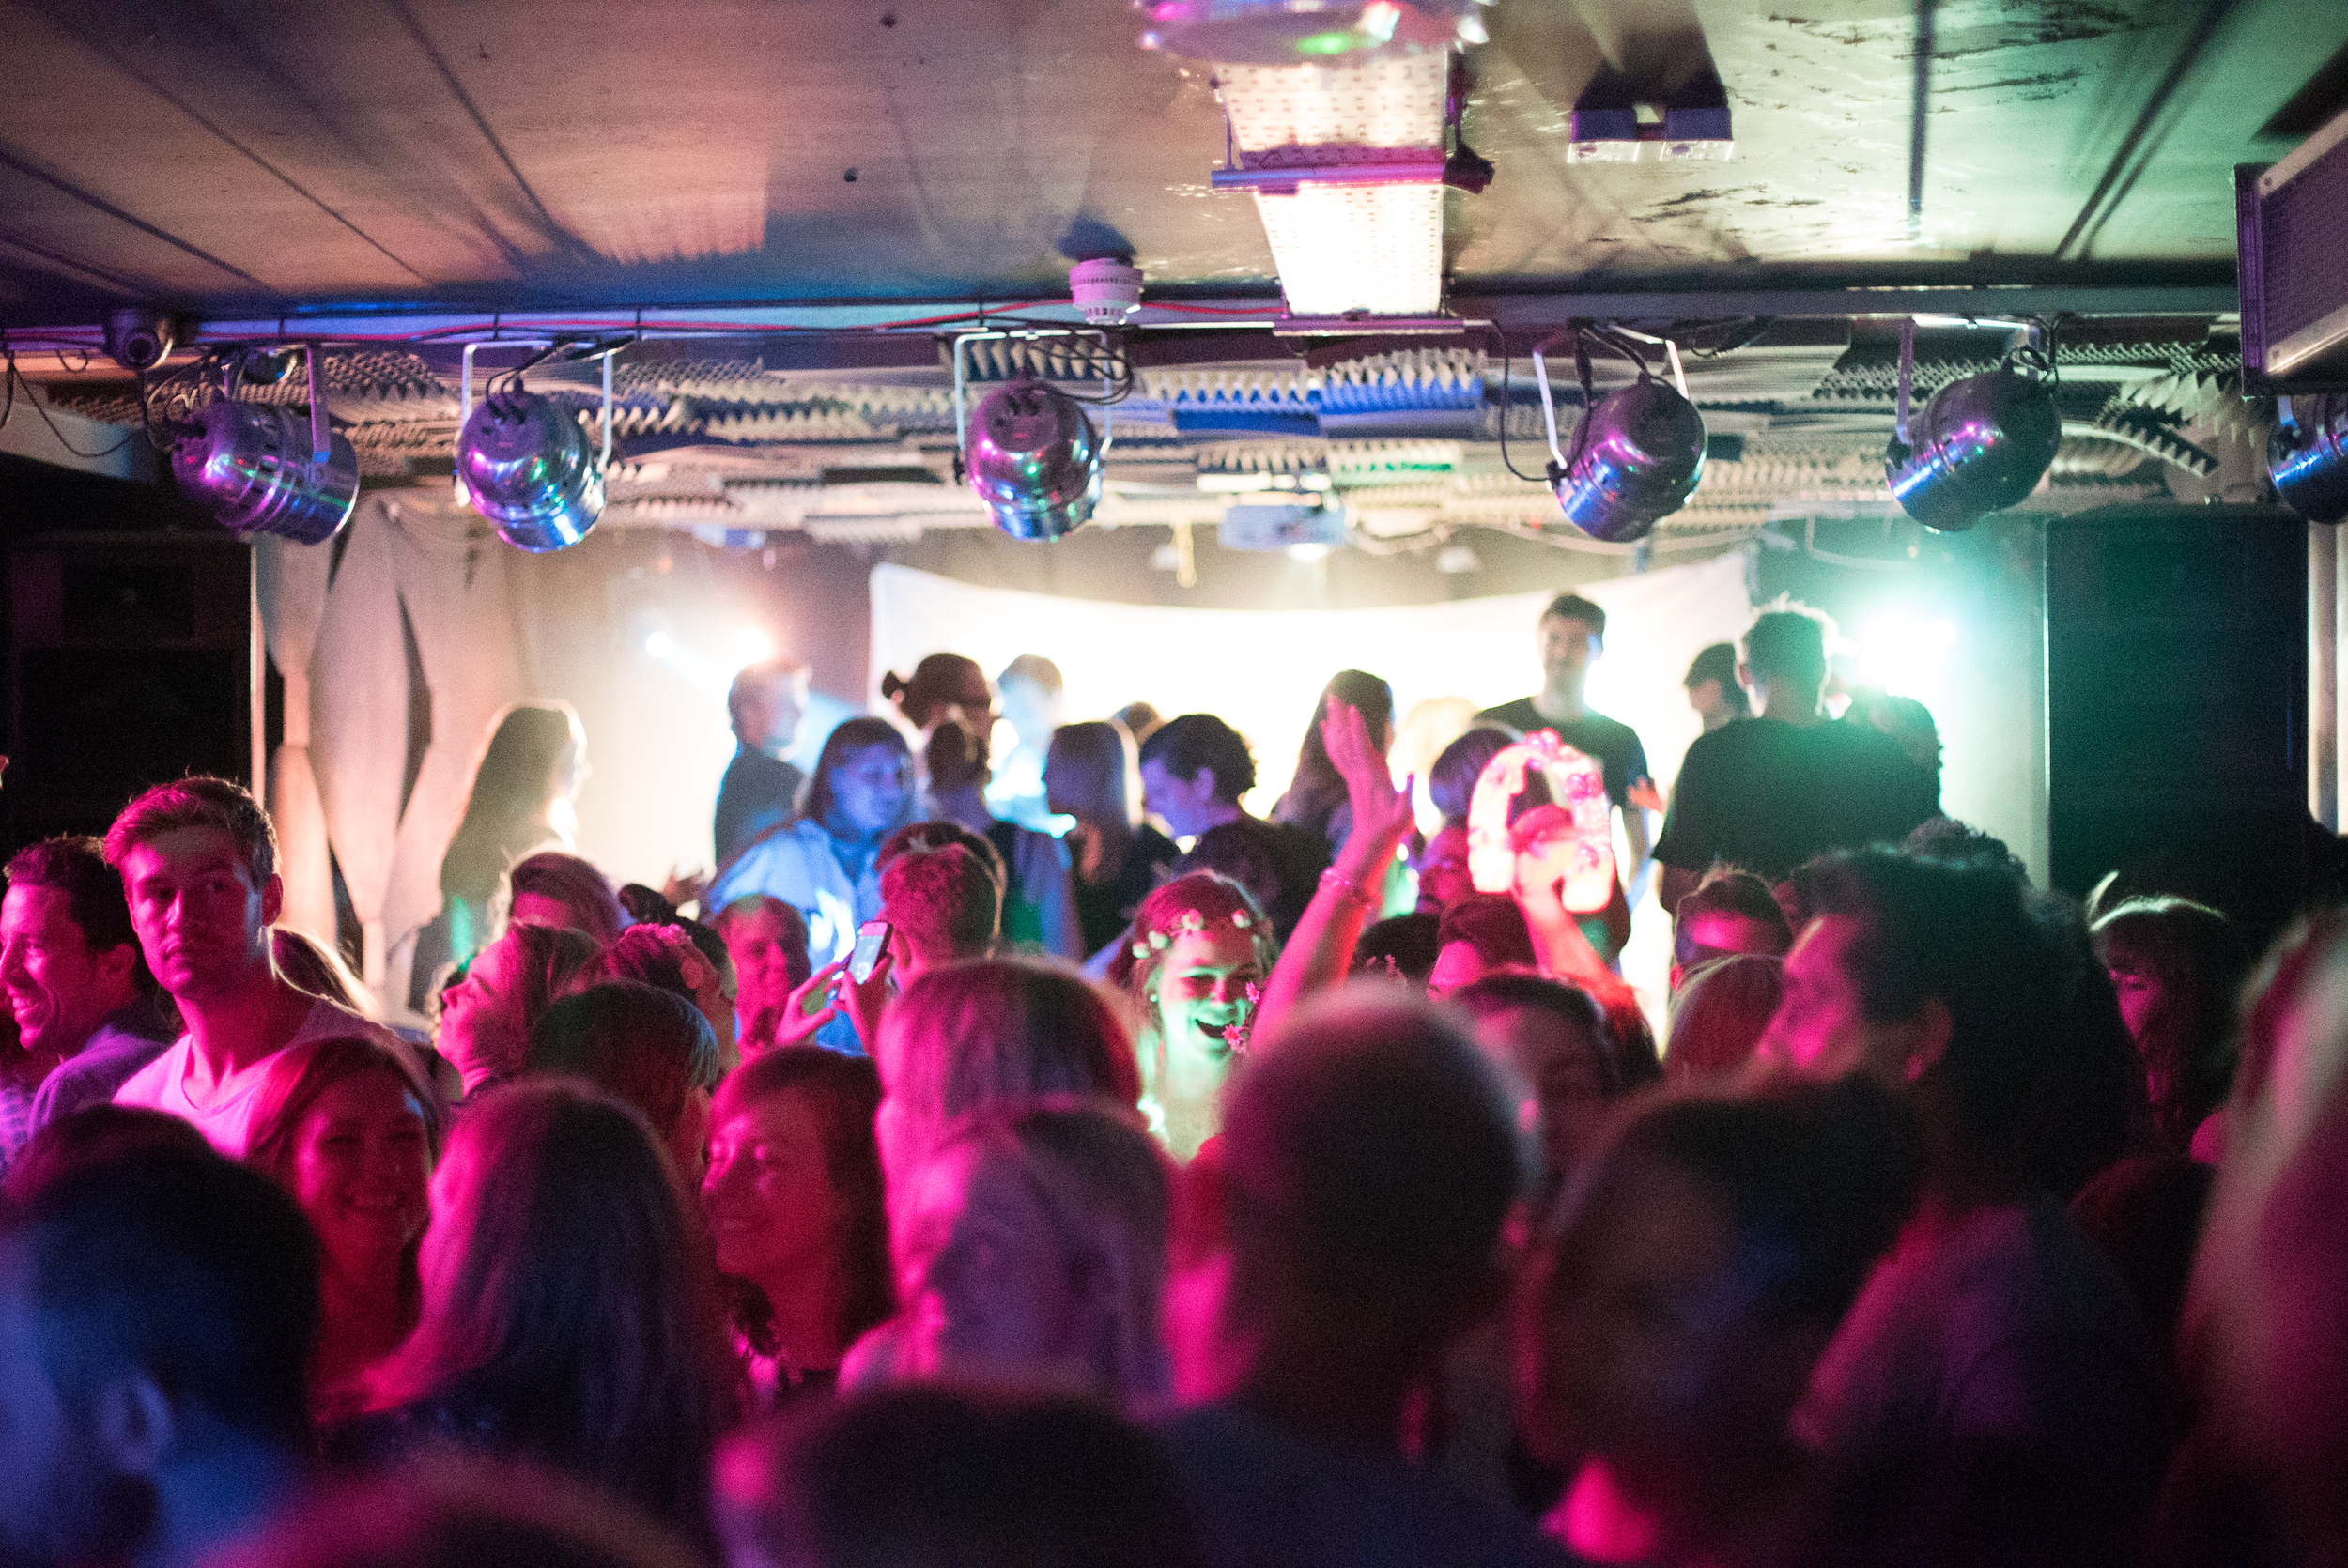
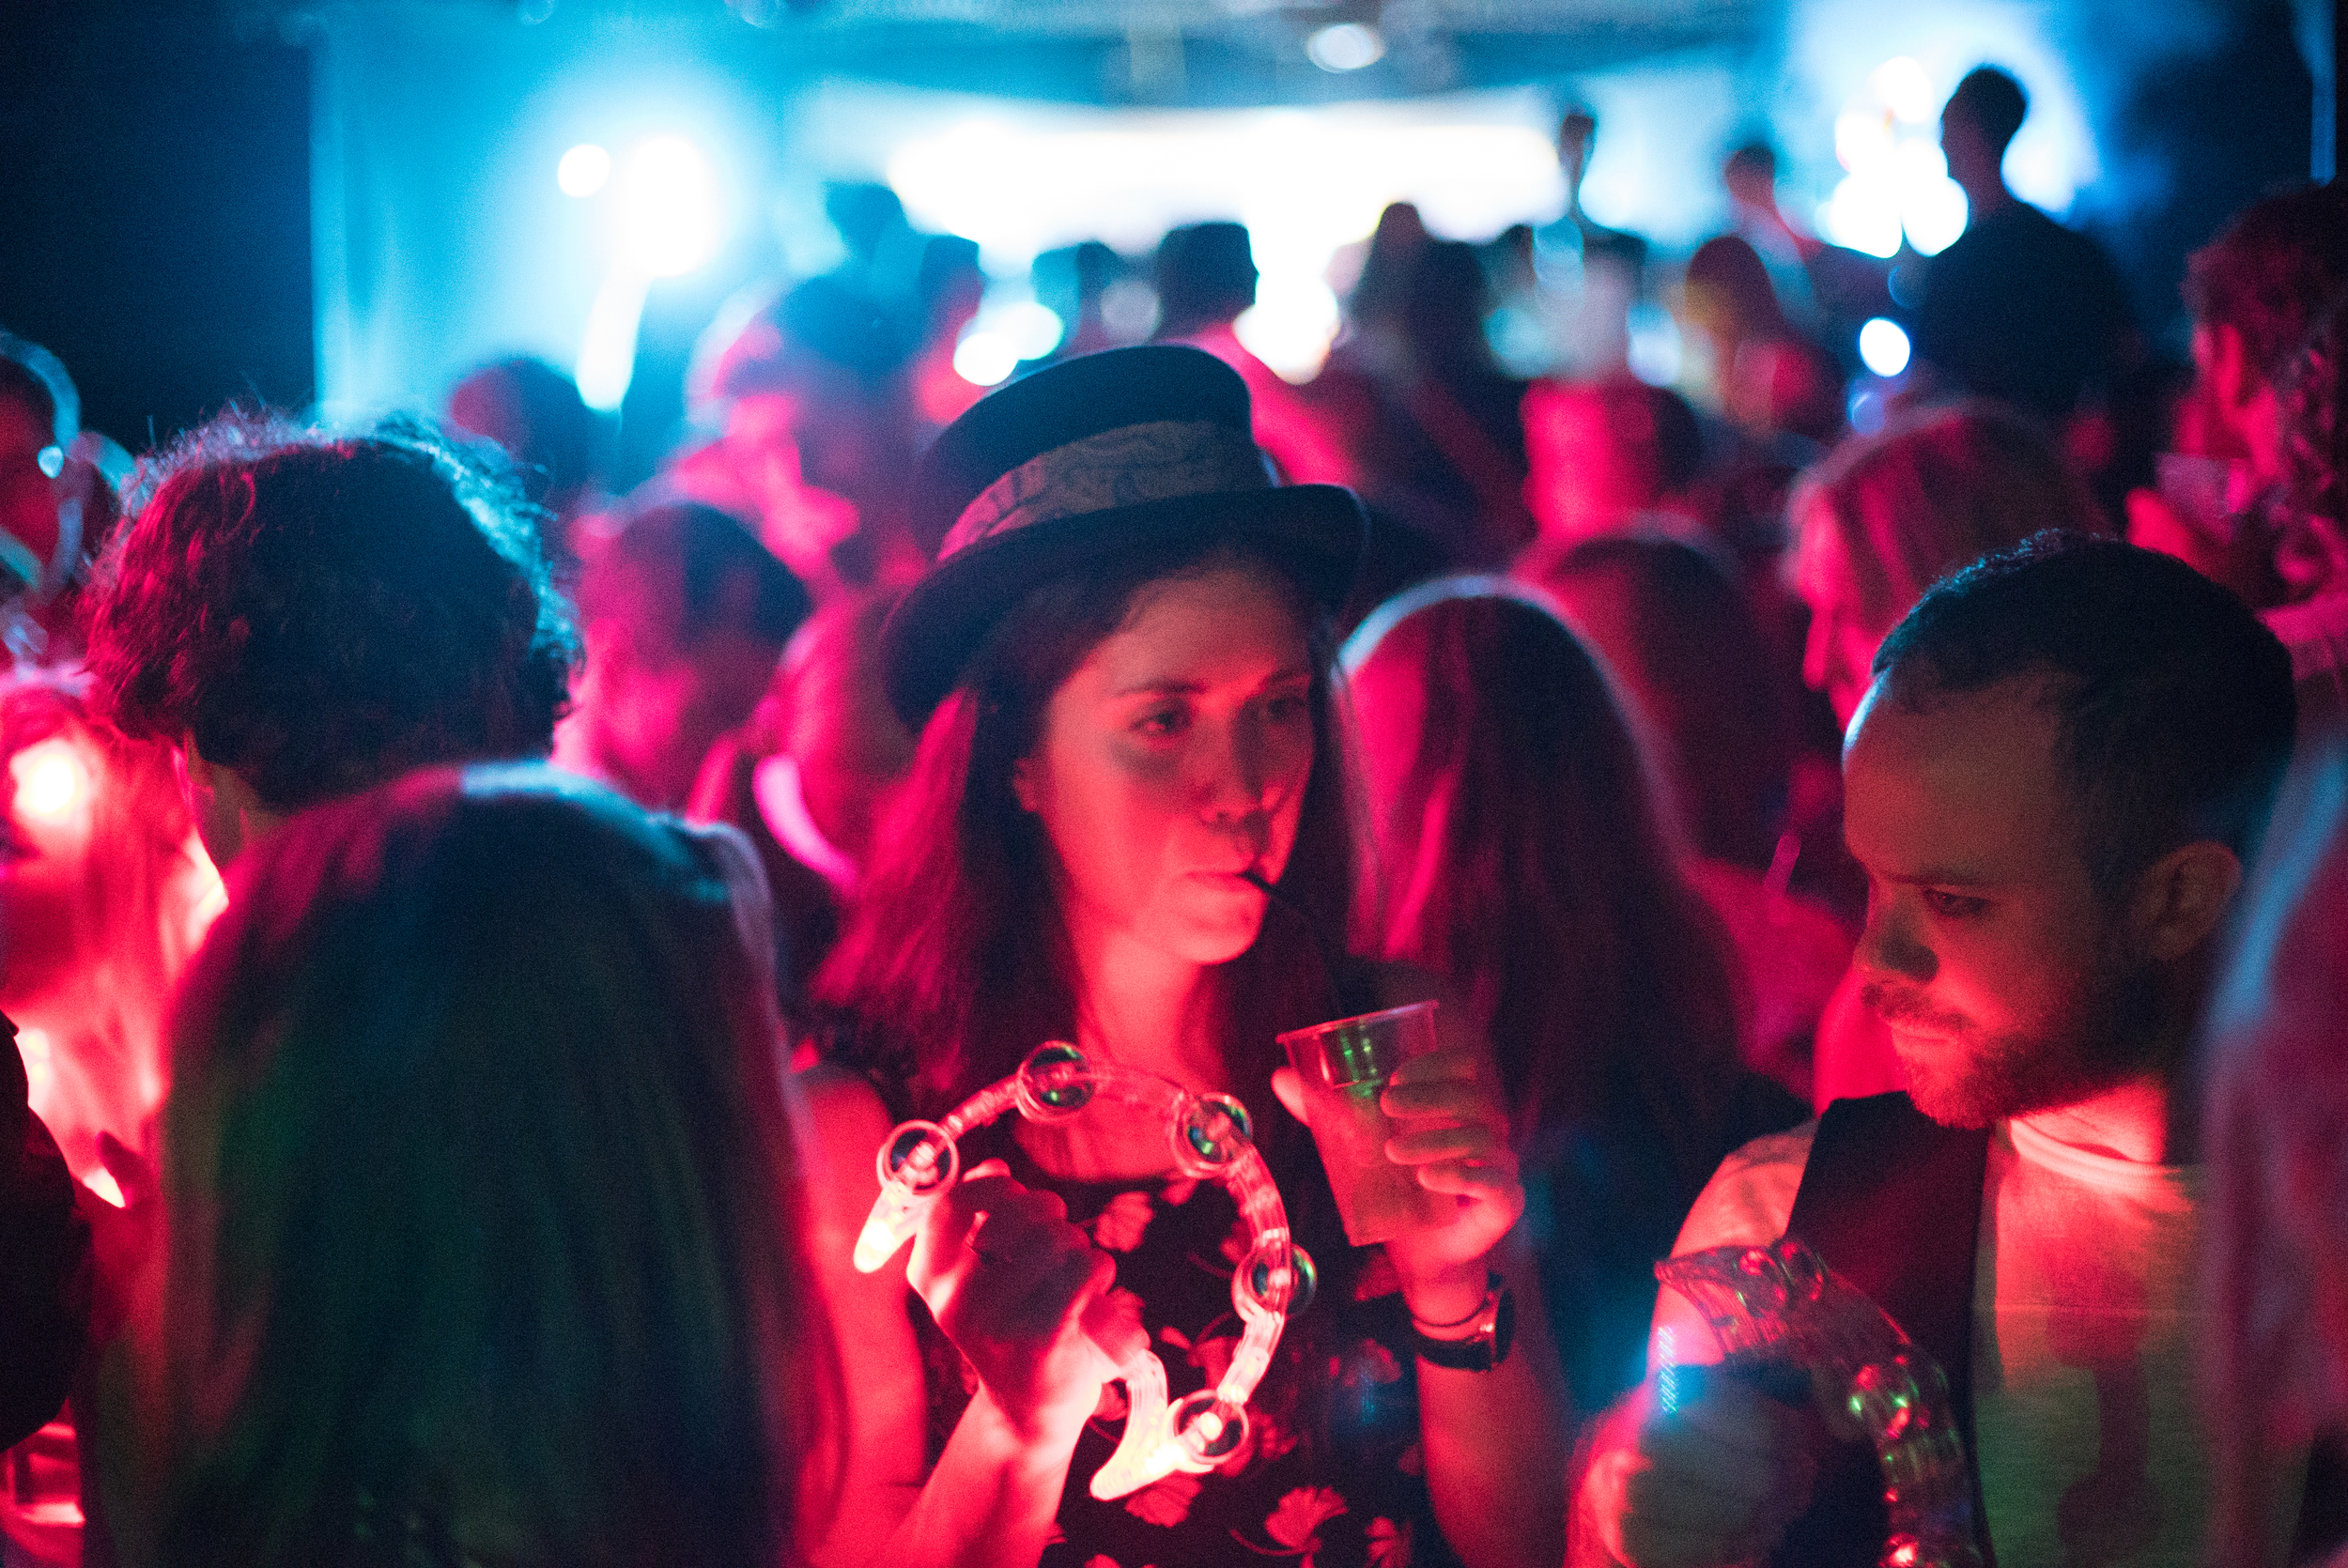
Filming Fleetmac Wood was fantastic, Lisa and Alex are brilliant DJ's and their tambourines definitely lit up the dance floor. The added visuals from old music videos added to the eclectic experience, combined with mixes from many talented producers made the night one to remember.

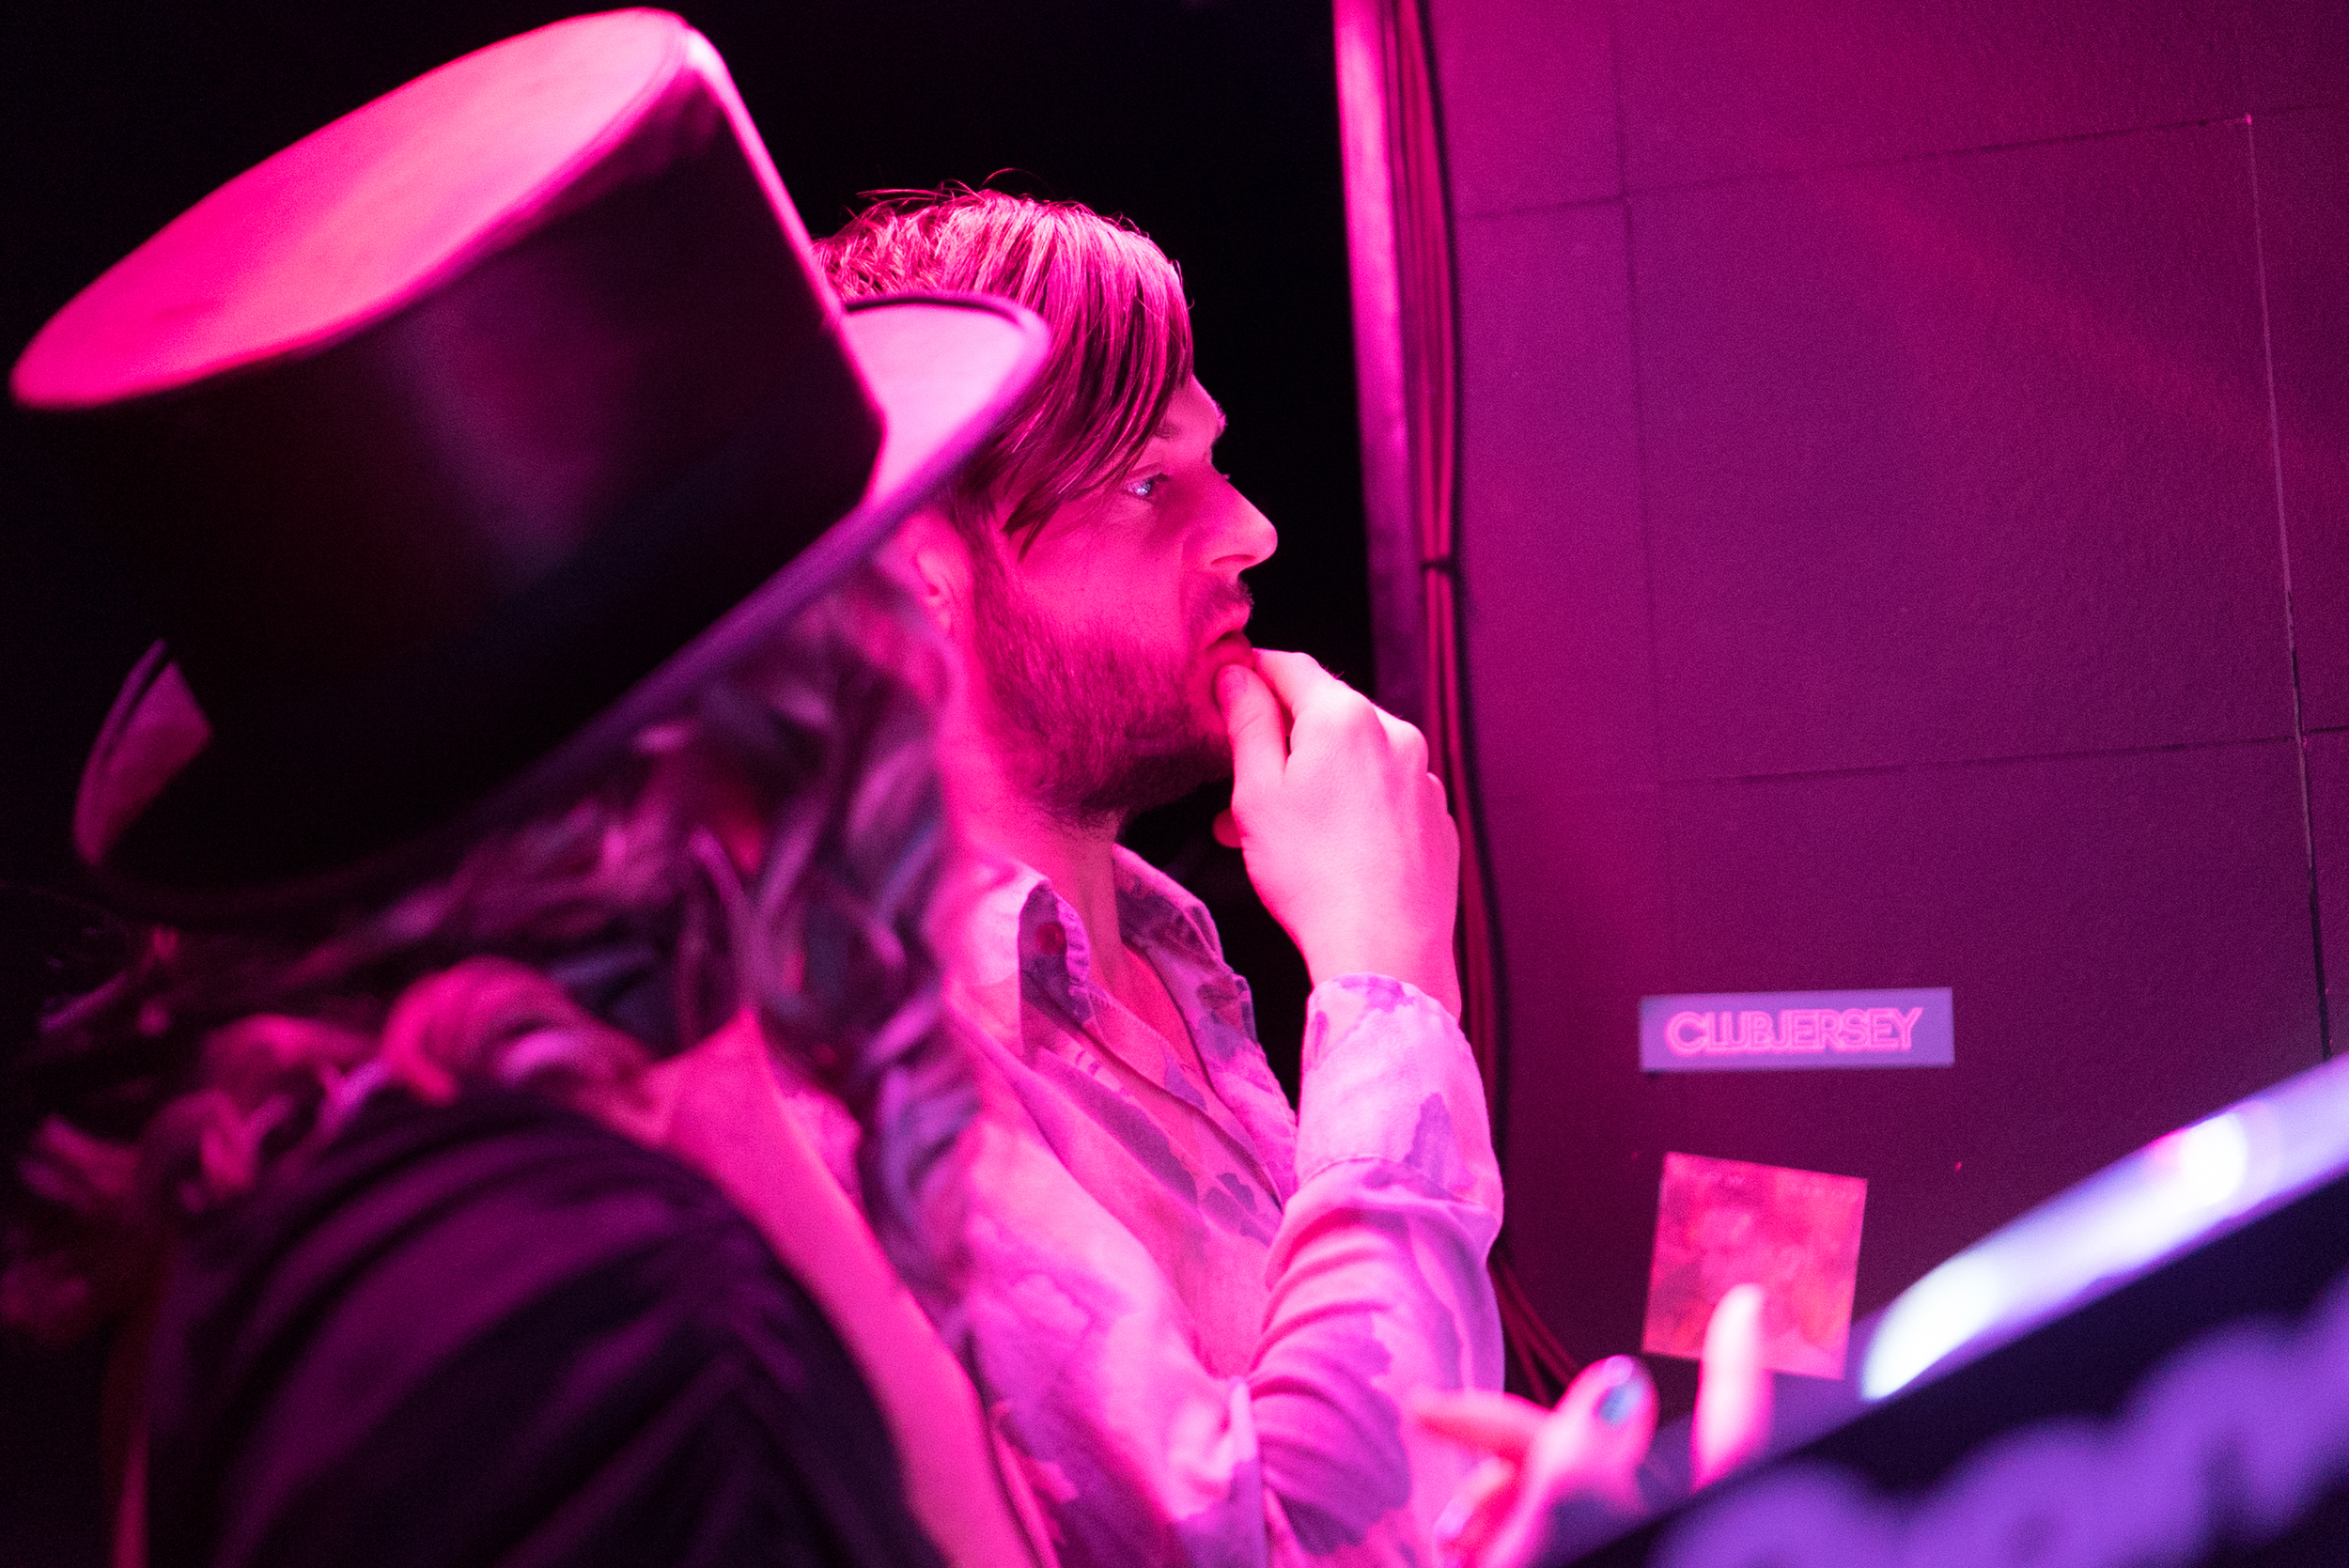
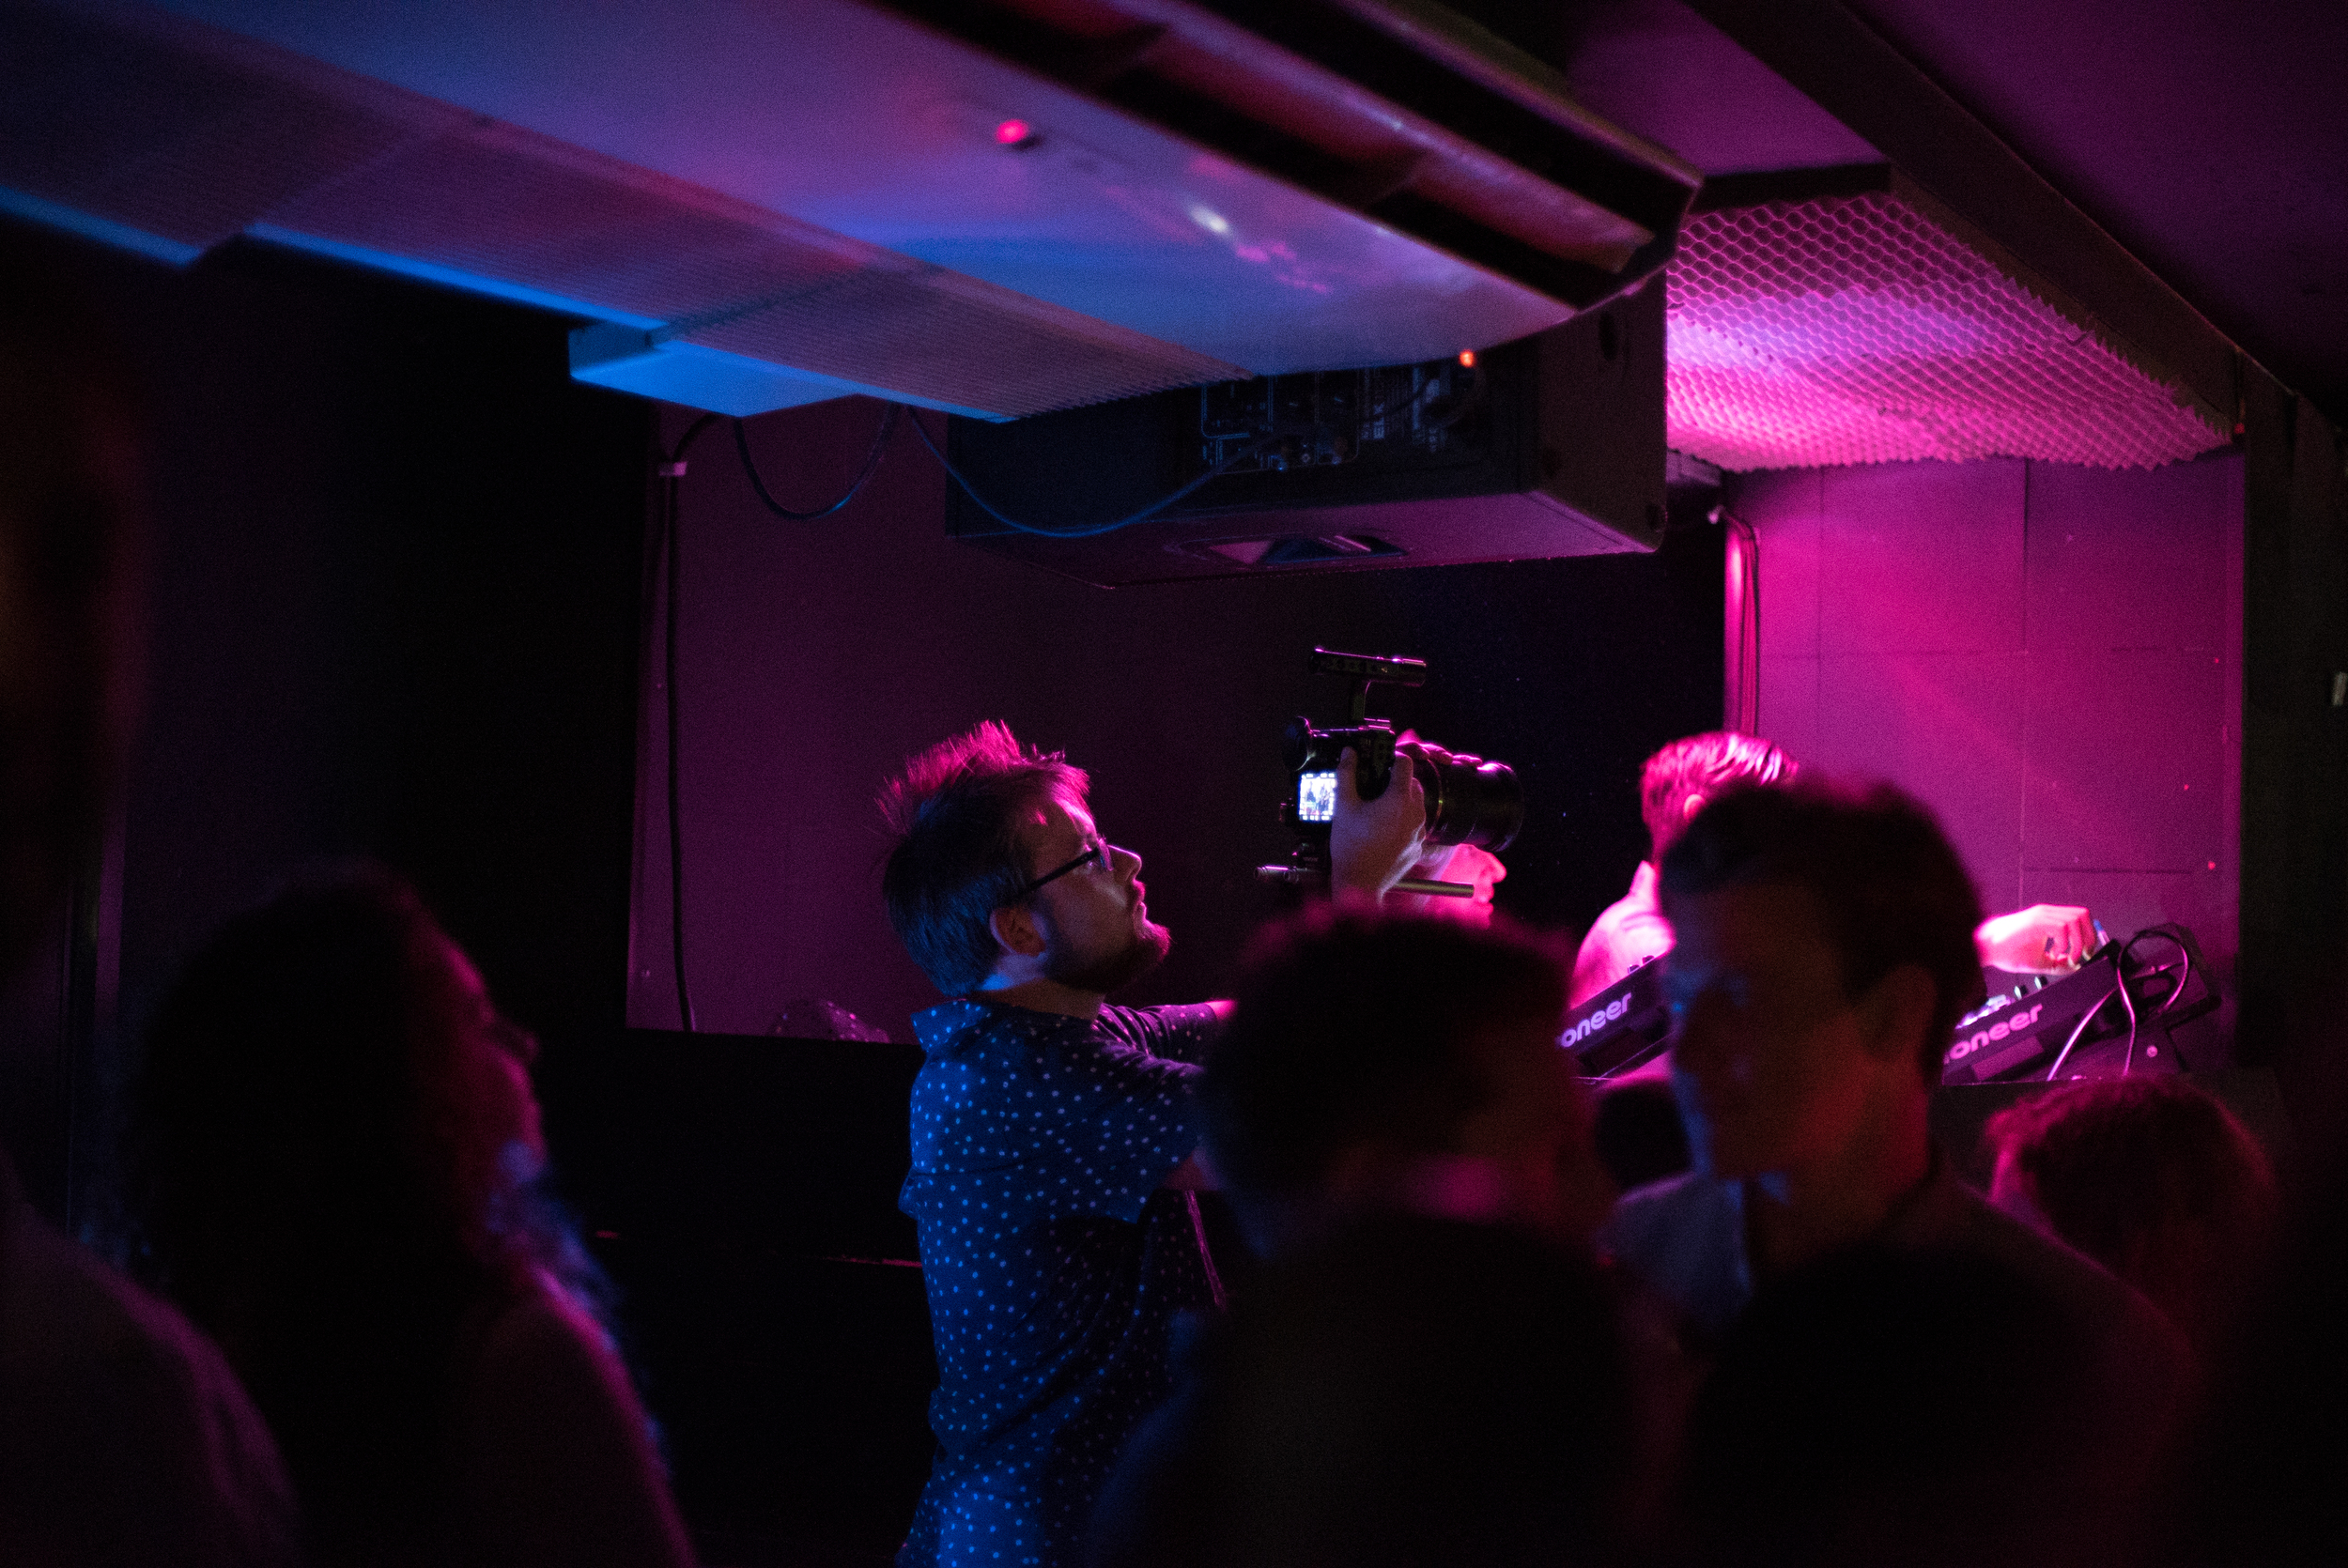
As you would imagine, the venue was dark, only lit by a couple of LED lights and the projector. Almost immediately I ruled out using the LS300 after capturing a couple of shots of the venue and booth, in what the camera seemed to think was candle light. In these scenarios, I don't believe the camera would hold up unless you had the time, space and equipment for a lighting setup. Sure, you could shoot at T/1.5 but you'll get nothing in focus if you're filming crowds dancing, plus with the gain up to +12dB your picture becomes noisy.

James took some brilliant photos and videos of the night, some of which are below in the gallery and also included in the Fleetmac Wood @ Birthdays film.

While filming the Fleetmac Wood gig I did switch lenses a couple of times, firstly to the Samyang 35mm T/1.5 which although was heavy, had a wonderful bokeh and combined with the super 35 sensor made for great video. I also teamed it up with the Atomos Shogun (in HD) rather than 4K via SDI, which captured the video in ProRes HQ.

By my reckoning, you'll need to spec up this camera with additional extras to make it what you want to be. Out of the box it comes with all you would need to start (minus the SD cards and microphone and some spare batteries), but you'll need a tripod or monopod to keep it steady, especially if you're using primes of lenses without image stabilization/vibration control.

Saying that, if you weren't filming a music gig in low light you would have a lot more options and time to compose the frame... I come on to that in a moment.

I've cut all of the footage together for this edit which includes filming from the A7S, LS300, A7S with the Shogun in 25p and 50p, LS300 with the Shogun in 25p (HD), and footage from James Beer (LogoLogo) on the A7S in 50p and 100p.

Photography by James Beer @ LogoLogo

Filming with the GY-LS300 under normal circumstances (PART 2)

I had the LS300 loaned out for a week to put it through its paces, filming in a number of different scenarios. I shot quite a number of clips out in my garden just to get a feel for the camera and figure out it's settings. Of course, Alfie the cat was a willing subject!

From testing out the VSM feature, I can't see a big degredation in light or quality when you change the sensor scan mode from 100% down to 80% for MFT lenses, however I was using great quality lenses (Tamron and Samyang) rather than MFT lenses which have a smaller in-lens depth of field, so there is more light coming through the lens for the sensor to capture.

The built in ND filters are a god-send, and a very welcome adittion to a camera that would be used with large-aperture lenses. If you wish to shoot at T/1.5 for a very shallow look, using 1/64 ND in the bright daylight is probably your only option. Saying that, unlike using ND filters in front of the lens, there isn't a noticable colour cast of image degredation like with other filters. However, more ND stops please!! Going from 1/4 to 1/16 to 1/64 are big jumps, and in some cases, 1/64 was not enough!

While out and about filming in Ewell, I simply had the LS300 with the JVC50 battery, 1 SD card and the Tamron 24-70 on a Manfrotto 755CX-3 tripod. For run and gunning, despite the build of the camera it works extremely well for this kind of filming.

Unlike the FS7 and Canon Cinema cameras, the LS300 doesn't have any log capabilities for a wider dynamic range, which was expected as JVC marketed this camera for higher-end productions. It would be interesting to see how well the camera performs with a log curve and higher bitrate  recording for filming that needs it. From filming with the 'standard' colour setting and 'detail' knocked all the way down the image is rather pleasing, much better than I expected. I guess the viewfinder/eyepiece gave me lesser expectations of what the captured image would look like, so I was pleasnatly suprised to see the results.

However, like mentioned before, the viewfinder/eyepiece is not the best quality and without using the 'focus extender' function, it was difficult to achieve critical focus. Some of this is evident in one of the demo films I've produced with the camera. I also noticed that the form factor of the camera doesn't allow you to get a nice, steady shot like a shoulder mount camera would where you have numerous contact points on your body. With a top-mounted eyepiece it doesn't feel natural to hold the camera in front of your chest (for hand held or monopod filming), and is not steady, even with IS or vibration control.

Despite other things, the battery life is a winner, on one battery (JVC50) giving you over 200 minutes of filming time. I took the camera out to a local business networking night put on by What's On In My Town and Hobbledown, as I am joining forces with them to promote local business and talent it was a perfect opportunity to capture some of the event and talk to other companies about how films can help them.

It was a wonderful summer evening at Hobbledown children's farm, kindly the hosts for the networking, with attendees getting a full tour of the venue and a go on the new high ropes activity! David the manager and his team were fantastic and played great hosts with the BBQ.

With this beautiful golden hour of filming, the LS300 really shone as a camera. Yes, I probably shot at F/3.2 with ND 1/16 because I wanted a shallow depth of field, but ND 1/4 at F/8 was too bright. I was pulling focus all the time during the piece to camera from Whats On MD, Paul. I also found that as he walked from the shadows into highlights, he would become over exposed, so high contrast filming wouldn't be practical (unless you had some control over lighting) with this camera.

Revisiting this post about a week on from my last entry..

It was really rather easy to work with the footage from the LS300, and knowing there is a focus expander gives me more confidence in it. However, as you will have seen from the footage in the film above I do focus creep due to not being certain using the LCD screen or eyepiece. Premiere handled the 4K footage very well, without having to render until I added some colour correction, scaling and graphics.

You'll also probably notice the shots where I attempted to go handheld, this is where the form factor of the camera somewhat let it down, but hey ho that's what a rig or tripod is for.

In the longer piece to camera with Paul, the image captured was lovely and had a pleasing depth of field to work with (not too shallow like the A7S, but not too deep like the GH4). Of course you can use any wide aperture lens with the camera if you wanted it to be bokelicious!

Capturing my local countryside (the last test)

(Starring my thumb...)

I'm surrounded by greenery where I live, so making the most of the great weather I headed out with the camera to capture some local landmarks (for another archiving/history project I'm working on). This would be a real high-contrast/dynamic range test for the camera.

When thinking about purchasing this camera, it boils down to what I can get for the price, especially in comparison to other internal 4K cameras (Panasonic GH4, Sony A7R II). They are smaller, both will require a lens adapter (as will the LS300) and new batteries, SD cards, rig, and are cheaper than the LS300 (without a microphone).

APVideo JVC LS300 Final Thoughts...

Why I would by the LS300?

  • Long battery life (but need to purchase batteries) with JVC50 batteries.
  • Internal 4K on SD cards, U3 600x capable.
  • ND filters (1/4, 1/16, 1/64).
  • Super 35 sensor with lovely picture (but you would need to shoot at T/1.5 or F/1.4 for a cinematic look to it).
  • Microphone/audio inputs.
  • Compatible with current lenses, but would require EF-MFT adapter.
  • Wireless, 4K via HDMI and HD via HD-SDI outputs.
  • HD-SDI for HD output and HDMI for 4K UHD output.
  • Extended focus, to crop in digitally and acquire critical focus.
  • No obvious quality drop when using the VSM at smaller scan sizes (87% and 80% MFT).

Why I wouldn't buy the LS300?

  • The form factor is not ergonomic, like a large video camera rather than production camera. It would need to be rigged with a shoulder mount for use to be comfortable.
  • Camera build is plastic, doesn't feel sturdy and some parts (ND filter wheel) feel delicate.
  • Not enough ND filter stops, needs at least 2-3 more, with improved digital filter wheel instead of mechanical, which feels very plastic like.
  • No variable 4K bit rates (up to 150Mb/s) or slow mo.
  • Low light is definitely not the cameras forte unless shooting very wide.
  • Terrible LCD screen and EVF quality.
  • Does not include a microphone.
  • The placement of the video output connectors is near the lens, which is odd considering other ports are at the back of the camera.
  • The dynamic range doesn't hold up to that of the GH4 or A7S.
  • The picture/colour settings are extremely limited, with no gamma curve or log option. This means the image is considerably burnt in with limited grading or colour correction options.

NEW Mid-August Update!

I've been away for a little while, so the review was put on hold until my return. On which I found out some interesting news from JVC, who have decided to upgrade the firmware of the LS-300 with new features..

  • JVC-Log - supposedly increased dynamic range, for colour grading.
  • Full DCI 4K and 2K resolutions - currently only UHD 4K is available, and no 2K option.
  • Prime Lens Zoom - ability to use the zoom rocker to extend the focal length of prime lenses using the VSM feature.

READ THE FULL PRESS RELEASE from JVC PRO HERE

Considering these new updates, the camera is now more capable of competing against higher level players, rather than the DSLR/mirrorless market. I'm due to test the camera out again in September, hopefully with the new firmware 2.0 to compare!

Finally, big thanks to WTS Broadcast for lending me the camera for a week to test it out. To Manfrotto for their Roller Bag 70 and 755Cx-3 tripod, and to Fleetmac Wood & Whats On In My Town for letting me film their events.

MORE COMING FROM MY SEPTEMBER TESTS SOON!

Filming in LA 'CineGear 2015' in Hollywood with Sony A7S, Manfrotto + Rode

APVideo: CineGear 2015 @ Paramount Pictures, LA

It's been a rather amazing few weeks for me here at APVideo. So here is the low down on what I did, what kit I used and what is coming up next!

Jump back to the beginning of June and I get a call from NewsShooter.com asking if I'm available to cover CineGear in Hollywood for them. With an empty space in the diary, I jumped on the chance to visit LA and begun the prep to cover the expo with video.

To familiarise myself with the exhibitors, I checked out the interactive map and visited the websites of companies of interests and viewed the latest press releases to get clued up on the news. (Always be prepared).

Manfrotto provided me with the fantastic Roller Bag 70 for my trip overseas, into which I moulded the foam inserts to protect the cameras and kit I'd be taking. Since it was a short trip, I only took the bare neccessities!!

  • Sony A7S in Movcam cage and Metabones Adapter mk IV
  • Tamron 24-70
  • Nikon 50mm F/1.4
  • Zoom H6
  • Rode Lavalier
  • Manfrotto 755CX-3 + MVH500AH

Told you it was bare!

It was a couple of long flights over to LAX.. Some snaps from the journey on the A7S.

It was my first time flying to America, so I was keen to snap up as much as I can, and enjoy the Virgin Atlantic hospitality!

I highly recommend the Mondrian Hotel on West Sunset Blvd, it is bloody amazing. Rooftop restaurant and bar, amazing hotel views, and staff that feel like family!

View from Mondrian LA

The following morning I constructed the Movcam cage rig with the kit I brought, which compacted all of the filming kit into one tiny hand held rig which I could put on the Manfrotto 755Cx-3 tripod.

I got myself one of these handy little hot/cold shoe mounts for anything with a 1/4" screw hole; in this case I was using it with the Zoom H6 but it fits most accessories. If I were using the Atomos Shogun, I'd of used a magic arm (just for flexibility in adjusting the screen angle), but as I was monitoring the audio with headphones and checked the levels beforehand I didn't need to see the monitor per se. An alternate is to simply use a ball mount, but I find these sometimes don't lock down the position strongly enough (especially cheaper ones).

Very lightweight packing for a 3 night trip.

I took of the video head by unscrewing the locking screws at the base.

I got an UBER from the hotel to the studios, and after registering and waiting for the show to open, I made my way to the stages to begin filming! I had about 10 interviews to do on the first day to get a head start and the main content back to NewsShooter (who are a day ahead time wise).

Cool-Lux, Atomos, SLR Magic, Beeworks and a host of other manufacturers were on the list to capture. For the setup, I shot using PB's recommended video settings (cine-4 etc see previous blog post) with the Zoom H6 recording dual audio both on the stereo XY mic and via the Rode Lavalier which I clipped onto the interviewees.

Thats Andrew from SLR Magic talking about their new Rangefinder, Anamorphot and Noktor lenses.

The plan was to shoot the 10 interviews with plenty of B-roll and begin editing that night. It was a late one, staying up until 4am editing the first batch of videos. I got the SLR Magic one out that morning before my head hit the pillow.

4 hours later.

Up I was to complete the last of the edits in Premiere Pro. The videos follow the same format, so after opening the exported XML sequence from Pluraleyes I could simply drop in the titles and credits, the lower 3rd and QC the video before exporting.

The show opened later that day, so I made my way down that afternoon. The Manfrotto tripod I was using was perfect for this kind of filming. Being mobile and having a small footprint is a real issue when covering events, and you should try and stay as small and quick on your feet as possible.

Michael from ARRI at Cinegear

The rig was so convenient I carried around on my shoulder all day!

That evening it was recovery time from the lack of sleep and jet lag carrying over from the previous night, but while I was putting my feet up watching Jurassic Park in the hotel I had Premiere whizzing away with the new footage I had shot that day.

Because of the format, replication of sequences was rather fast. Using Premiere means no rendering time and instant playback, so I spent little to no time waiting around as I queued up the finalized sequences into Media Encoder, and batch exported while I was editing together the next sequence. Keeping check on the white balance and varying exposure of indoor and outdoor shooting meant no colour correction was needed in the edit, which also sped up the production process, I could get the news from the show quicker out to NewsShooter!

The beauty of shooting on the A7S was that I could shoot at F/11 and beyond outside due to the wonderful Hollywood weather, but inside if I needed extra light I could punch up the ISO to 2400-6000 with no real visual difference (unless you want to pixel peep).

The Rode Lavalier is a real workhorse for me. Before leaving I set it up with the small wind jammer and the Micon-5 XLR adapter so it would plug comfortably into the H6. For an inexpensive microphone it does a fantastic job of capturing the subject and cancelling out the background noise, which at an expo is quite loud in some cases.

In case you need advice on SD cards, I use the Transcend Ultimate 600x 64Gb U3 cards (purply pink label) as they are XAVC and S-log compatible.. Not that I have shot using the S-log yet.

Feel like I should say 'Mirror, mirror, on the huge podium in the centre of my hotel room'.

Just as quickly as I arrived, it was time for me to depart. I got an UBER to LAX where I picked up a couple of snacks to munch on while I edited the remaining videos to be exported when I got back home.

That guy sitting above my laptop was vaping away on an e-cig by the gate. I thought to myself 'surely this wouldn't be legal in England'.. It isn't!

That guy sitting above my laptop was vaping away on an e-cig by the gate. I thought to myself 'surely this wouldn't be legal in England'.. It isn't!

Bye bye wonderful Mondrian and LA

I returned home after a stop over in Las Vegas for probably about 20 minutes. So no gambling or anything like that as it was a quick transfer. So quick in fact that I needed to run to the gate (again, thanks to Delta, grr).

A fun filled 12 hour flight across the states and Canada, across the ocean and back into England was compiled of all 3 Hobbit films (as I was yet to watch them), followed by a hilarious comedy film called 'What We Do In The Shadows' by the same guys that made 'Flight Of The Concords'.

Bye bye LAX!

Damn its dry down there.. No forests or green!

Overall it was a brilliant working trip to Paramount to cover CineGear 2015 for NewsShooter, and a wonderful experience visiting the US too. I look forward to working again with NewsShooter at future events!

Shadows and Light was INCREDIBLE!

I arrived for the brand new 'Shadows and Light' two day filmmaking workshop on Sunday evening, excited to hone in on skills and meet new friends. The drive was smooth, only an hour from Surrey down to Brighton where I was greeted by lovely staff and great room at the Umi (on the seafront).

I dumped my stuff and met my good friend and VFX/Director mastermind HaZ before heading to the pre-drinks to meet everyone. Informal drinks like this are perfect for networking, so remember business cards!!

I met Olly, the 'behind the scenes' filmmaker for the night and the first day and got chatting as he was using a 5D mkIII like me. I also caught up with Nino, and met the wonderful organizer of the event, Fraser, who did a great job of running the event, keeping everything in check.

HaZ and I also chatted to Ollie Kenchington about production for grading and many other things, another great person to meet!!

I also met Yusuf at the pre-drinks when talking about shooting on the A7S, and on returning to the hotel I met Giordano Borghi, an Italian wedding filmmaker who I really enjoyed chatting to over a whisky on the rocks.

Day one was hosted at 'Dukes at Komedia' theatre in Brighton town, great venue with comfortable seats for recovery from the late night.. I was enthralled by Vincent Laforets presentation about motion, in which I got grilled by Vincent in front of the professionals and attendees over my 'Seasons Are Changing' video. He commented it was beautifully shot, but the long takes with unmotivated movement would make the audience somewhat bored. It was fantastic feedback from him, despite the public screening!!

Technical Difficulties?

After a break, HaZ presented his talk about VFX in low budget film making, and also considering and directing it in your films. As always HaZ is just a fantastic chap and screened the whole SYNC film, which I was the 1st AC on (shot in Southend), and features one of my shots on the jib!

It was then I met James, who is incorporating film into his company. He's a fantastic dude, and it was great to meet him and chat more throughout the day. I look forward to collaborating in the future :)

Another talk that got me thinking was 'Colour Grading' by Olly Kenchington, who got in deep with shadows and light, and colour theory, and how to produce such grades in Resolve with ease, as well as enhancing the shots/scenes from OK to GREAT!

Day 1 ended with Philip Bloom's talk, followed by the party! Well done to the raffle winners, great prizes donated from the events sponsors; Miller, Rode, Adobe and more.

Day 2 comprised of intense group workshops covering many areas of filmmaking. We were divided into groups which was great for networking with new people attending, and headed to Philip Bloom's workshop on using gimbals (like the MoVI) for filming motion. We got hands on with a range of equipment to see what it's like to operate/walk around using an M5 with a Sony A7S.

I was impressed by this little Defy G2X gimball.

Next on to James Miller's 'Lens Whacking' workshop, very hands on with old manual lenses out in the street. I met one of the models, Ruby, and had a great time filming her while trying to get the hang of 'whacking' the lens for 'ethereal' looking light leaks and almost 'tilt-shift' esque focusing.

Luckilly for us, the sun was beaming through the clouds which was perfect for trying to get some leaks in the frame. We stopped for lunch, then continued on to Vincent's workshop.. The BEST of the day!

Vincent talked through a number of movies with a moving camera, breaking down the scene to show how the narrative flows and is complemented by moving the camera, and the characters in frame. We then got hands on blocking out a small scene, which was fantastic to see to get to grips with working as a director when moving the camera.

Lastly was my good mate, Nino, who was talking about filming interviews and using motion control to add interest to otherwise uninspiring corporates. Using a bright window, we set up an interview scene with LED lights and the Kessler second shooter device to move the camera on the pocket dolly. This added much needed life to an otherwise 'standard' two camera shoot.

It was how big, Nino?!

I had an awesome time, and was happy to give a piece to camera about my thoughts on the workshop. Over the two days I learned an incredible amount that I can directly apply to my work to make films that are more engaging and that have motivated movement! I made loads of new friends too, both from the UK and internationally. For networking and collaboration, there was no better place to be.

APV Filming at Coronation Street, ITV and dock10 Studios for The IABM!

Way back in November, myself and Dick Hobbs began the pre-production of a new training video covering the behind the scenes of a television studio for the IABM. Unfortunately for me, it was difficult to pin down a location that close to Christmas and New Year with access to studios, galleries and other areas. Dick luckily got the go ahead for filming at the Corrie studios mid-way through BVE, so prep quickly began after.

My trusty crew was Glen, who operated the AutoScript for our presenter Georgie, and John Harris on audio (from JHWF). Dick made sure we were all in check with the script while I lugged around the camera and prompter :)

As there were three of us travelling up to Manchester on the Monday night, I chose to drive from Surrey, which was pretty straightforward, just a heck of a long journey to make at the end of the day. We arrived after a couple of toilet and coffee stops at 9:30, dropped the gear and headed to the table Georgie and Dick had. Beer was served and all was well!

As Dick and myself had planned the shoot well, I selected just the right amount of equipment needed. We were on a restricted budget so I opted to stick with my camera and audio setup rather than hire in a camera. We also borrowed an AutoScript from Vitec, to relay the rather technically heavy (at some points) script to our brilliant presenter.

The equipment list (rather sparing for this shoot!):

Canon 5D mk III

Canon 60D

Sigma 70-200mm F/2.8 OS

Tamron 24-70mm F/2.8 VC

Tamron 17-50mm F/2.8 VC

Canon 50mm F/1.8

Manfrotto 536 Carbon Fibre tripod

Manfrotto 504 Video head

Manfrotto 755CX3 Carbon fibre tripod + MVH500 AH head

Manfrotto Spectra 900FT LED light

Manfrotto Master light stand

Zoom H6 audio recorder

Rode Lavalier microphone

Sennheiser ENG-G3 wireless RxTx for lav mic

AutoScript prompter

All of camera and audio kit fitted into the AWESOME Manfrotto Pro Light 35 Backpack: I use the top compartment for the audio gear and accessories, the main sections for camera storage, and the back compartment for my laptop. It's a very comfortable carry regardless of the weight, and if I was walking/traveling for a longer time I just strapped on the waist support to take the weight off my shoulders. The front pockets are especially handy for grabbing memory card wallets and batteries quickly, as that is the most common thing I go to my bag for! Glen wheeled the prompter station around on it's pelicase, there was no way all of that could have fitted in! I did check the other day for AutoScript on tablets, which would be a much more viable solution for me.

In the MF bag for the big tripod I also brought a set of rails (just in case we needed them for the prompter) and the hydrostatic arm with the super clamp attached. You never know when they will come in handy, and when we were there I spotted one on the set!

Holiday Inn MediaCity

For anyone working at MediaCity needing to spend the night somewhere, the Holiday Inn right in the center is perfect. From above the first floor is the dock10 studios, offices and editing HQ, but you would have no idea it was there when you reach the 8th - 15th floor for your room. Plushly furnished, executive desk/workspace and a wonderful bathroom. One of the best I've been in!!

Day 1

We had a talk about the shoot ahead, as it would be hit and miss on the locations we were aiming to film in due to working around the current productions at Corrie (4 different crews filming that day), we needed to make the most of our available time. After a short walk across the quay, opposite Old Trafford stands the new Coronation Street and ITV Studios.

Upon arrival, we were greeted with coffee, then a guided tour of the facility to get to grips with our new location for the next two days. It was quite nerve-racking for me being a tiny video producer in the shadow of ITV, but I was also in awe of the scale and technology that has been used to make Coronation Street such an iconic television program.

We began the filming in what I now know as the 'Windas' flat, capturing some GV and B-roll of the system cameras, microphone booms, lighting setups and the set itself, clips that would be used throughout the video.

Camera settings: Tungsten white balance to match set lights, sticking to 1/50 shutter, aperture of F/5.6 and ISO ranging from 400-1600.
Mostly shot on Tamron 24-70 F/2.8 and Sigma 70-200 F/2.8.
— Adam

I also shot some more material in the Rovers interior set, which has a new LED lighting rig, in comparison to the other tungsten lit sets. It was impressive being in there, and was much smaller in reality, but we pulled up a chair at one of the booths and started recording the voice overs as the prompter hadn't arrived for the shoot yet!

For lavalier microphones, remember to attach them upwards or downwards depending on your subjects speech to avoid pops and hisses. Try to always record a back up audio track too, just in case your plan fails. Here we have 3 separate tracks recording on the H6: lavalier on presenter, gun mic and the mid side mic attachment on the device.

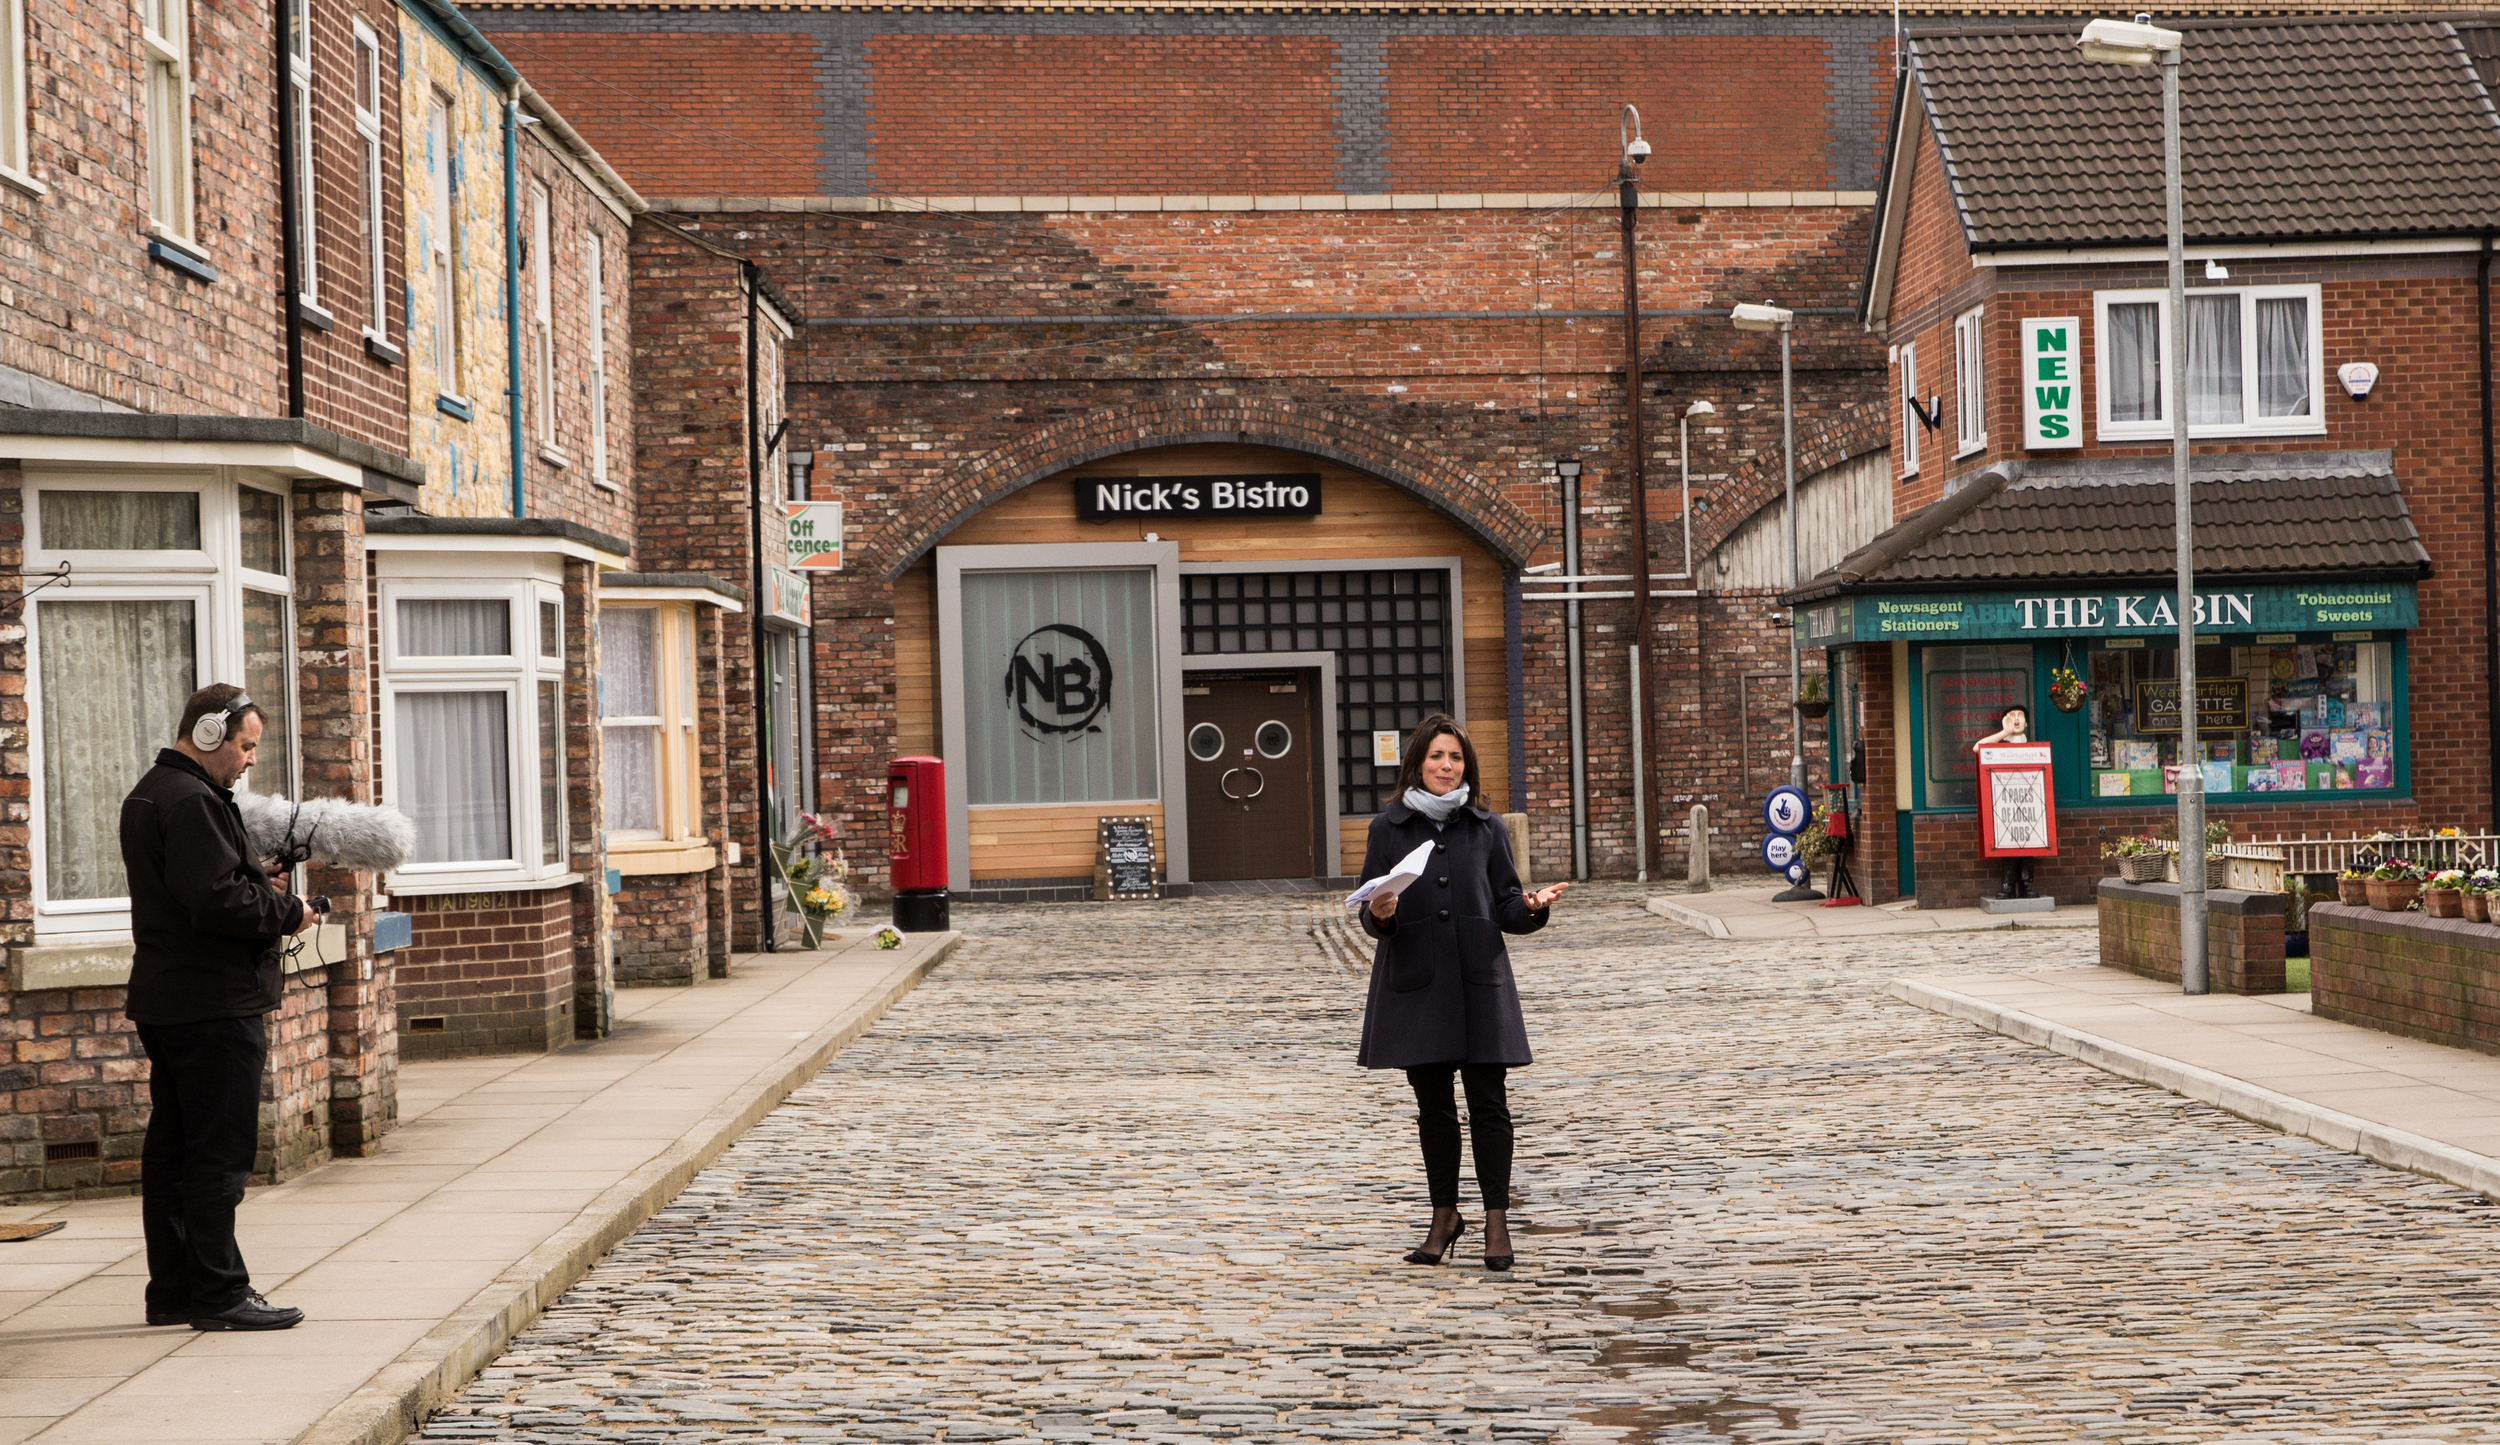
After recording all of the VO, we headed to the lot of the cobbled streets where a scene was being filmed as we overlooked and walked through! I shot some more cutaways of the street and crew in action on the 5D and 70-200. We had a fantastic guide who gave us many technical secrets into the new production facility, it was fantastic!!

IMG_2027.JPG

The AutoScript had arrived!!! We quickly got set to putting it together, however John, Glen and myself had no experience in putting one together, so to the internet it was! A few minutes later we had the prompter up and running, the camera set, working lights on, microphone levels set and were ready to roll.

As you can see, the normally small 5D and 70-200 filming combo goes out the window when using a prompter. Very front heavy!

Our filming took us all around the studios including Roy's Rolls and the Rovers, showing how a drama program is produced. Our access also allowed us into the production galleries, editing and grading suites for more 'piece to camera' filming as well as capturing plenty of GV showing the equipment in action.

We wrapped up day 1 late that evening which allowed us to capture most of the content for the video: we shot scenes 1 through to 7, great progress and took the pressure off day 2 as we didn't know what access we would have.

When we got back to the hotel, the importing and backing up began. I like to play the 'guess the gigabyte' game, simply guessing the total file size of the captured material. Although we were working loads throughout the day, I think the day 1 total was around 60Gb all in all. I backed up onto 3 drives that night just in case.

Day 2

We started a little later to recover from the long day before, enjoyed a big breakfast, plenty of coffee and headed over to the studios with our suitcases as it was our last day. We had access to the edit and grading suites in the morning, where I shot plenty of B roll just in case, as it turned out we wouldn't get access to the finishing or dubbing suites so this came in handy.

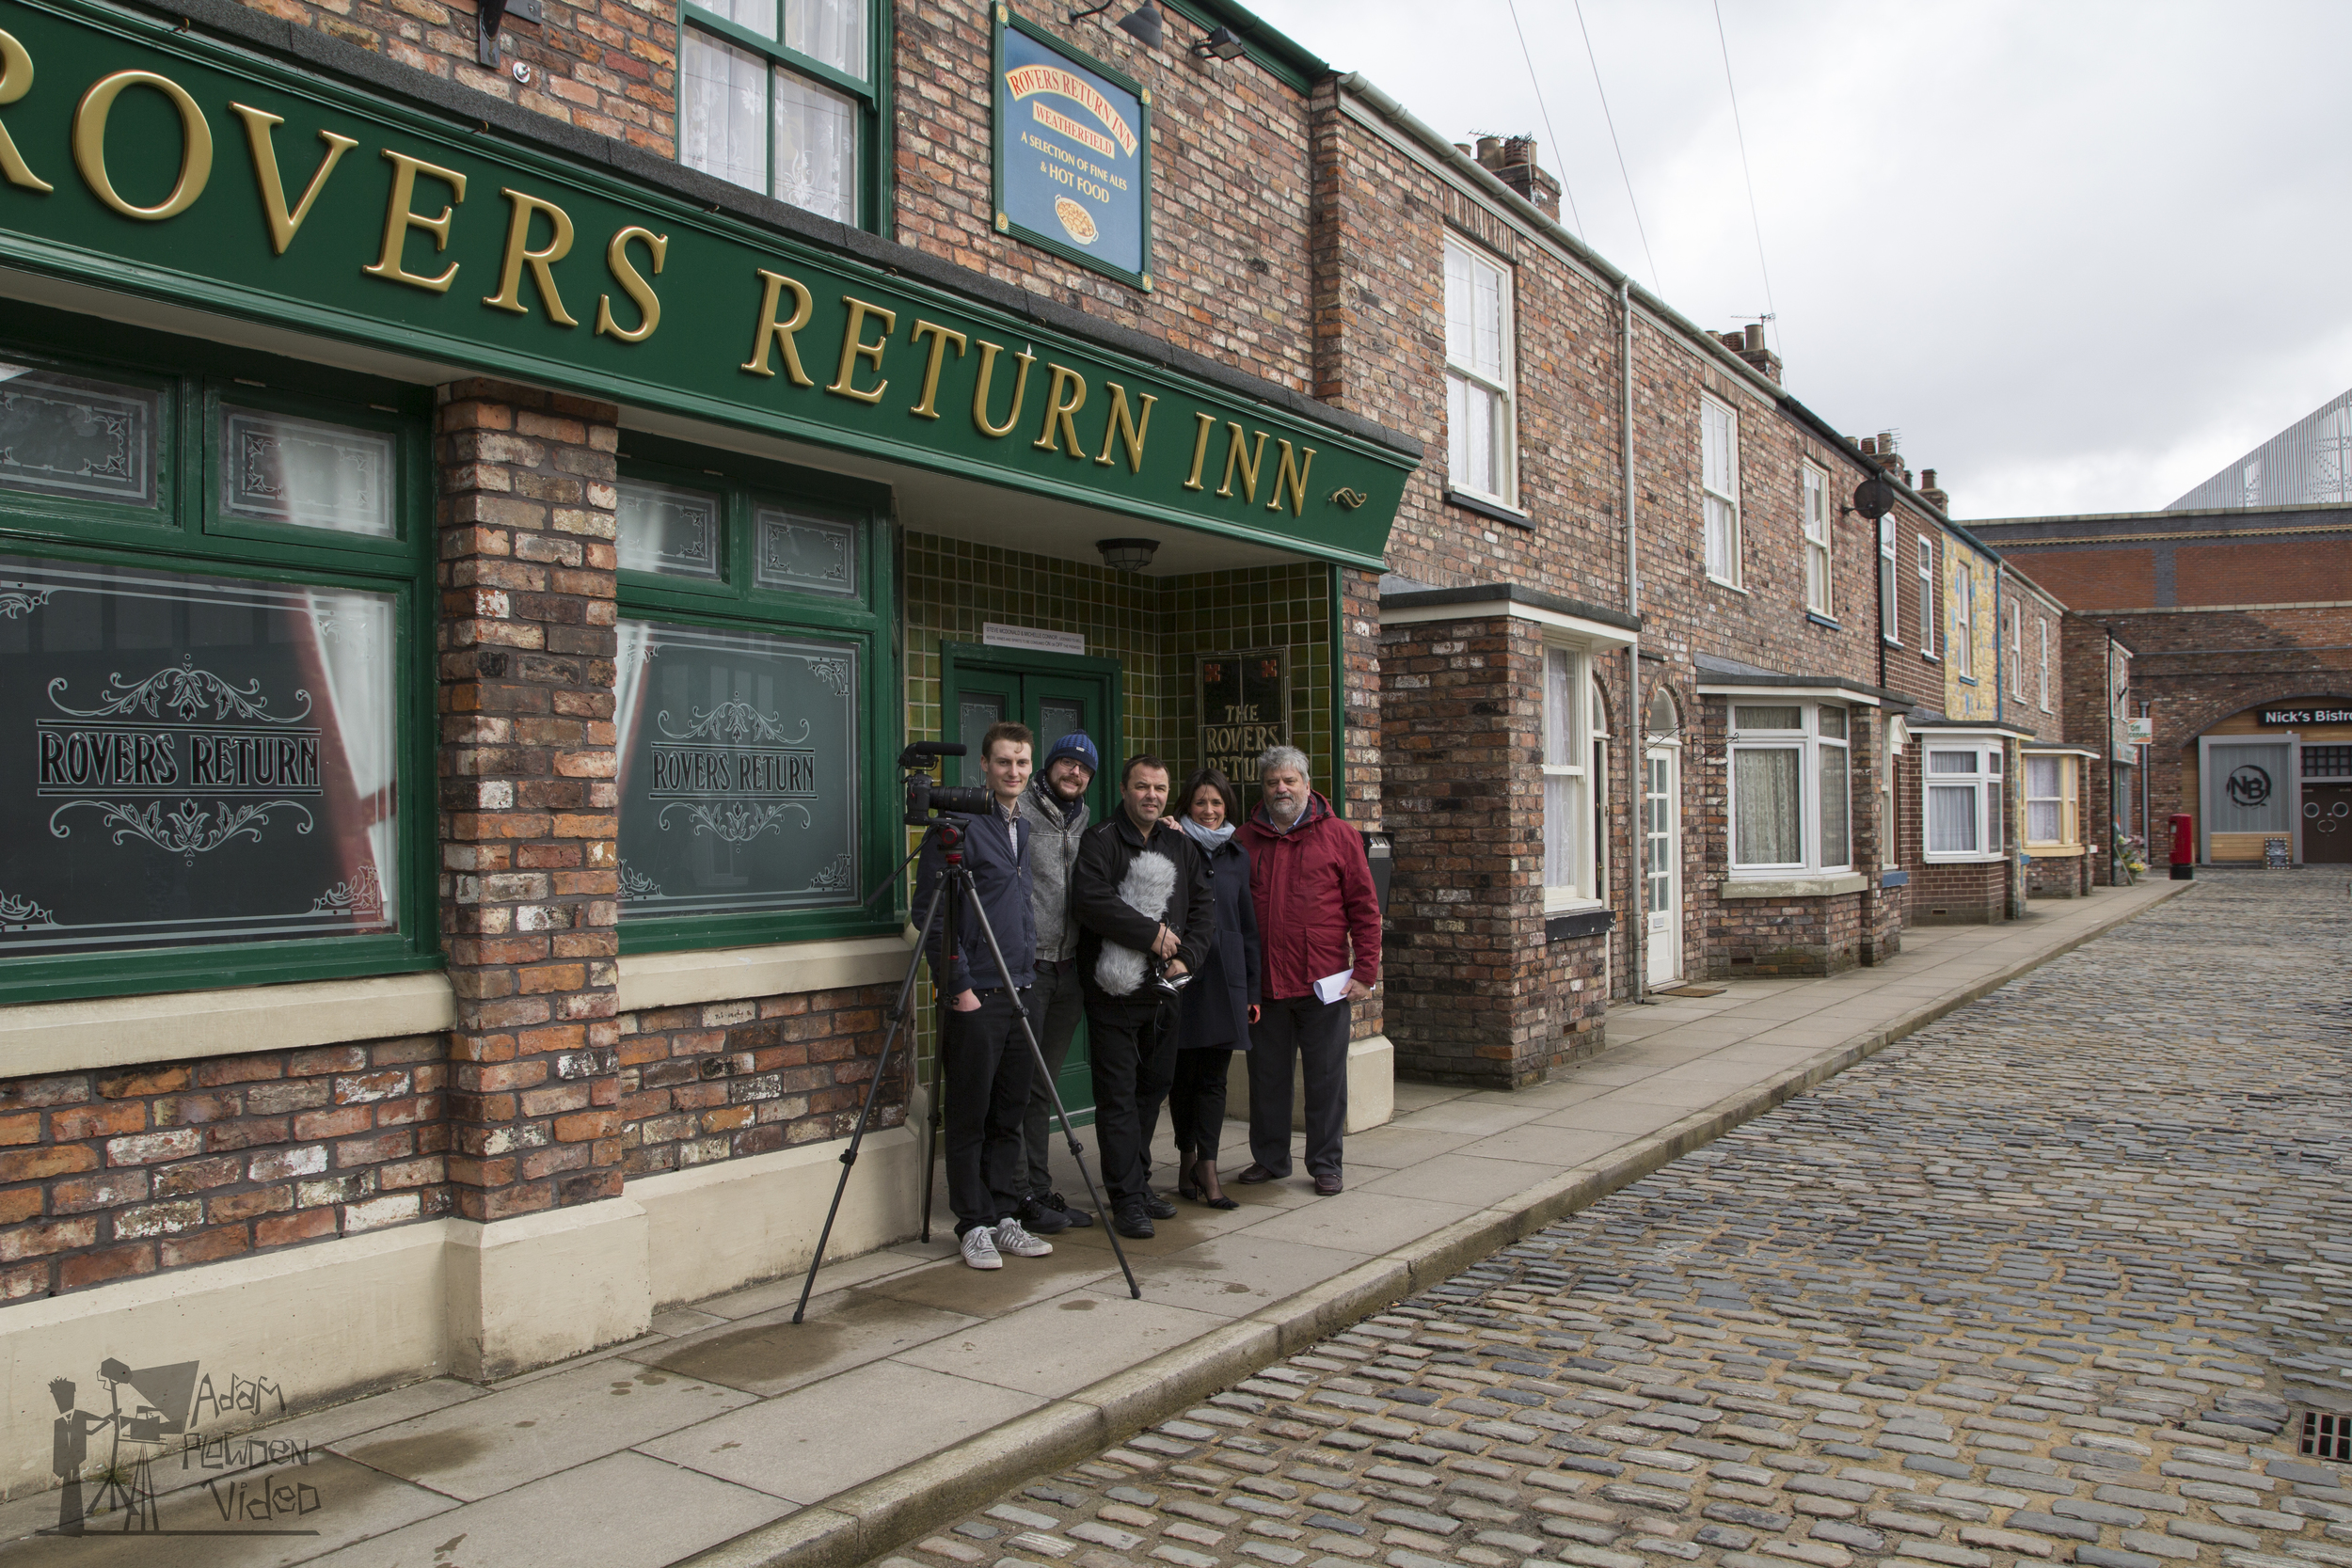
As Corrie filming had finished on the street, we quickly went out to shoot the final 'conclusion' scene of the training video outside the Rovers and on the cobbles. The prompter required a power supply, so we de-rigged it for this scene, I used the 5D and 70-200 only for these shots. Most of the time I shot at around F/11-16 as it was rather bright outside, but it also keeps some of the background visible instead of blowing it out with bokeh.

The machine room was a challenge due to the heavy air conditioning for the racks and racks of networking, storage and server equipment to keep it cool. Not particularly for the vision, but John did a great job of operating the H6 and monitoring the audio with so much background noise. The gun mic was out of the question, so we captured solely using the Rode Lavalier mic, which worked well for this environment.

As a back up I also captured plenty of B roll, and John captures a voice over from Georgie of the machine room scene just in case the native sound was too distracting. Luckilly, the Rode lavalier coped well!!

I had access to the working production galleries as scenes were being recorded under Tony Warren, Coronation Streets award winning director. It was amazing to watch him and his team work! I'm not allowed to talk about what I saw being captured though :)

That was the last filming stop at Corrie before we departed, saying a massive thank you to our guide and staff at the facility who were so welcoming and helpful. It was a breezy walk back to the Holiday Inn, as I thought I had lost my car keys, before the very long drive home!

The team did a fantastic job over the intense two day shoot, it was Glen's first job operating a prompter and although it was a challenge putting it together he quickly picked up the operation. For me, it was awesome seeing the technology behind a drama serial that captures its programs like live television. Being a completely new facility, the studios had brand new vision mixers, racks, lighting and sound control which was fascinating to see and learn more about.

Highlights/reel of the Coronation Street video shoot coming soon!

#MadeWithManfrotto

Capturing Autumn (part 1)

This will be a series of posts acting as a videography diary for my latest personal project which is out filming Autumn in Surrey.

North Downs Way (Ranmore, Surrey)

This time of the year is my absolute favorite. There's a chill in the air, leaves turn stunning tones of oranges, reds and browns, hidden spider webs become visible in the morning dew. Autumn bring a series of treats from the first frost, harvest festival, Halloween and fireworks night, most of which I'll try to capture over the coming weeks as the night draws closer.

Rainbow after a passing storm

Rainbow after a passing storm

I made my first seasonal video back in Jan/Feb called 'Quiet Sunshine', I loved being out with just my camera and me. It was silent and still as I crept around the pond, capturing the life in the Winter. This was also one of the first videos I made with my new videography kit; Canon 5D mkIII, Samyang 14, 35, 85mm cine lens, Manfrotto 755CX-3 carbon fibre tripod and MHV-500AH video head. It's the ultimate in quick, steady shooting with a beautiful image from Samyang's top quality glass.

This ethos of simplicity while filming is aided greatly by wise equipment choices, good planning and being inspired. Taking a little time to research the sunset and weather, the locations you're going to visit, and checking out other creatives work all contribute to the story that is composed and told through the video. For me, my Manfrotto tripods, video heads, bags and lights give me the flexibility to film in a variety of scenarios without needing a set of heavy legs.

Filming the sunset.

Filming the sunset.

Kit of choice for one afternoon's filming

Kit of choice for one afternoon's filming

The above pic shows how simple my setup was:

  • Canon 5D mkIII (Technicolor Cinestyle picture profile).
  • Tamron 24-70mm
  • Sigma 70-200mm
  • Canon 100mm macro
  • Samyang 14mm cine
  • Manfrotto 055ProB tripod
  • Manfrotto 701HDV head
  • Pro Media Gear dual arc slider
  • ND filters
  • Manfrotto SPECTRA 900FT LED light (just in case).
Some macro shots of fungi!

Some macro shots of fungi!

I never go out with an idea of what the final edit will look like, or what I'm distinctly looking for, apart from to give the audience of the video the experience of what it's like to be in the scene. The story is a visual meditation, taking you on a journey. Ron Fricke has mastered this art through his films 'Baraka' and 'Samsara'.

"Give your audience something new, something they perhaps haven't seen, heard, felt or experienced before. Put them in the scene and give them an immersive experience."

I don't think many viewers of the video would have been in a World War II Pill Box.. So I gave them that experience! It had also started to pour with rain when we arrived at North Downs Way, so the dug out shelter provided ample protection from the elements!

The little details of the changing seasons are what we have as memories of autumn. The turning of the leaves and crunch they make as you step on them. The glorious colours of sunset silhouetting the trees! Shooting with the Cinestyle picture profile allows me to capture the video with an extended DR, that I can then manipulate and restore the details in the shadows and highlights when grading in post. This really pops the colours.

If you're out walking, or somewhere new, stray off the path and discover something new. It's a tactic I use when I'm out, it's how I find 'interesting' things to shoot!

Sunset, white balance of 5800K; golden orange tones.

Sunset, white balance of 5800K; golden orange tones.

When I am out shooting, there aren't set rules that I follow as every scenario will be different; indoors or outdoors, subjects will vary and so will the kit you choose to use. I do however make sure I correctly set the following:

  • White balance/colour temperature.
  • The image is level with the horizon line (more so for landscape, unless artistically intended).
  • Sound being recorded with a mic, and that it is ON, with the sound level set appropriate to the environment.
  • Shutter speed set to 1/50th (on DSLR).
  • The shot must show me something new, with framing and composition telling the next part of the story.
  • Am I using an appropriate aperture?

The last one about 'appropriate aperture' is more due to the variety of shots you want to capture. For example: intimate portrait with a wide aperture (F/2.8) vs large landscape with narrow aperture (F/16). Yes, shooting as wide as possible (T/1.5 is the widest I can shoot) produces incredible bokeh, extremely shallow depth of field for intimacy and can keep you shooting in darker scenarios.. But it can also produce softening at the edges (lens dependent), and may not fit the subject; a row of trees, a crowd of ravers. On the other hand, shooting with a deep depth of field (F/11 +) of a babies fingers or the dew on a spiders web does not isolate the subject, makes the image darker and sometimes produces vignetting (lens dependent).

My point being: It is subjective. There is no right answer. Find the right aperture to expose the shot as you wish, using the depth of field to move the viewers attention through the frame.

To summarize, by checking those above points, you'll save a lot of time and work later!

Taken on the North Downs Way, Ranmore, Surrey by Adam Plowden on Canon 5D mkIII and Tamron 24-70.

Taken on the North Downs Way, Ranmore, Surrey by Adam Plowden on Canon 5D mkIII and Tamron 24-70.

Winkworth Arboretum (Godalming, Surrey)

I've been wanting to visit Winkworth for months now, originally purchased by Dr Fox in the 20th Century, it is home to over 1000 trees and plant species created to 'paint a picture' of the landscape. The dream of Dr Fox lives on to the hundreds of visitors of all ages through the National Trust who were very accommodating during my days visit.

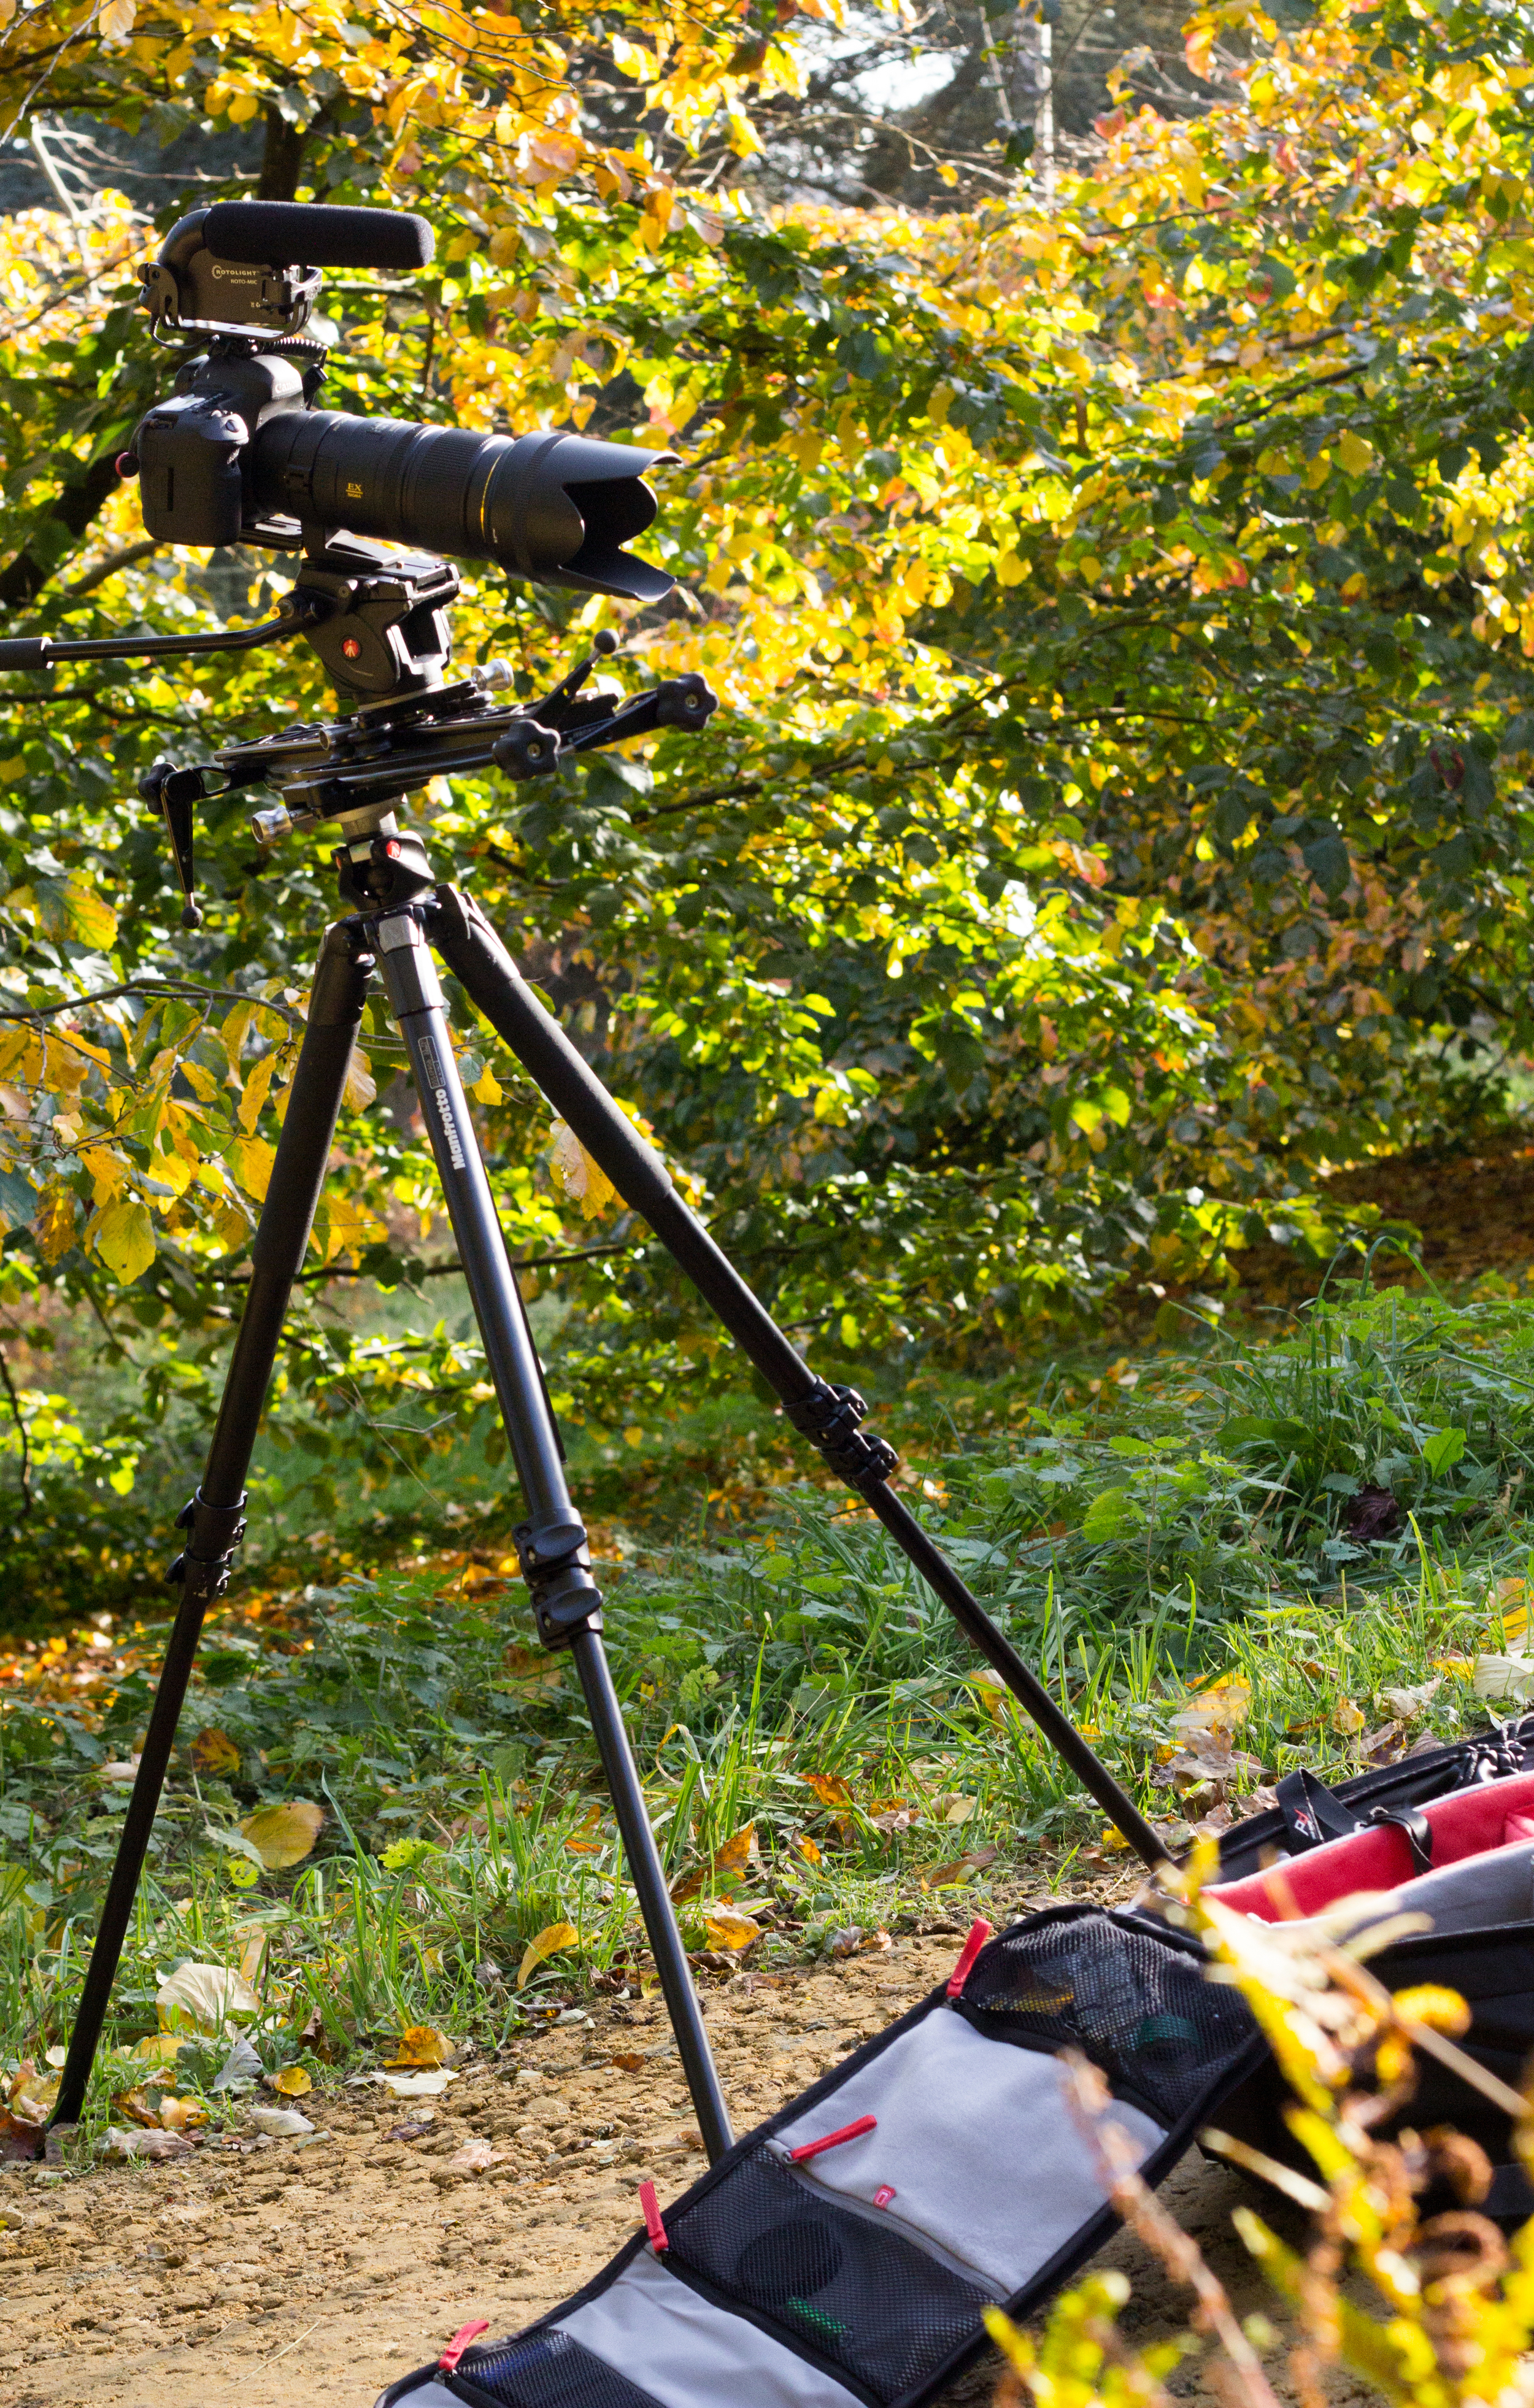
It was my first time at the arboretum, so while I was discovering the beauty of the location I also snapped up plenty of autumnal shots. My kit list varied to what I used at the North Downs Way, but I still used my trusty Manfrotto 055 ProB tripod, 701HDV head and Pro Backpack50! It's so versatile, and trust me, you really can fit everything in this bag for videography!

APV setup: 5D mkIII with Sigma 70-200 on Manfrotto 055ProB, Pro Media Gear dual arc slider, 701HDV head, Roto-mic and Manfrotto Pro Backpack50. And Peak Design strap!

APV setup: 5D mkIII with Sigma 70-200 on Manfrotto 055ProB, Pro Media Gear dual arc slider, 701HDV head, Roto-mic and Manfrotto Pro Backpack50. And Peak Design strap!

I wasn't surprised at the number of photographers in the arboretum, the foliage from the range of trees was stunning, a mix of still turning greens, oranges, deep reds.

Beautiful day to be out with the camera!

Beautiful day to be out with the camera!

Acer is my favorite species of tree because of its delicate and intricate leaves and branch structure, it has very unique leaf colours that dramatically change throughout the seasons too.

My favorite!

My favorite!

It was a pleasure strolling around the massive arboretum. I was up for filming anything I liked, I had my Manfrotto Pro Backpack50 filled with my favourite lenses to shoot nature with. The Canon L series 100mm F/2.8 macro lens has been gratefully welcomed into the collection, it definitely being my favorite lens! It has the intimacy and clarity I like to capture, getting the details.

Stunning colours and light, beaming through the trees.

Stunning colours and light, beaming through the trees.

My larger go to kit setup!

My larger go to kit setup!

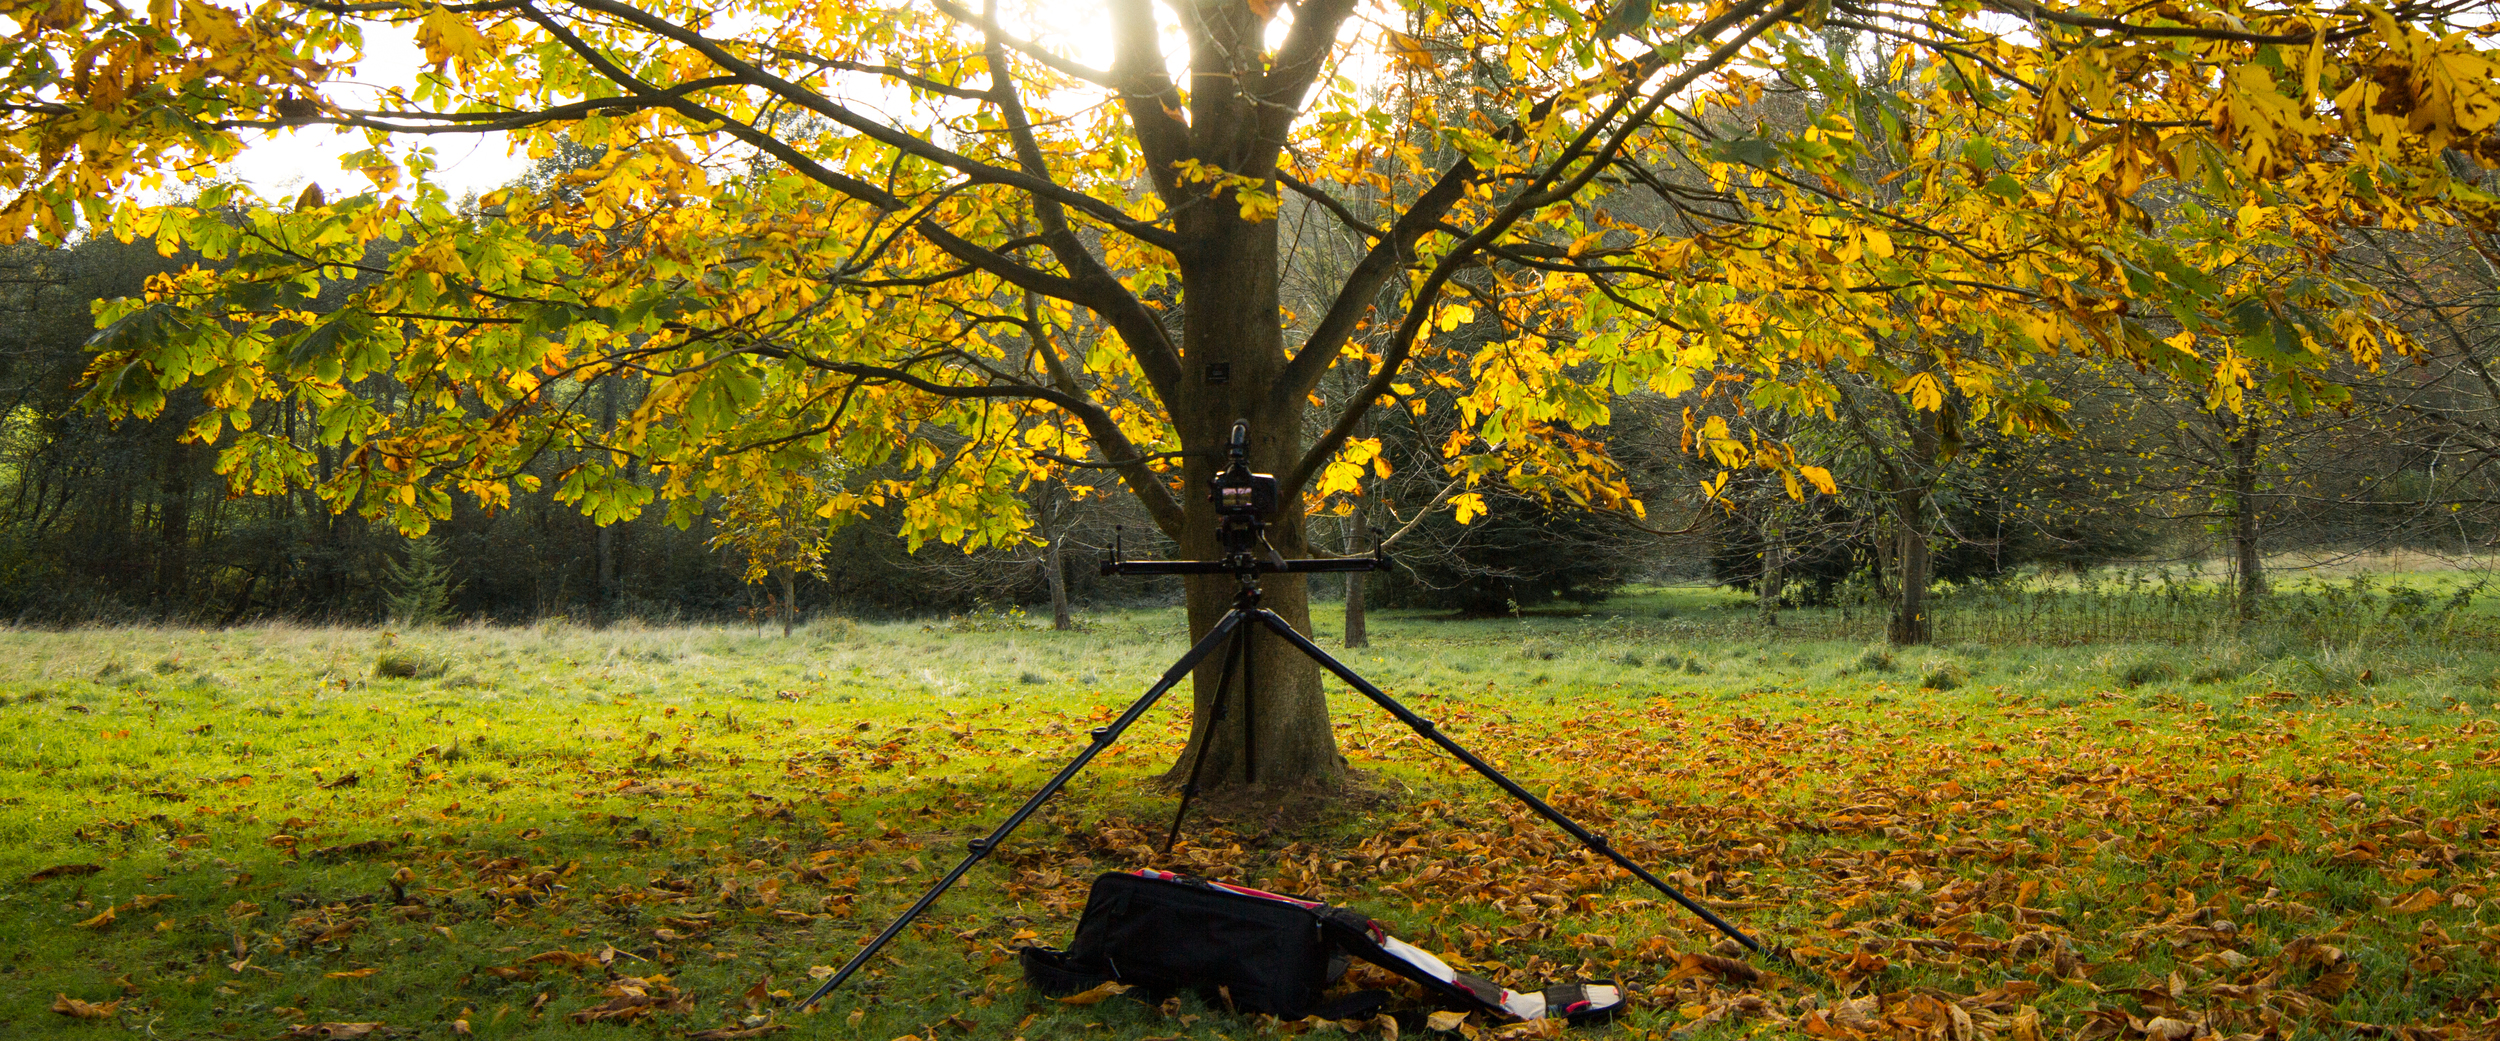
The above photo I think captures the essence of my work; simple, unique adaptive.. The ability to move the camera using the Pro Media Gear dual arc slider gives the ability to move and orientate around the subject, in the above case around the trunk of a tree, showing the array of interconnected branches and leaves.

For a number of these shots I would have been using the 14mm cine lens, at around T/11 to T/16, so that I could expose both the darker branches and the bright light bursting through the leaves.

Abundant autumnal foliage scattered the landscapes hillsides.

Abundant autumnal foliage scattered the landscapes hillsides.

For photographers and videographers I would definitely recommend a trip to Winkworth. It offers a unique view into nature throughout the seasons, walk freely through the meadows or copses capturing the beauty of nature.

Thanks to the National Trust for upkeeping the arboretum and the volunteers that maintain the site, as well as Manfrotto for their continued support! Get out there and film the lip-chapping mornings, or fireworks night that is coming up soon. It's a stunning time of year, go capture it!

The autumn video is currently in post production, and I am collaborating with Tristan Noon, a composer to produce the soundtrack to accompany the visuals. I'll post up part 2 of the the autumn filming blog when the editing is complete, and the video uploaded!

New Rokinon/Samyang 12mm lens!

Rokinon/Samyang have been pioneering high quality photography and VDSLR lenses for a number of years now, and with the introduction of their Cine lens range they are a must have for intermediate kit choice for a number of reasons:

  • Incredible build quality results in top images; compared with Canon L series, this glass holds up nicely.
  • Price; cheap enough to get a whole kit for the price of one L series lens.
  • Manual control; much better for video, allowing subtle aperture changes and precise control.
  • Small size; I've got 3 and they all come out with me. They aren't large lenses to carry or use on camera.
New Rokinon 12mm cine lens

Rokinon announce another cine lens to their line up; the 12mm F/2.8 (digital photo) or T/3.1 in the VDSLR model. An ultra-wide fisheye, perfect for large landscapes, extreme perspectives, fast sports and music vids.

Personally, if I was to purchase this new lens I would go for the 12mm F/2.8 digital photo model for use on crop sensor cameras for an effective ~18mm focal length.

What are your thoughts?

IBC Show 2014 Roundup!

adam plowden videography at ibc 2014 show manfrotto
adam plowden videography at ibc 2014 show manfrotto2
adam plowden videography at ibc 2014 show manfrotto3

What a week it was! There was no doubts we would be busy filming and editing videos for The IABM to release, but not on the scale we anticipated! Overall, Adam Plowden Videography captured and produced at least 8-10 videos each day, an incredible 6 times more video content delivered in one week than previously in the whole of 2013!

I did include a run-down of my kit choices before I left, but here is a quick summary of my chosen equipment to capture the IBC Show:

Manfrotto 546GB twin leg tripod with a 504HD head (A Cam).

Canon 5D mkIII, Tamron 24-70mm, Sigma 70-200mm, Samyang 14mm, 35mm, 85mm, Canon 100mm L.

Manfrotto 755CX3G tripod with a MVH500AH head (B Cam).

Canon 60D, Tamron 17-50mm, Canon 50mm.

Manfrotto Hydra Arm and super clamp.

Zoom H6, Sennheiser ENG-G3 RxTx kit, Roto-mic.

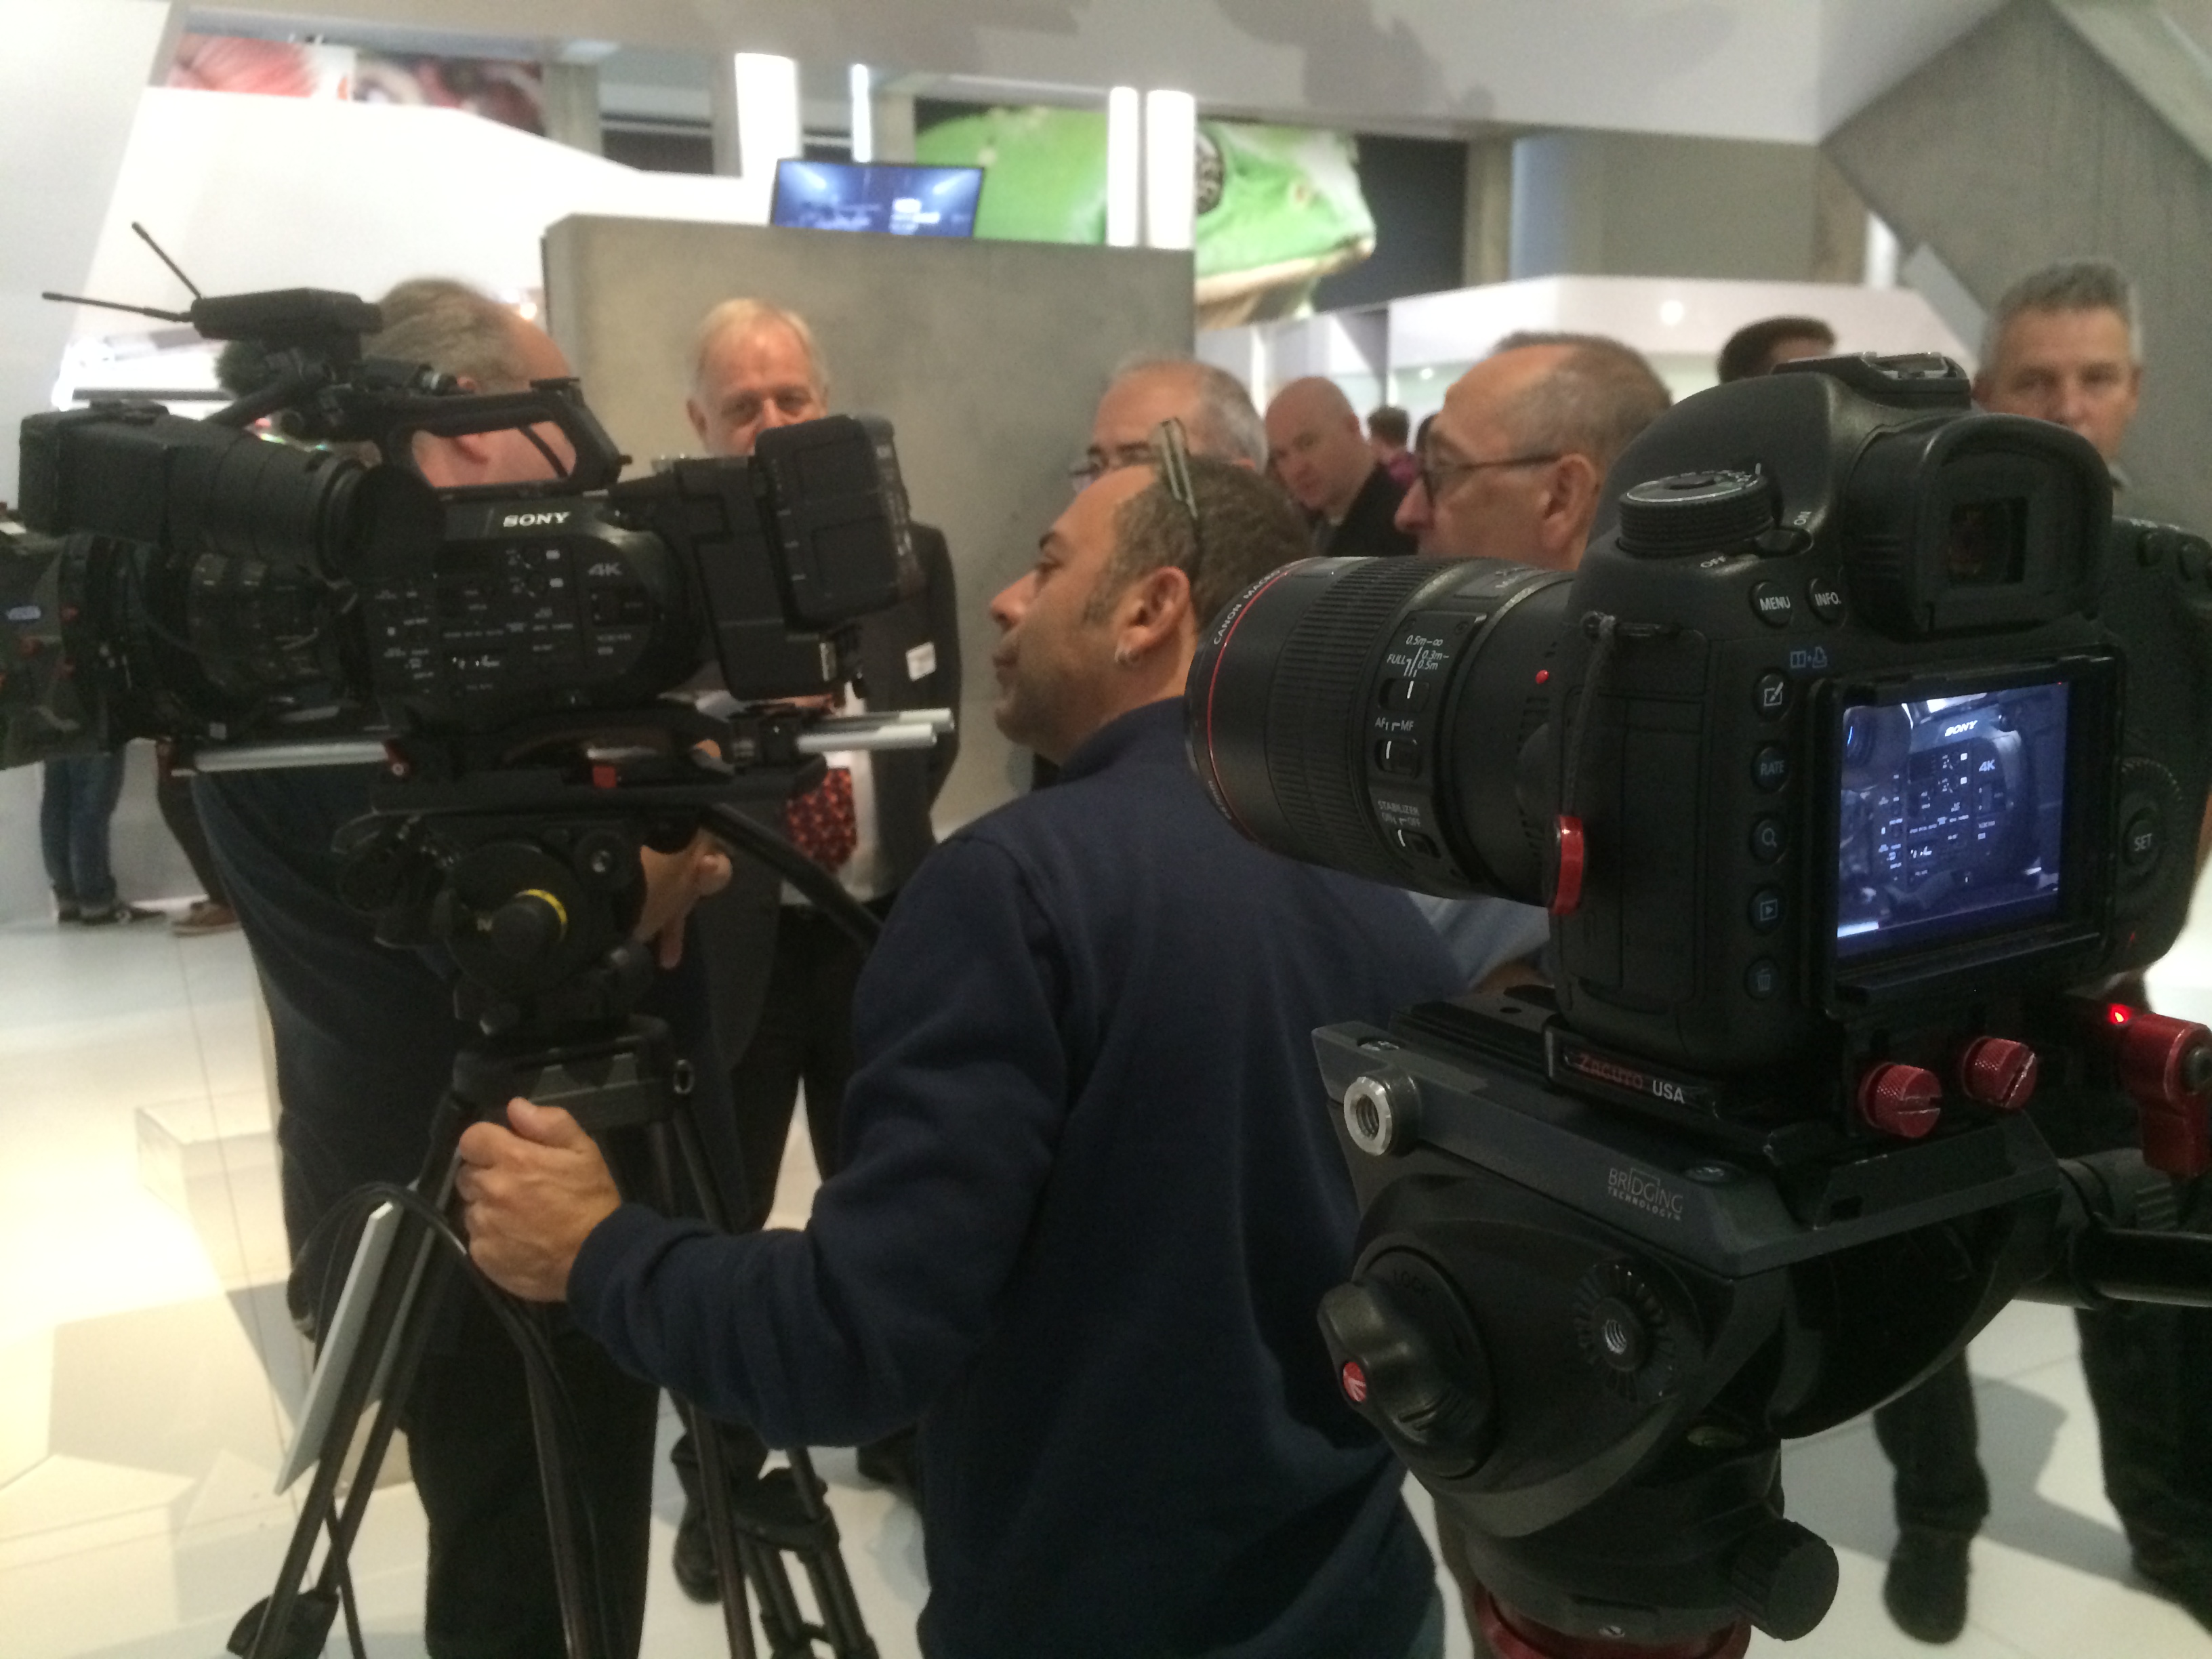
IBC 2014 equipment for IABM filming adam plowden videography manfrotto obs olympics

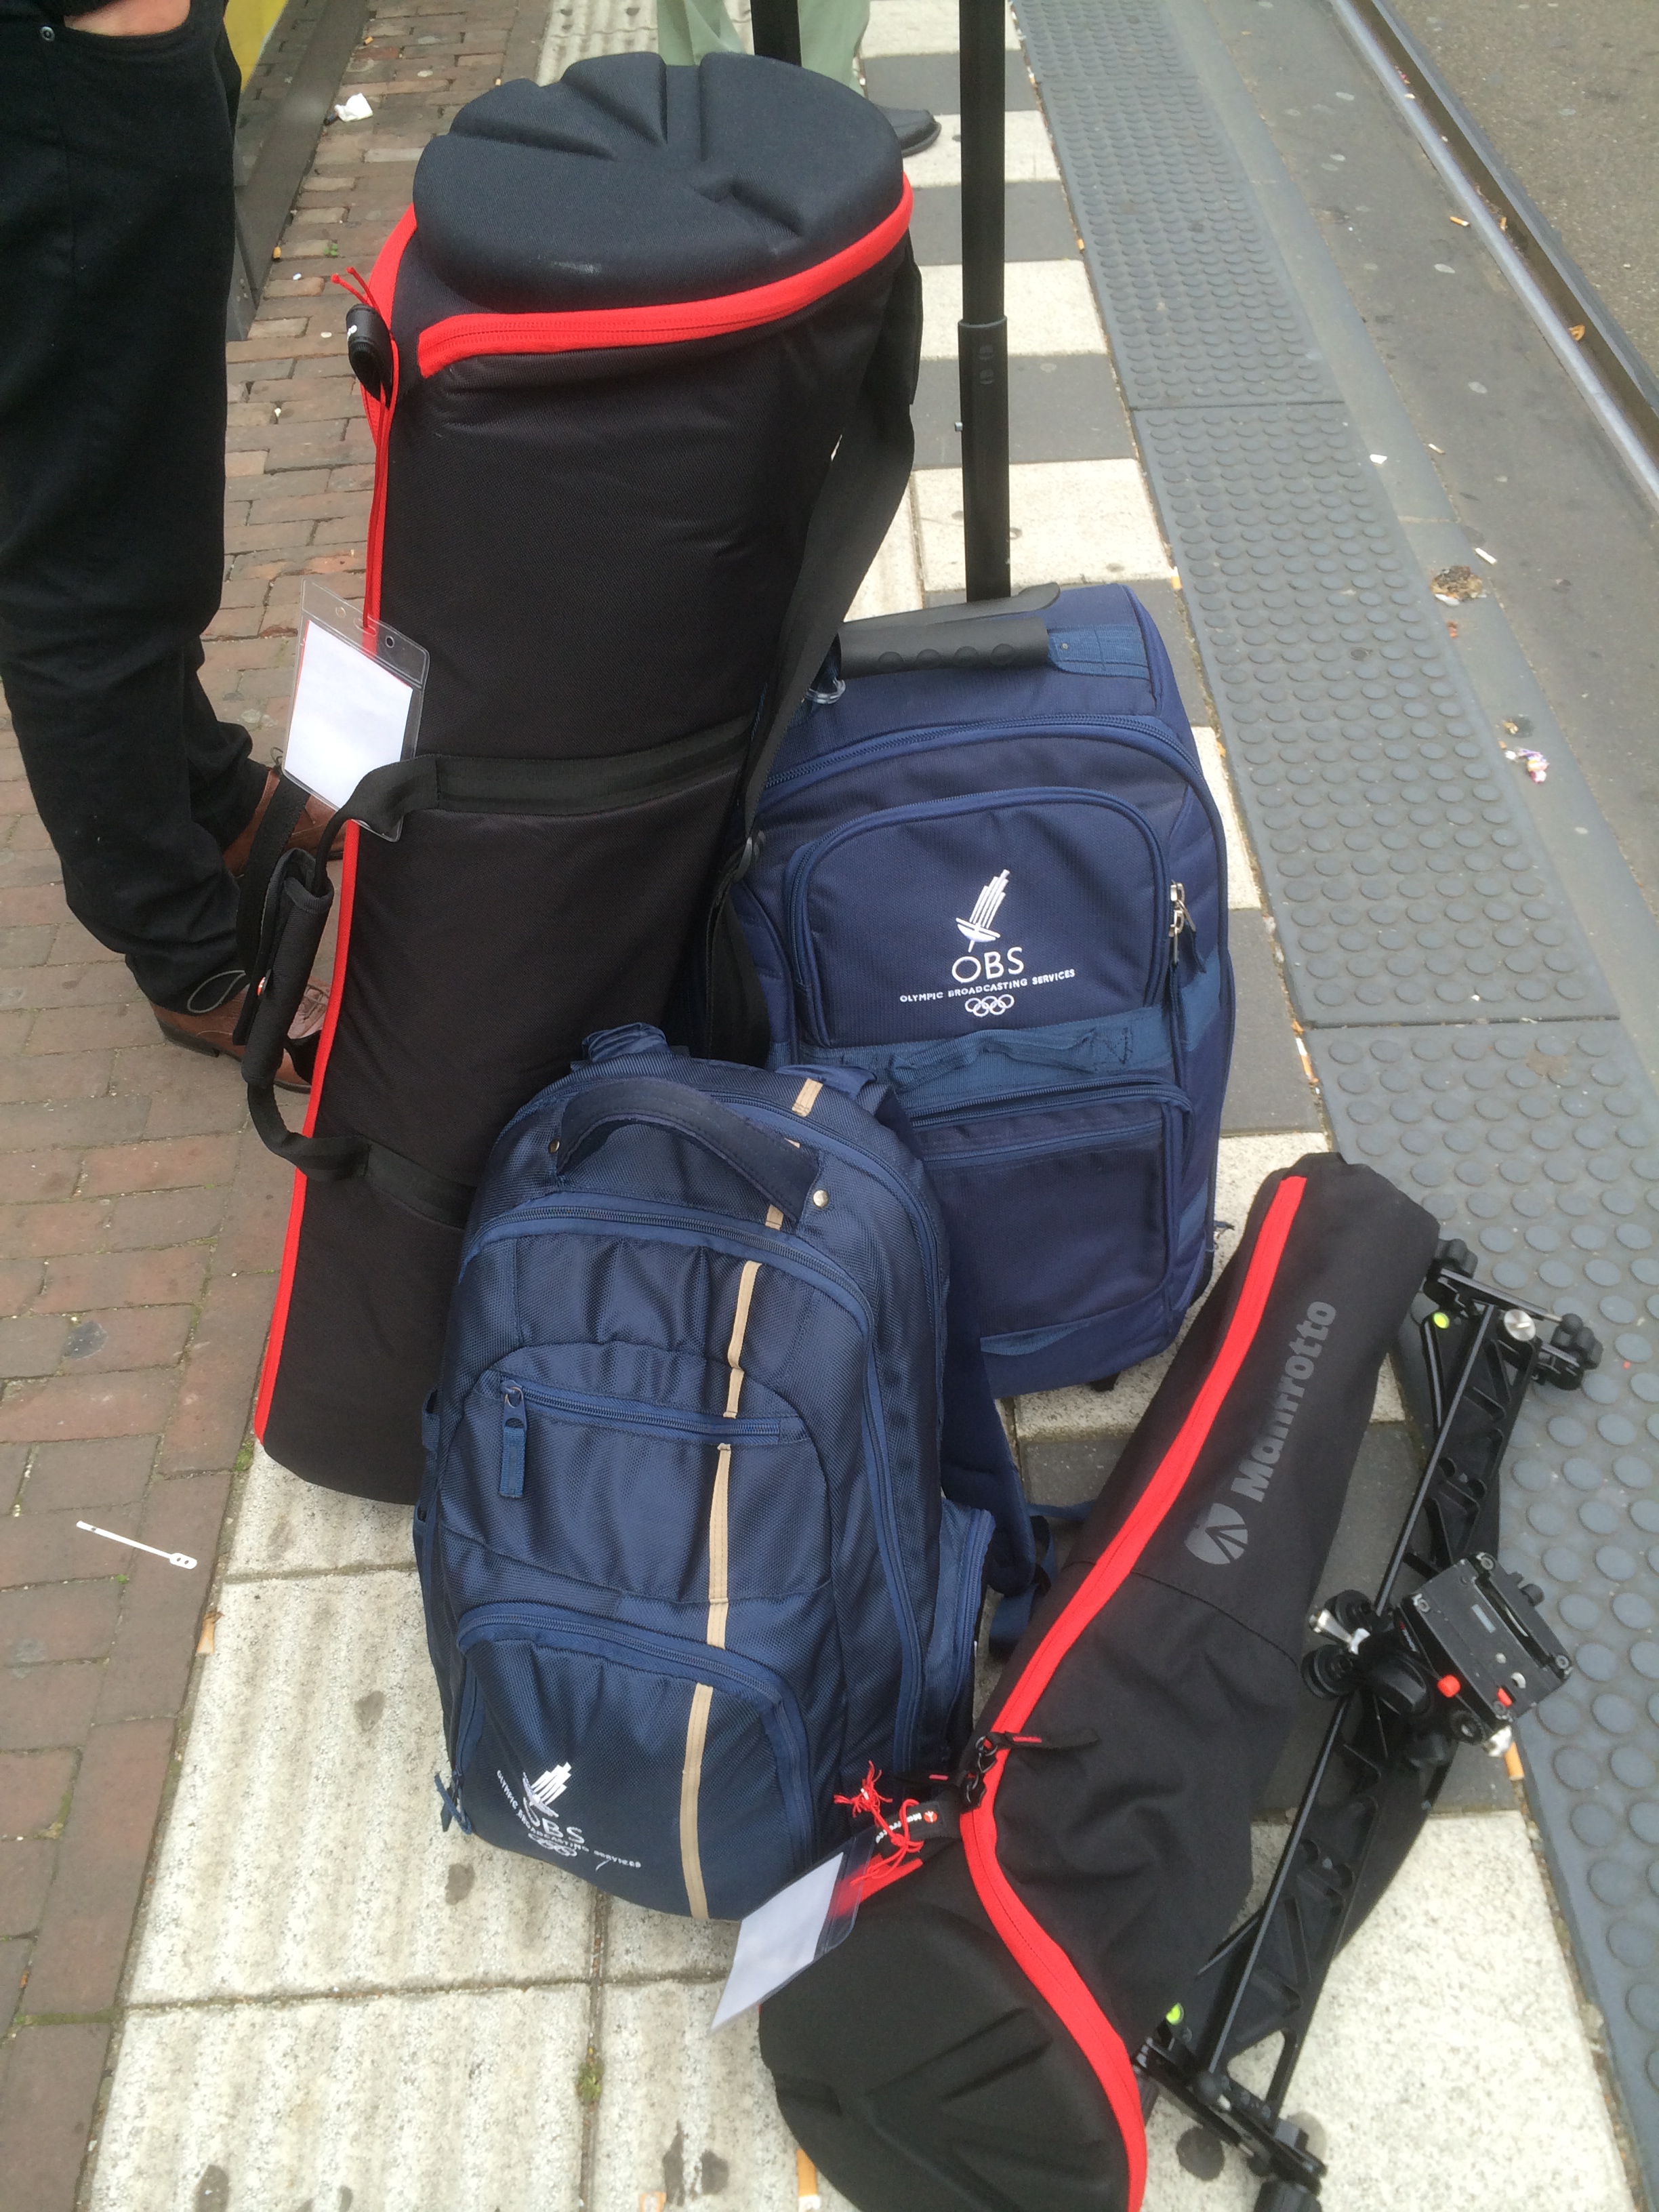
(This is the kit we took each day to film with!)

I had to have the above tripod gear after testing them out at my Manfrotto Takeover day, I was impressed by the fluidity of the 504 head when using it with telephoto lenses (as you can see above), however for lightweight, portable and quick 'run and gun' filming, the 755CX3G is a cracking go to set of legs. (Pictured above with the ProMediaGear Arc-Slider) and 701HDV head.

My main camera was: Canon 5D mkIII, and I was frequently using the Tamron 24-70 F/2.8 VC and Sigma 70-200 F/2.8 DC OS for 'go to' lenses around the show. They have a stabilizer in the lens, which means that shake and wobble can be eliminated. I also purchased the Canon 100mm F/2.8L macro lens before the trip for detail shots, but I fell in love with it for capturing everything; crisp and beautifully shallow portraits too.

adam plowden videography at ibc show 2014 canon 100mm macro l series sony professional interview

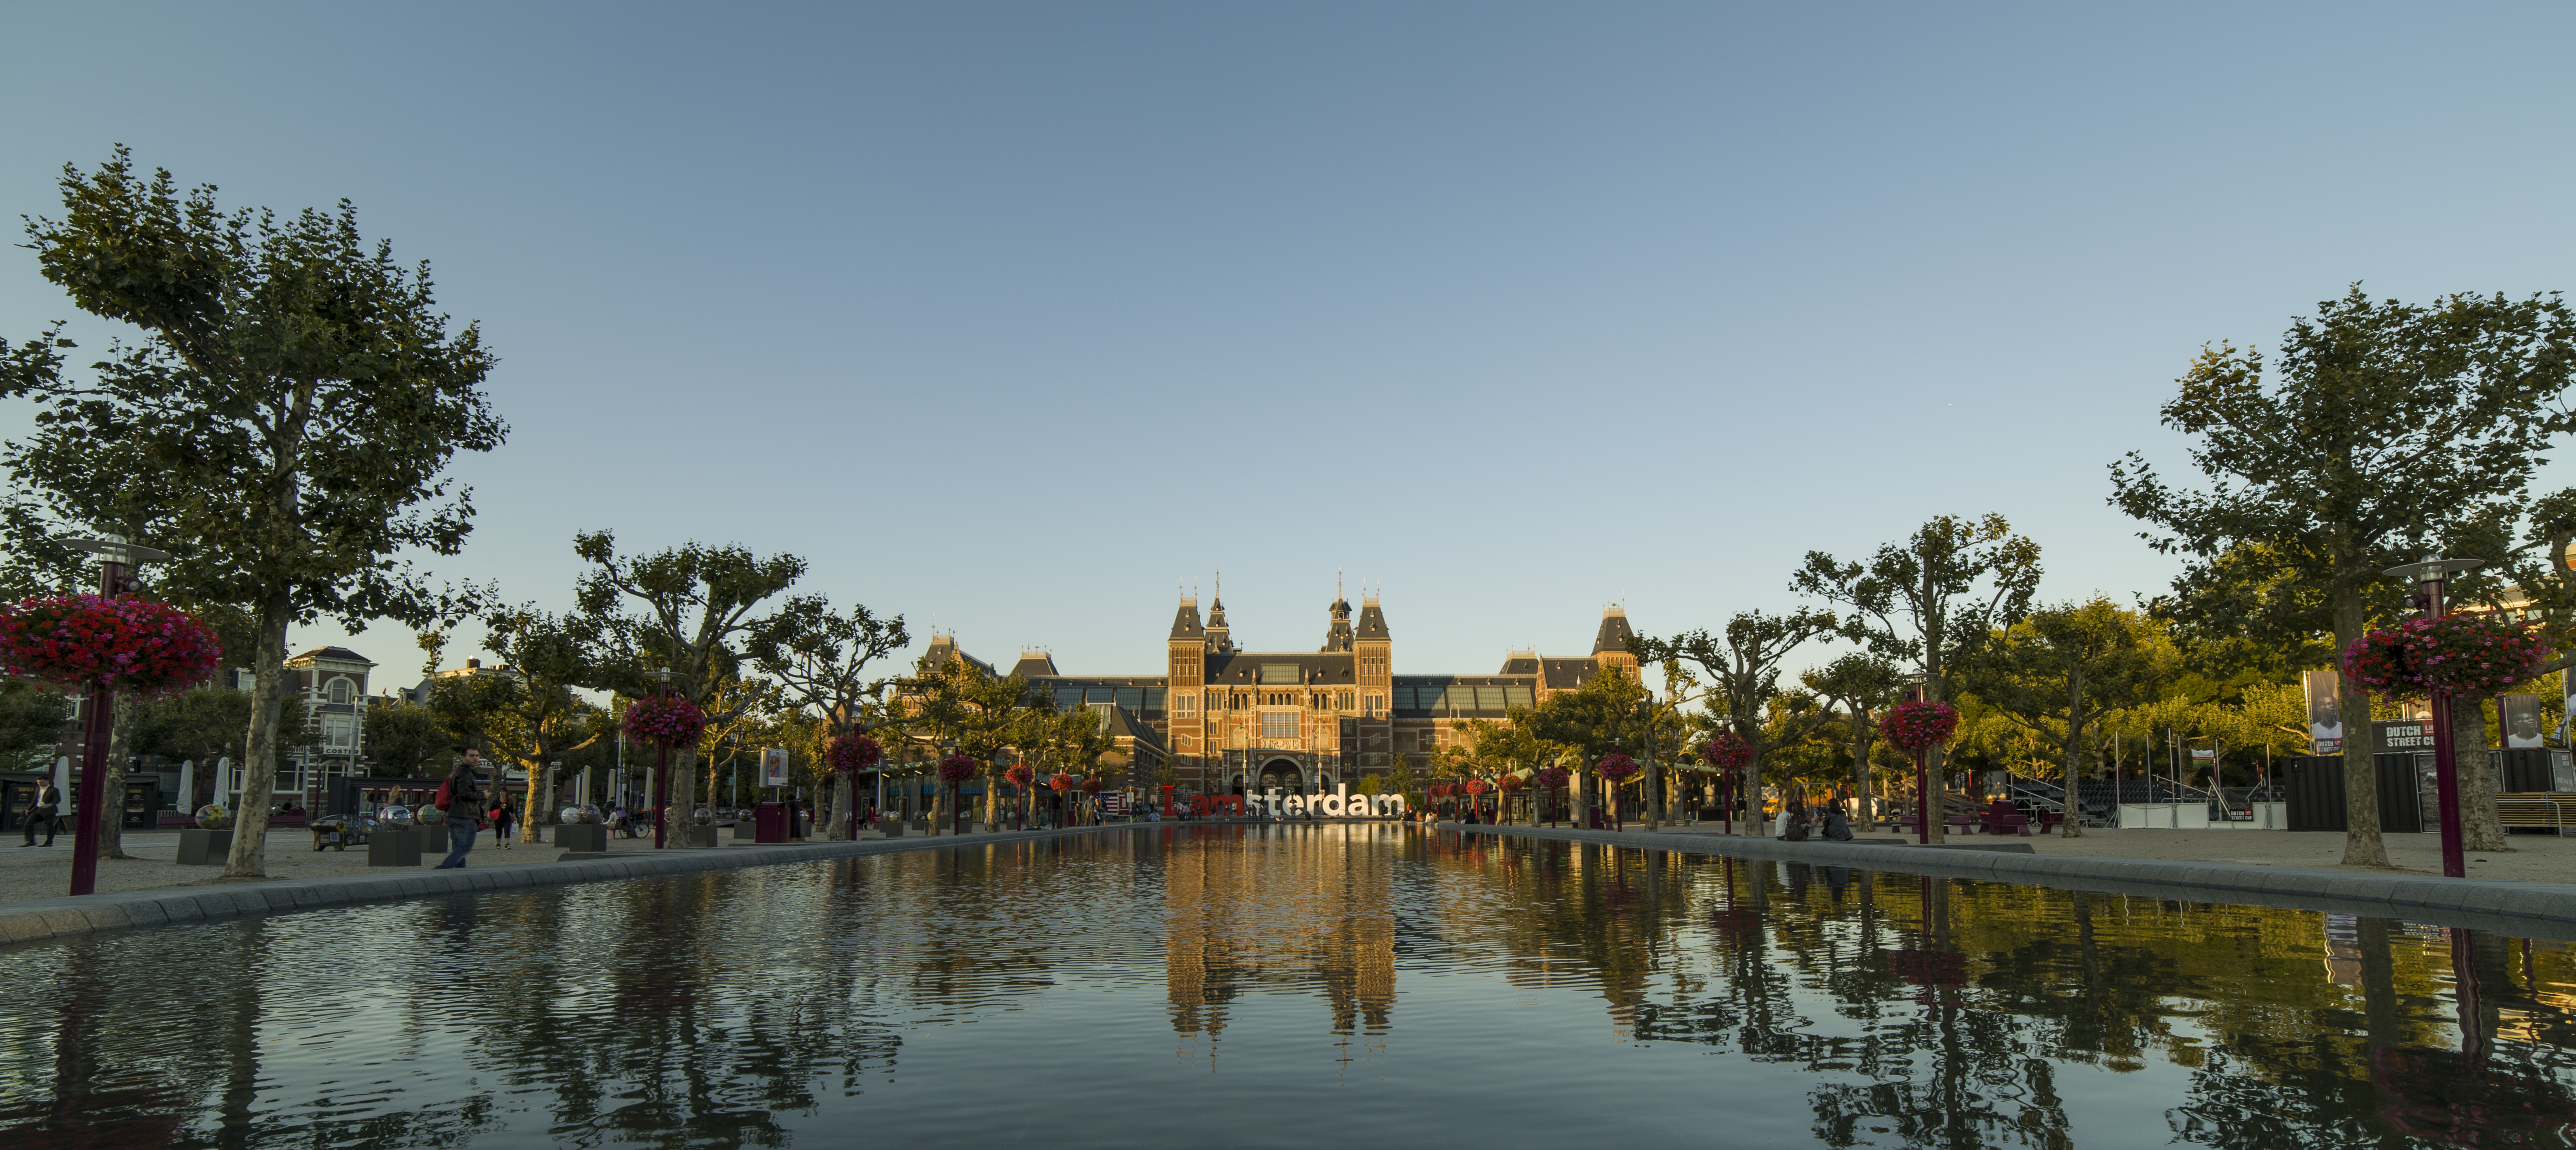
For establishing and wide shots, the Samyang 14mm T/3.1 cine lens came into it's own. On a full frame camera it has a huge wide angle view allowing to capture the biggest of expanses with clarity.

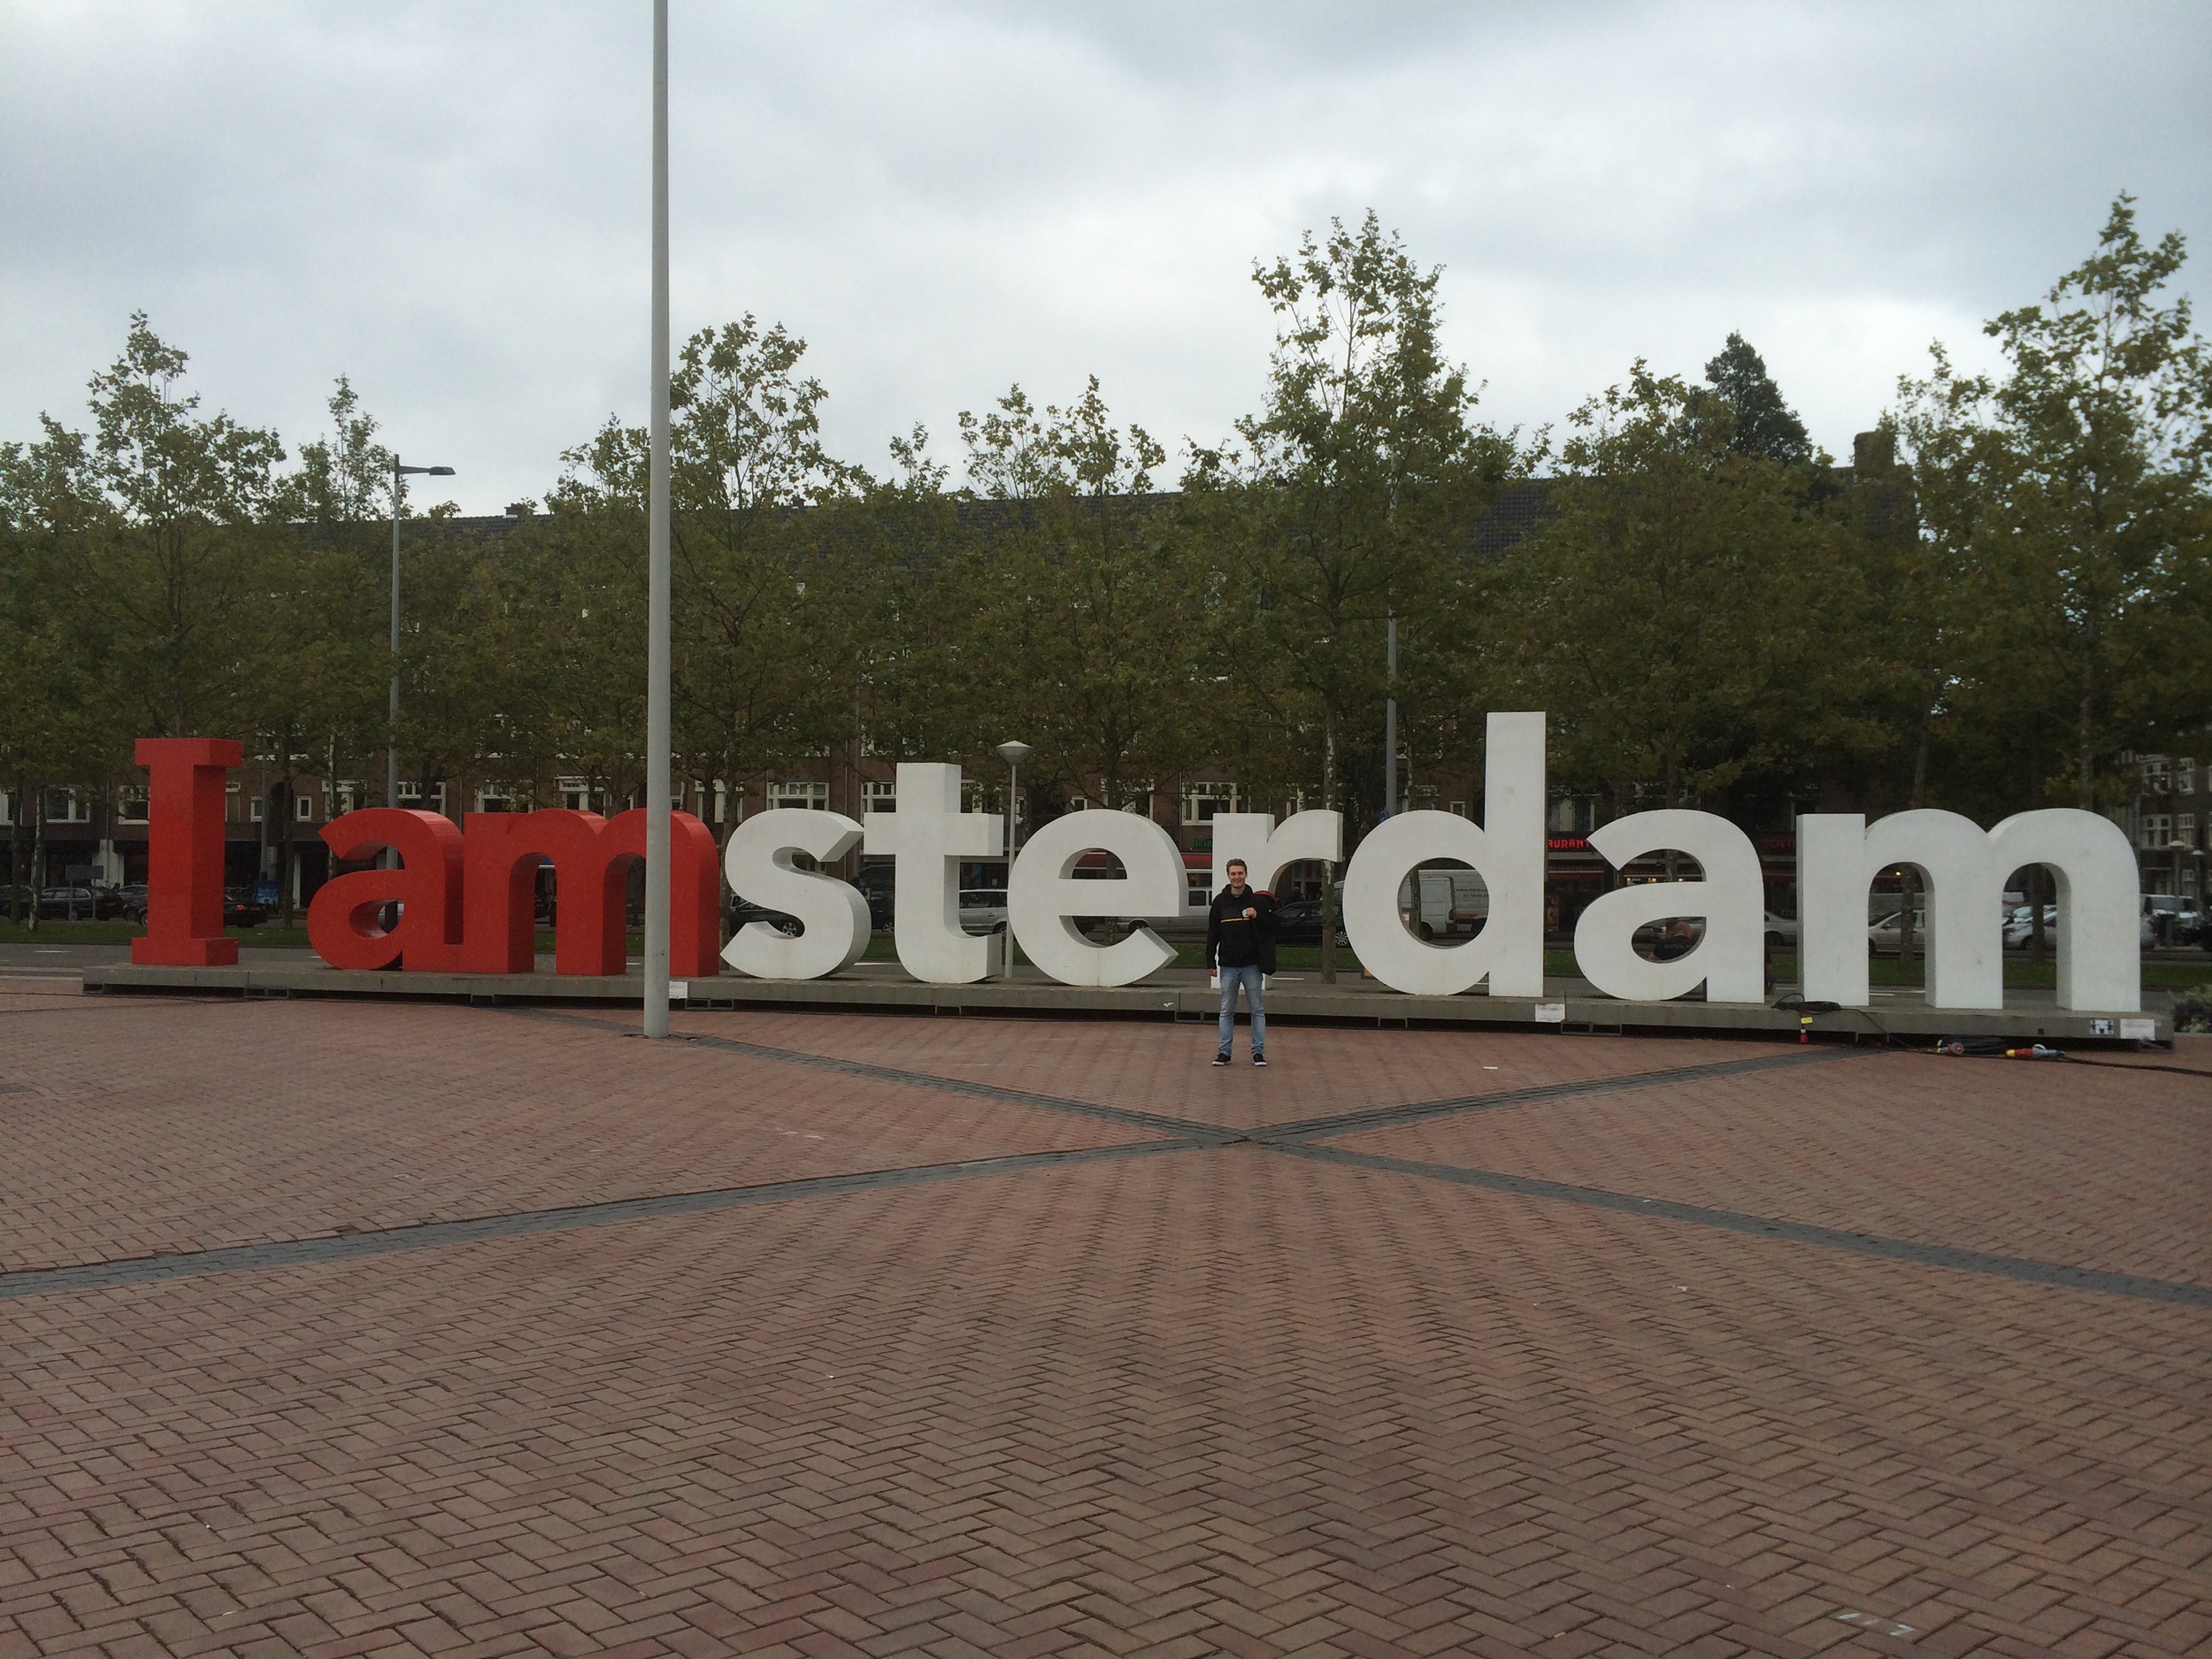
museumplein iamsterdam canon 5d mkiii samyang 14mm tourism wide adam plowden videography IBC show 2014

Day 2 - Thursday 11th September - Welcome to IBC

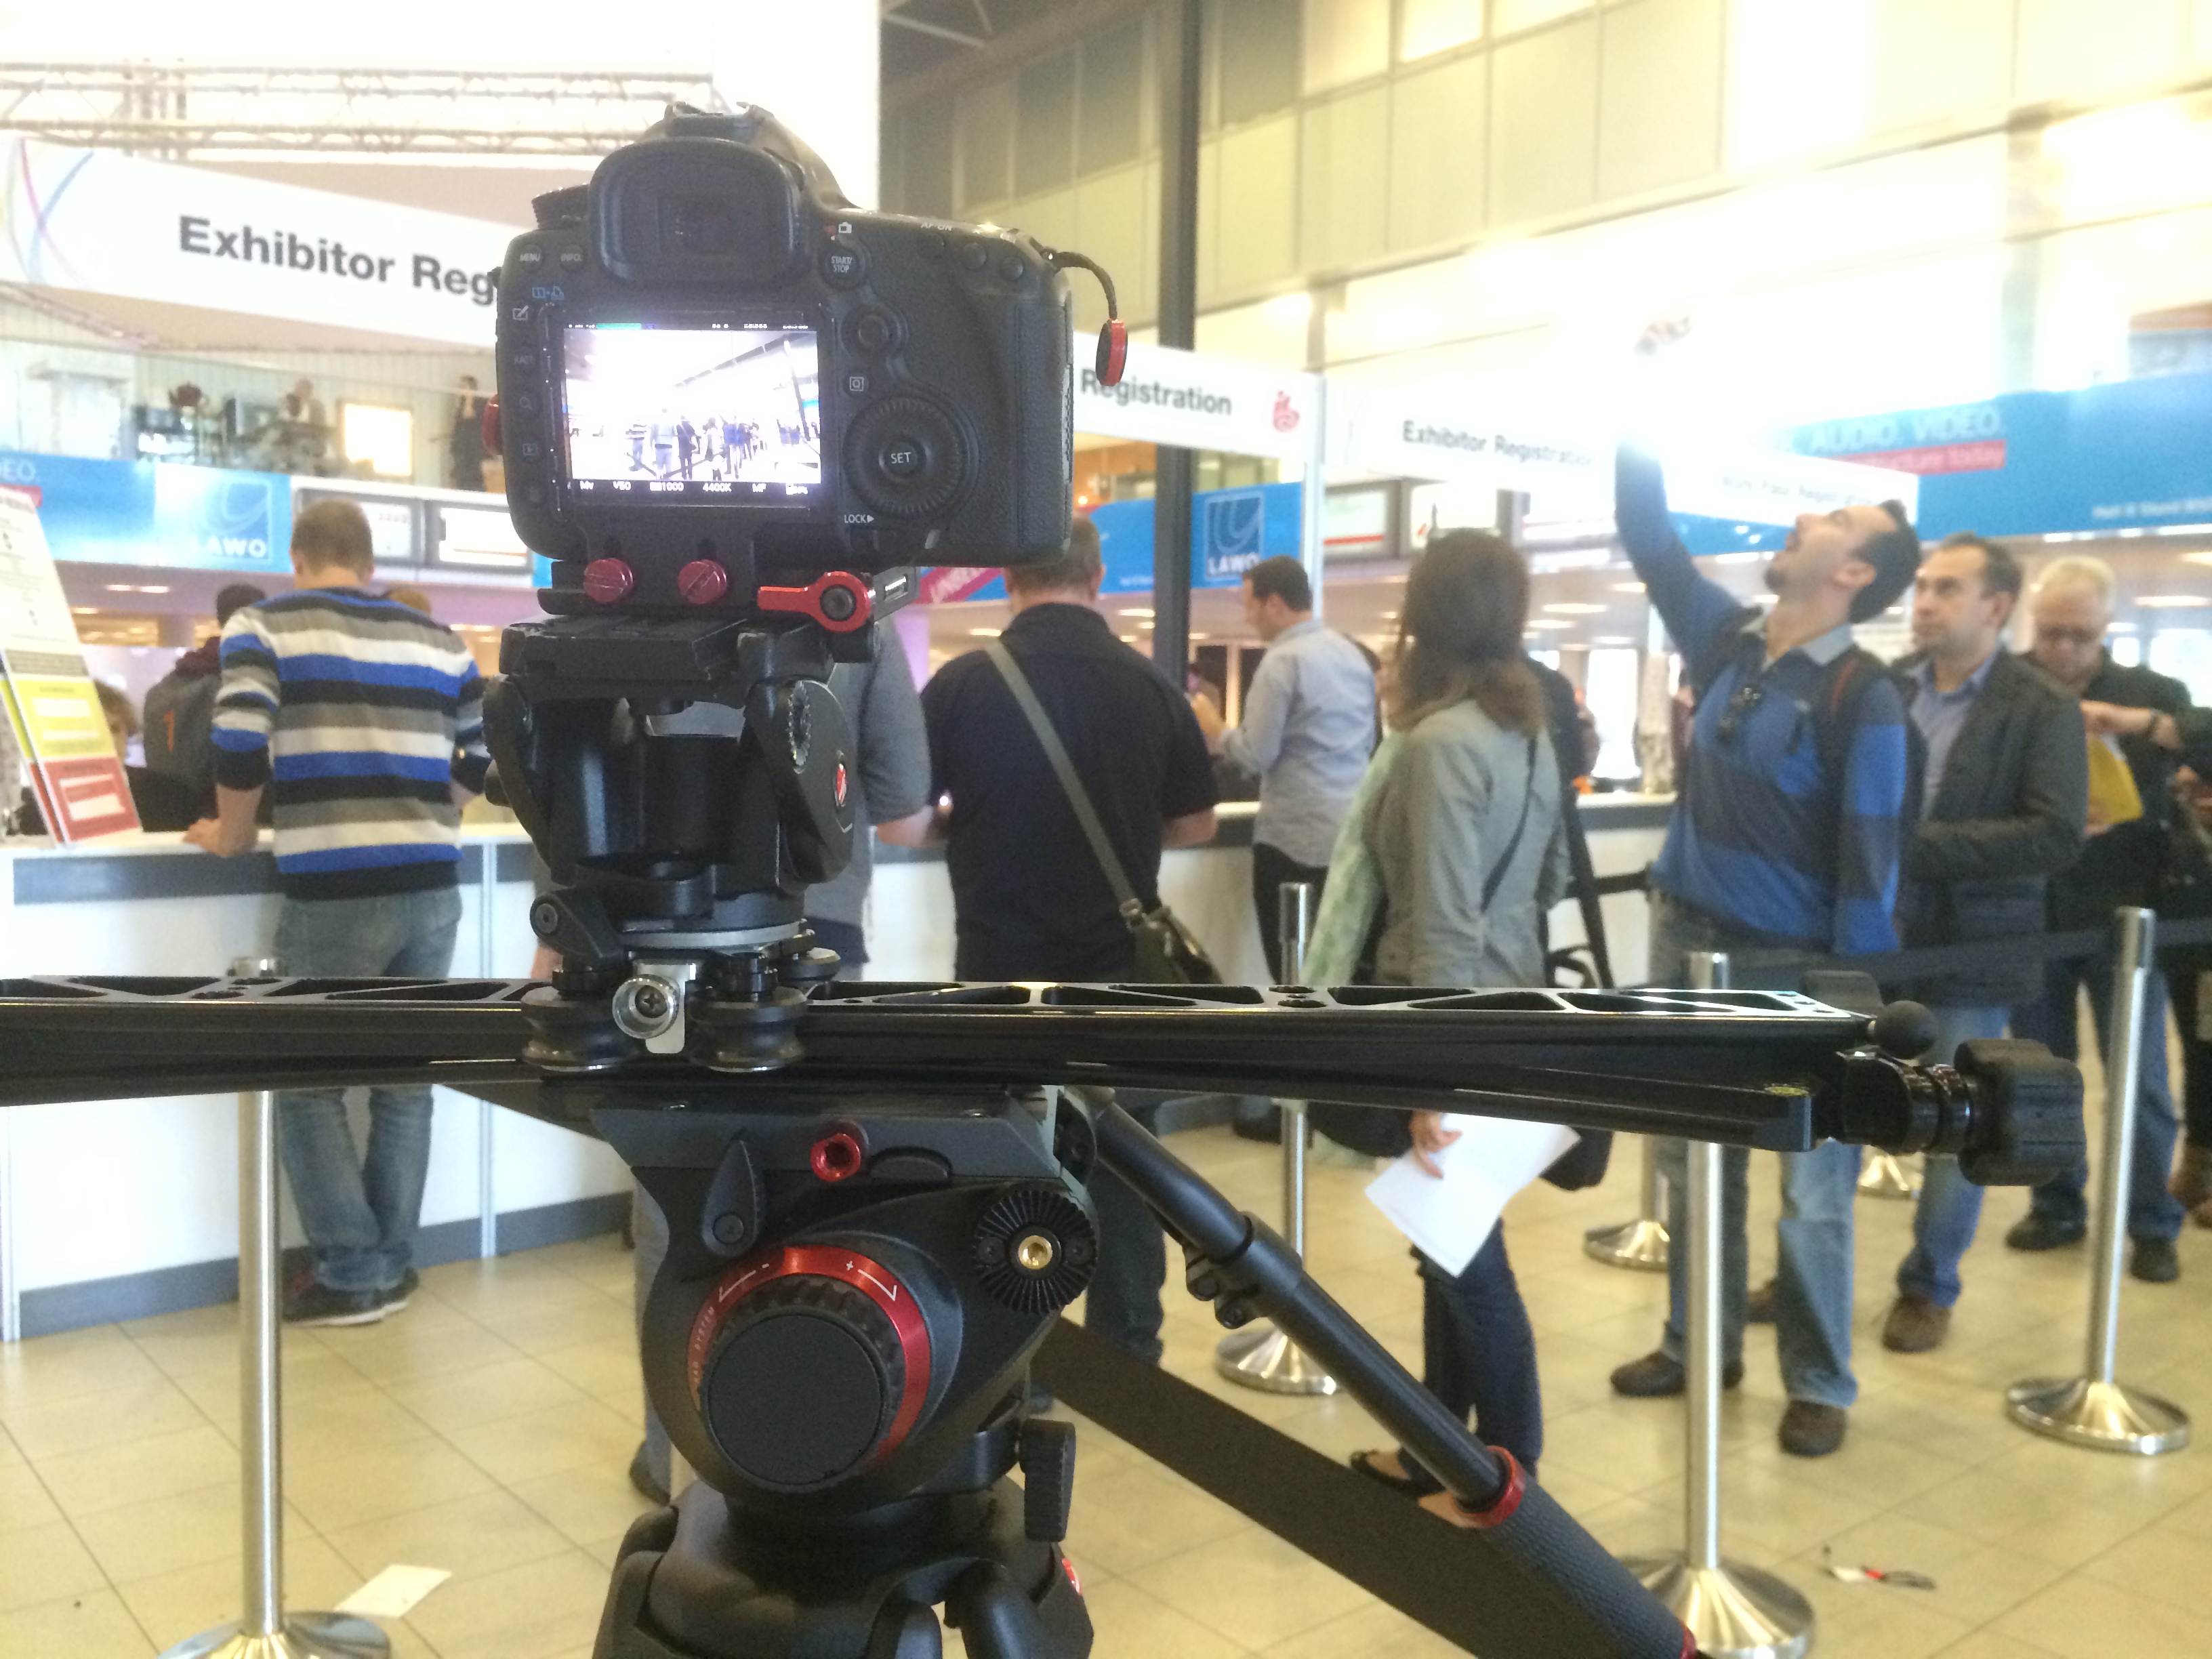
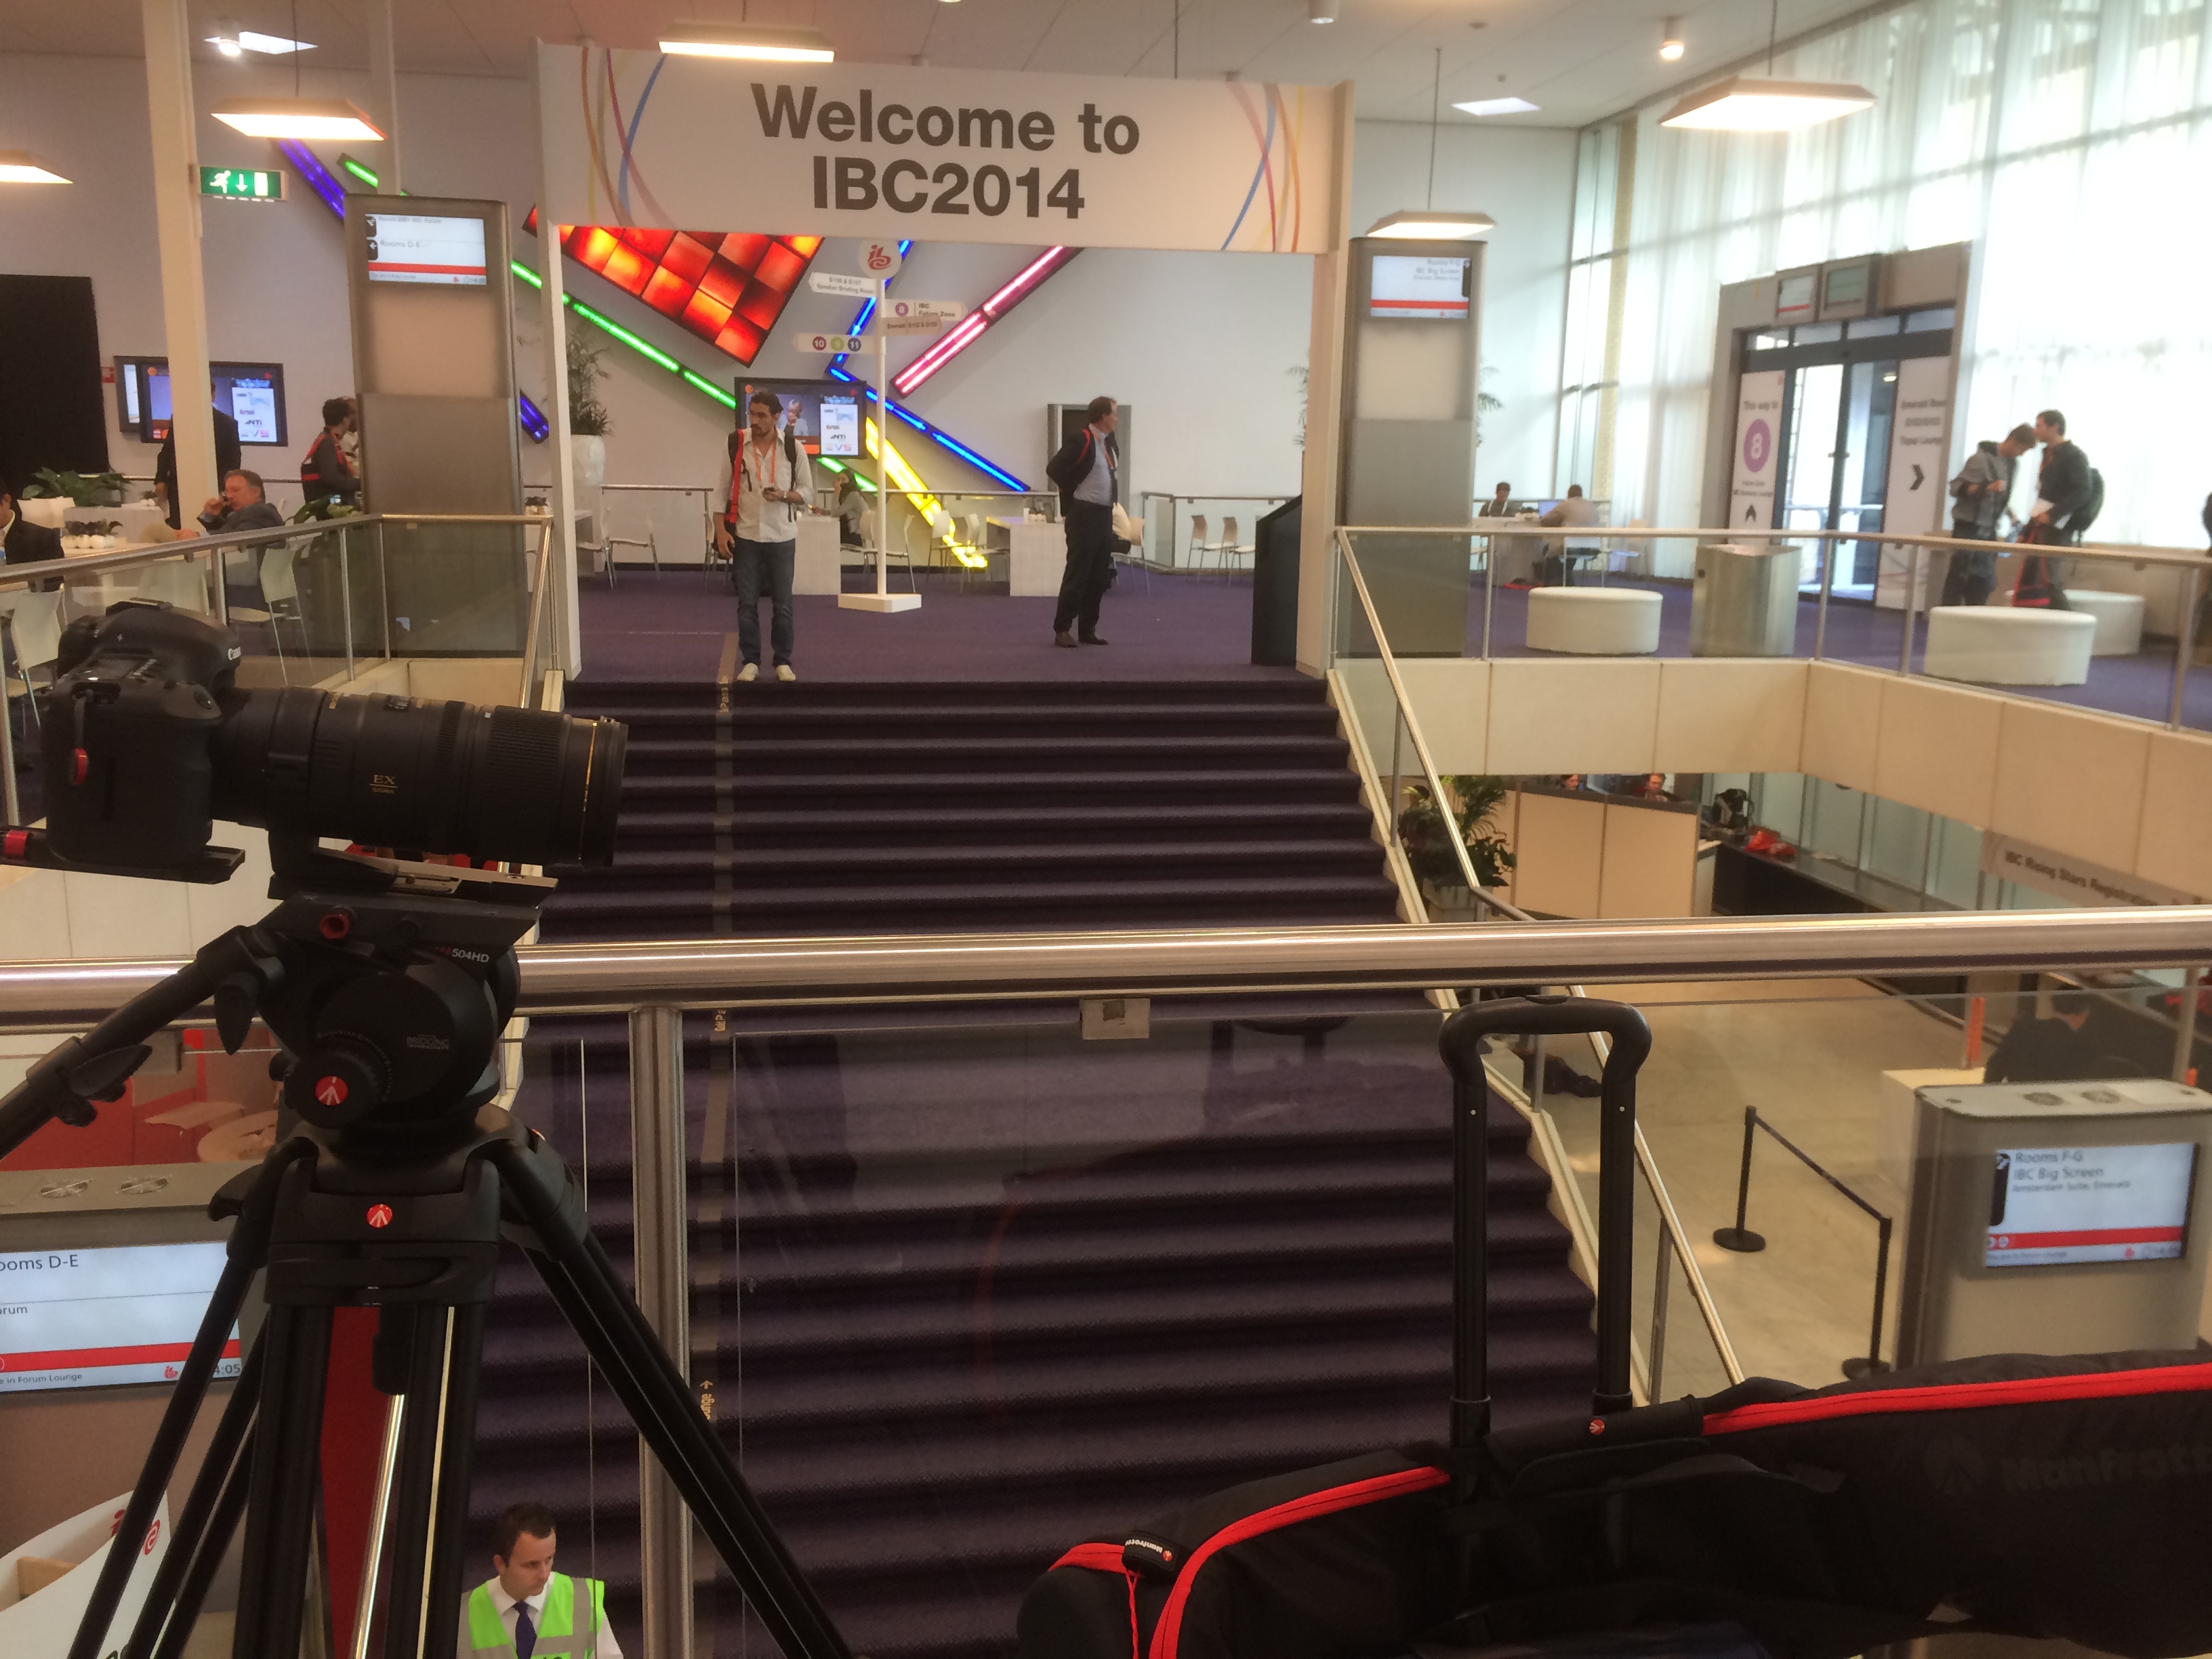
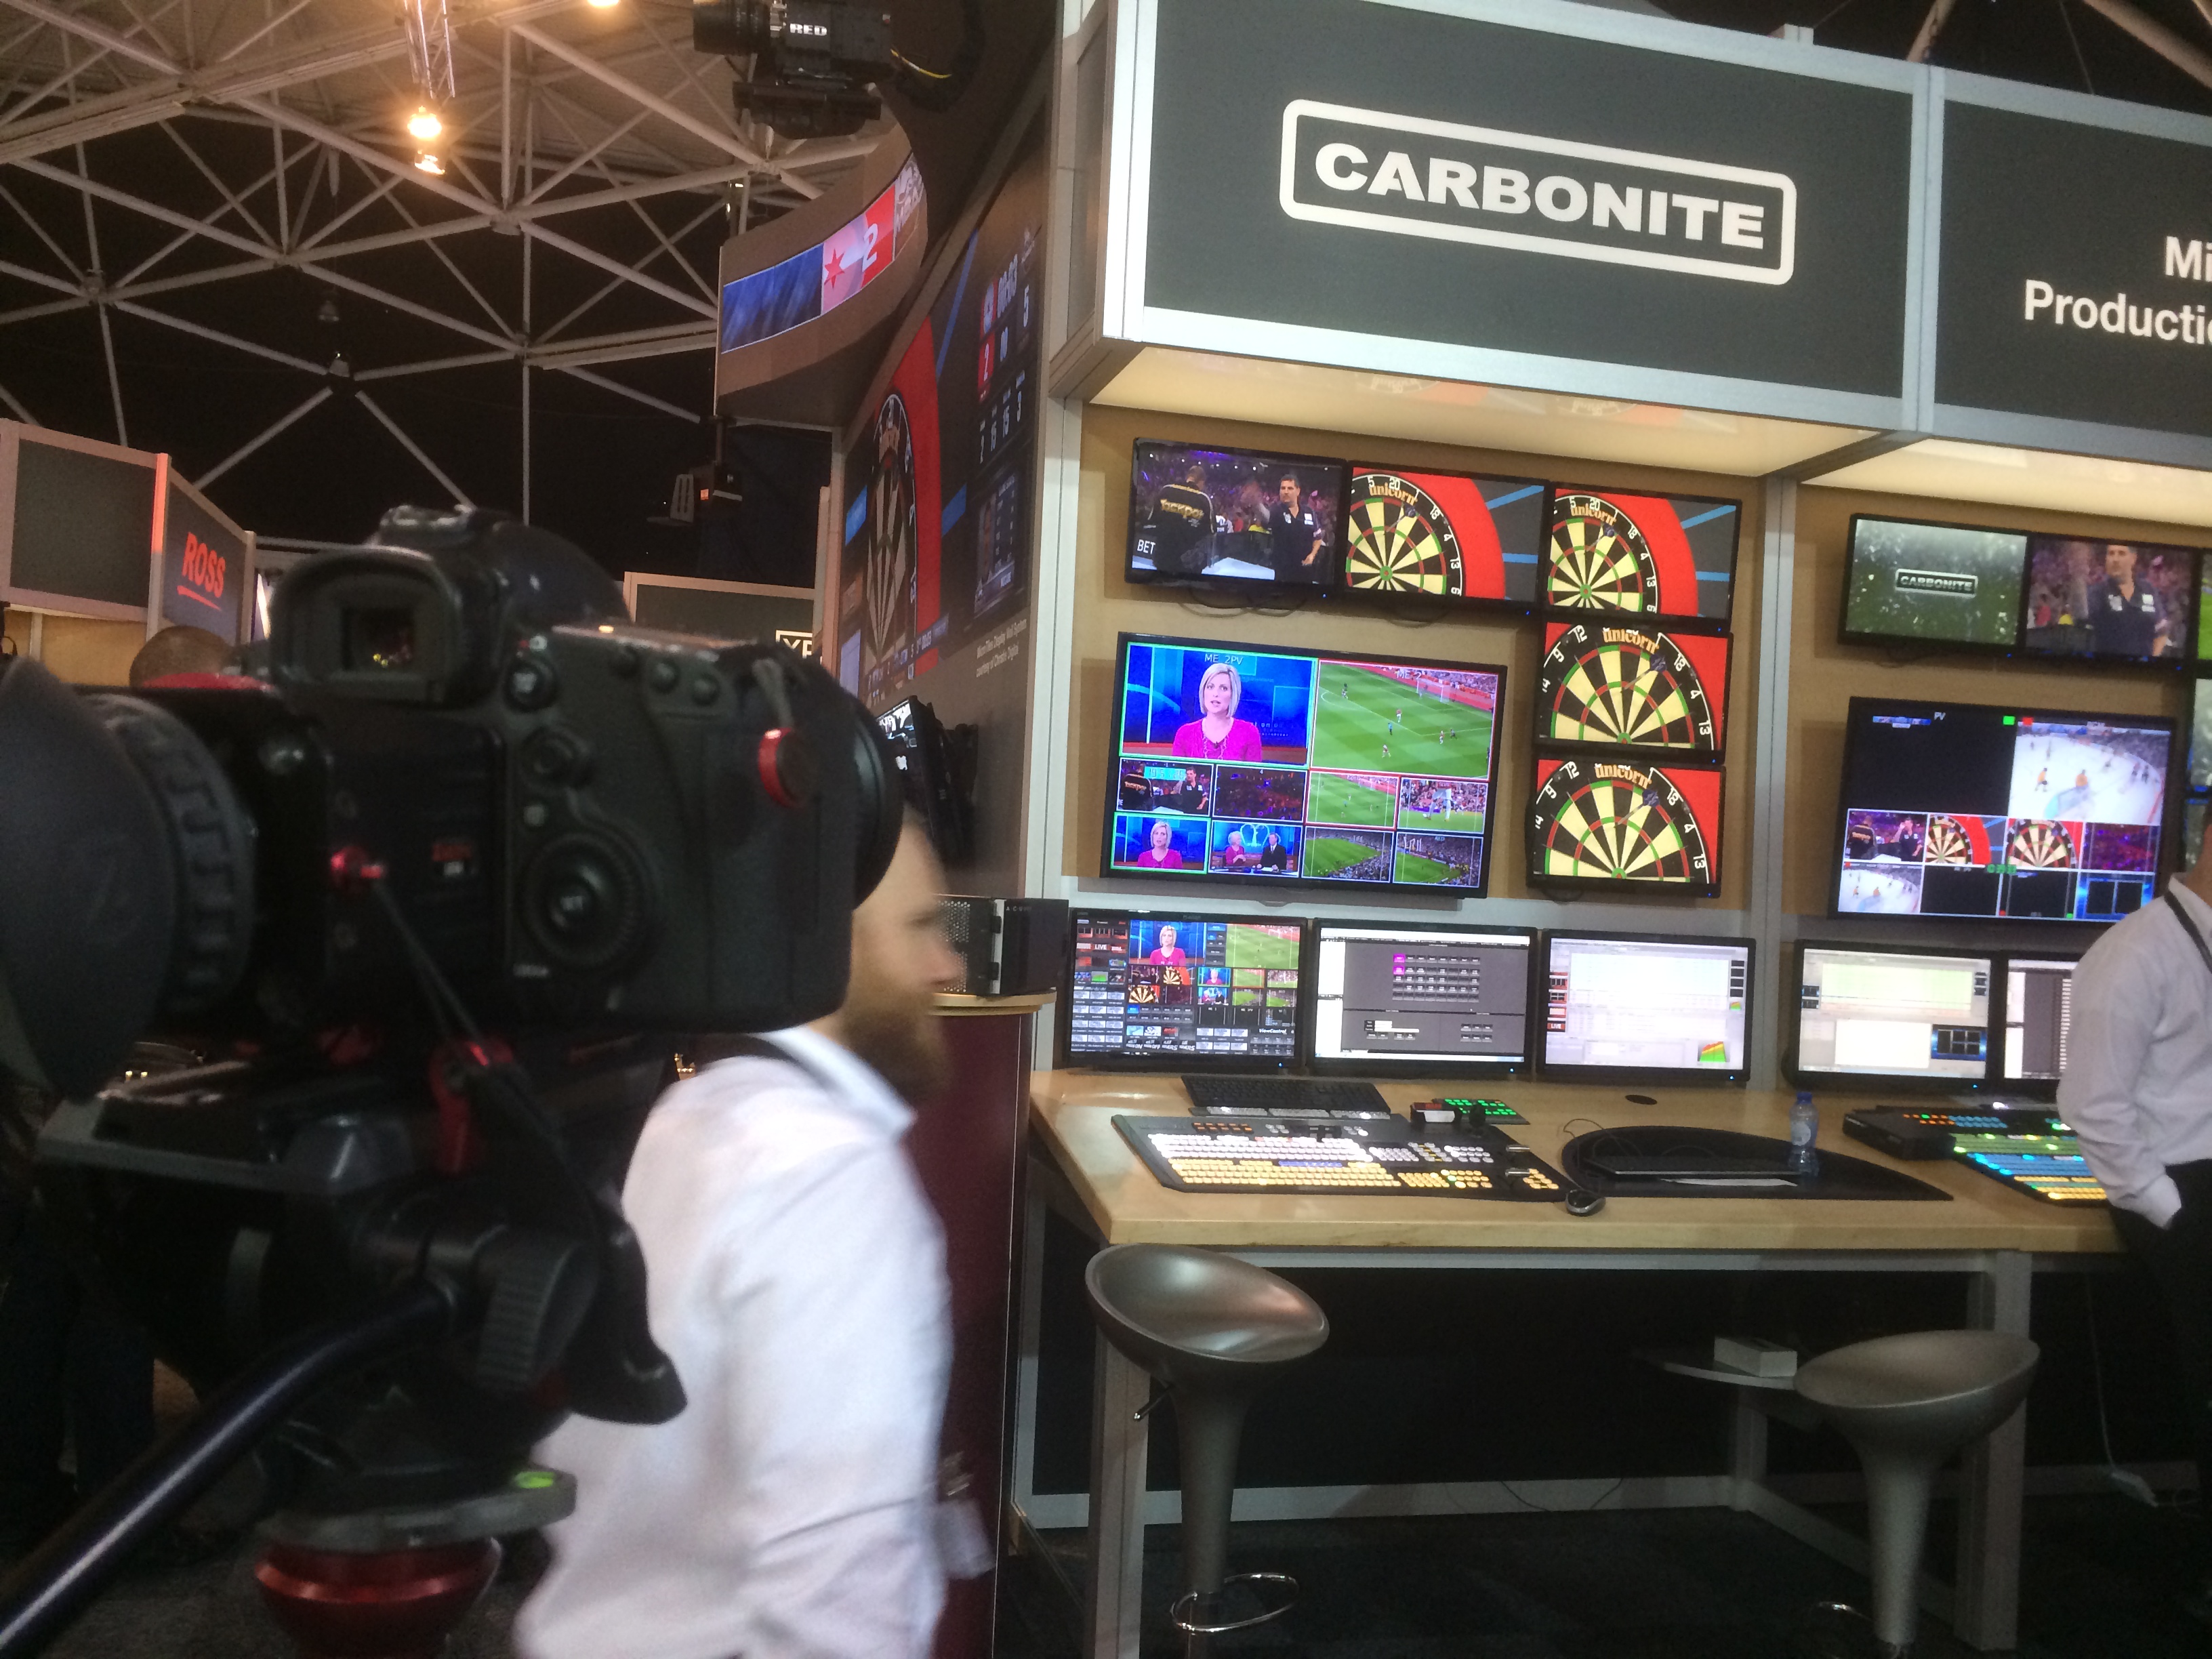
Things are gearing up at the RAI; exhibitors are flooding through the doors, the stands are quickly being finished and the equipment is on display. IBC Show 2014 is getting ready to open its doors to 50,000 broadcasting, media and IT professionals from across the globe. We began filming the exterior the the RAI with visitors entering the venue and registering in the main foyer; the arc slider and 14mm lens create a wonderful moving perspective. After a short explore around hall 10 and 11 we made our way to The IABM Members Lounge to film an exclusive interview with Peter White, CEO of The IABM.

The IABM is a global broadcasting organization, representing nearly 80% of the broadcasting industry. The members have access to an exclusive members lounge, the IABM business conference, design & innovation awards and much more. It was our job to capture the events, conferences and members at IBC to promote and inform others about the successes at the show. For the interview, I used the Canon 5D mkIII, Tamron 24-70mm, the B cam was a Canon 60D with Canon 50mm F/1.8. For a reliable audio source I used the Zoom H6 (multi-channel recorder) with the MS mic attachment, as well as the Sennheiser ENG-G3 wireless mic kit; this was so I could attach a lav mic on the interviewees for clear sound.

Yes, this did mean throughout the week we had different video and audio sources, but Red Giant Pluraleyes aided greatly in syncing up the V&A for editing in Adobe Premiere Pro CS6.

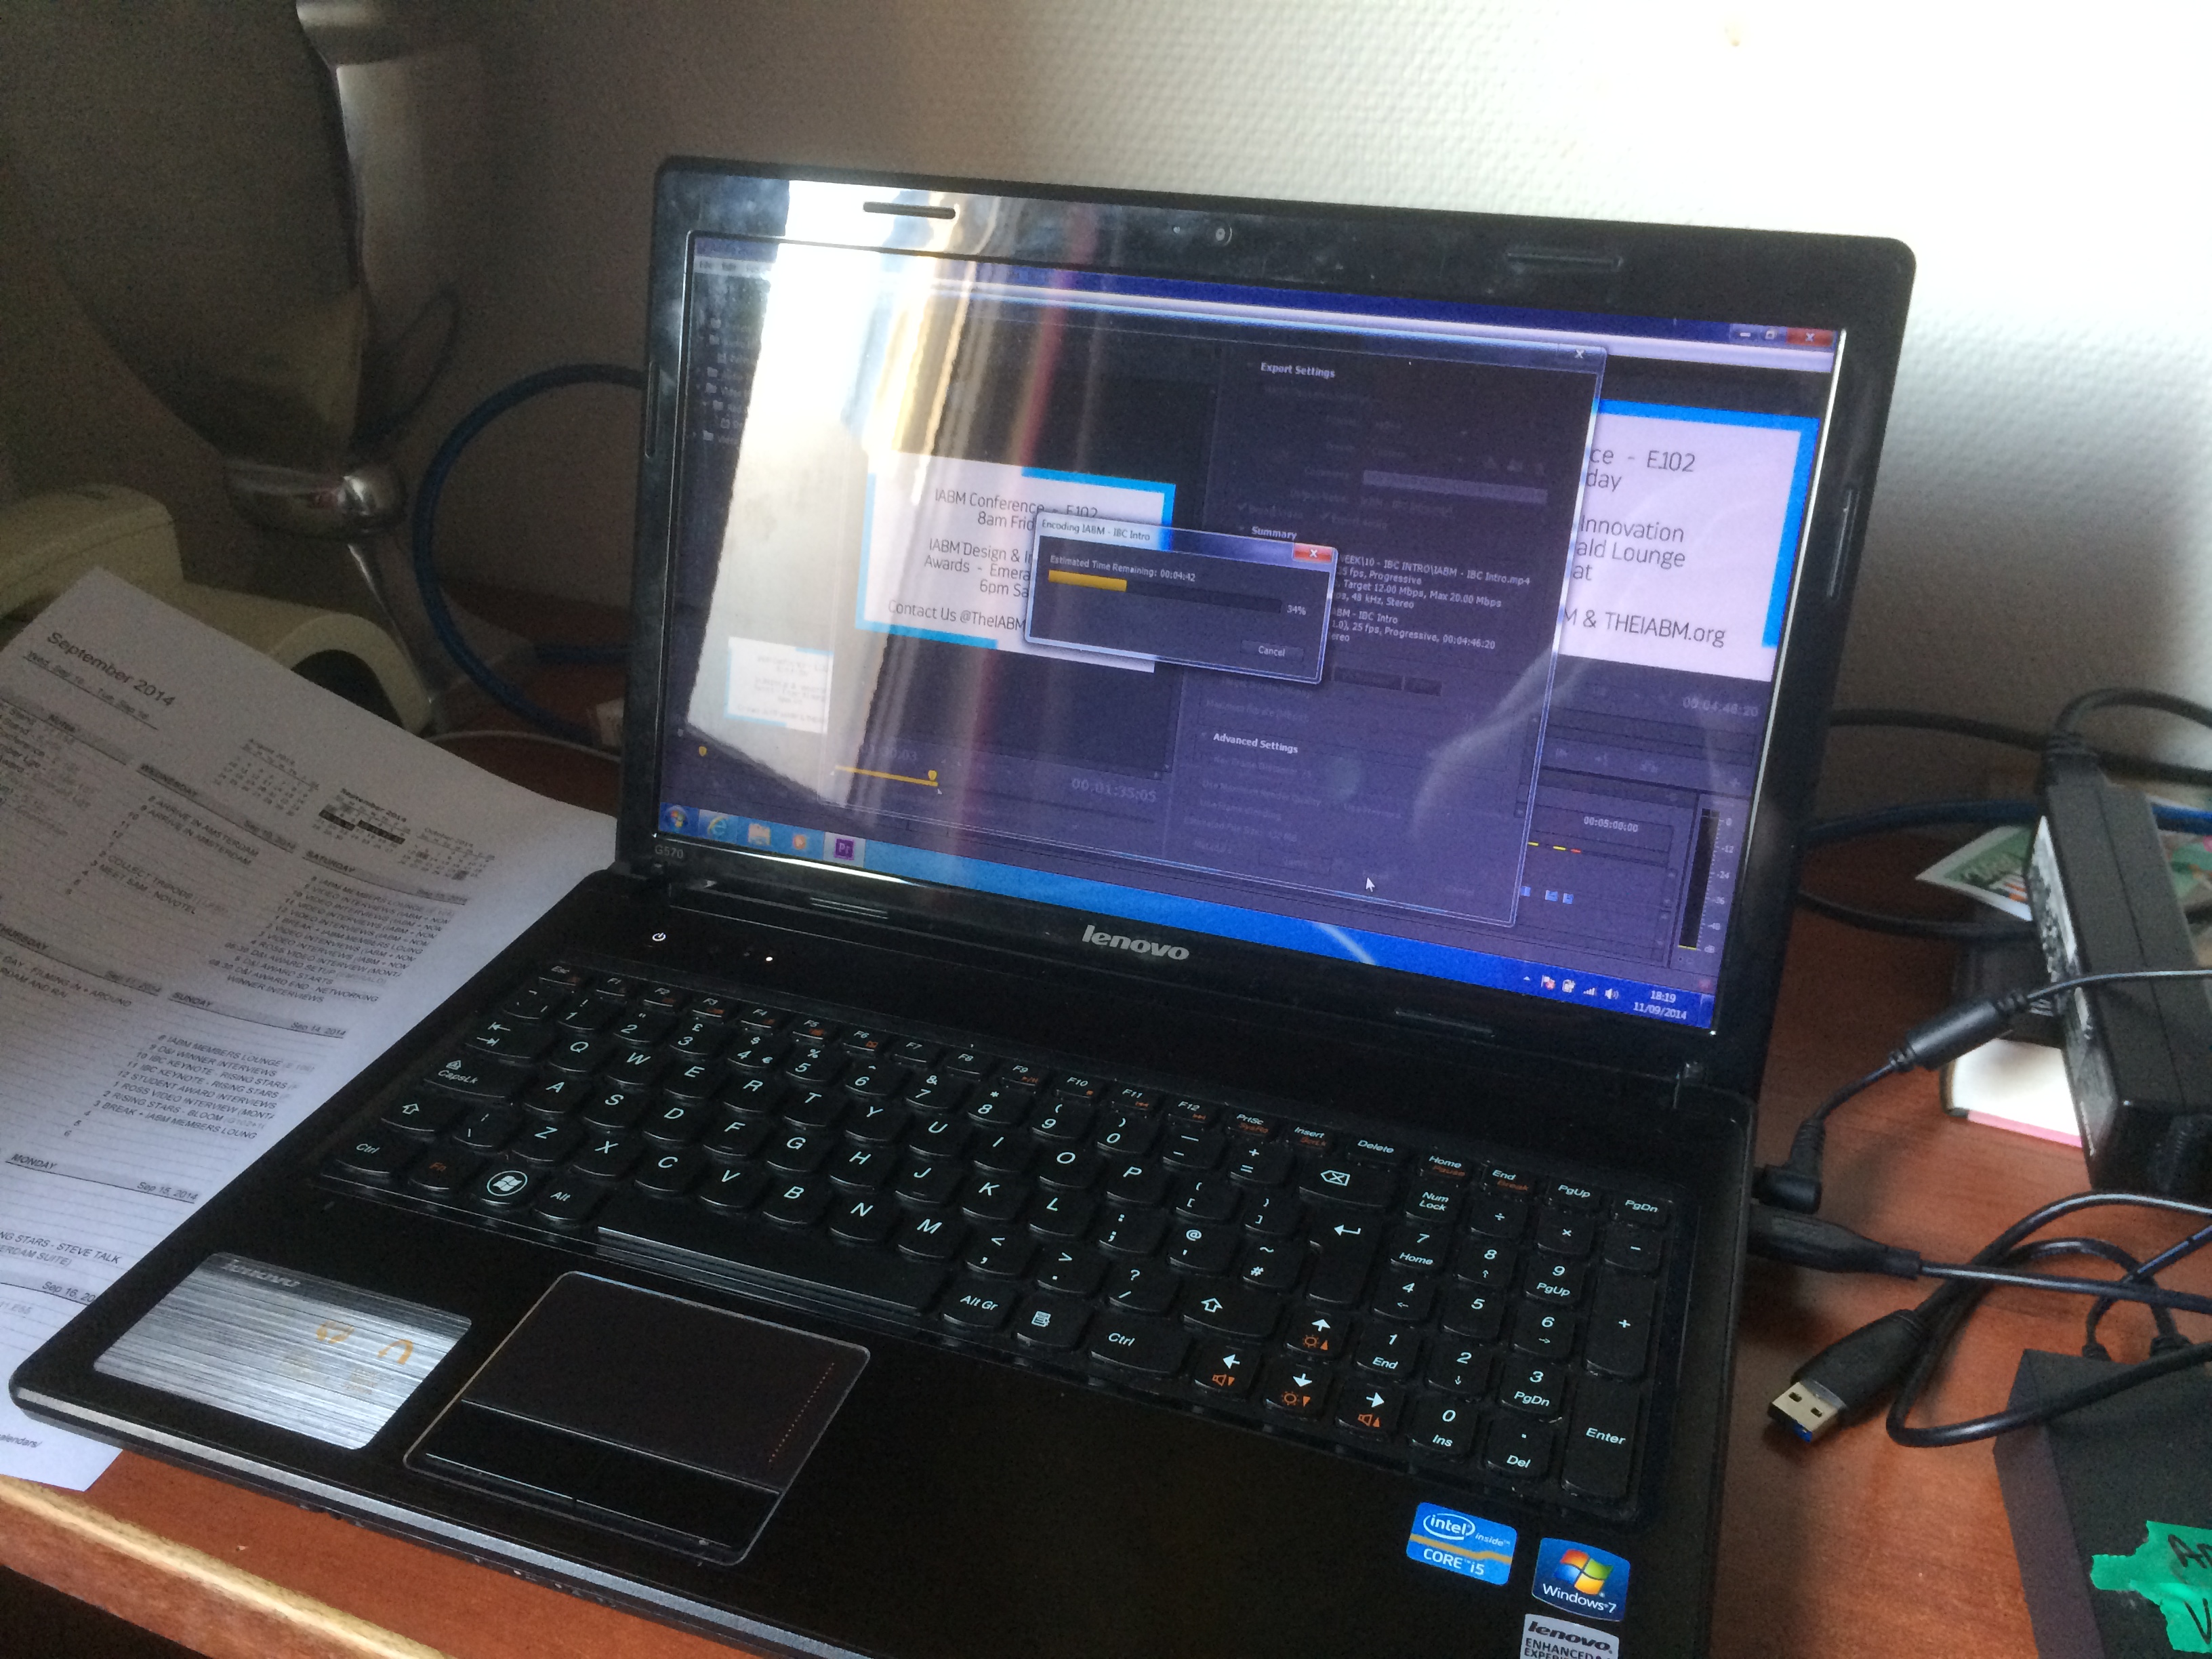
BTS editing IBC IABM intro video amsterdam

Editing the IBC Intro video with Peter White on my laptop, yes, Windows laptop!

After capturing the buzz and excitement of pre-IBC, we headed back to our hotel to edit the intro video for the IABM members to see. The editing was fast, but the uploading was terrible via Wi-Fi, having learned our lesson, we uploaded the rest of the videos in the press room at IBC instead! Unfortunately, the video is only viewable for IABM members, so here is a quick screenshot.

iabm intro video at ibc show 2014 adam plowden videography

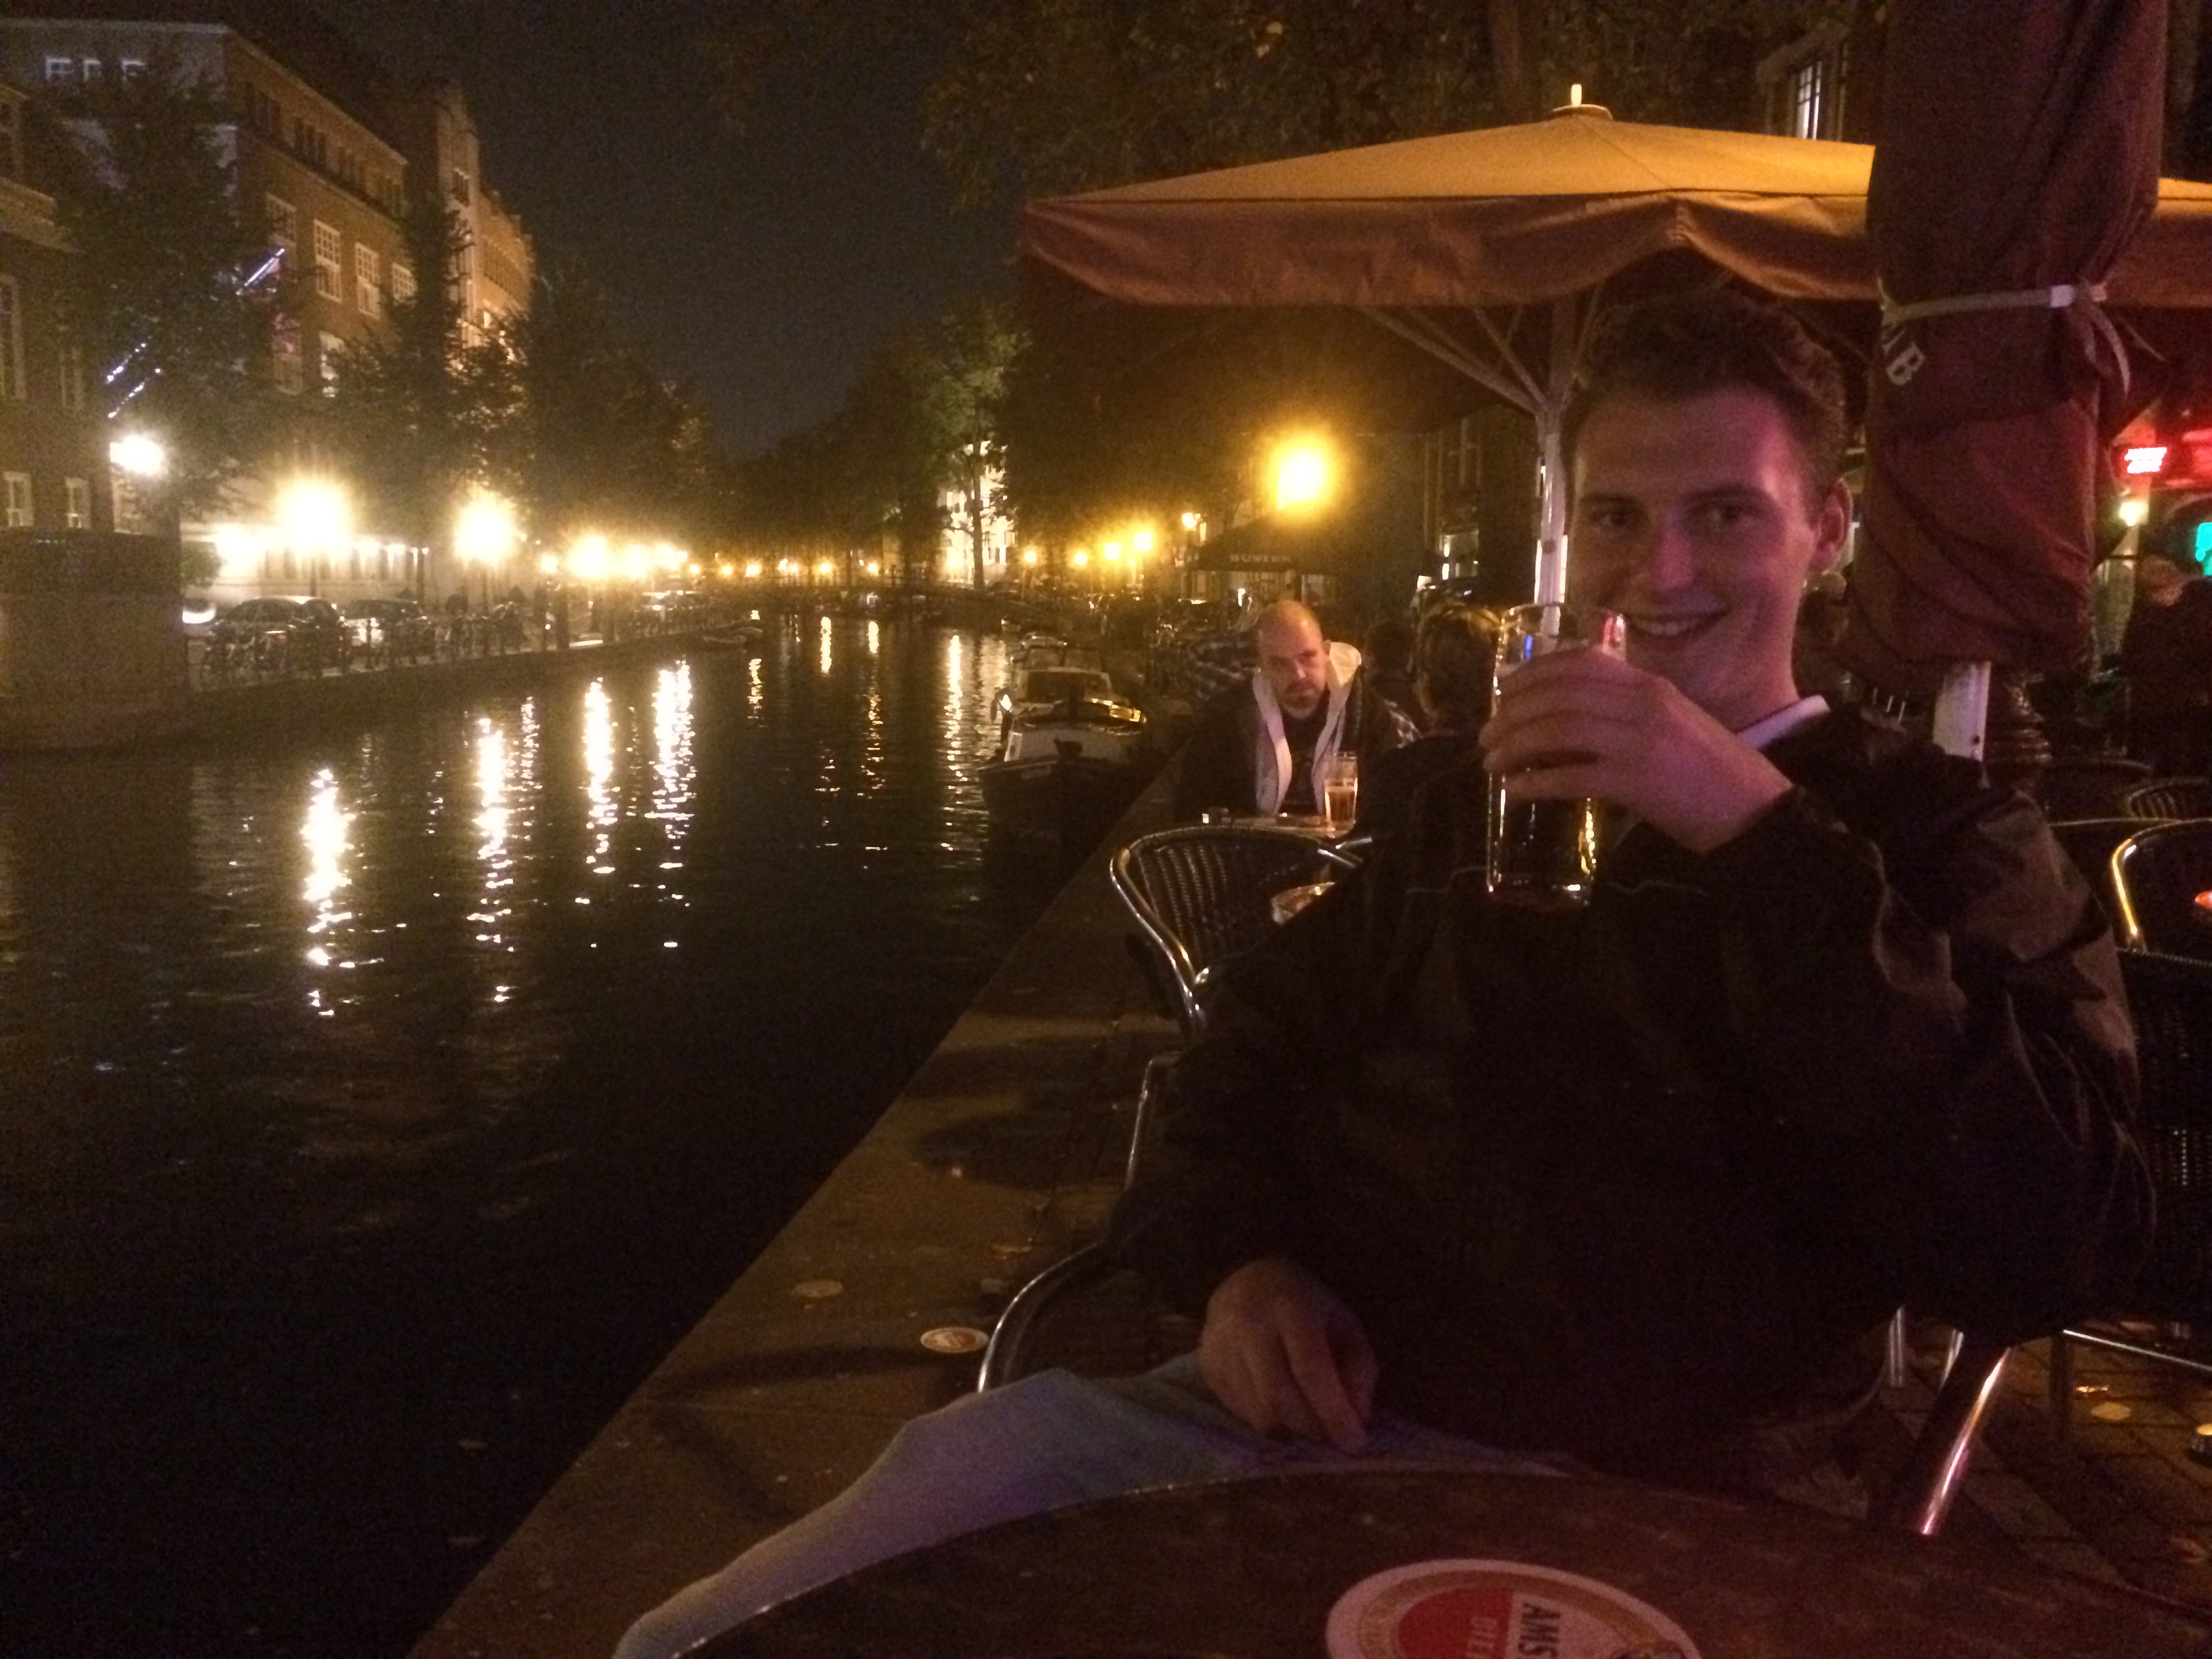
Later on, we ventured out into the city of Amsterdam. It was Glen's first time, so I look him for a tour around the sights.

Glen in Amsterdam for IBC show with adam plowden videography

Day 3 - Friday 12th September - IABM Business Conference 'The Future of Broadcasting' and member interviews.

It was an early start on Friday, we arrived at the RAI for the IABM business conference at 6:45am to set up and capture the members breakfast, the conference and the post networking before the show got underway that day. For added motion, I used the ProMediaGear Arc-slider for some of the opening shots, but the main conference was shot on 3 static cameras.

iabm business conference at ibc show by adam plowden videography

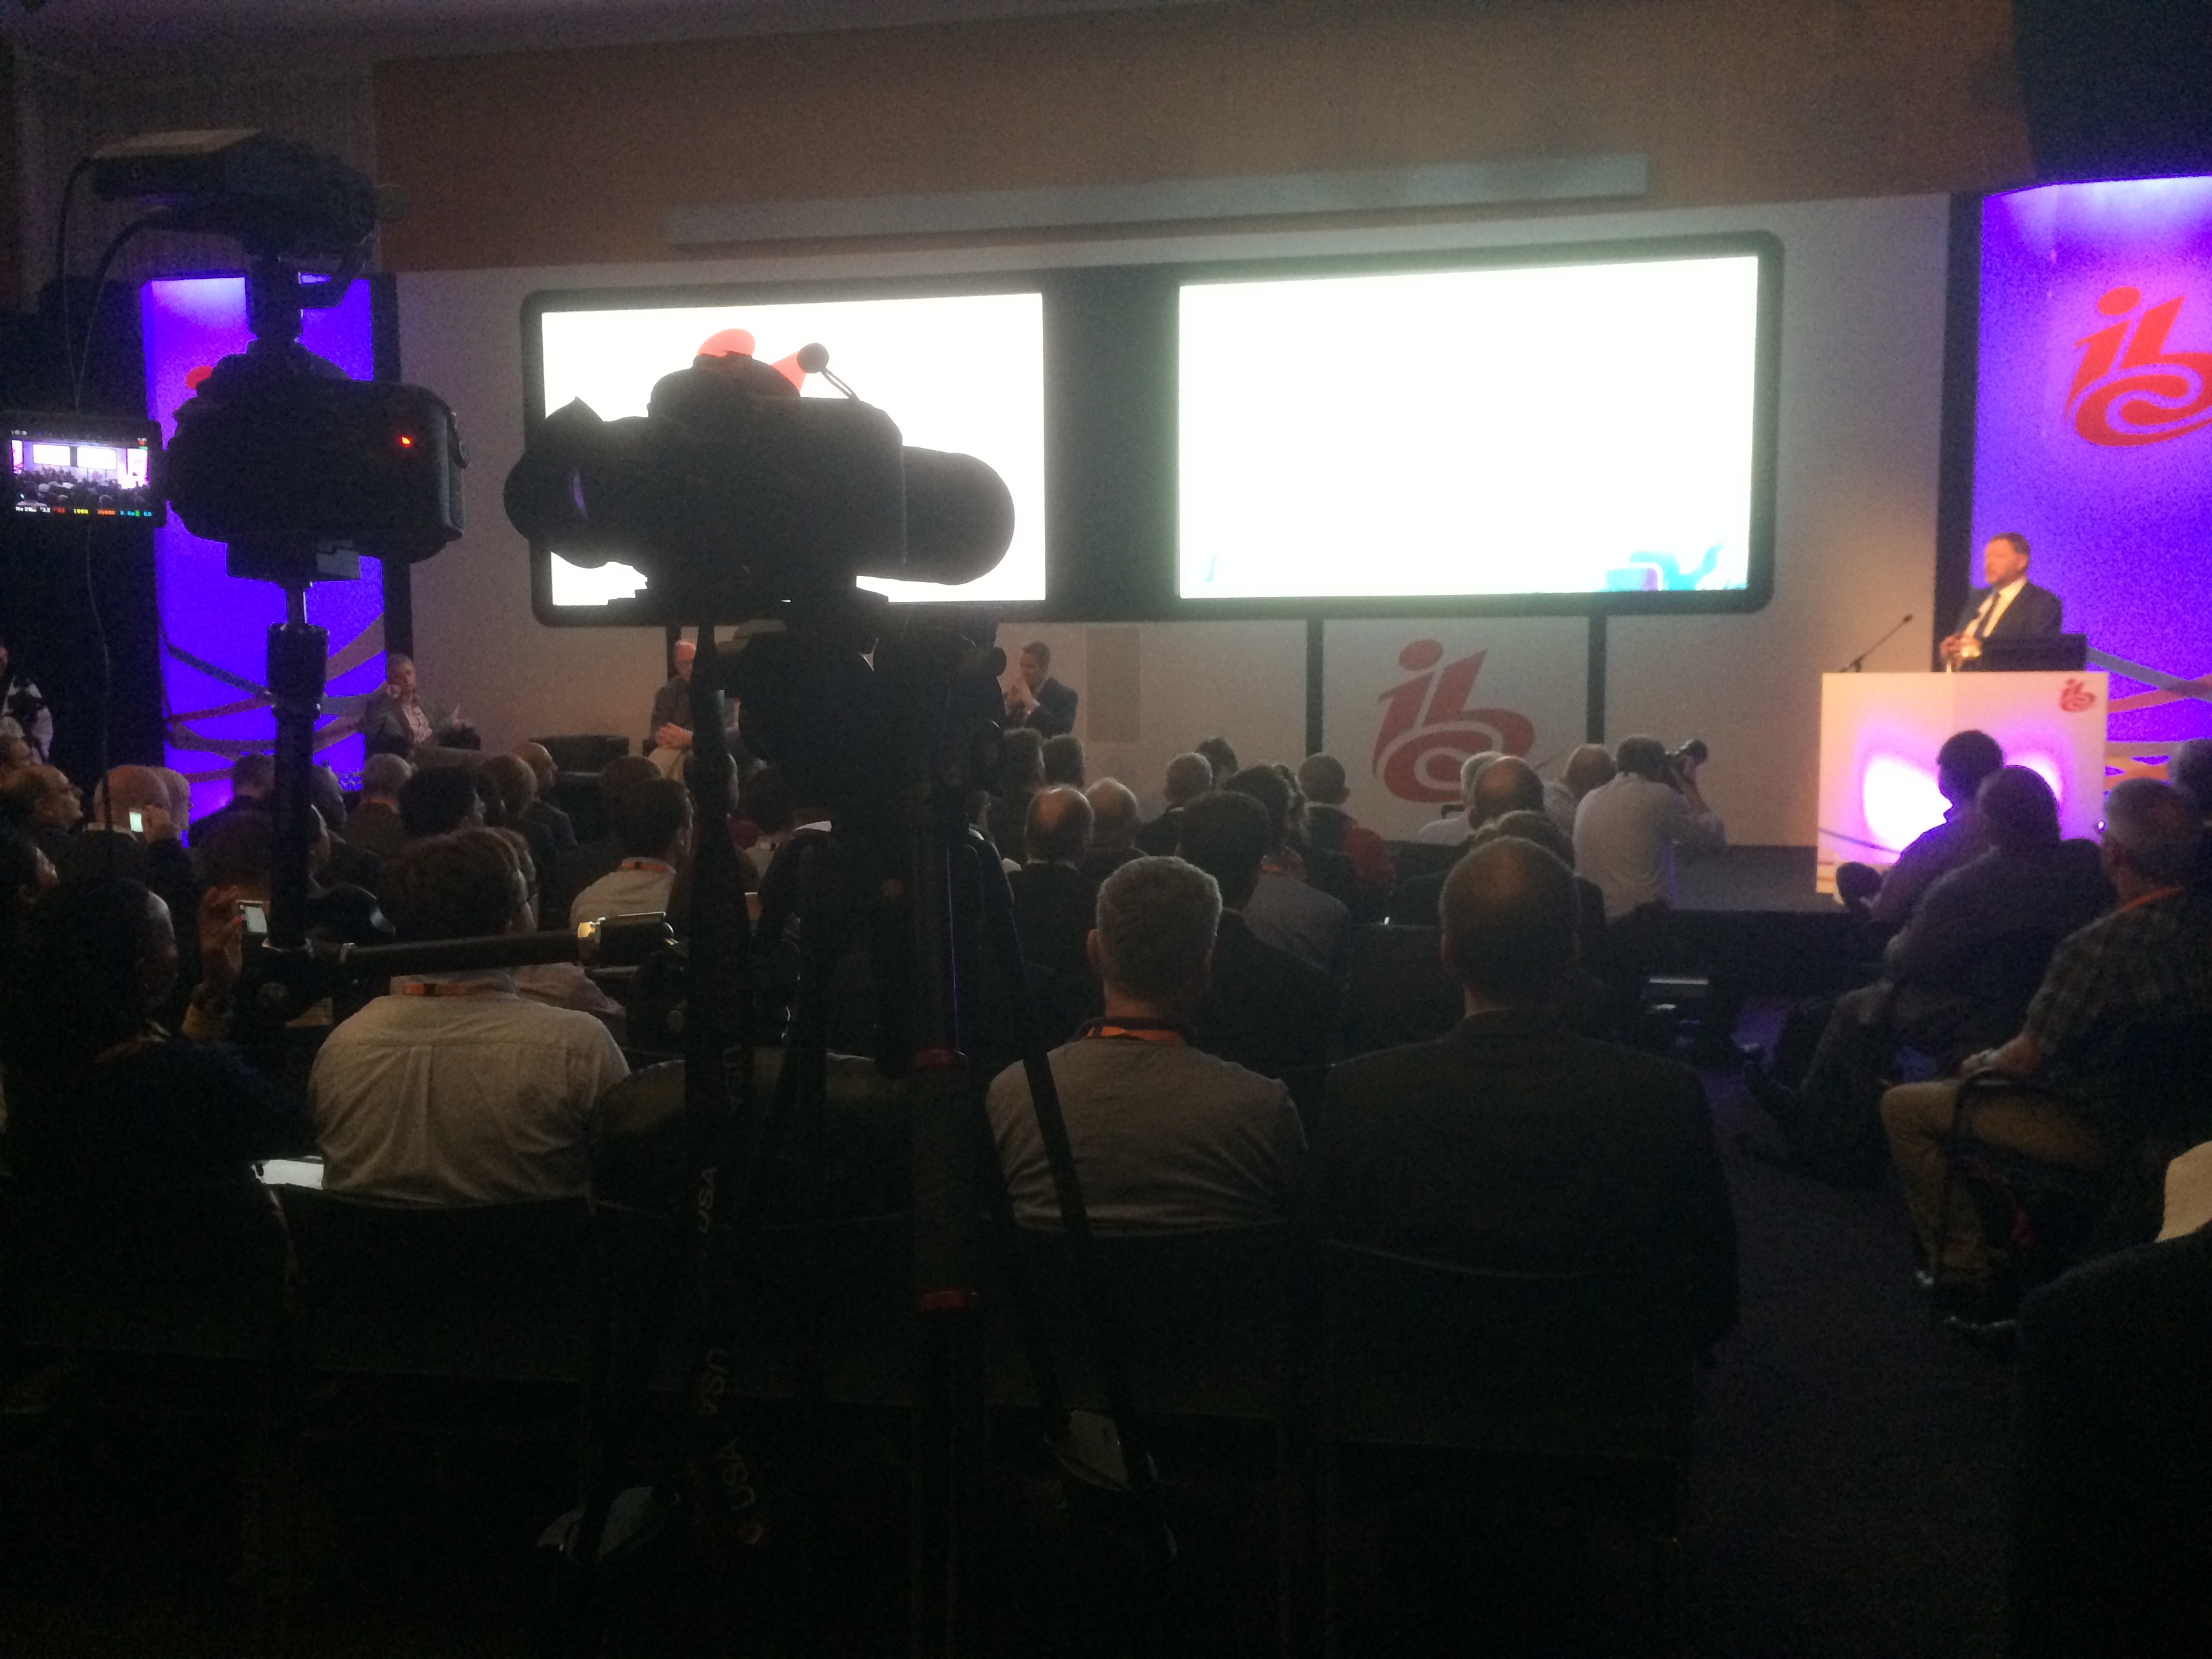
For a mid shot of the speaker, I shot on the Sigma 70-200mm, and for a wide I used the 60D with the 17-50mm. Glen was filming from the front for a reverse angle on the 60D and Canon 100m L, which captured some stunning reaction shots of the attendees in low light. Unfortunately, this video is only available to watch for IABM members.

As our responsibility was to capture and edit videos for a same day or next day release, our two man filming team split so that Glen could begin ingesting, backing up and editing the conference video while I went out into the show and interviewed a number of IABM members. This turned out to be a godsend tactic to release a stream of high quality videos each day. It was, however, difficult to keep track of all the media from SD and CF cards...

That day, I filmed interviews with Georacing, Harmonic, Nexidia that we edited out for same day release:

I then jetted off to The IABM stand to meet the new winners of the Student award from The IABM (I won last year), to capture some interviews with them about their study and what they are looking forward to at IBC!

iabm student award winners ibc 2014 adam plowden videography

Day 4 - Design & Innovation Awards and member interviews

We were already half way through our IBC experience when Saturday struck, after a successful few days of filming and editing we geared ourselves up for a long day ahead. The day begun with a selection of IABM member interviews from around the show, including; Blackmagic Design, Avid, Newtek, Sony and many more. If you have been to IBC or NAB before you'll know how long it takes to get from one place to another, but with video kit it was a challenge to navigate around the thousands of people at the show!

I had a great time at the Sony booth, interviewing Peter Sykes about the new innovations; camera, 4K transmission, projectors, storage devices. They can be seen here:

I was intrigued by the Sony A7s, a full frame SLR with great low light and DR features.. There was lots of hype around the camera, and I had noticed a lot of the News Shooter guys using them with Atomos Ninja/Blade recorders (we were working next to Dan Chung and News Shooter in the press room), they rated it very well in a variety of conditions and shooting styles.

Bad luck struck on Saturday afternoon... My Canon 60D and 14mm cine lens was capturing a timelapse when it was moved/taken/stolen from where I left it.. Knowing that this would impact the video production of the D&I awards I quickly got help from RAI security to try and locate it. No luck, so later on that afternoon I borrowed a camera from an IABM member to capture a static wide shot of the awards ceremony. Luckily, when I arrived home I got a call from the RAI security who informed me they had found my camera!

canon 60d 14mm cine lens timelapse adam plowden videography ibc 2014
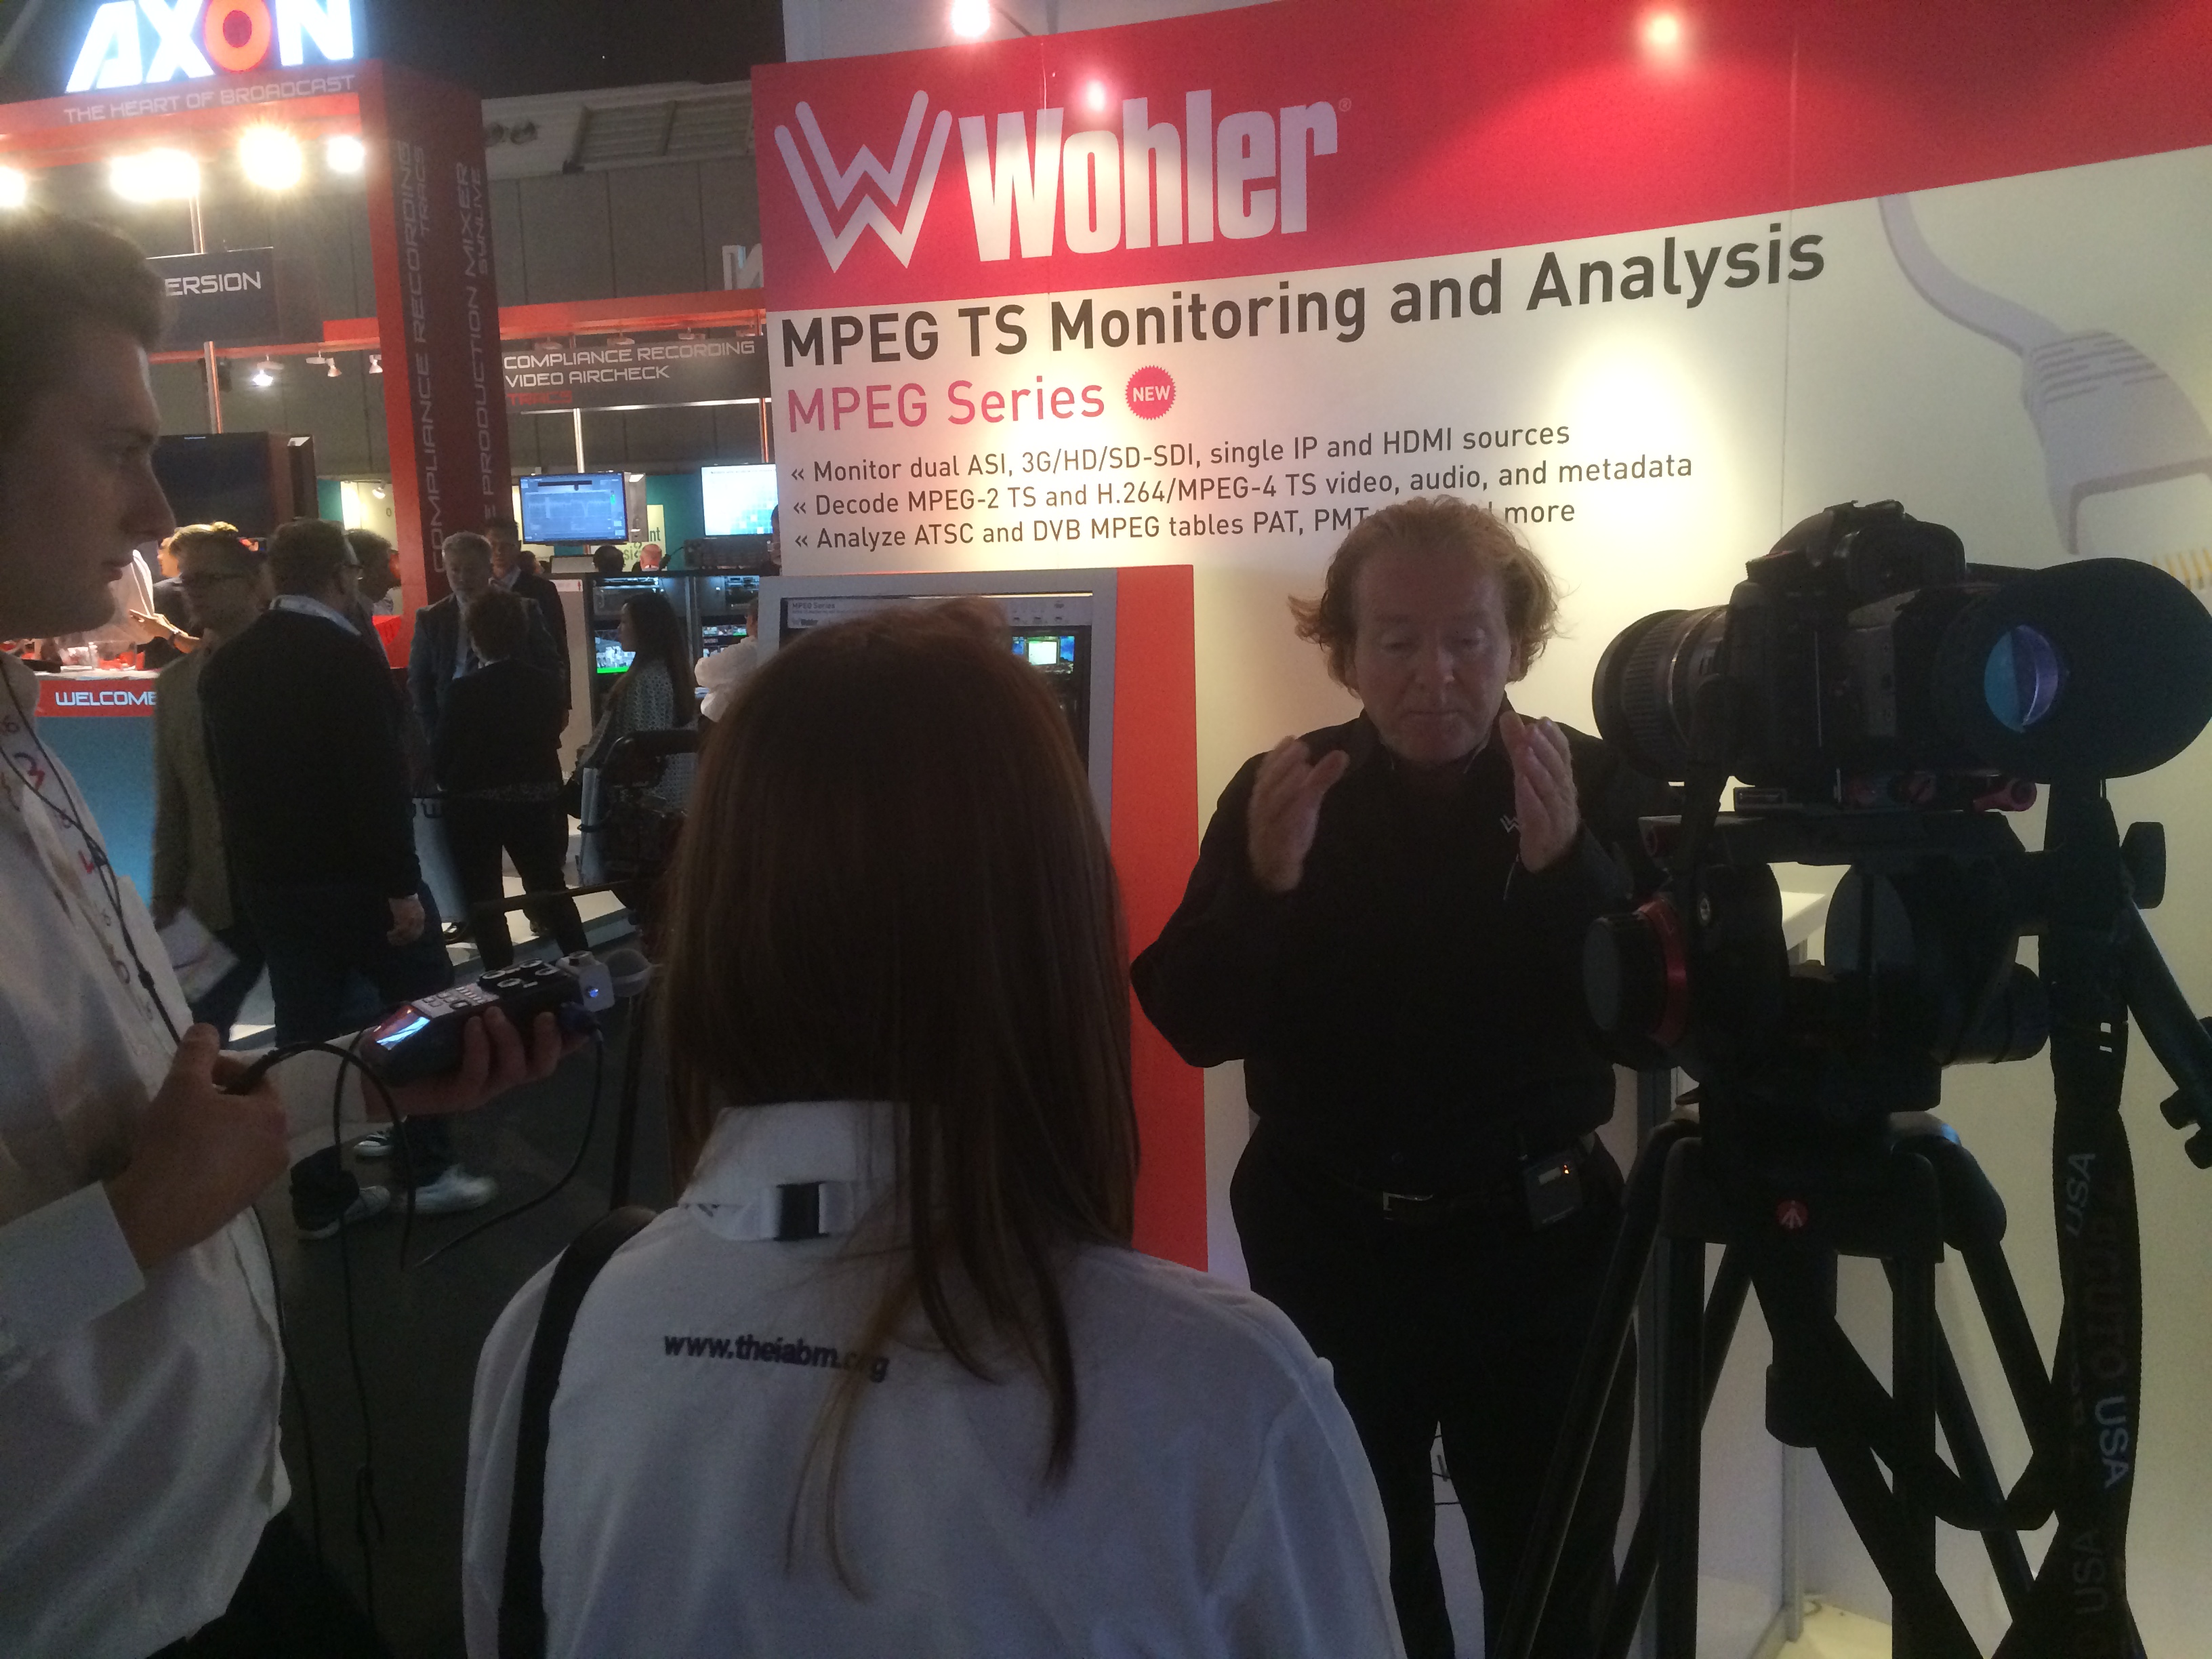
wohler interview at ibc 2014 for iabm adam plowden videography
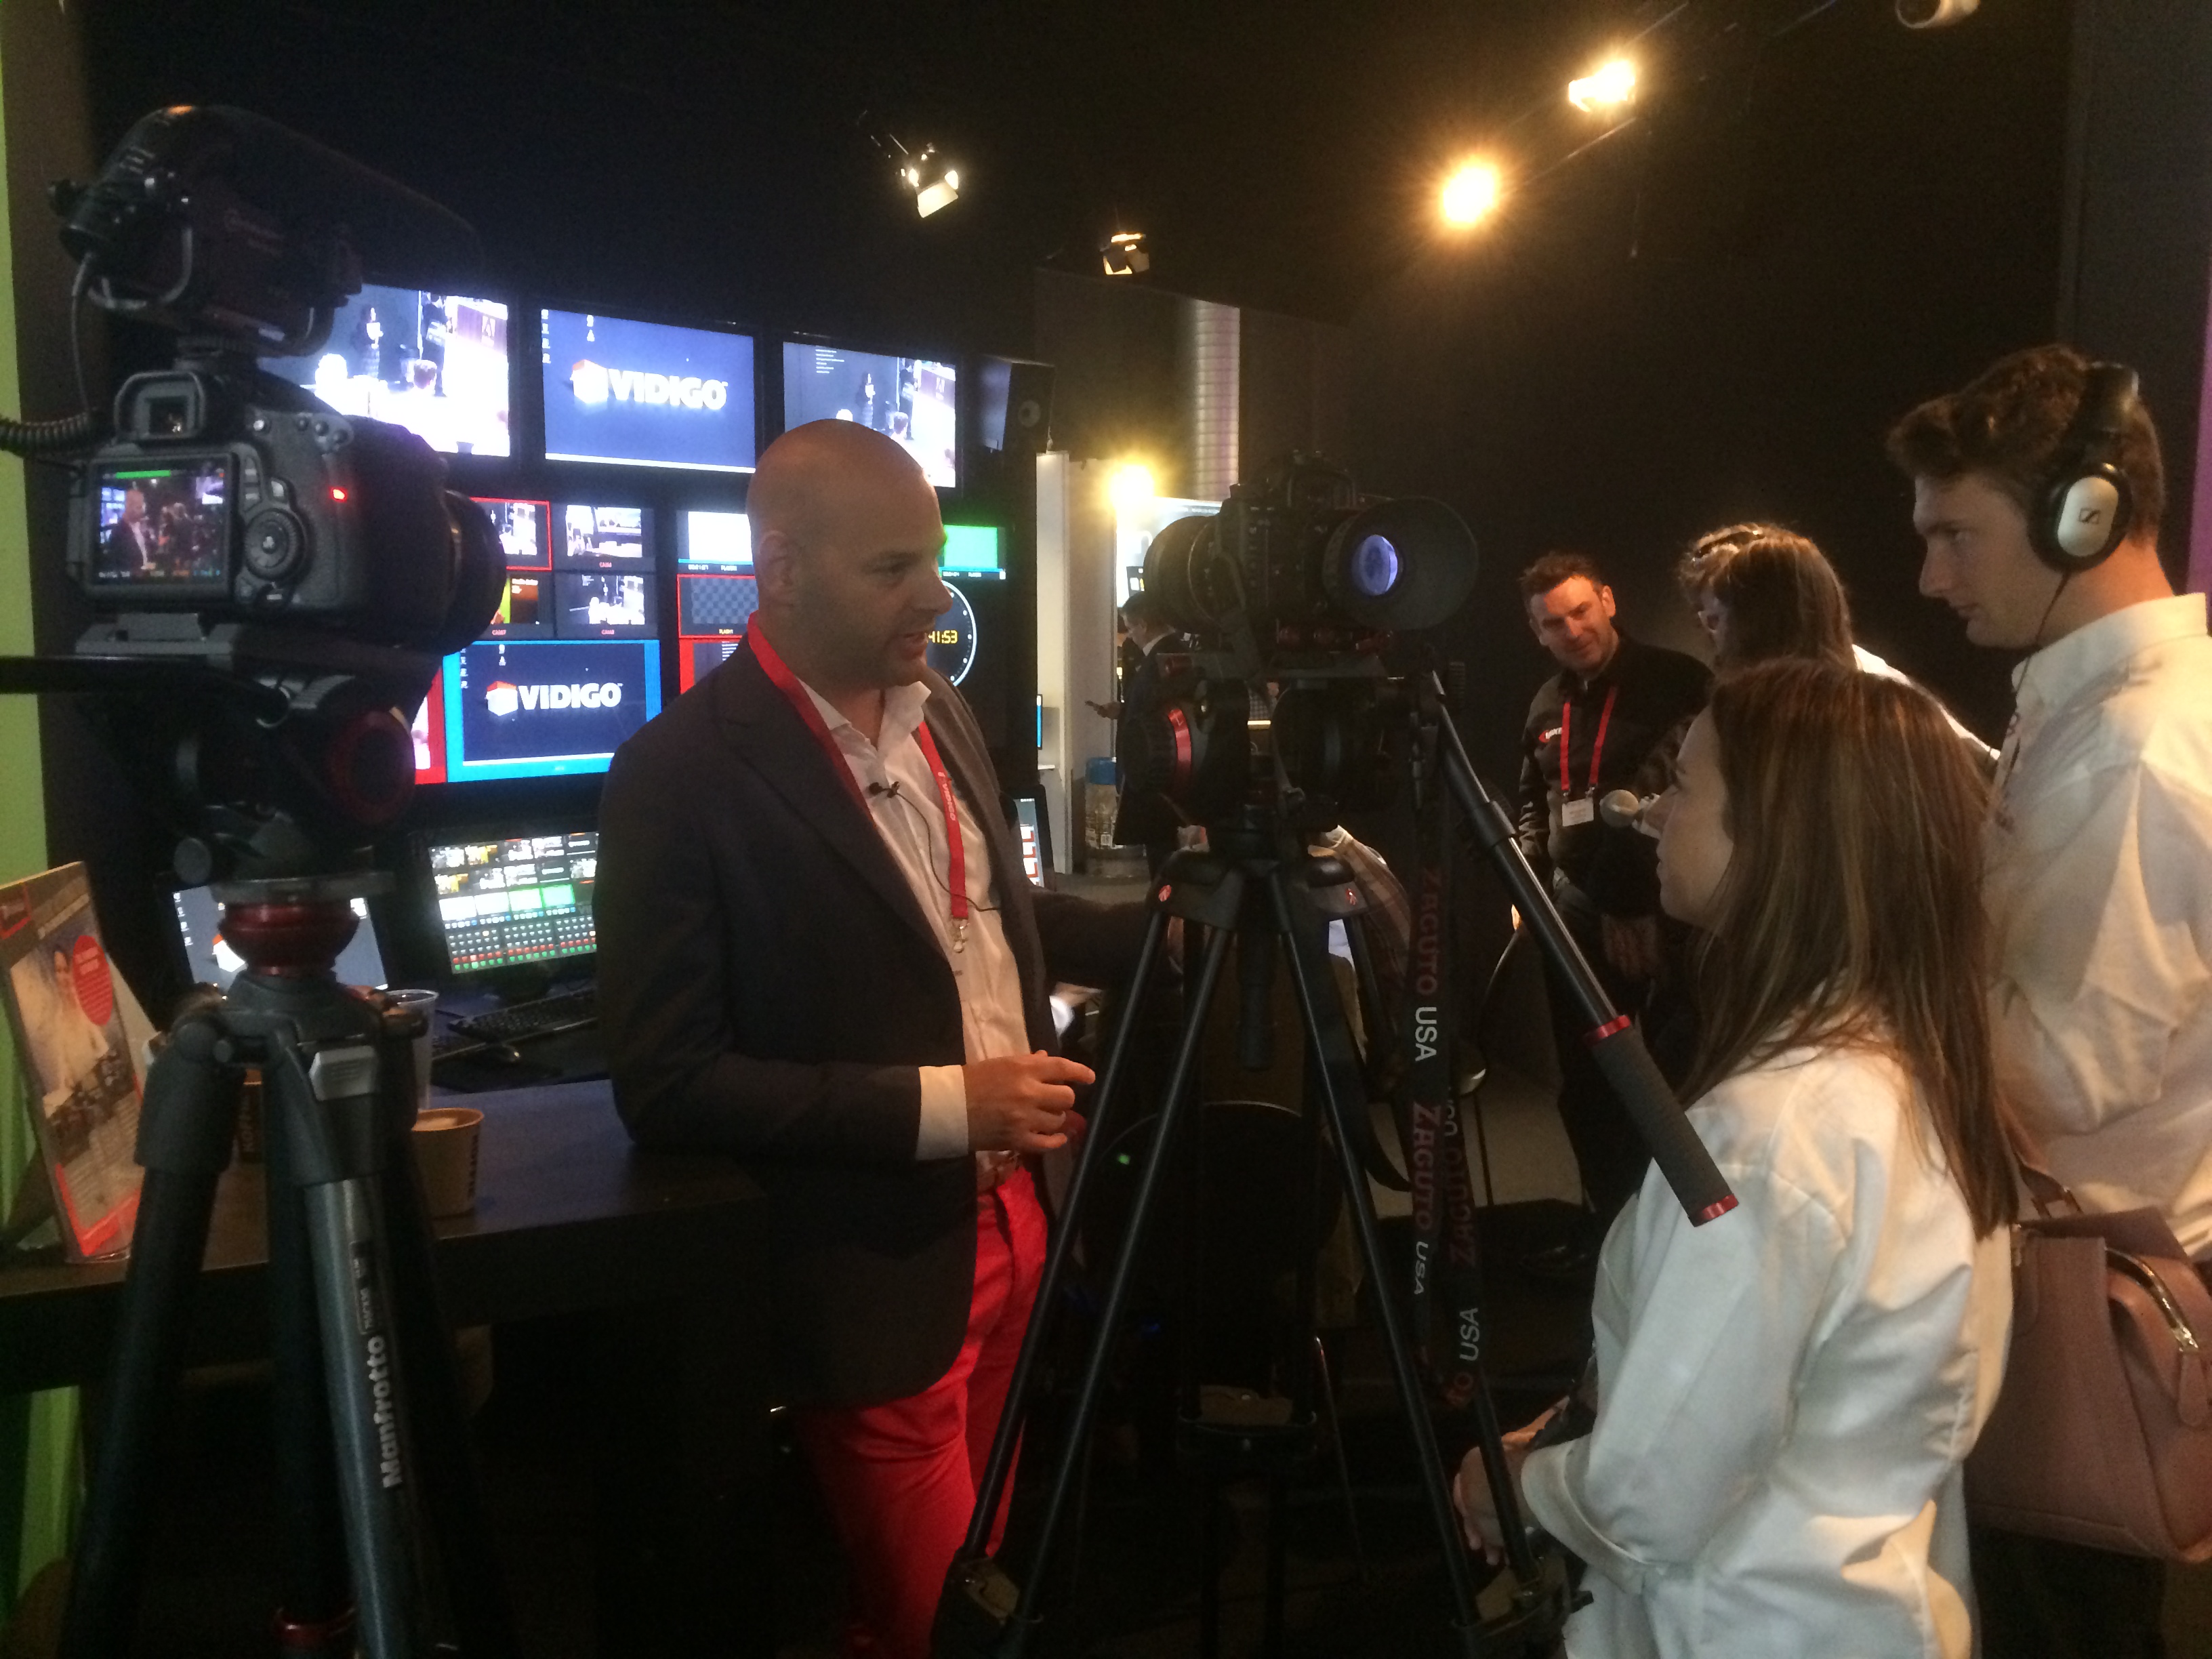
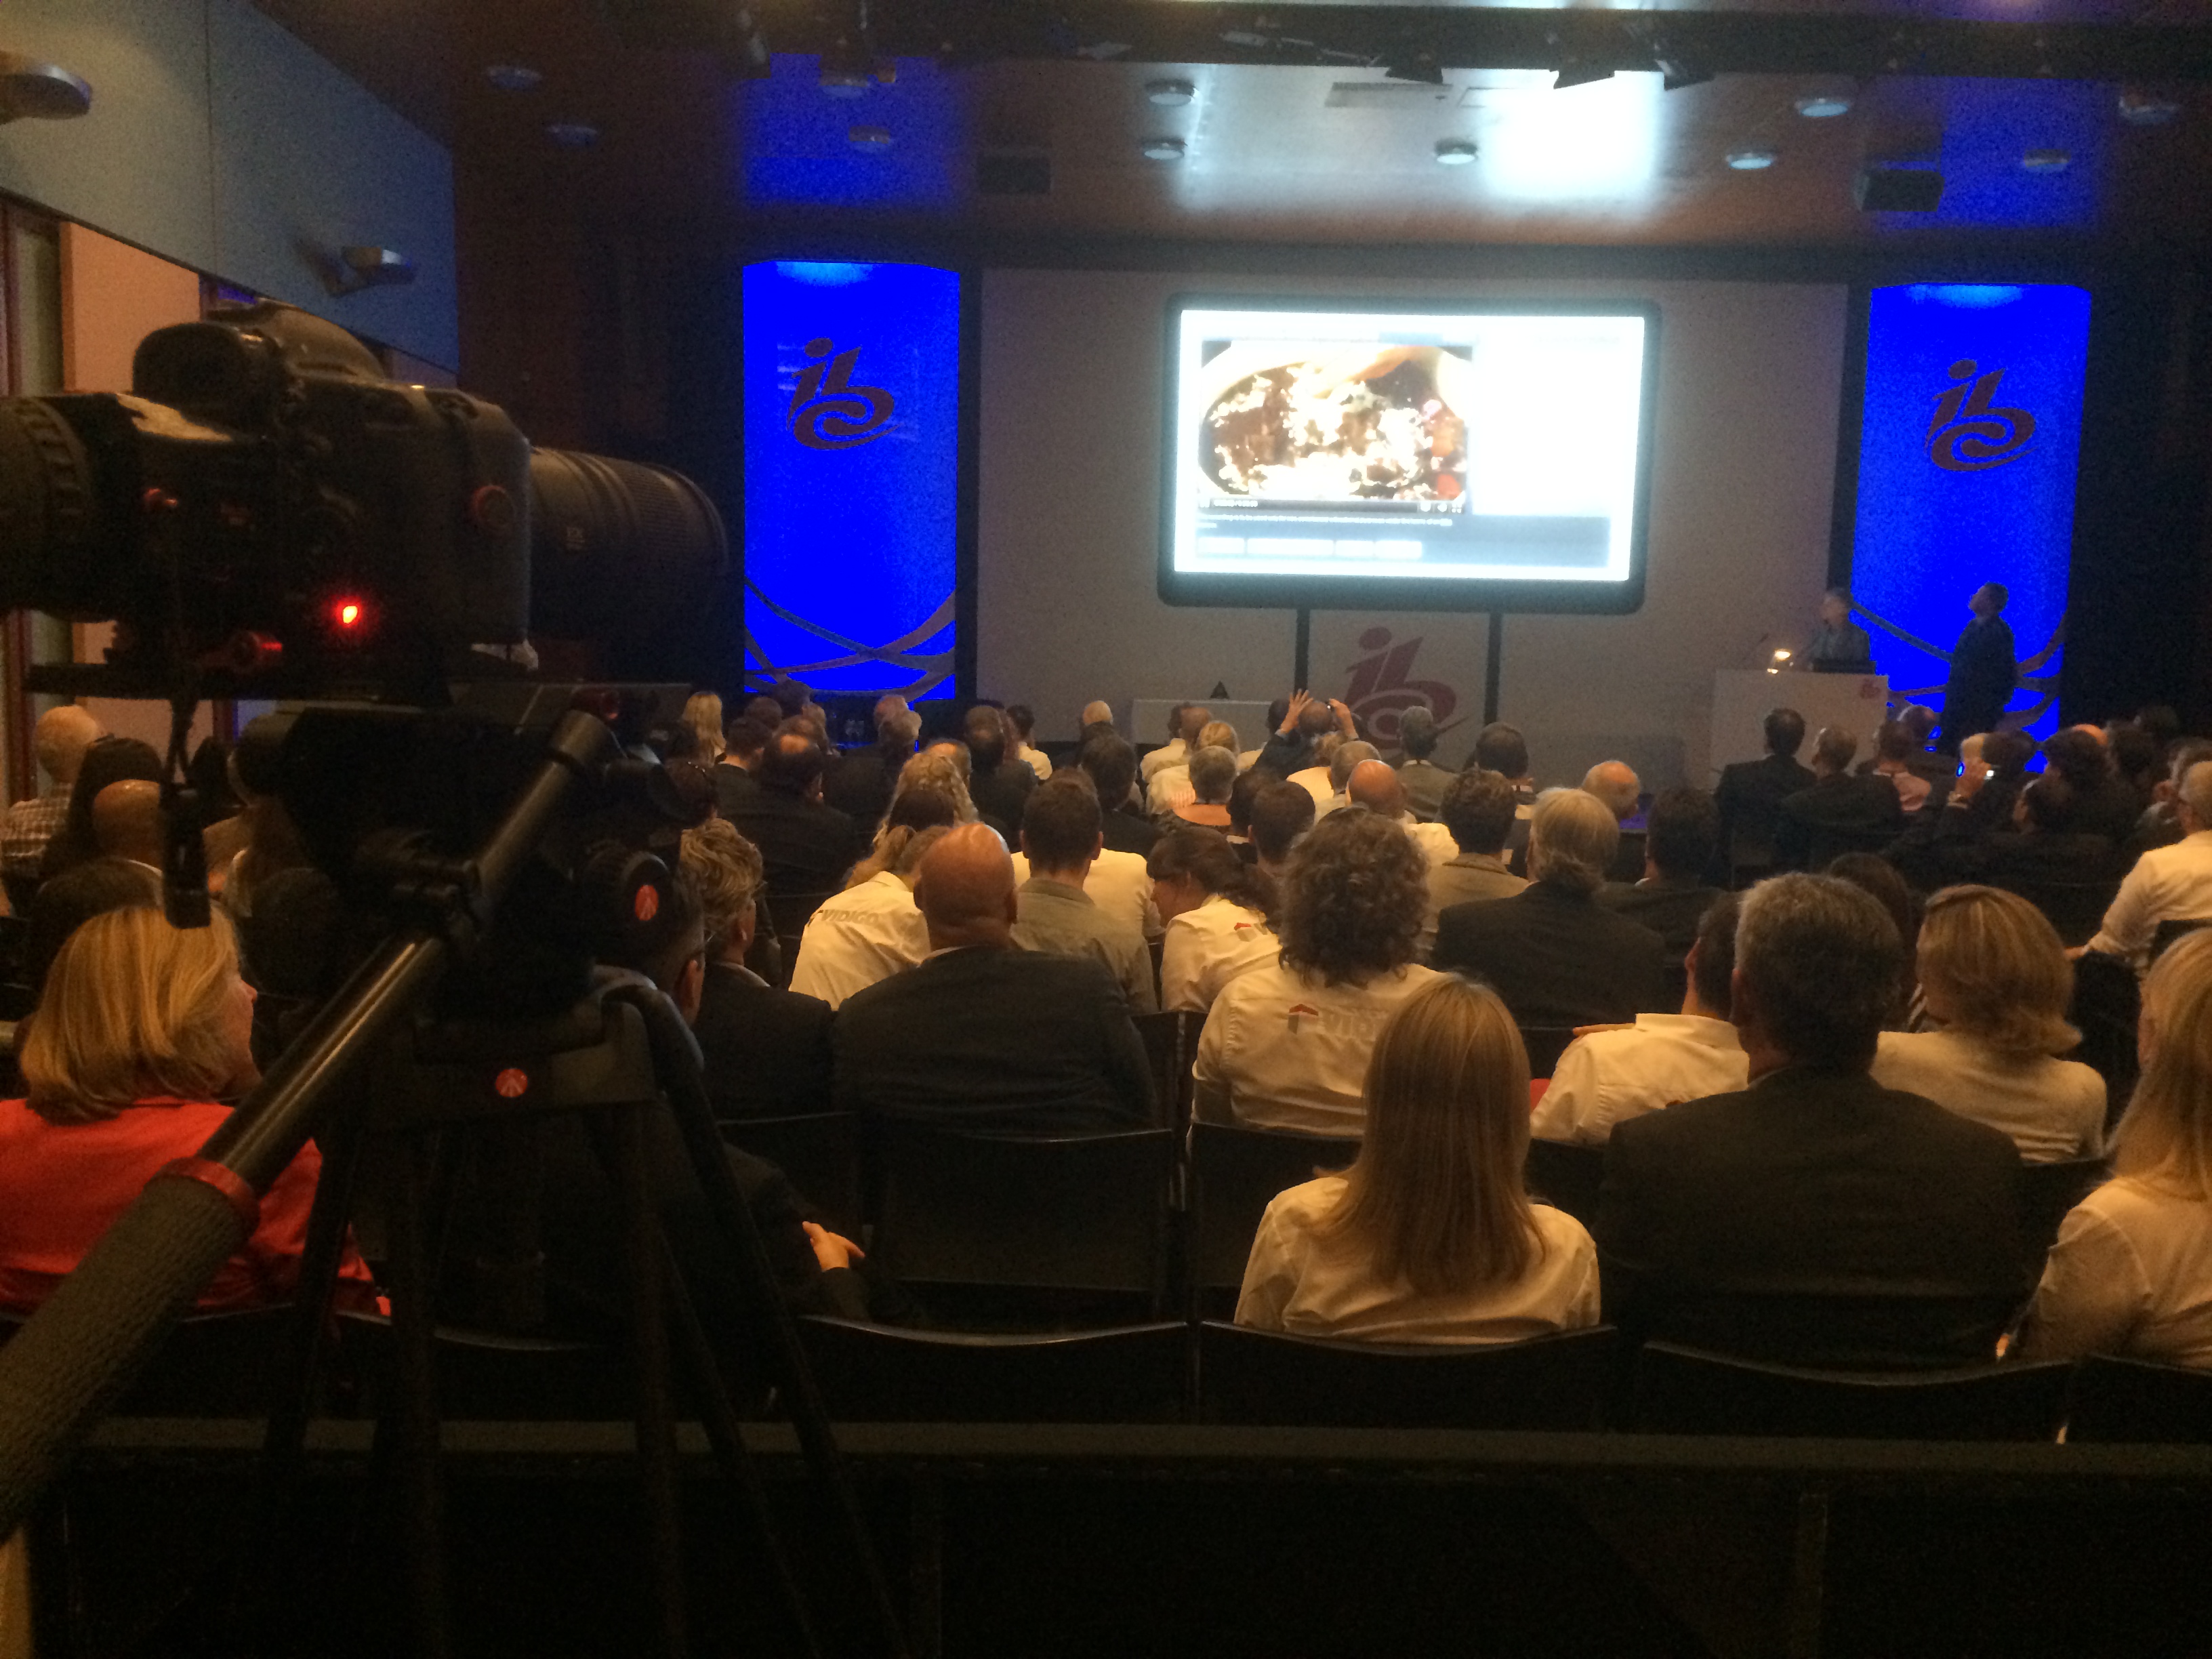
vidigo interview at ibc show 2014 iabm adam plowden videography

We then got set up and prepared for The IABM Design and Innovation Awards 2014, celebrating and awarding outstanding technical developments in the broadcasting and media industry. Before IBC I edited and produced the 9 nominee category videos and graphics presented throughout the awards. Using the same setup as the IABM conference (A cam - Tele, B cam - wide, C cam - reactions) we captured the night in full, showing the excitement and buzz around winning the awards. I got to have a quick chat with some of the winner companies too!

I edited together the highlights of the IABM Design and Innovation Awards, which can be viewed here -

The individual winner interviews can be viewed here:

Systems - VidiGo

Testing - Cube-tec

Storage - Ardis

Post Production - Quantel

Playout - Elemental Technologies

Content + Infrastructure - NTT Electronics

Audio - Sennheiser

Acquisition + Production - Trimaran

The realities of working 12-14 hour days were catching up with us when we returned to our hotel to ingest and back up the footage. Finally, but 1:30am on Sunday all of the footage was synced and ready to be edited. At that point, we both thought its time to call it a day.

iabm design and innovation awards 2014 ibc show adam plowden videography
adam and glen design and innovation awards 2014 ibc show adam plowden videography

Day 5 - Delivering D&I Award Videos and member interviews

By Sunday, the main haul of event capture had been completed, with the remaining tasks being mainly interviews with members around the IBC show. As our editing 'system' had worked so well previously, Glen stayed in the press room using both our laptops to edit, export and upload the winner videos from the awards while I conducted interviews with more exhibitors and IBC members.

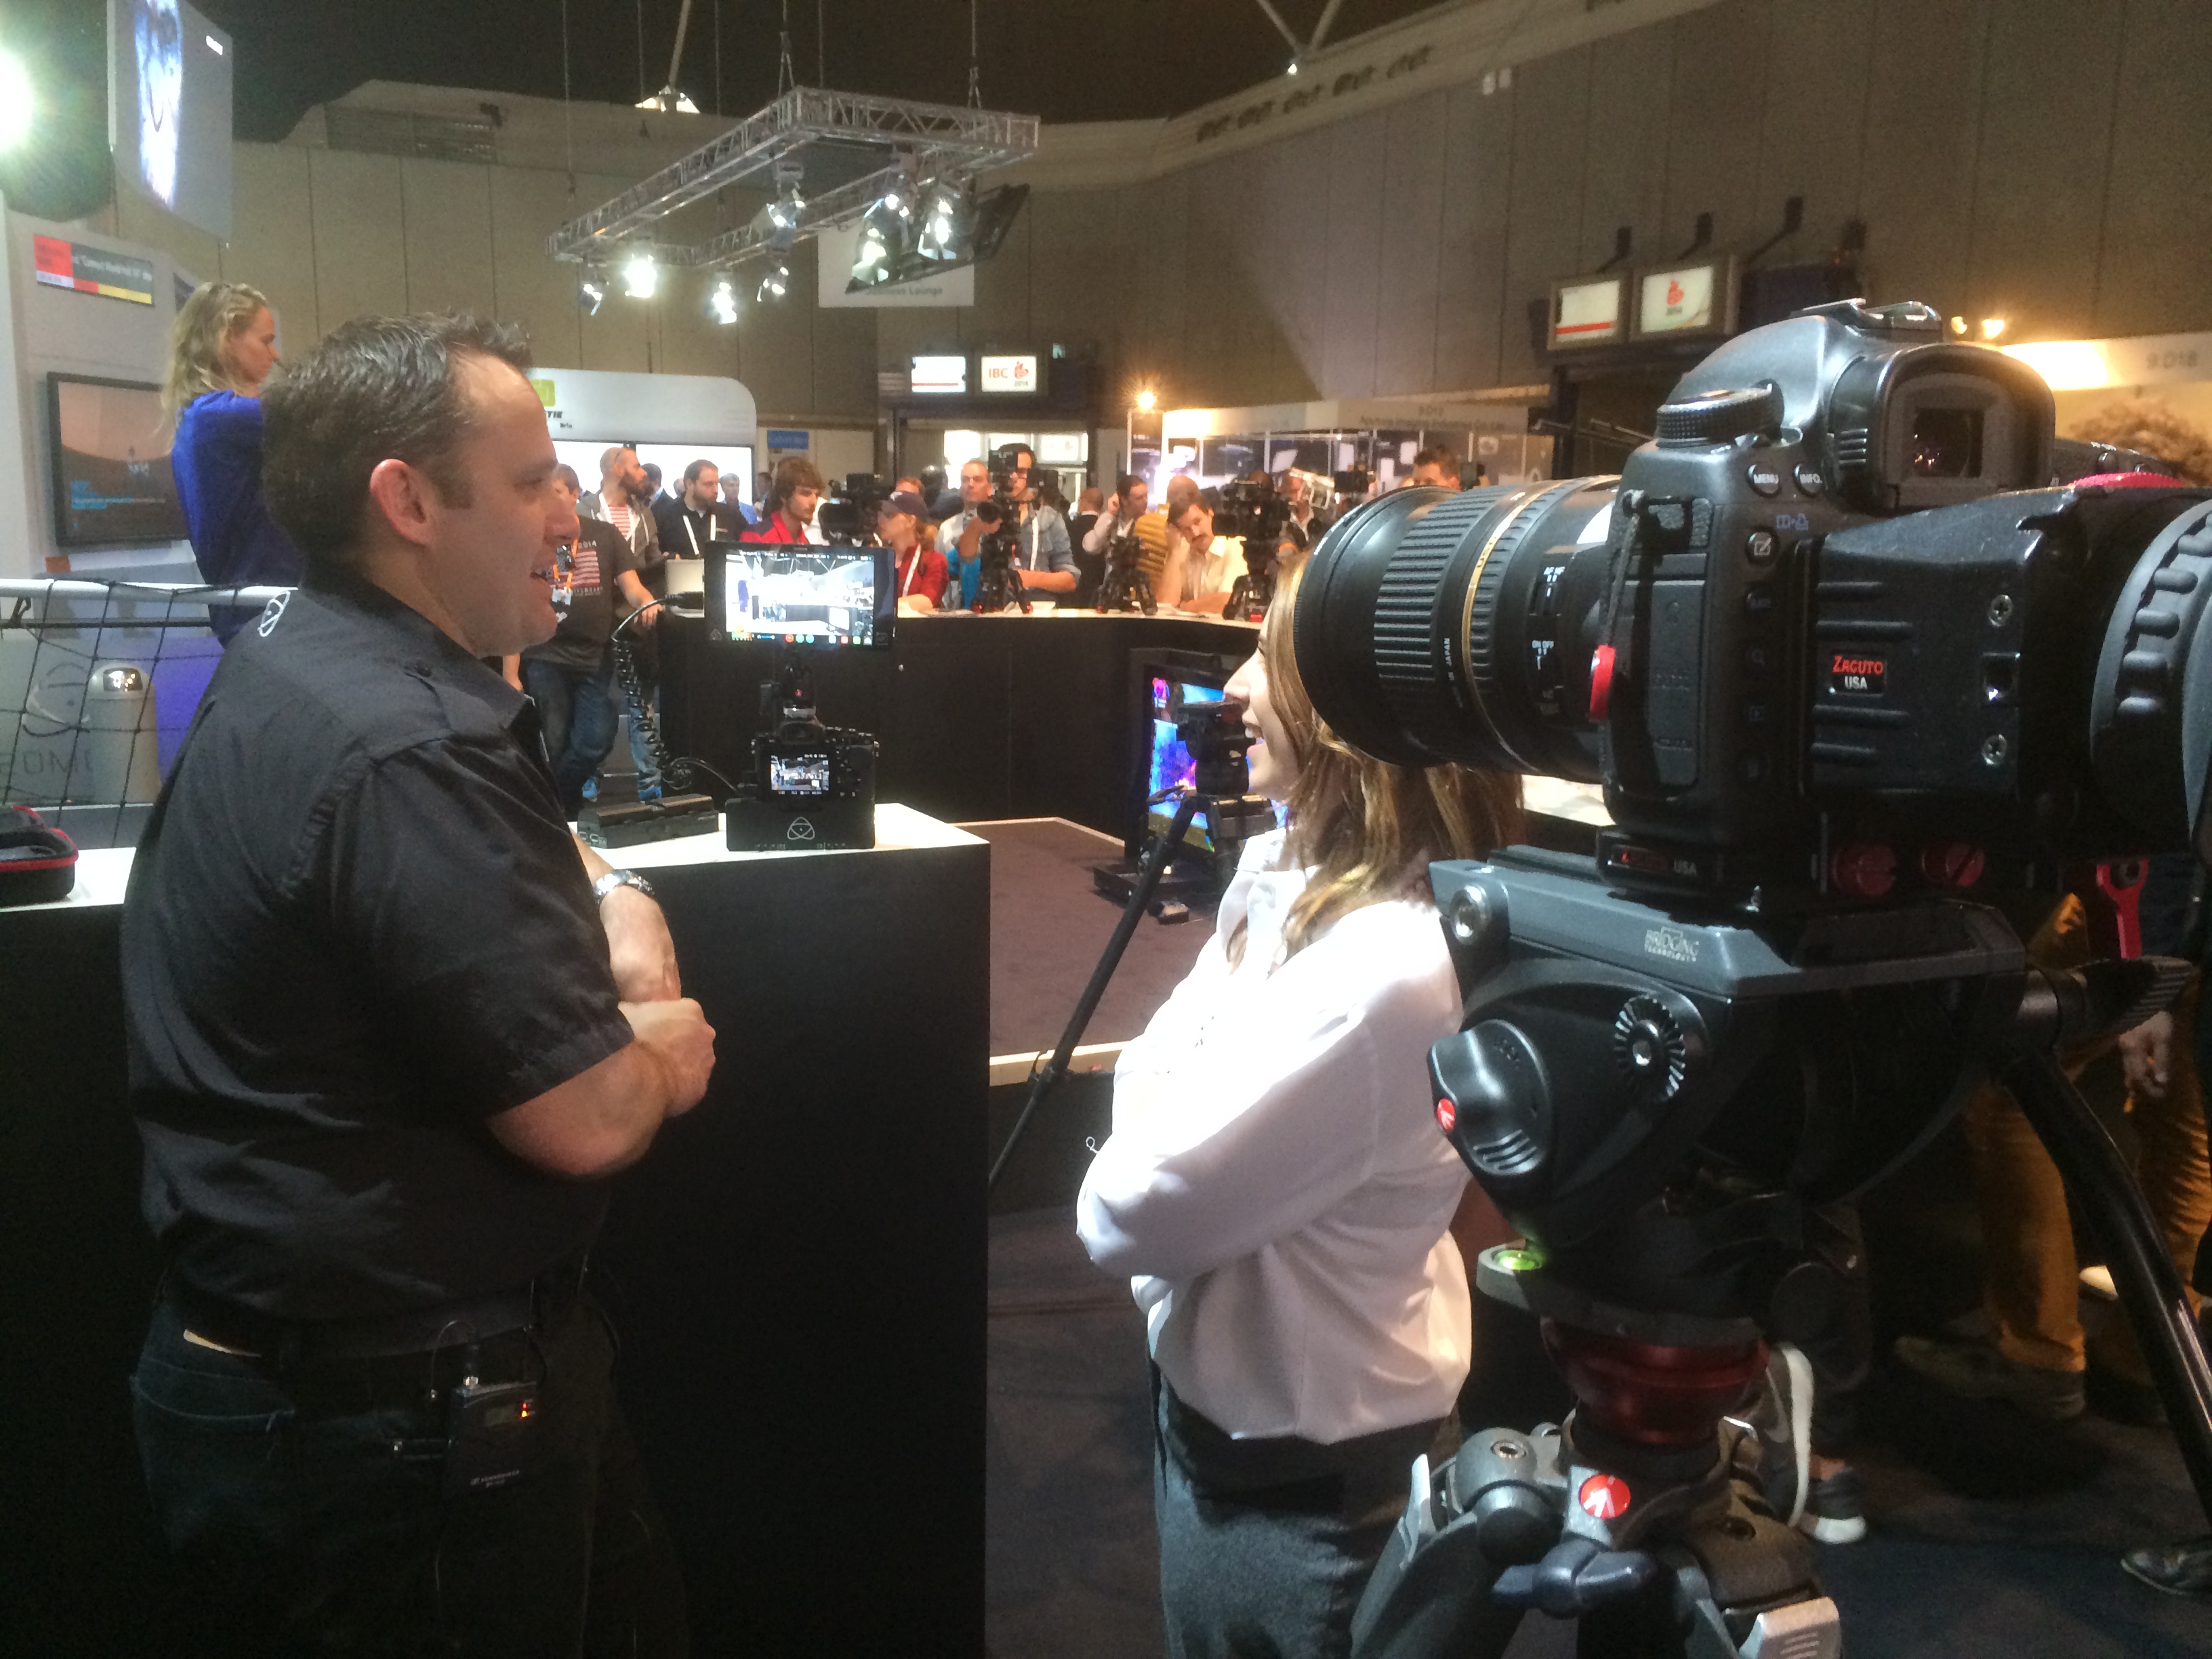
I had a great time at the Atomos booth interviewing Jeromy the CEO about the new Shogun for 4K recording and the power pack!

Atomos Interview -

jeromy atomos ceo at ibc show 2014 iabm interview adam plowden videography

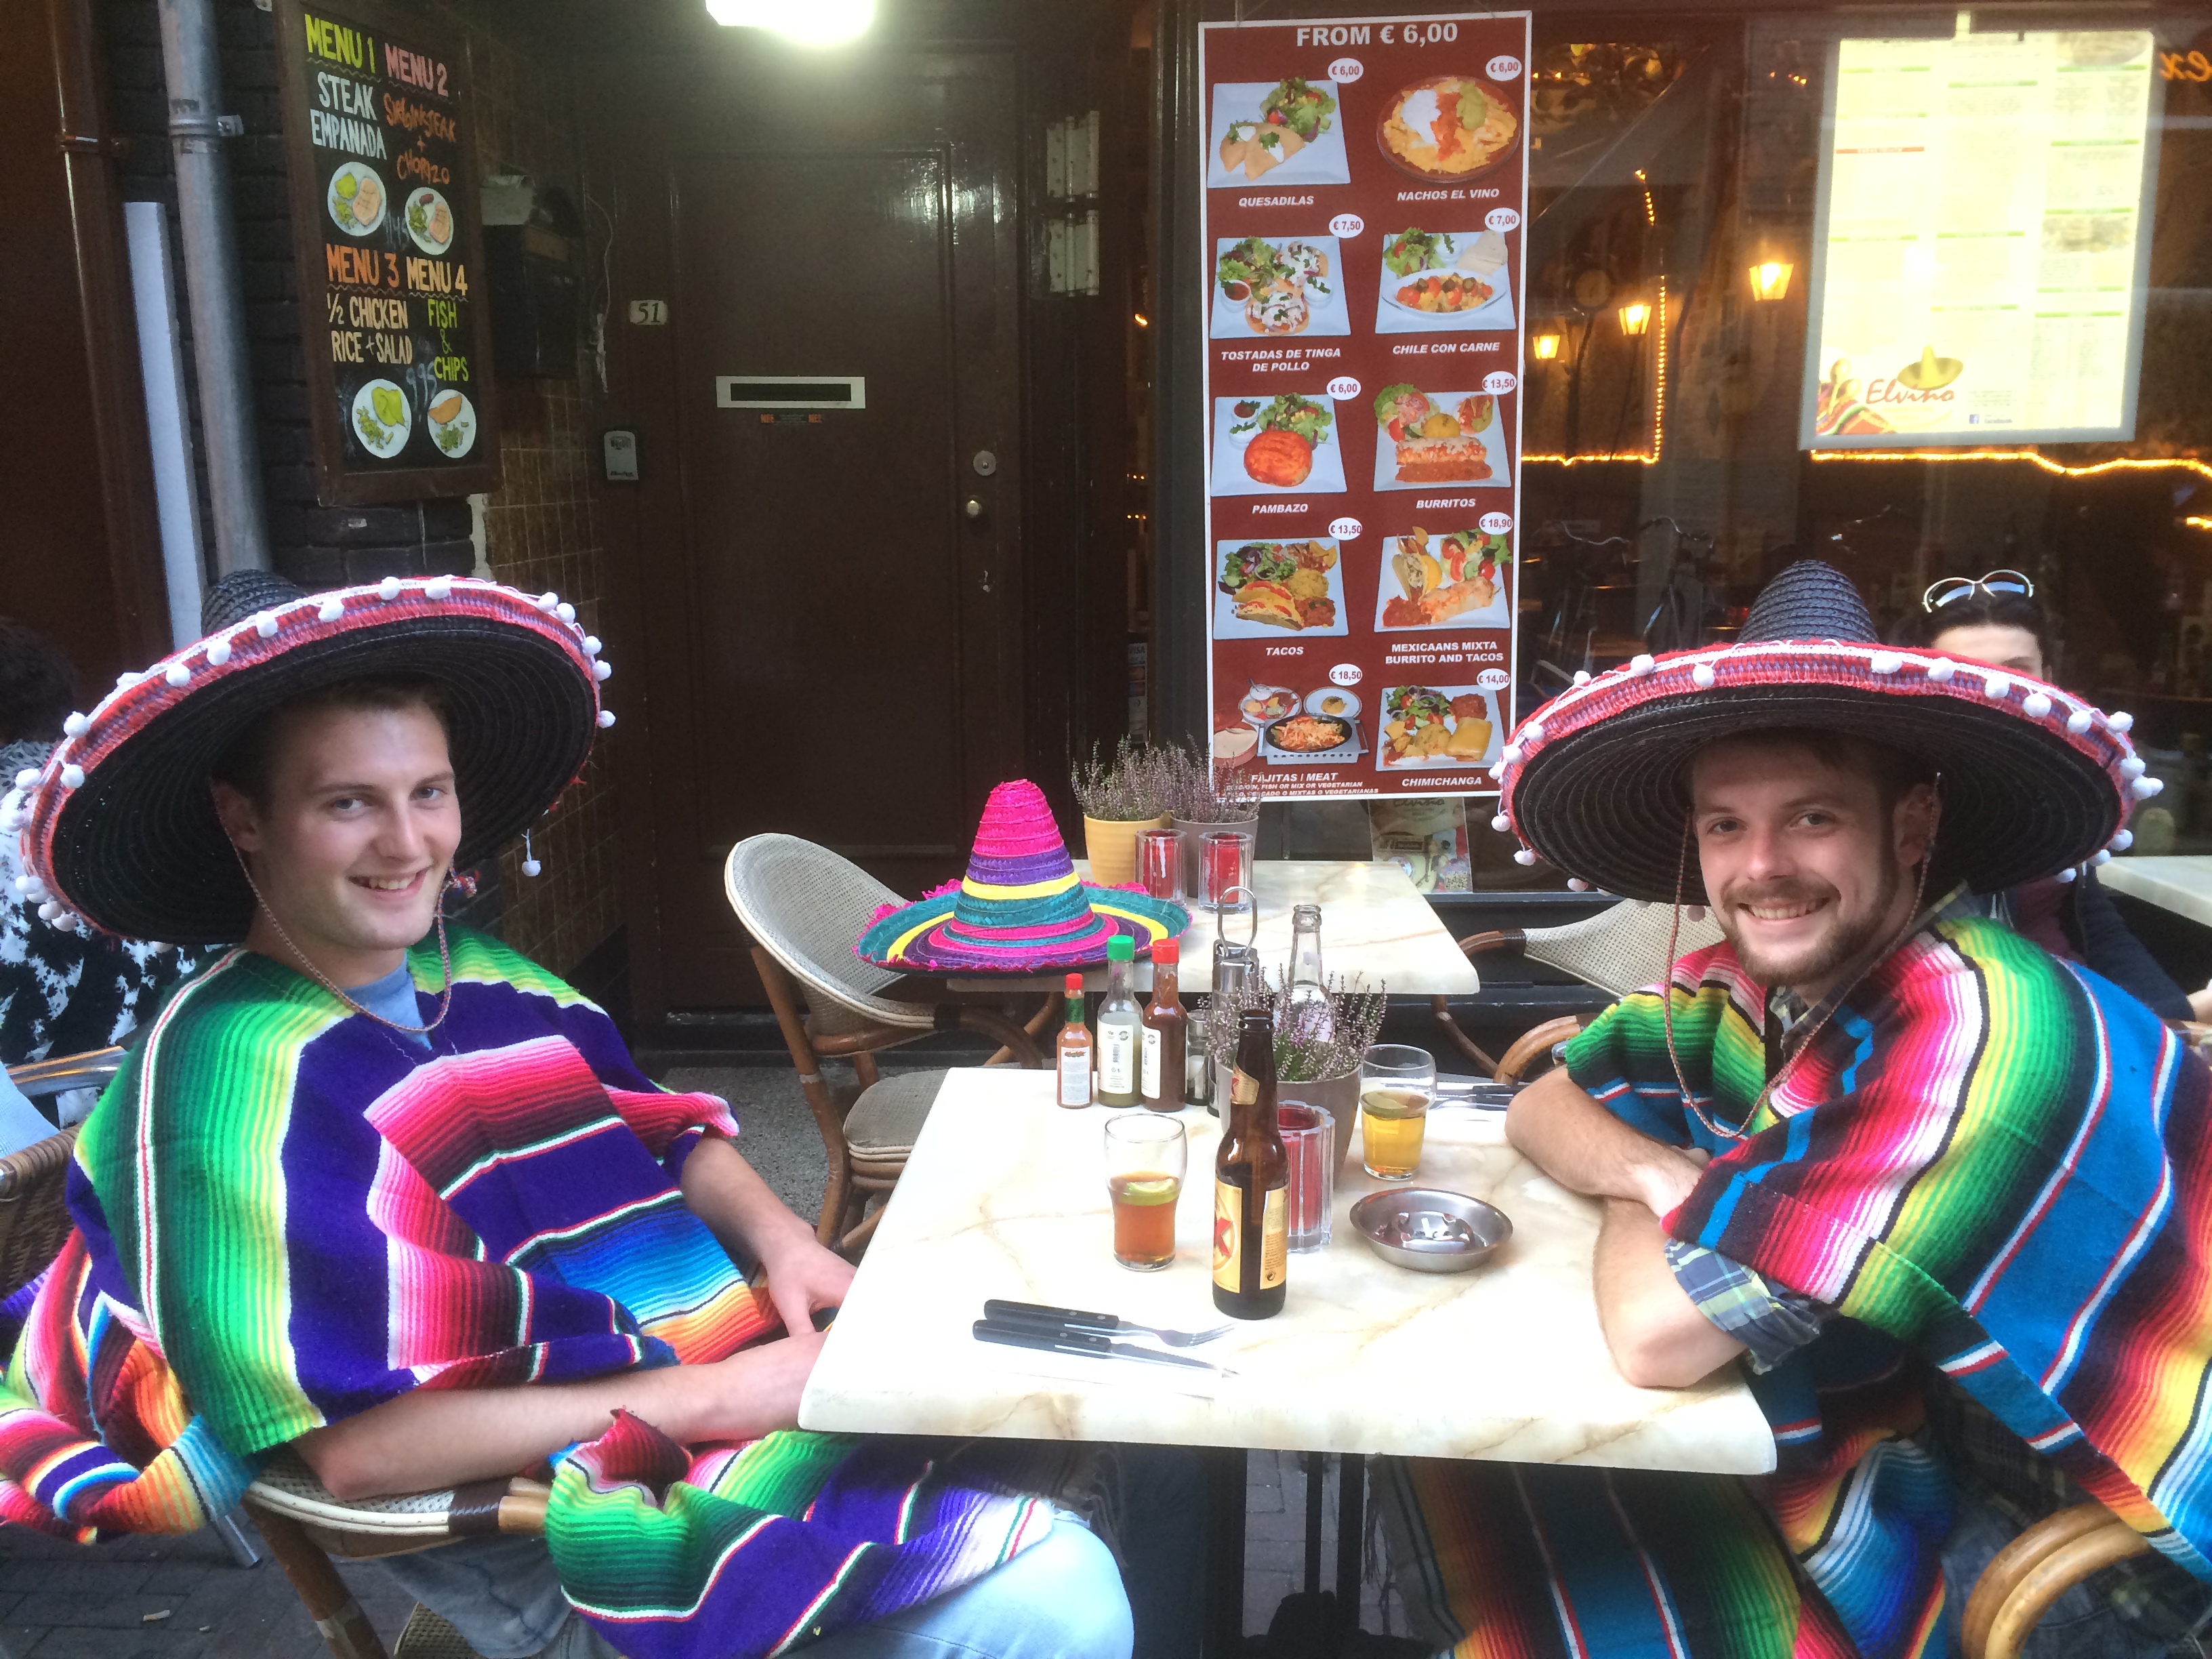
Later that day I bumped into Joe, my old uni housemate  who was visiting the show for a day. Later, Glen and myself went for Mexican for dinner and met up with our hotel receptionist, Klaudija for a few drinks in Vondelpark!

adam and joe ibc show 2014 videography
adam and glen mexicans

At this point, I was completely over my missing 60D and the tiredness. Visiting IBC and Amsterdam for work is a very rare opportunity, so we plowed through and continued to produce great day by day coverage of the show for The IABM. Glen, bless him saw less and less daylight each day!

adam out filming interviews at ibc
Glen and Adam at ibc

Day 5 - Rising Stars and more member interviews

Arriving at IBC a little later than usual, Glen and myself parked up the the press area and set up the laptops to upload the previous days interviews to vimeo. Before we headed out to Steve Warners talk at Rising Stars I bumped into Nino Leitner who was off to Photokina that afternoon, so I grabbed a quick pic! Nino had been very busy with Cinema 5D coverage of the show producing their 'On The Couch' series with Philip Bloom, HaZ Dullul and more.

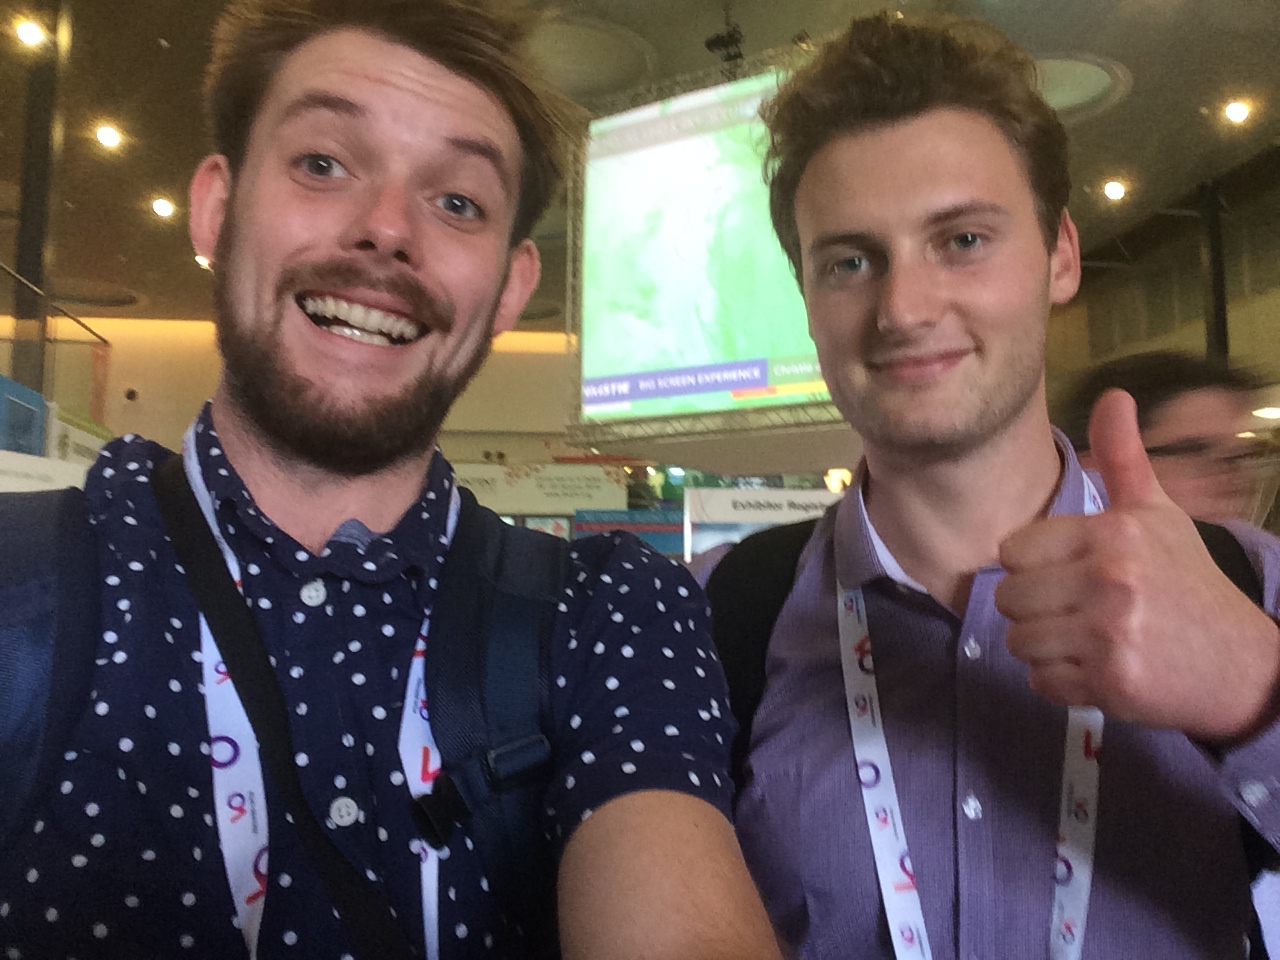
adam plowden and nino leitner ibc show 2014

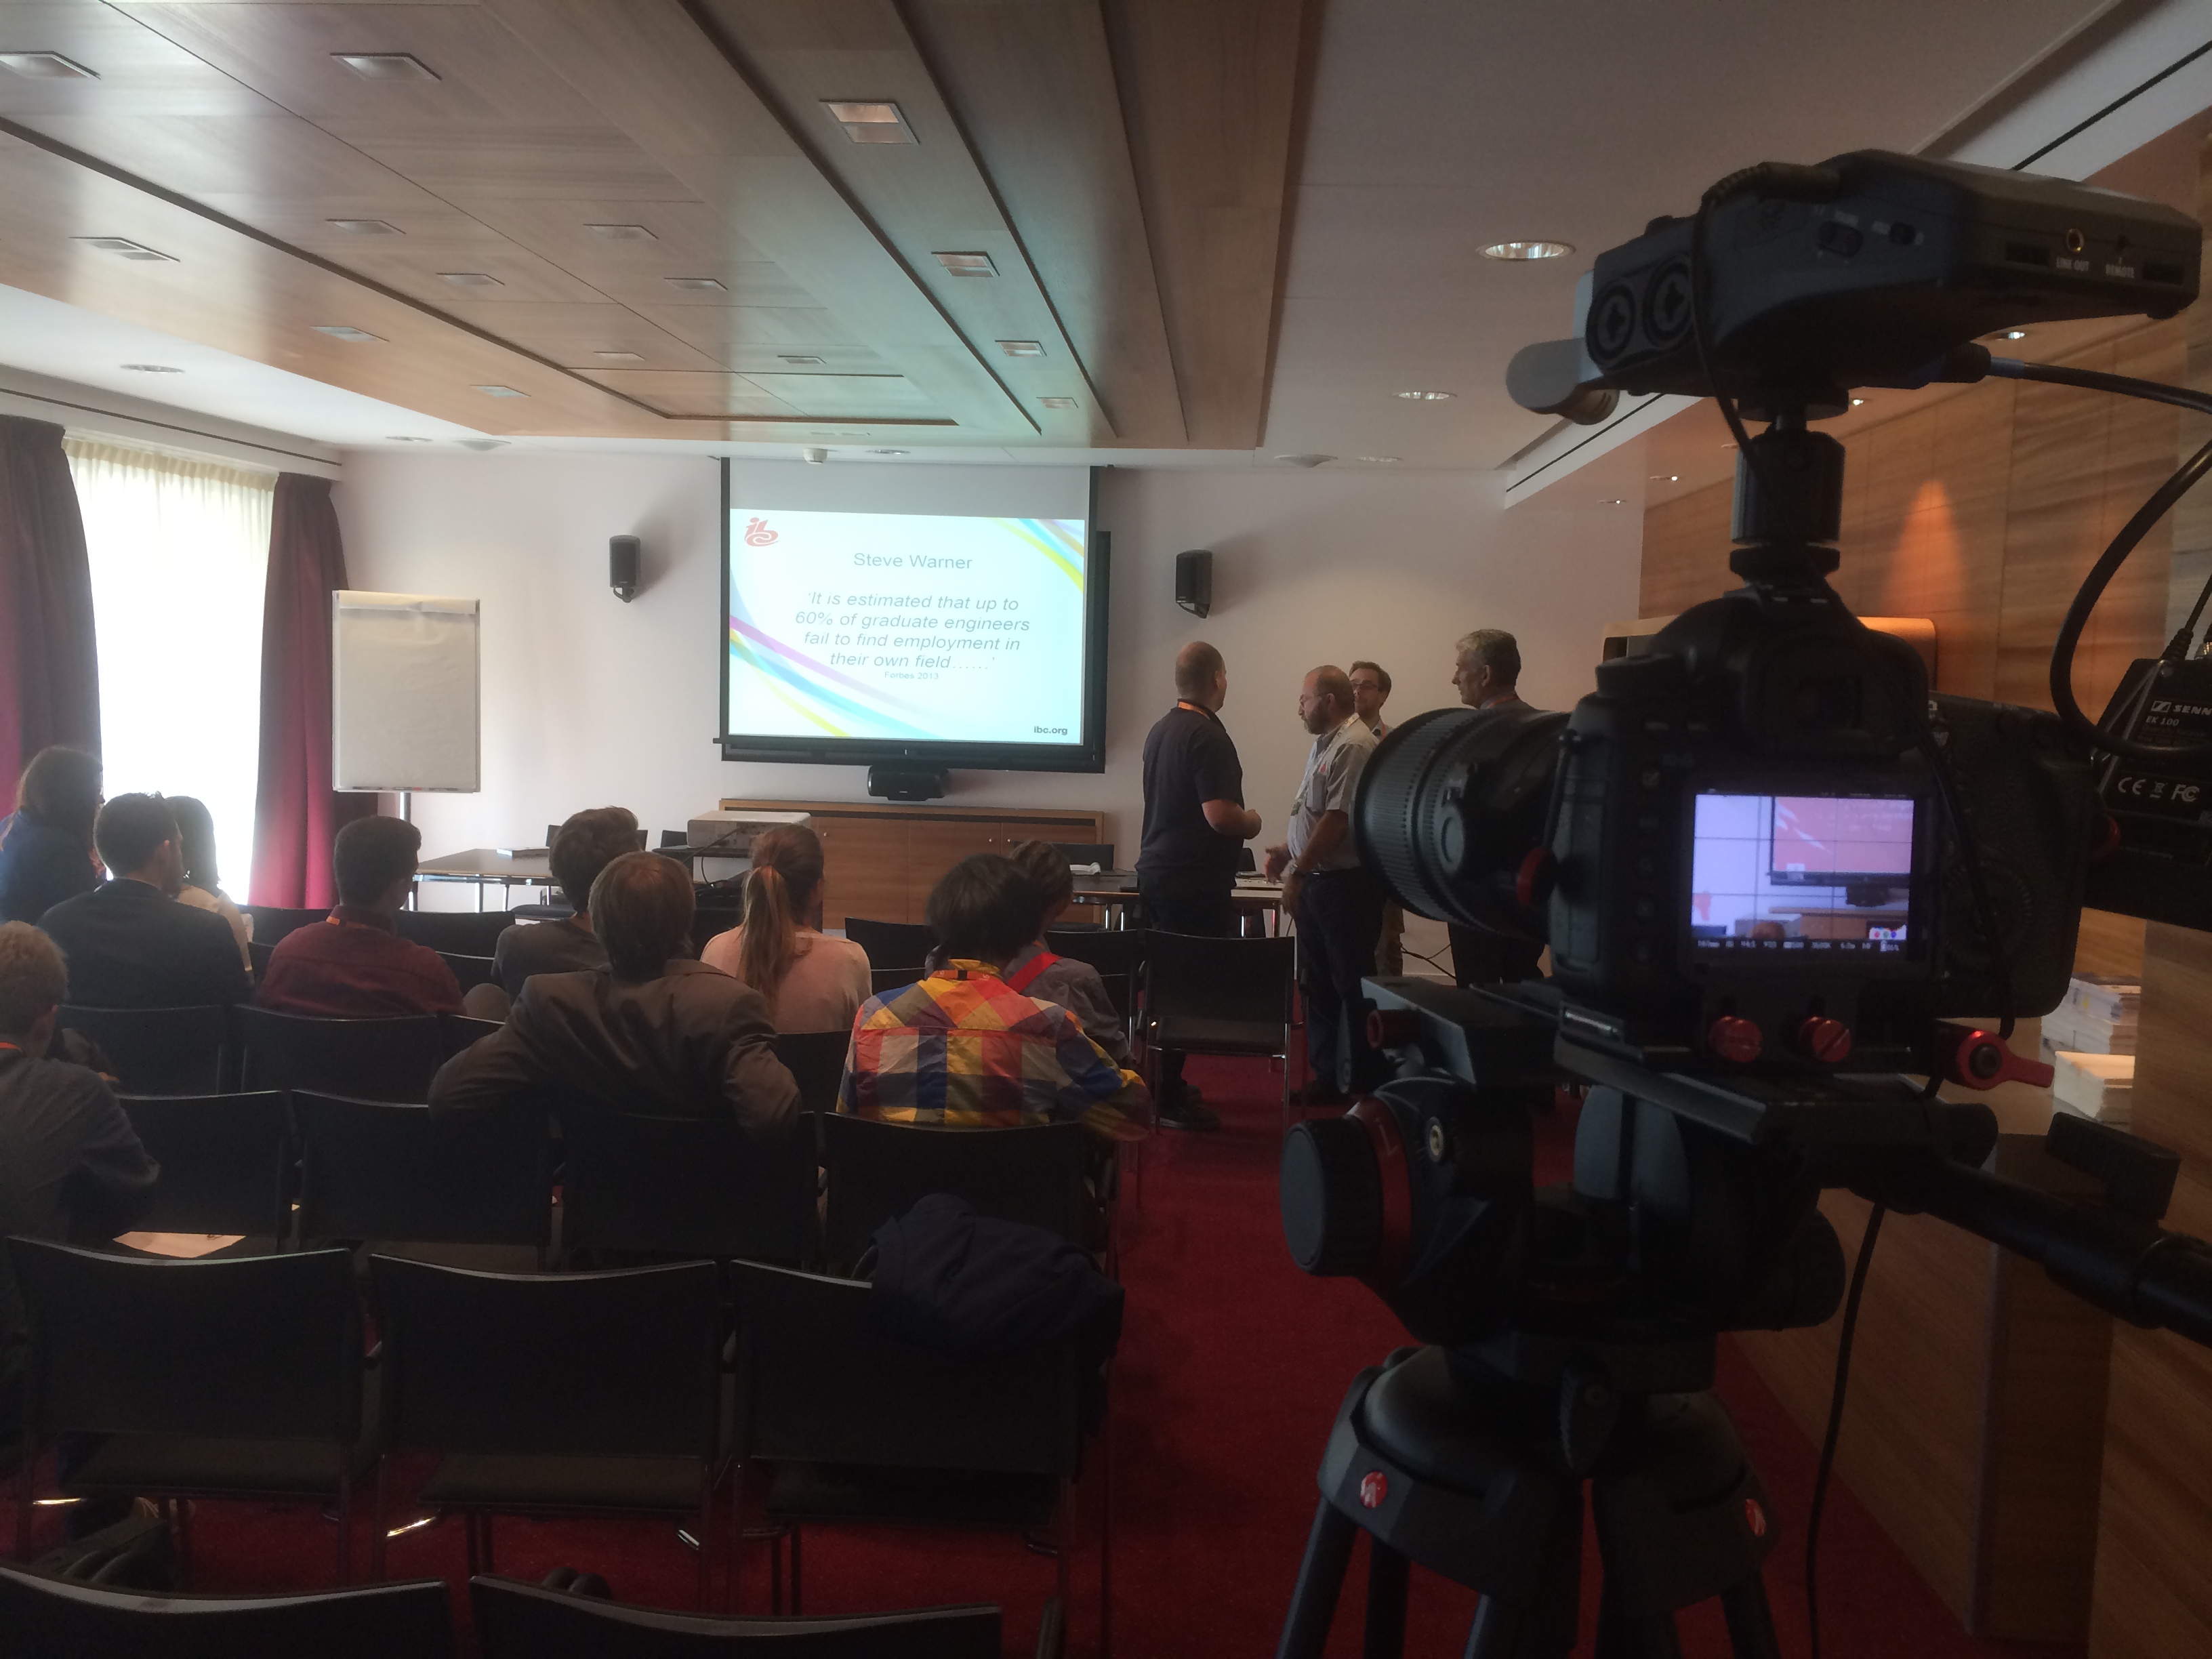
At this point, we had captured around 350Gb of video footage and delivered numerous interviews and event videos for The IABM, they were very pleased! We headed over to The Rising Stars lounge; a part of the show dedicated to young professionals in the industry where Steve Warner (training manager of The IABM) was doing a talk on CV's and representing yourself. Even for me, it was quite interesting to hear what recruiters actually look out for and research!

steve warner iabm training manager talk rising stars ibc 2014

Catch the full video here -

The team then split so I could conduct some interviews with The IABM student award winners, and with a couple more members for The IABM annual conference in December. It was a short and sweet day; shooting multi-cam on talks and conferences made editing fairly straight forward so we were able to deliver the videos pretty much on the same day. Glen did an awesome job and editing videos out quickly. while I was filming more content!

Day 6 - Last interviews

Day 6 was our opportunity to capture the last interview and glimpse of the show until next year. As we were interviewing members and covering events, we didn't get to see that much of the show itself, but made time to visit some cool stands before we left on Tuesday afternoon.

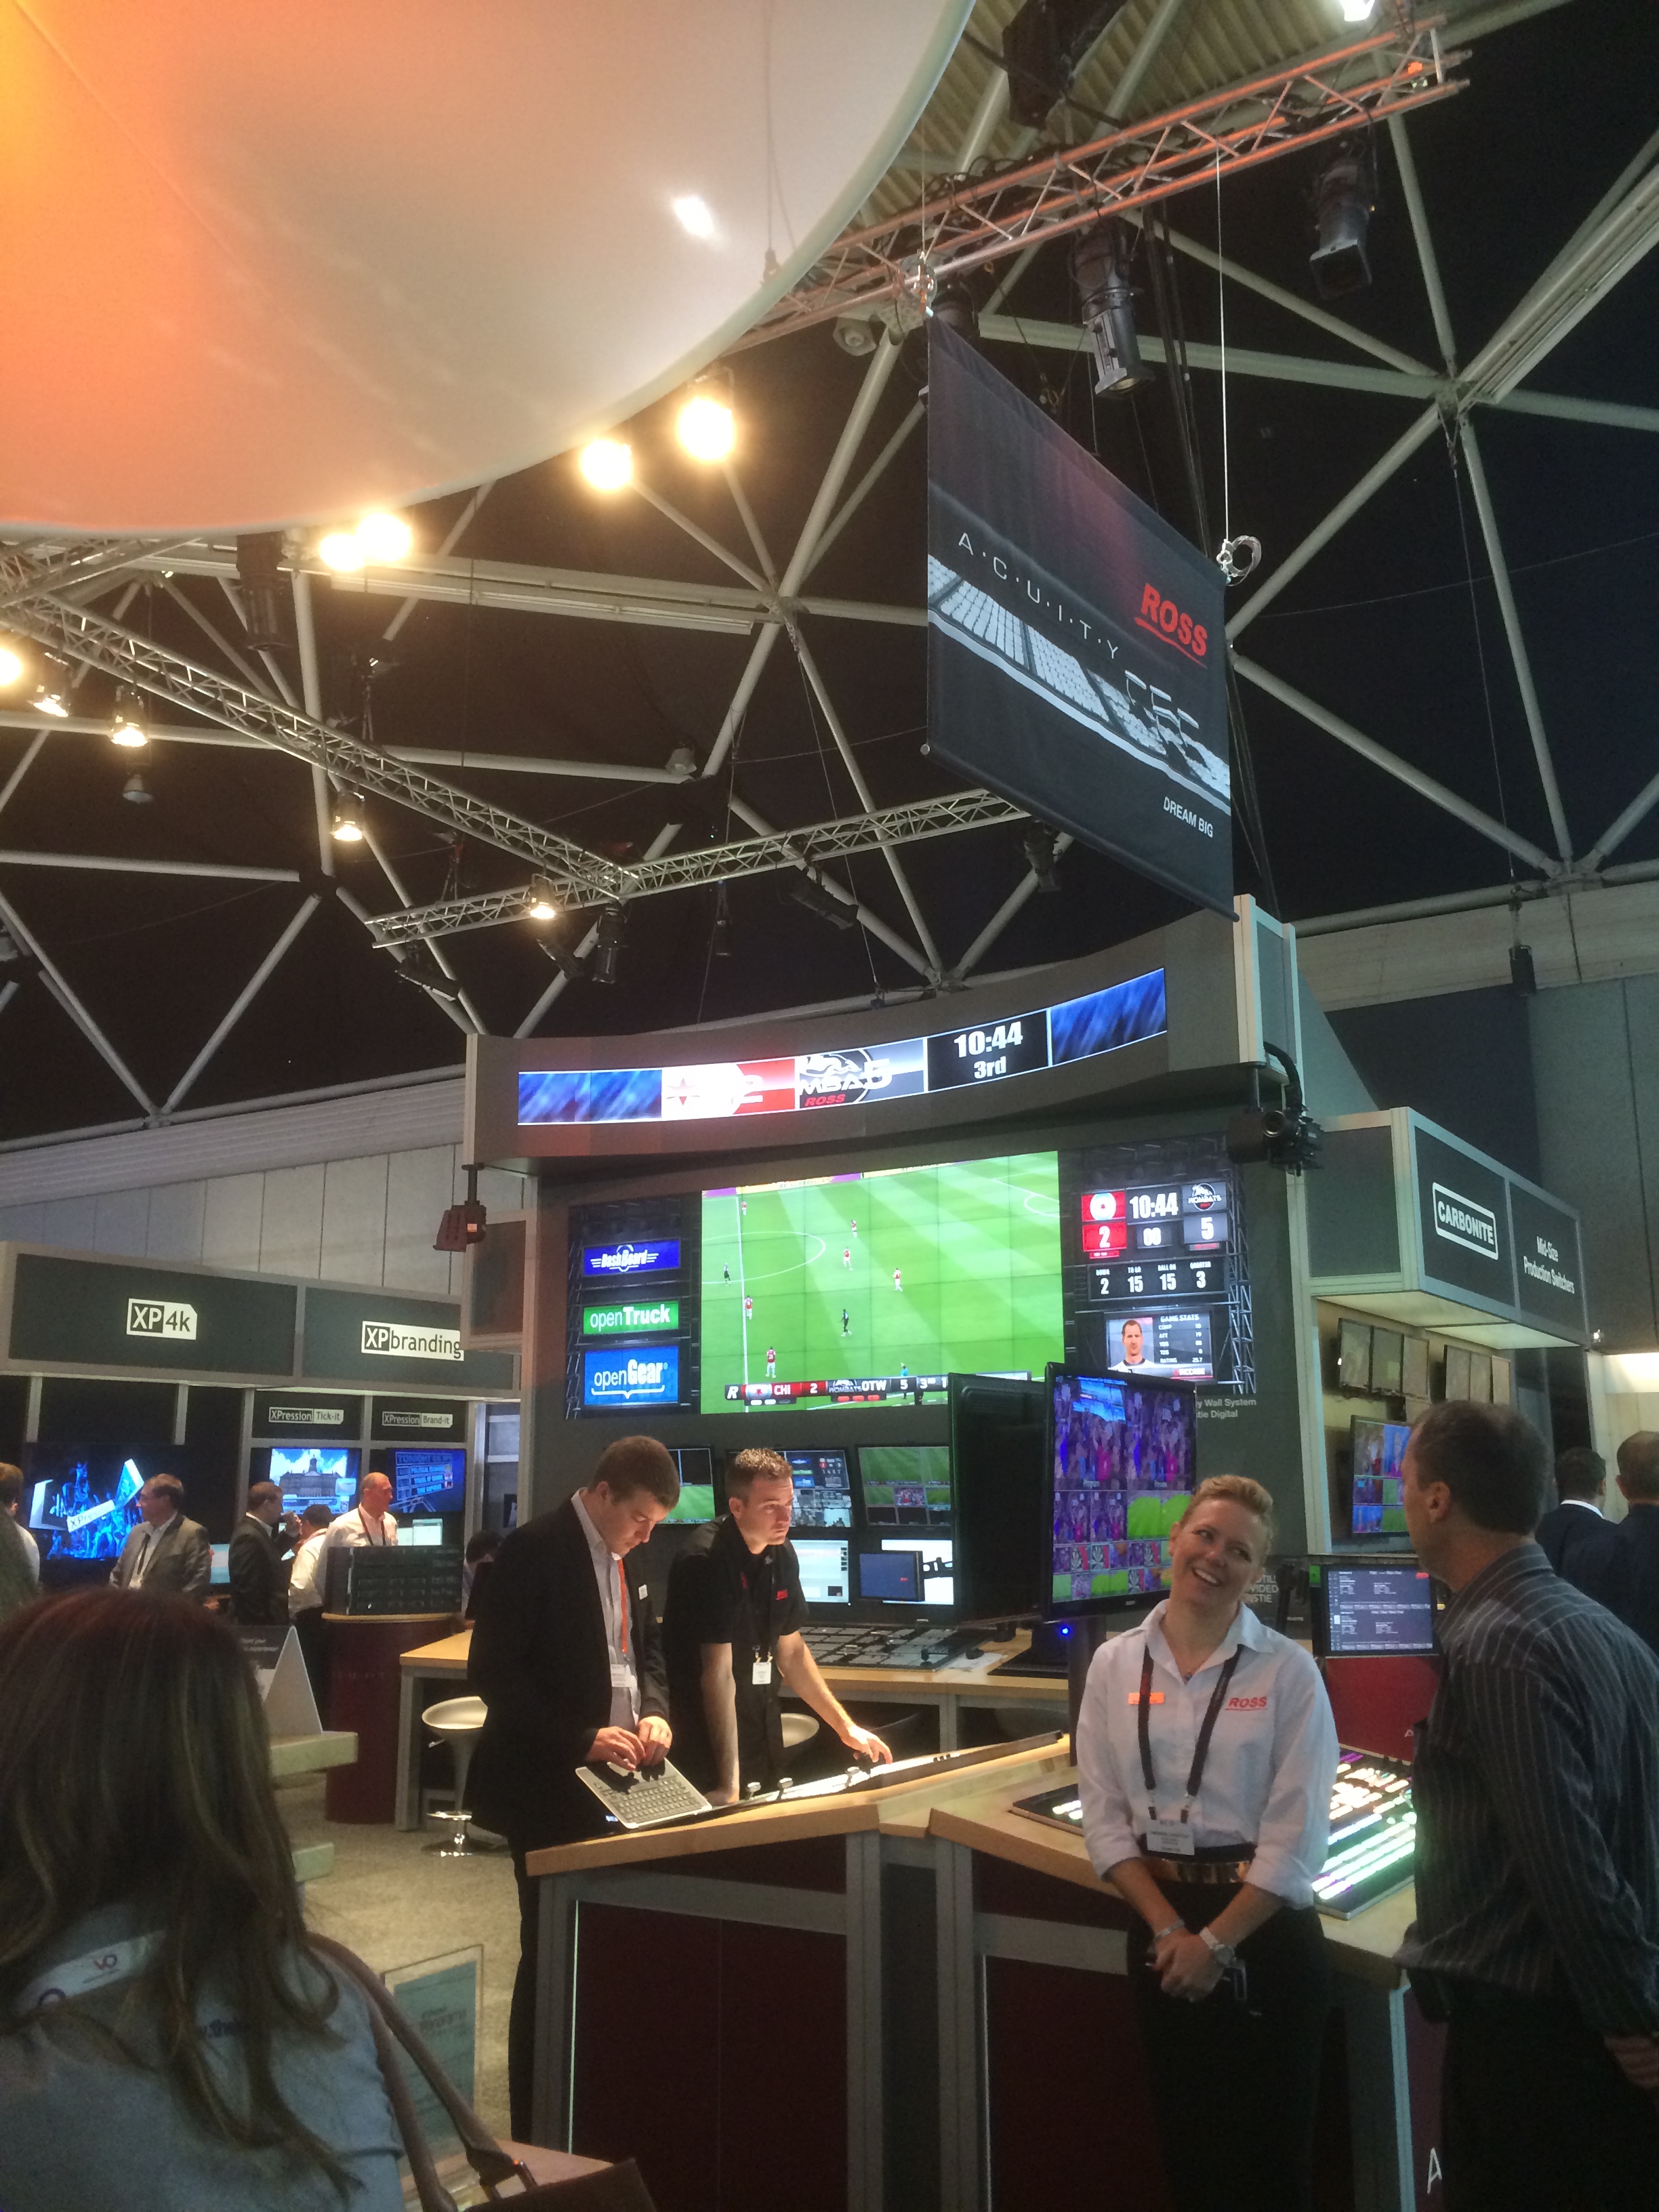
We visited the Ross Video stand, to interview Pete Ross for The IABM annual conference, it was interesting to hear about how the company developed the first vision mixers and lead the way for broadcast production throughout the 20th century, definitely worth recognition.

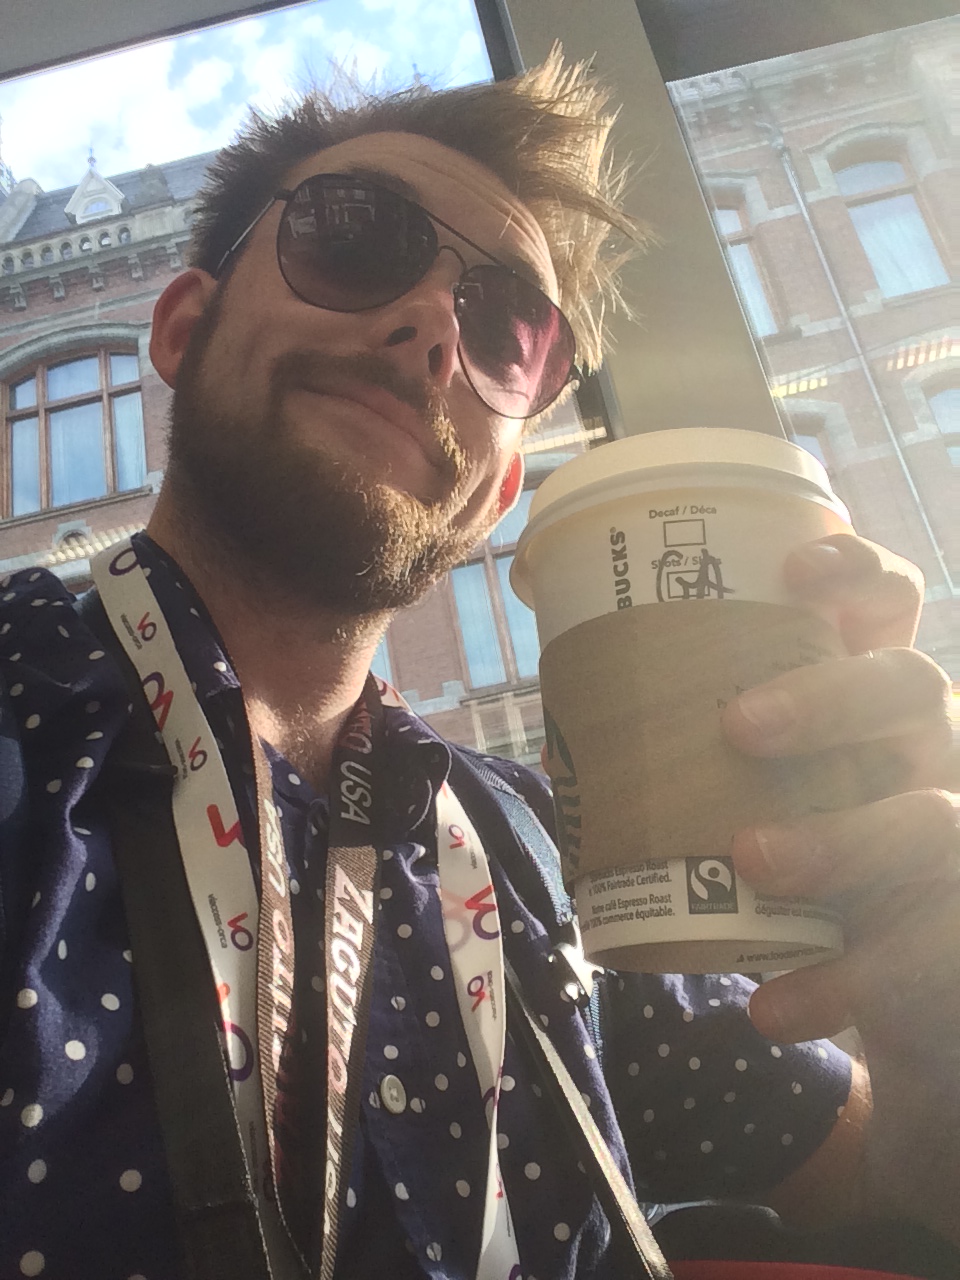
adams last day at ibc on the tram in Amsterdam
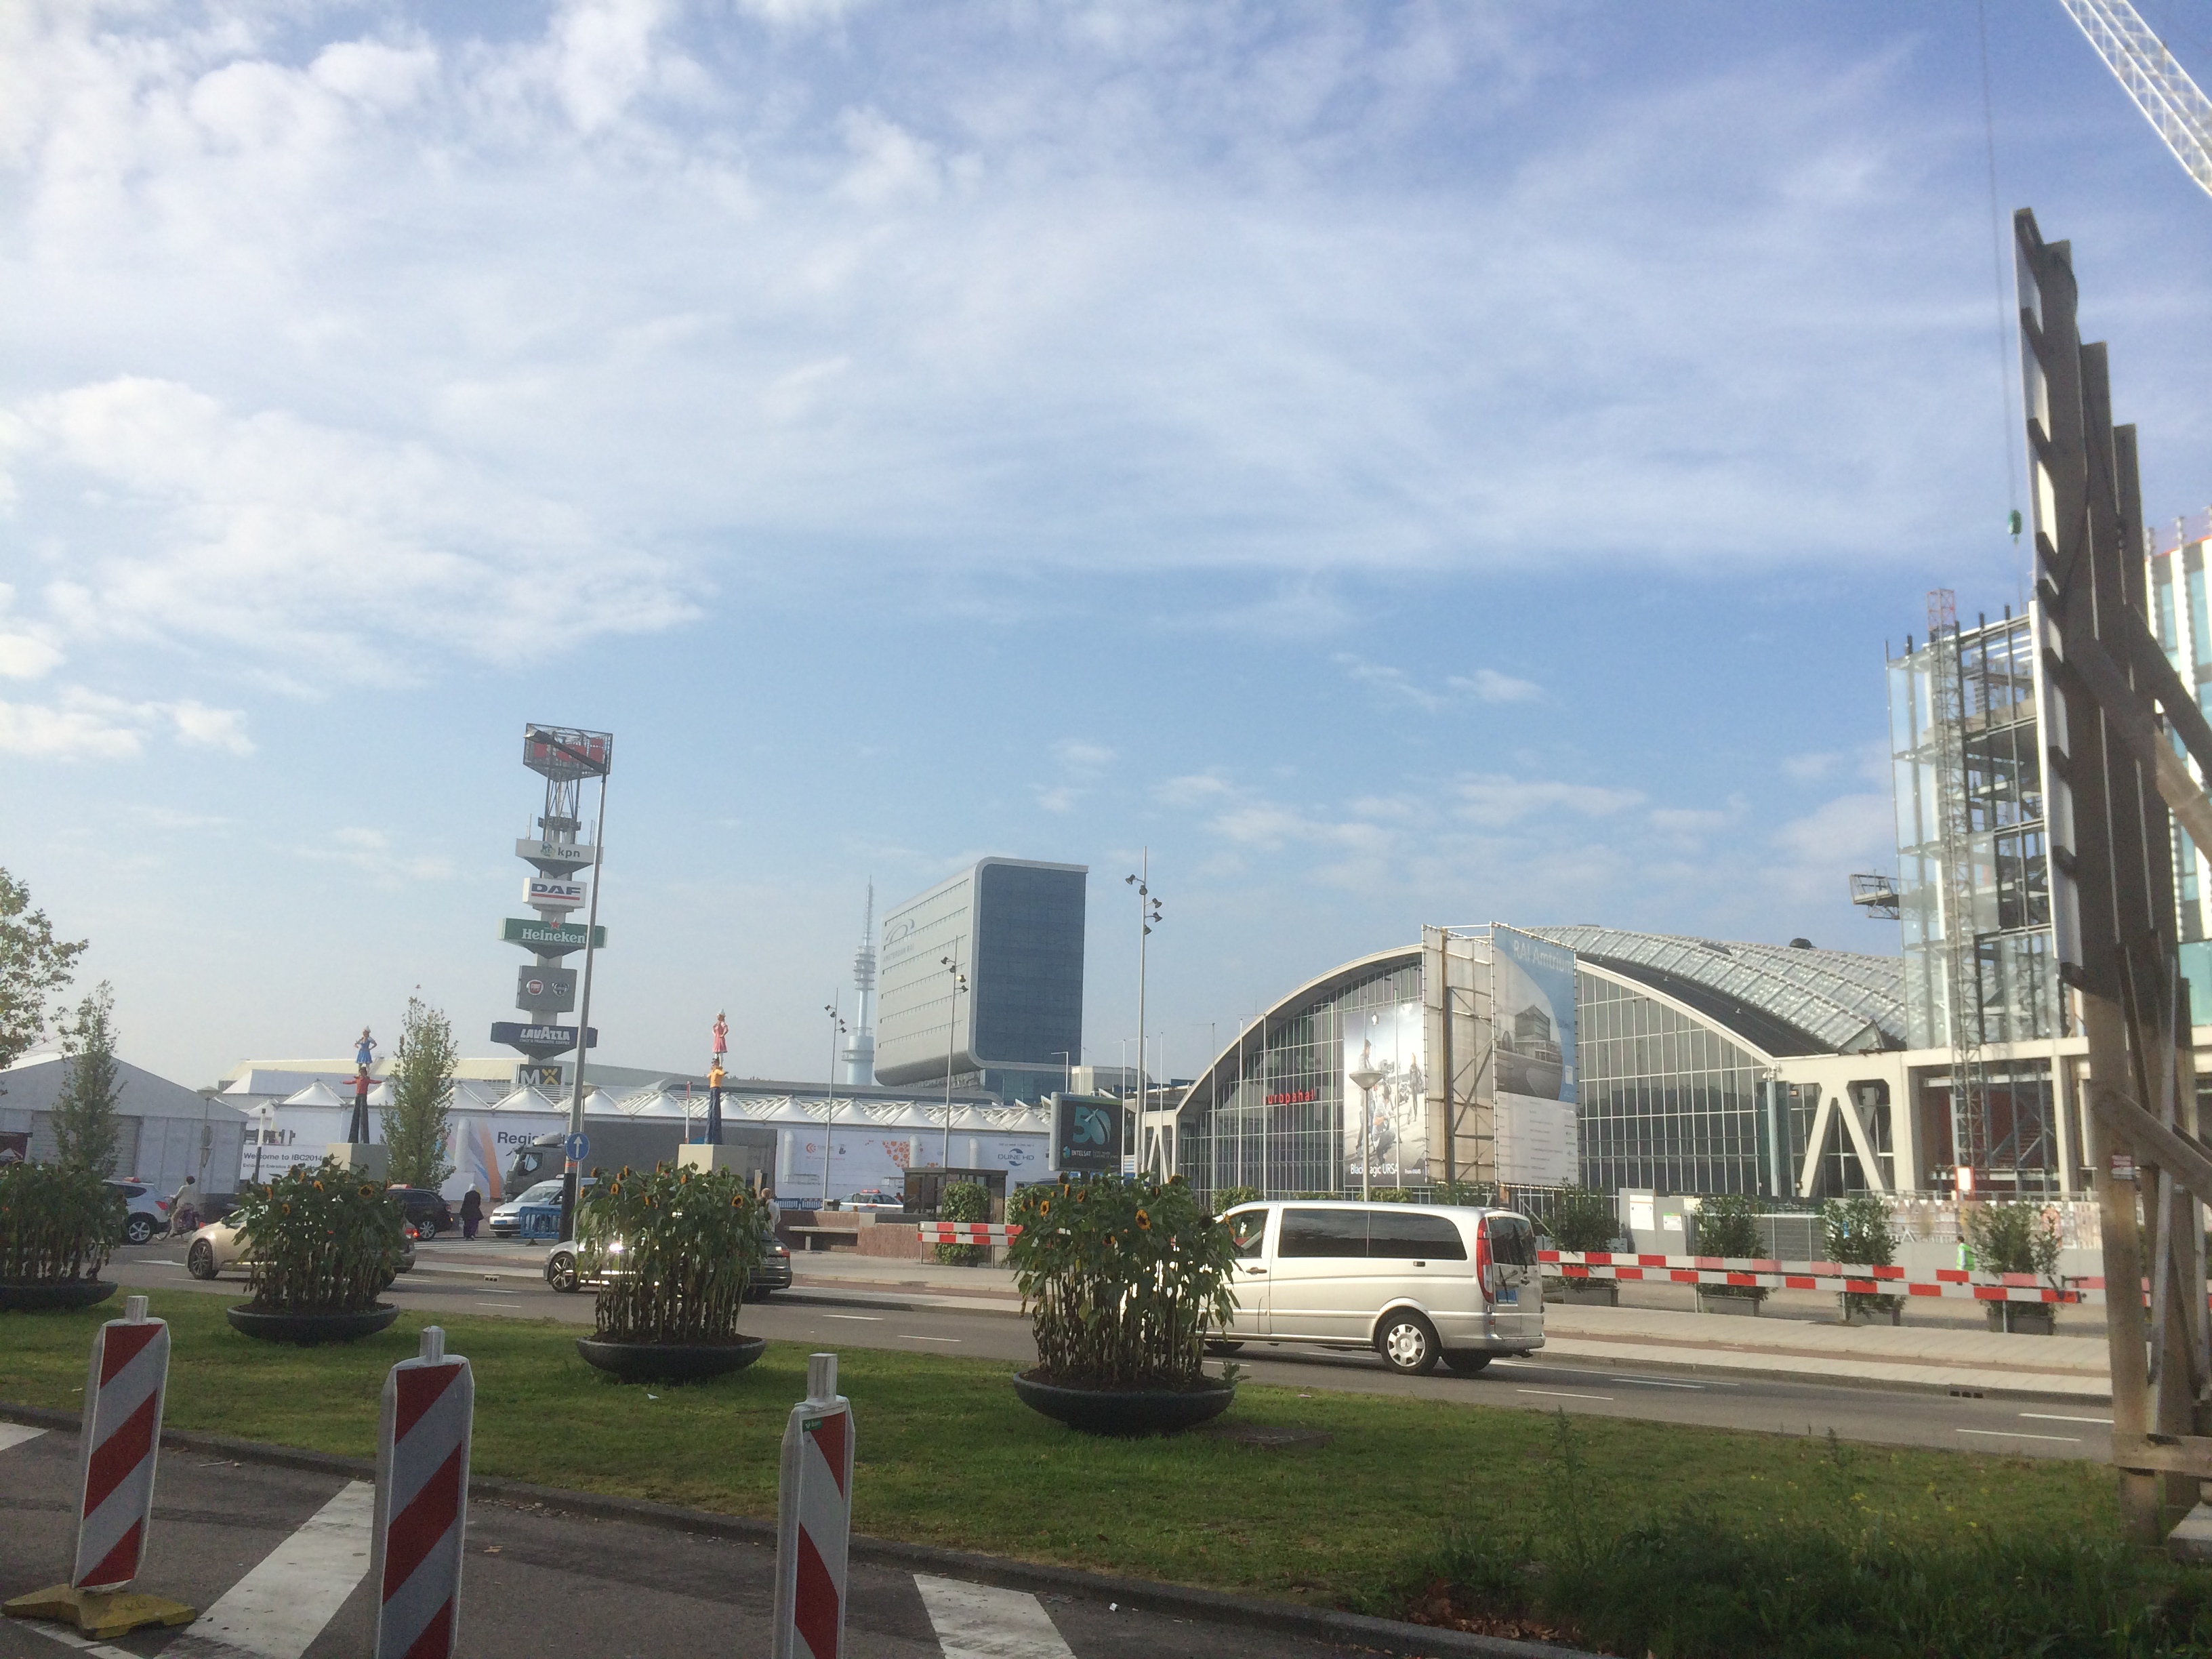
the Amsterdam RAI, home of IBC
Ross video stand at ibc show
Ross video stand at ibc show2
saying goodbye to the IBC press room!
Glen at IBC
Adam at IBC
Glen and Adam leaving IBC 2014 for the last time!

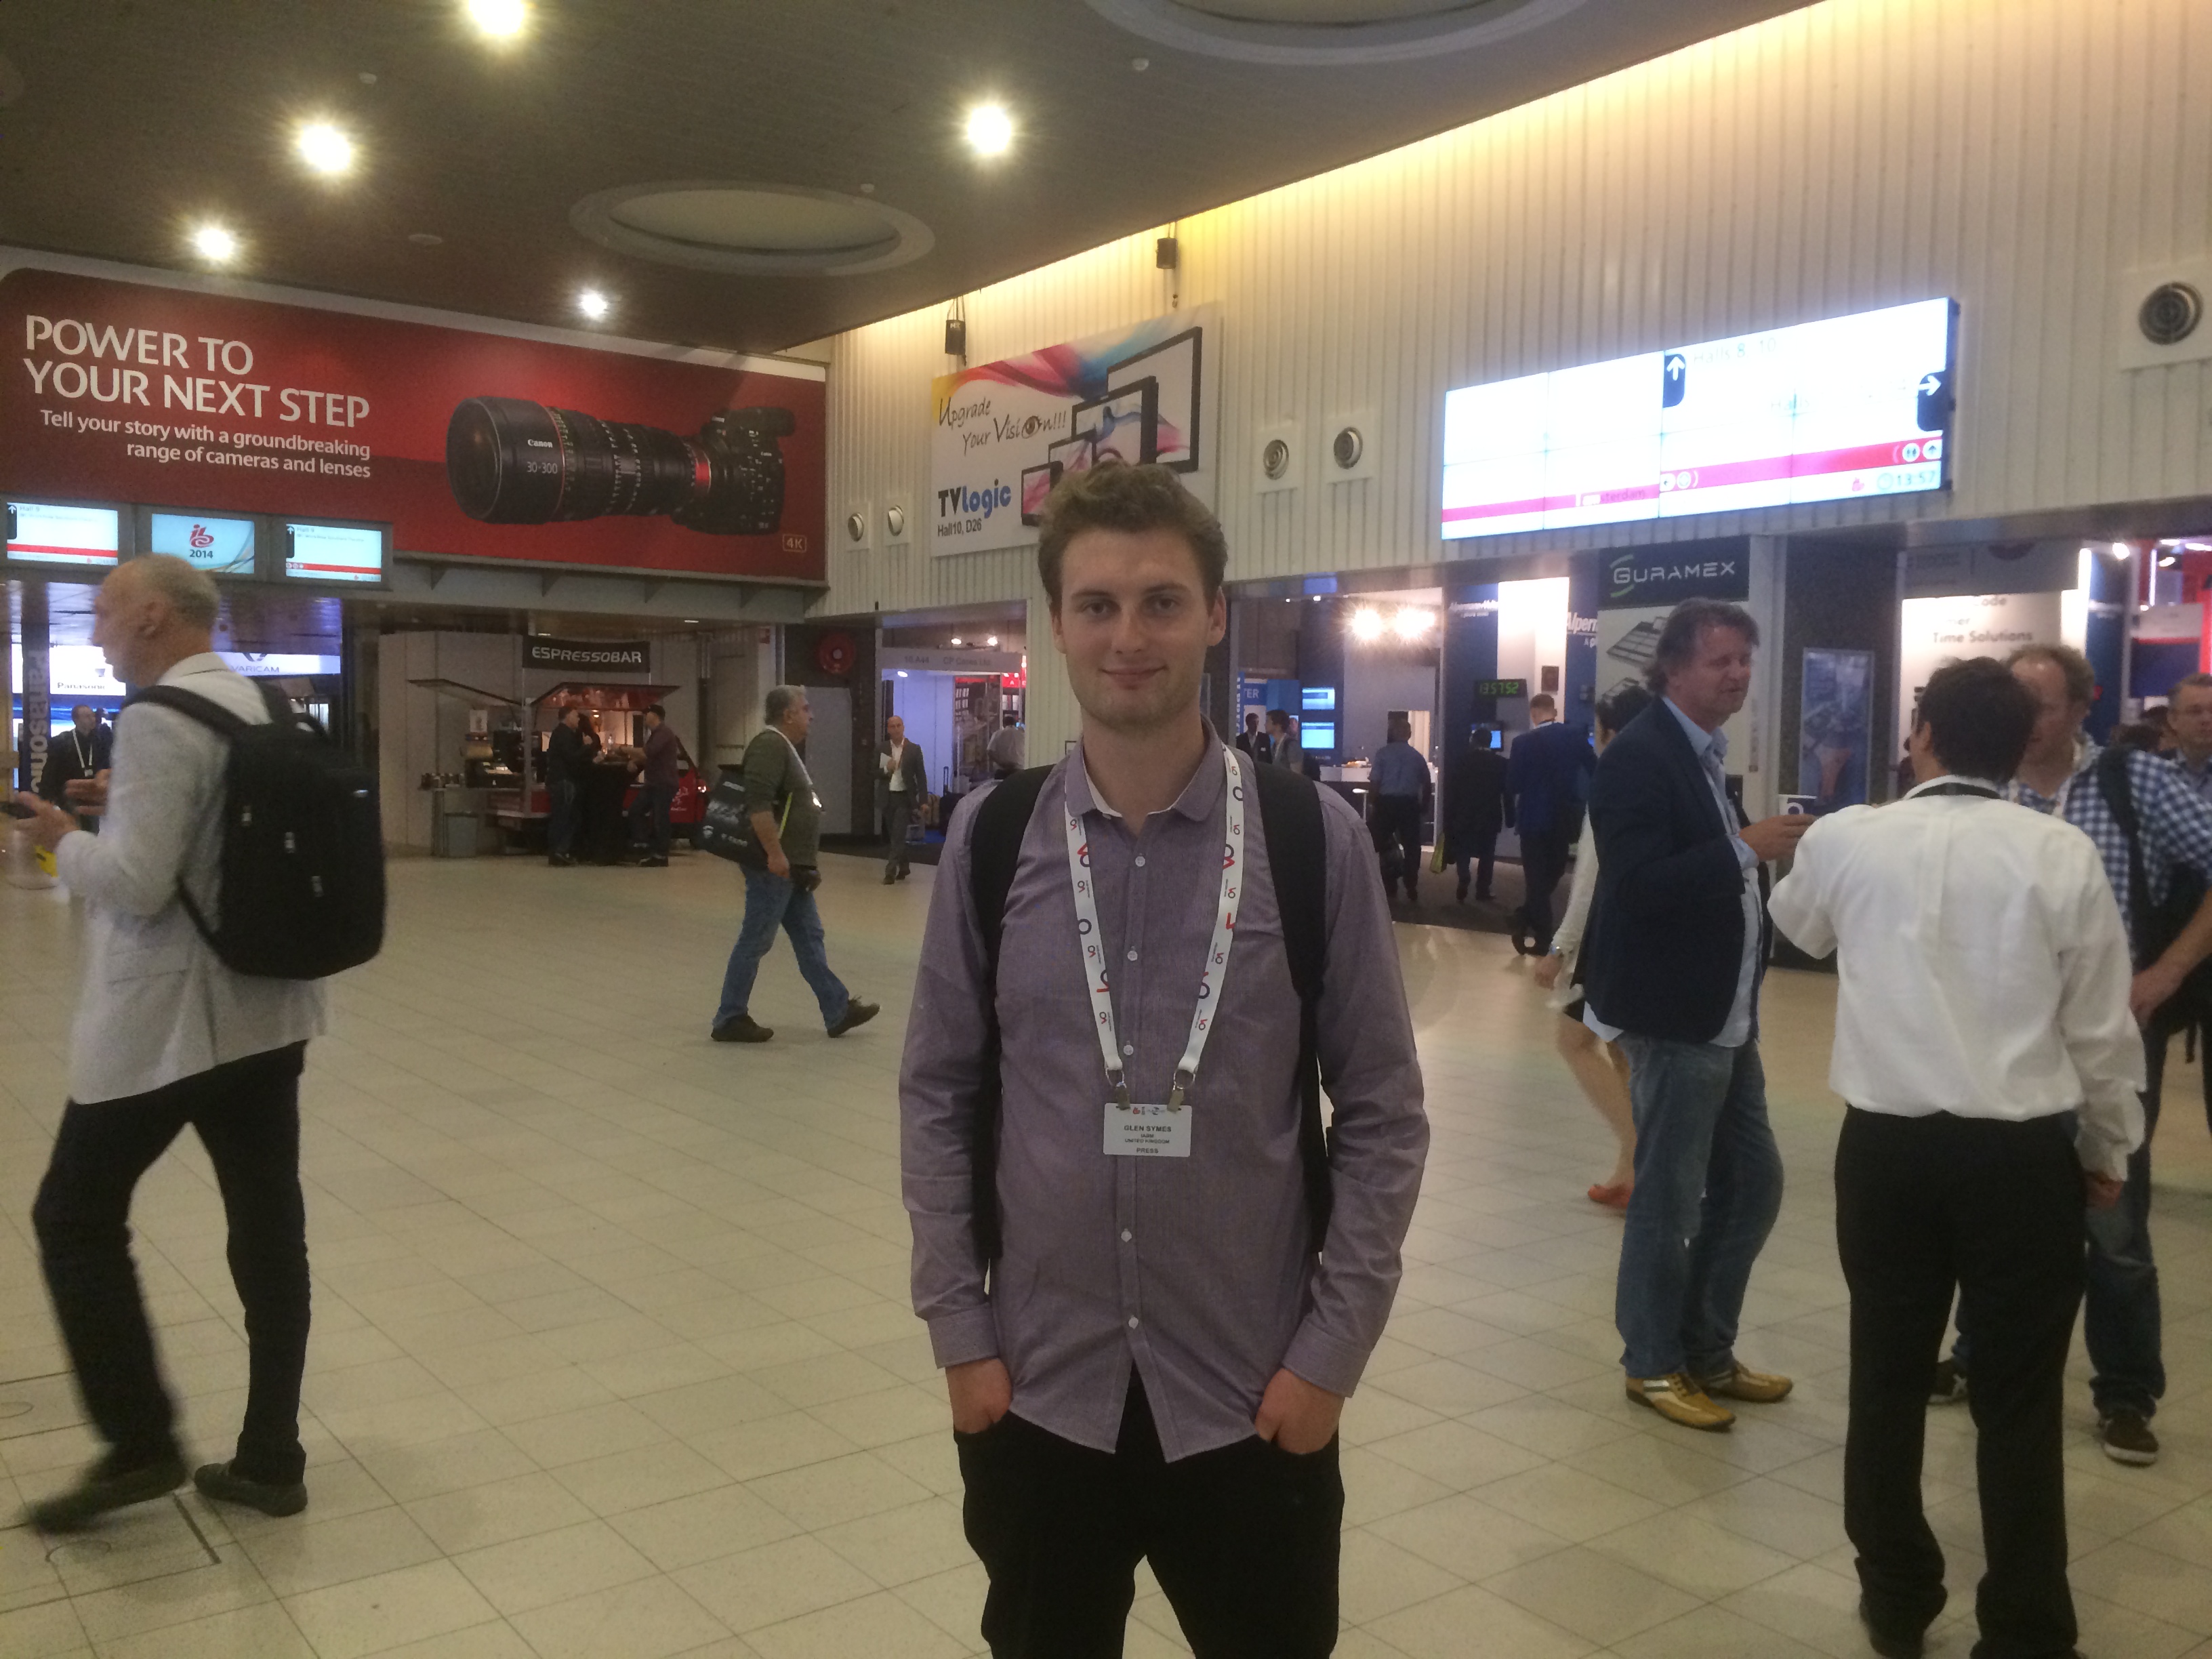
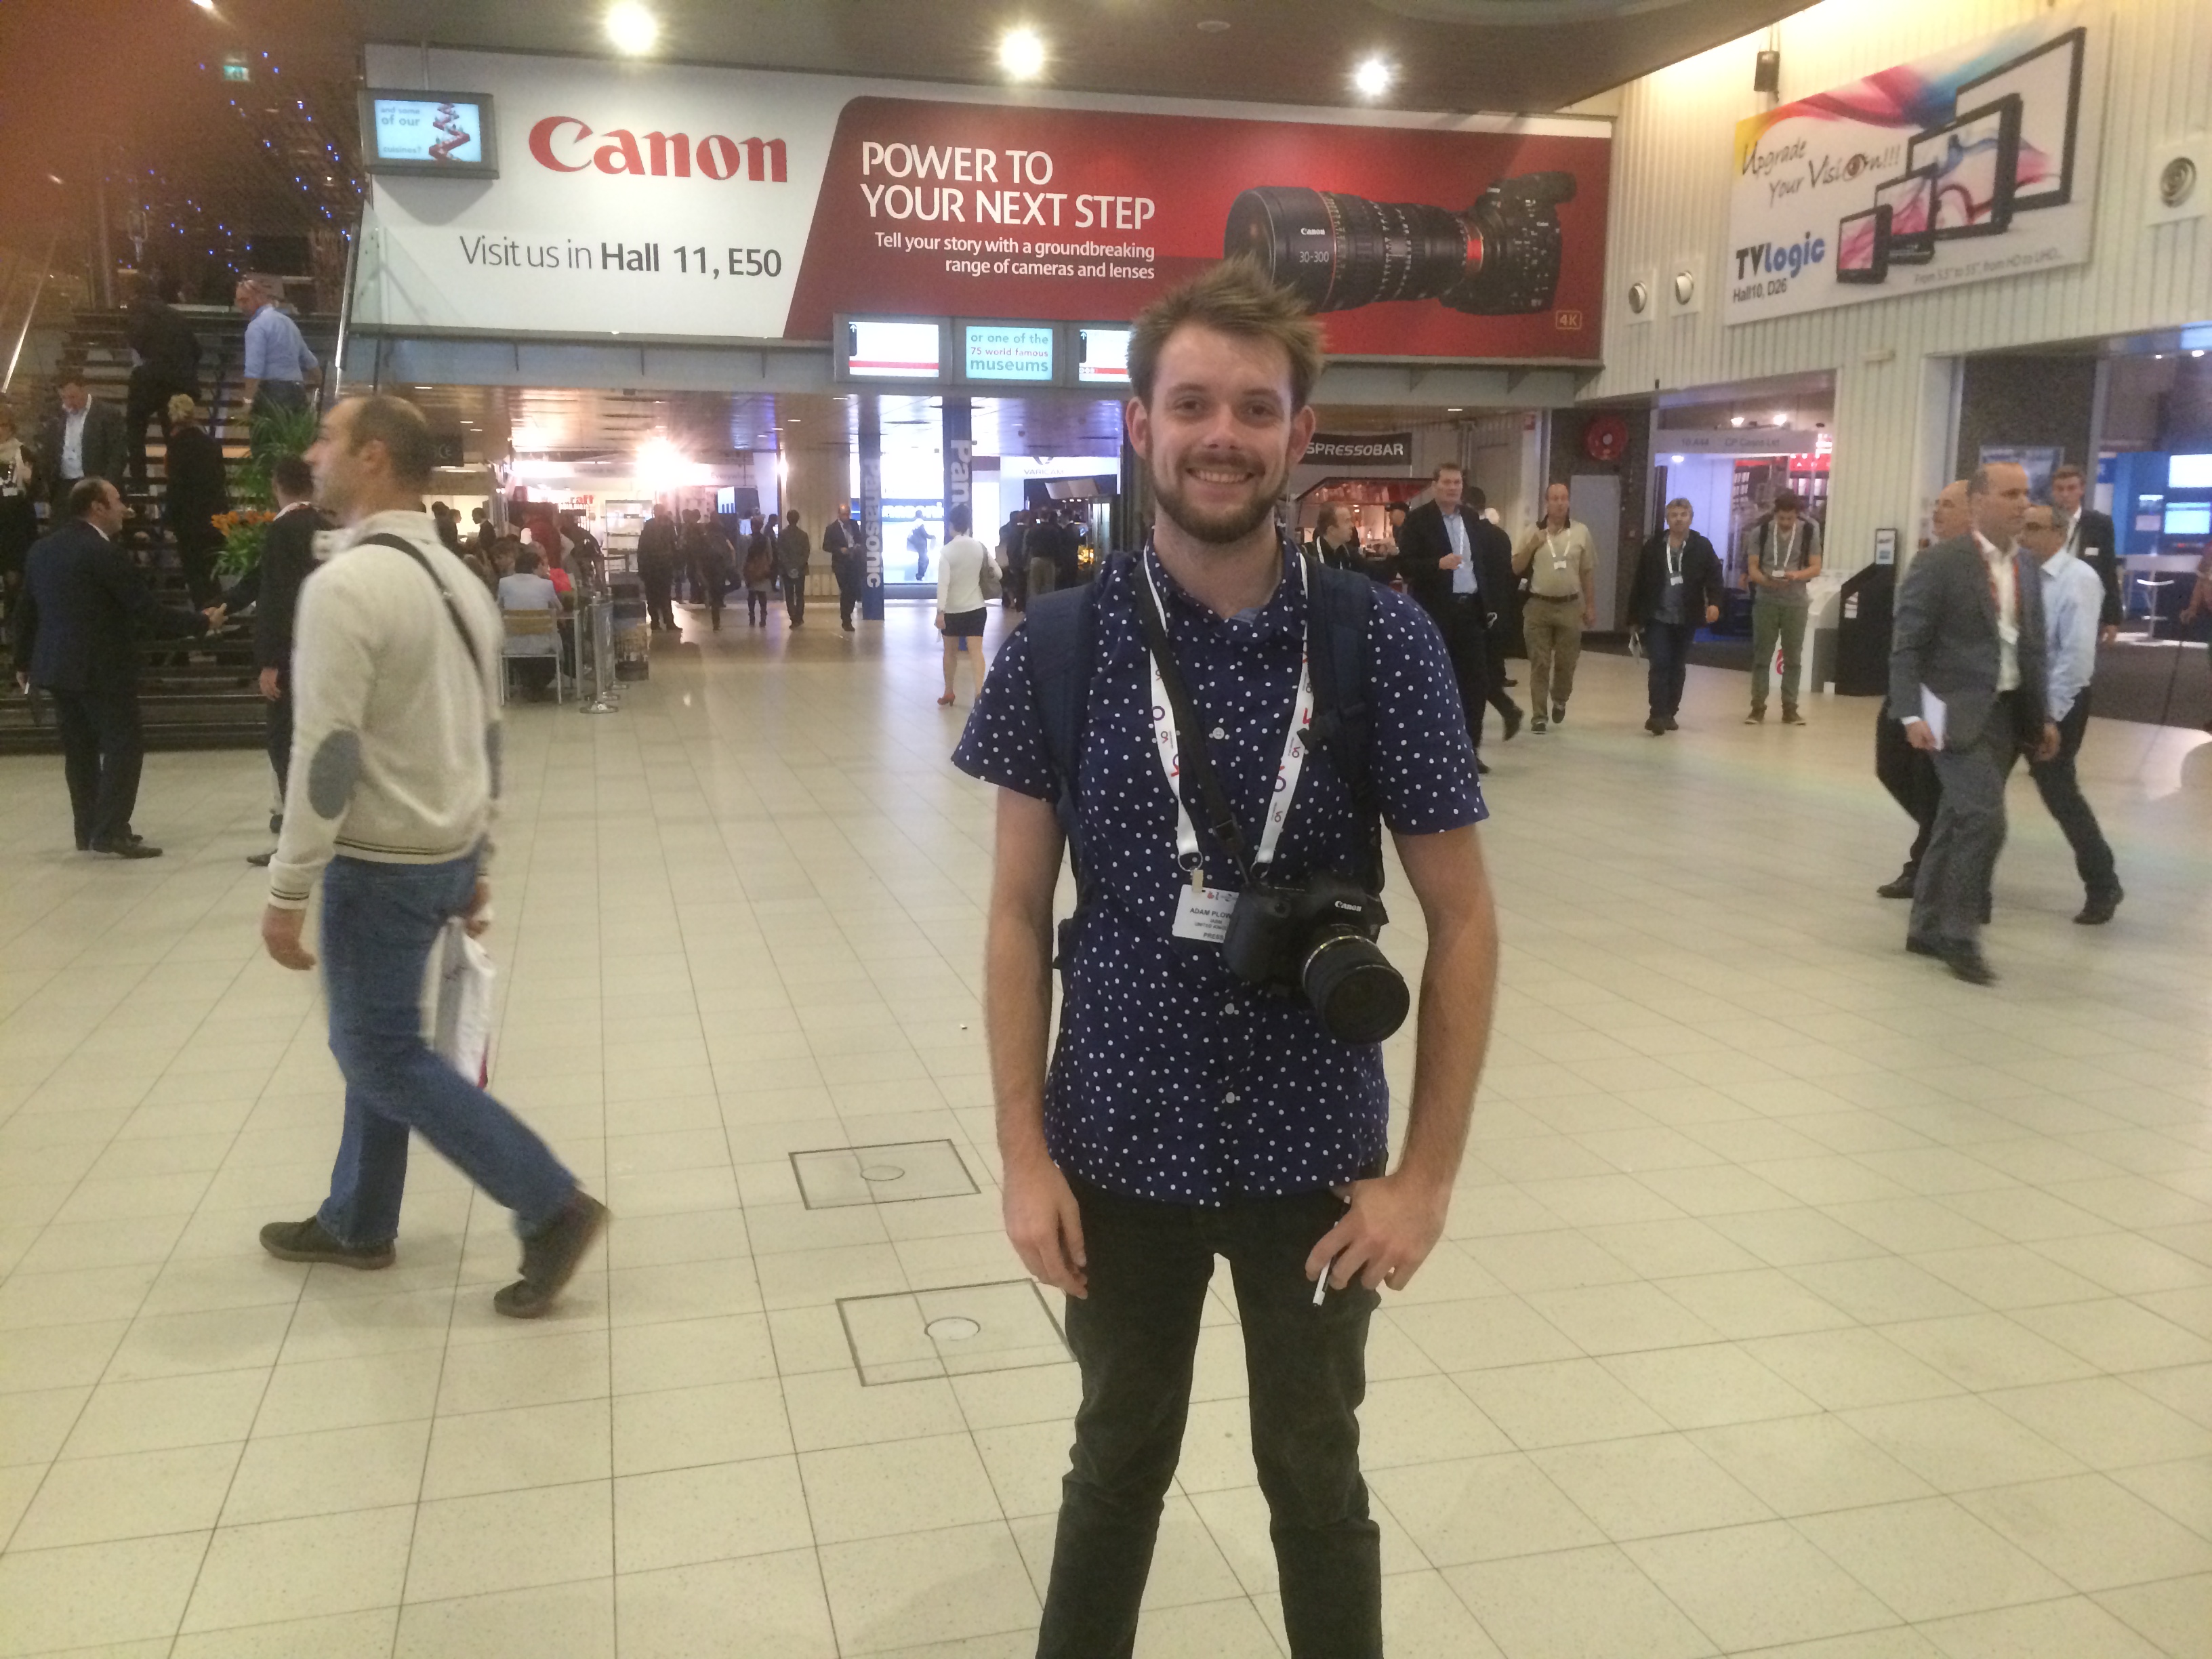
Well, what an incredible time it has been.. We captured over 400Gb of footage and audio, combined with hours of graphics produced before the show. We delivered (and are continuing to deliver) over 55 videos online for The IABM. What a show, what a success! My huge thanks go to the other half of the team, Glen Symes for his help and dedication to getting the videos out, and dealing with my stresses of production and post throughout! Also thanks to The IABM for giving me the opportunity to cover The IBC Show 2014 for you.

Ooh, I almost forgot I stopped by the Vitec Videocom stand to say hi to the Manfrotto reps and return the tripods and grip we borrowed for filming. While we were there I asked Sofia for a short piece to camera on the new Manfrotto tripods and kit; I was over the moon to hear a new follow focus has been developed to go with the SYMPLA rig!

Check out the video with Manfrotto here -

I've met up with old friends, and made many new ones. My experience has been overwhelming this year, now I cannot wait to do it all again at The IABM Annual Conference and hopefully IBC 2015! If you have any questions about how we produced the videos, or IBC then drop me a tweet @Plowman91 or comment!

I'm still editing and uploading more videos, so keep updated by checking out The IABM website for more videos and content, and I will have an IBC 2014 wrap up video coming soon. UNTIL NEXT YEAR!

T minus 1 day til IBC Show!

Remember to keep up to date with the news and events by following this blog and on twitter - @plowman91! See you there!

Success at the Manfrotto Takeover!

Adam Plowden videography seminar manfrotto takeover park camera london

I had a great day at the Manfrotto Takeover on Wednesday at Park Cameras London, I hope all the visitors enjoyed their day too! I'm very busy at the moment, heading out to film a wedding today and tomorrow and have a growing collection of editing that needs to be completed too.. Better to be busy than to be sitting around doing nothing though!

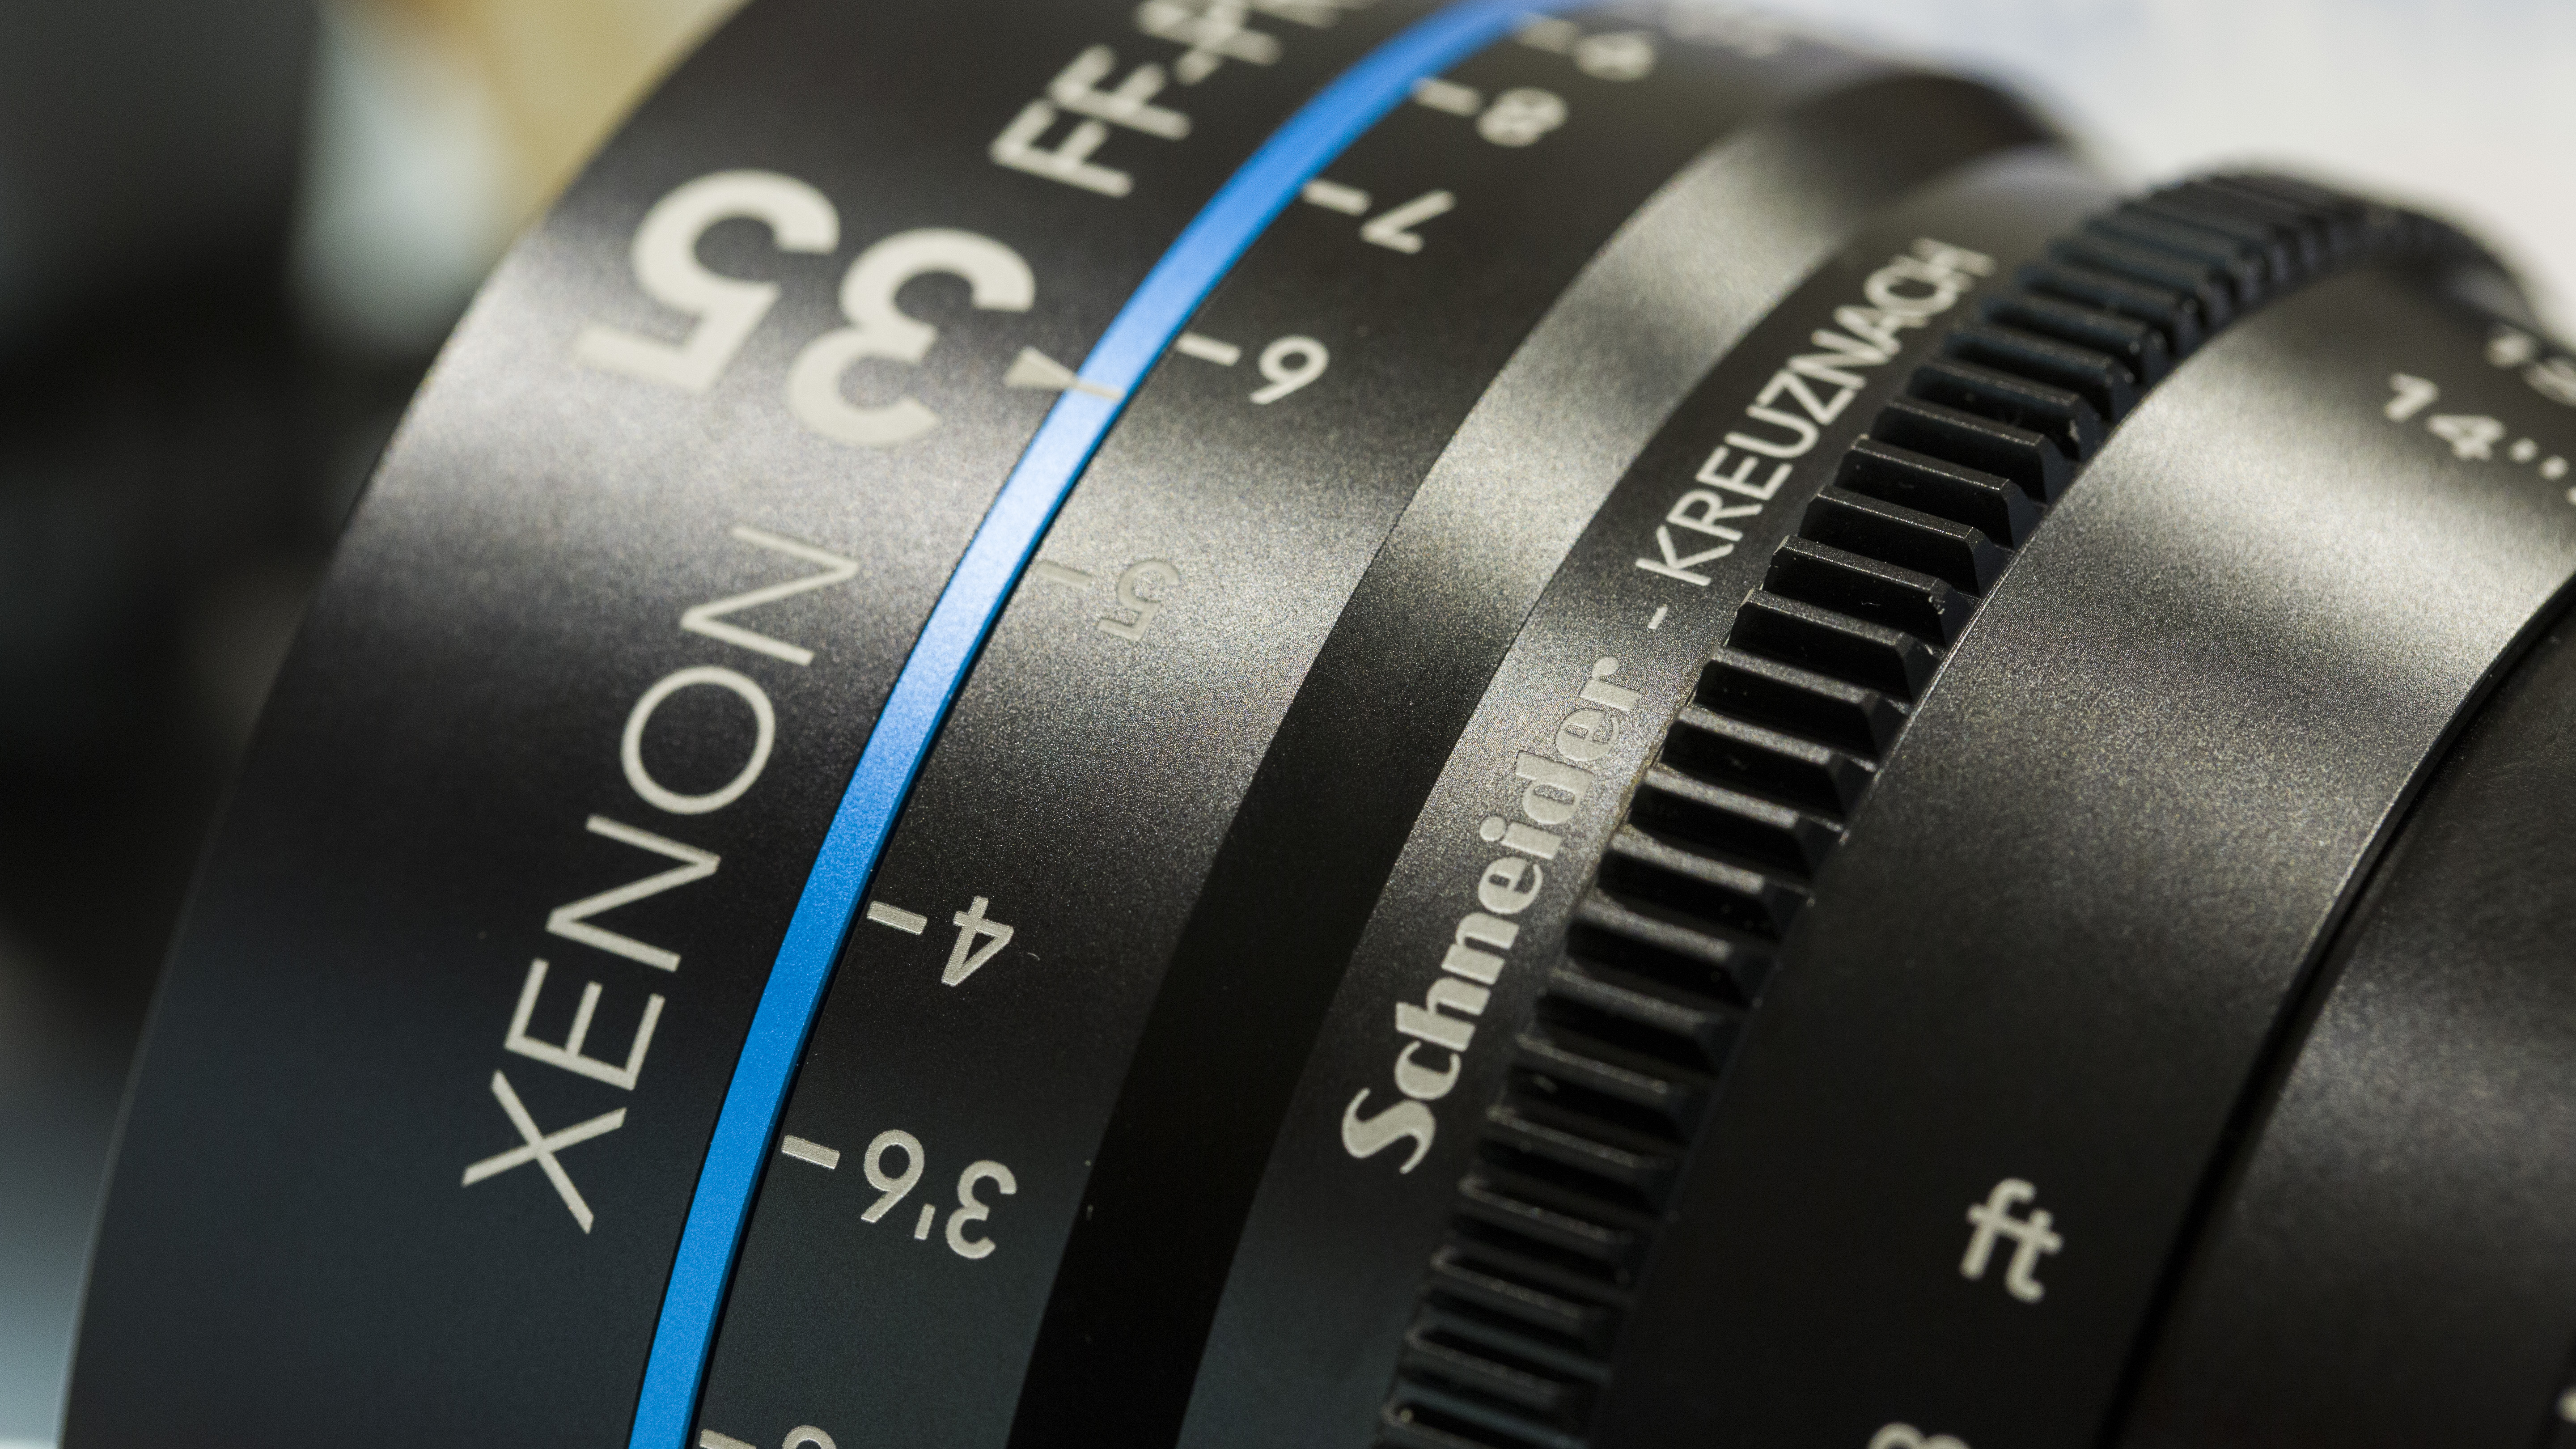
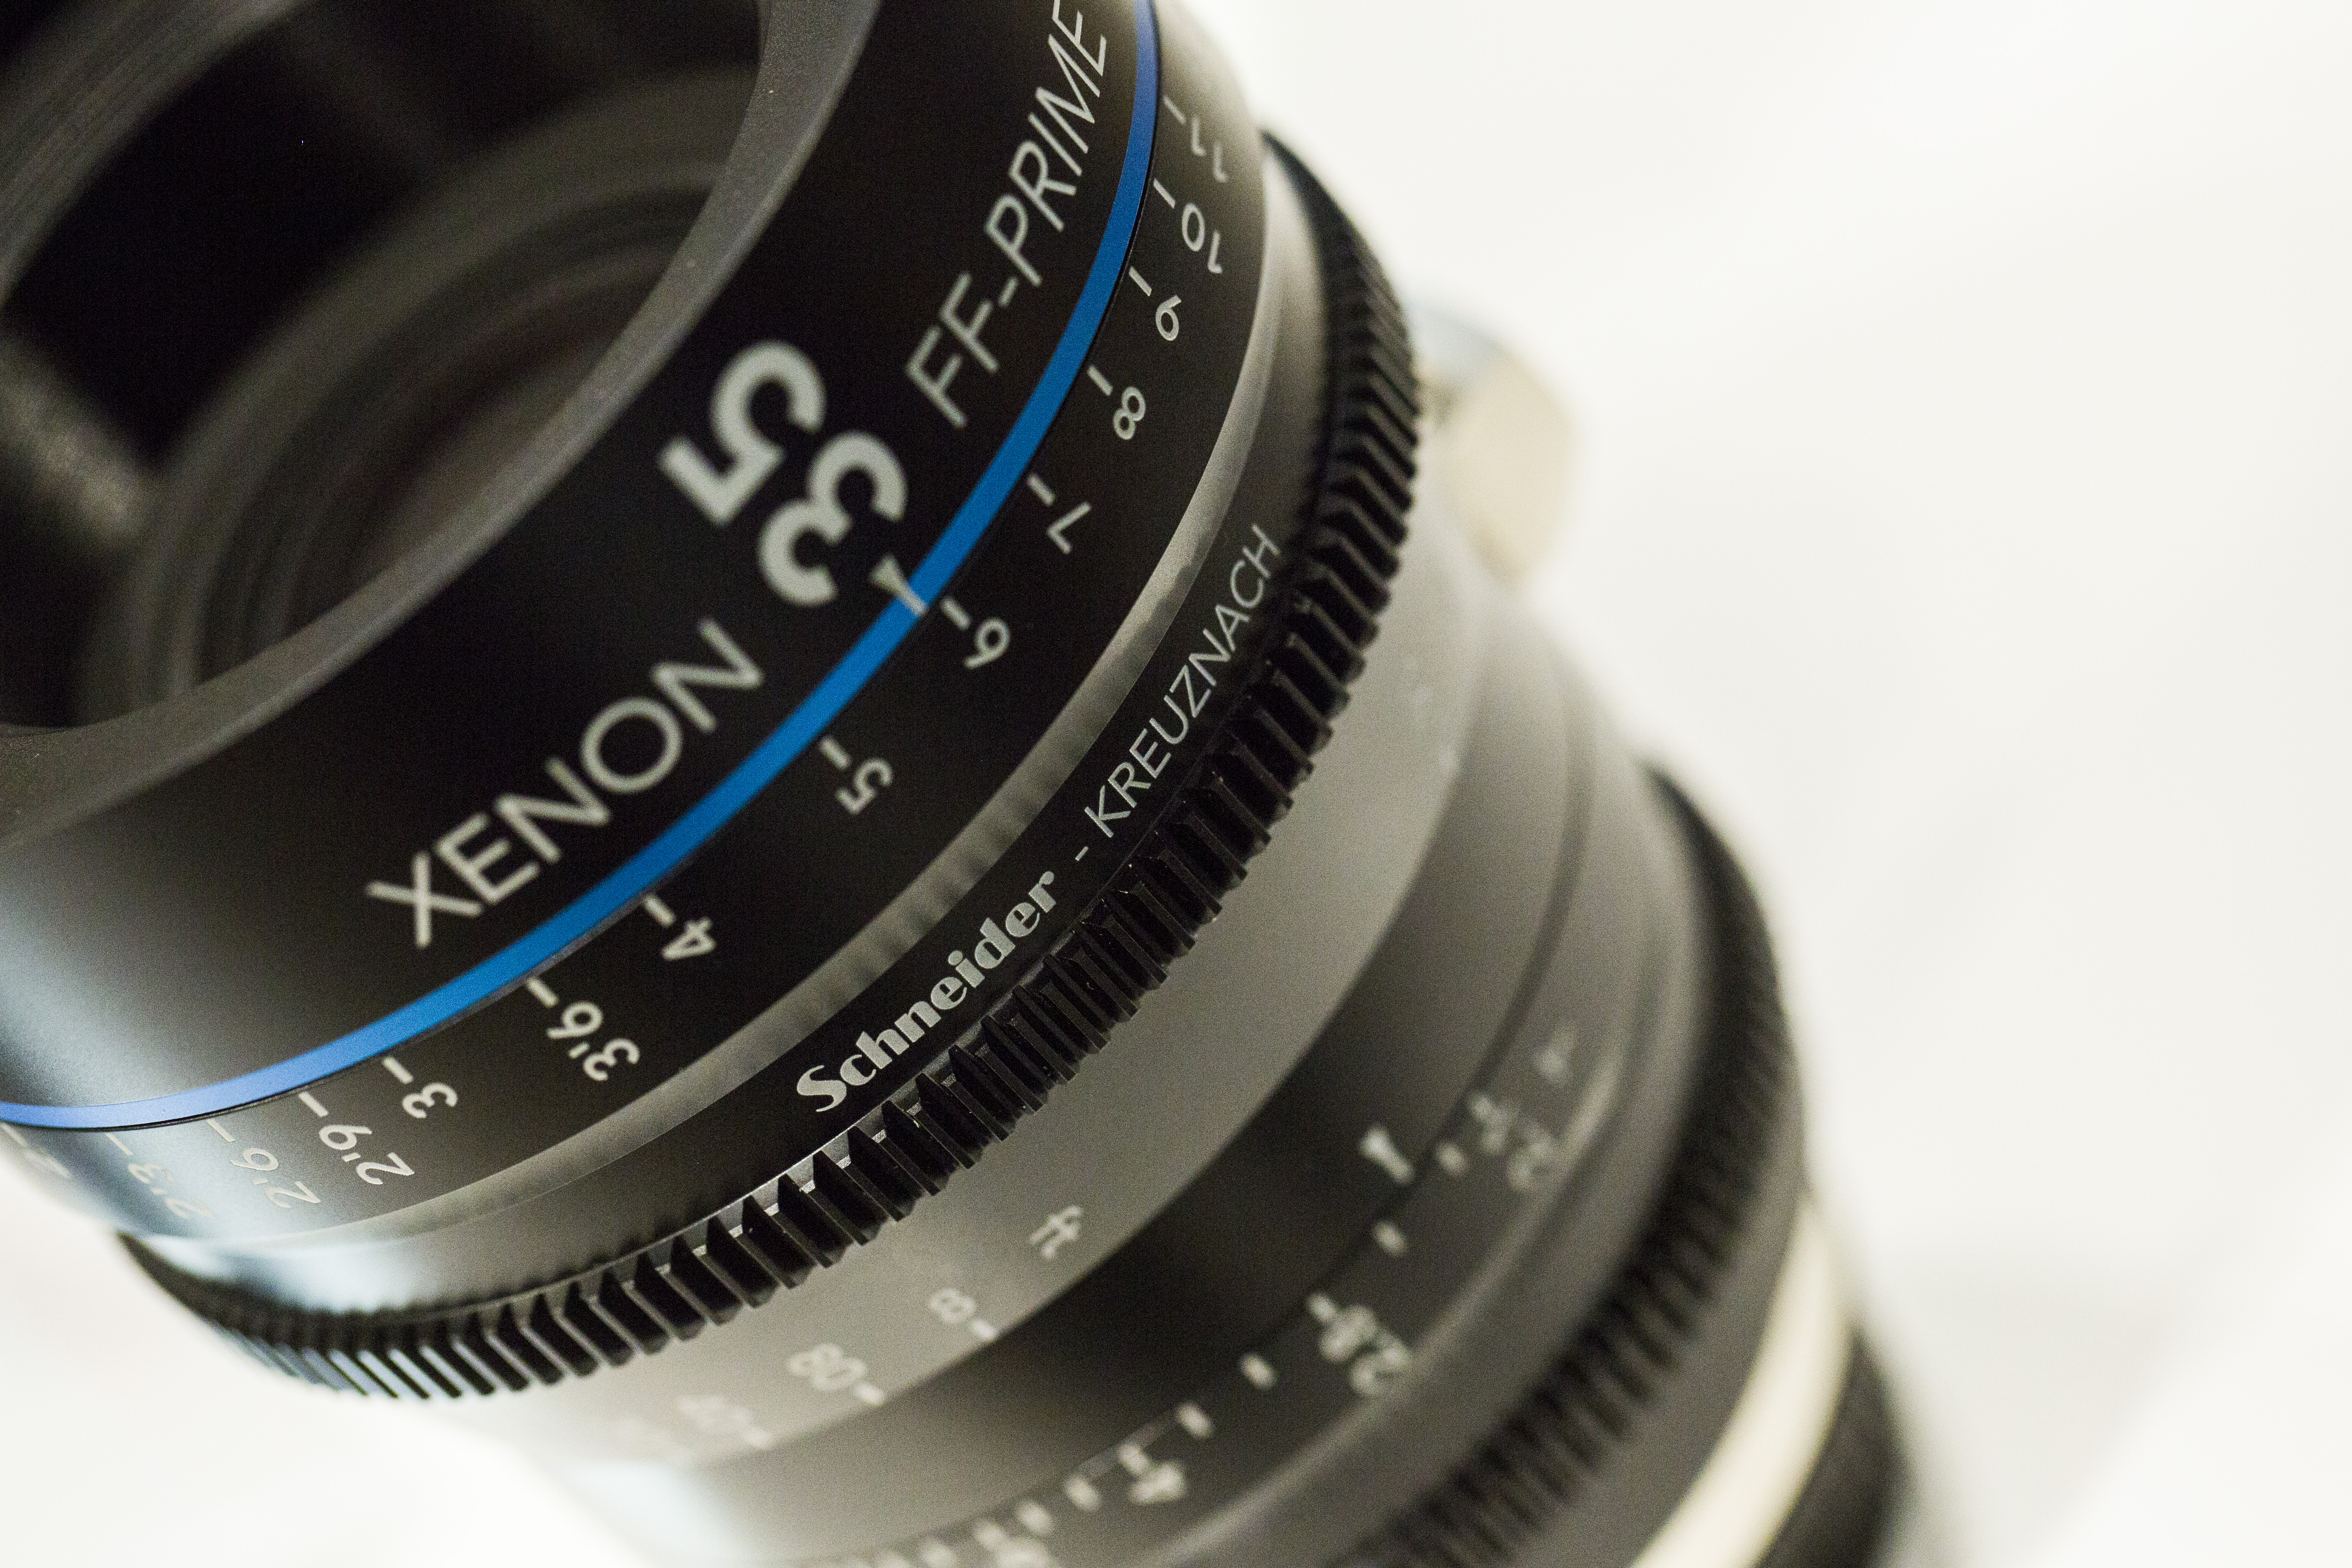
I got to test the new Schneider Xenon cinematography lenses on Wednesday too; built for 4K cine productions, the T/2.1 prime lenses have focal lengths of 35, 50 and 75mm with other models soon to be available, and I'll be using them on my productions later on down the line. I was blown away by their performance, it's like looking through a new pair of eyes.

More to come later! Keep creative!

Schneider Kreuznach 35mm cine prime lens optic Manfrotto takeover 1
Schneider Kreuznach 35mm cine prime lens optic Manfrotto takeover 2

For those that couldn't make the day, or my seminar on videography a podcast will be uploaded later when I get back from the wedding and I am putting together a highlights video of the day (shot on Panasonic GH4 in Cinema 4K and on 5D mark III with the Schneider cine optics).

Floral Photography for Madeleine Pink

In an earlier post I mentioned that I am not a photographer, apart from the odd dabble in flowers. Last Saturday I was at Box Hill School for their summer Copacabana Ball, for Madeleine Pink florist Margaret Alldridge to take some photos of the displays for her portfolio and website, my goodness what a display it was! I prepped all of my photo kit that afternoon, taking with me the Canon 5D mkIII and a range of lenses, but I predominantly used the Samyang 35mm T/1.5 cine as its minimum focus distance is similar to that of a macro lens, the old Nikkor 50m F/1.4 and Saymang 85mm T/1.5. The Tamron 24-70mm is constantly attached to my camera as my main go to lens so that was with me too.

It was a beautiful afternoon, and very hot too! Here is a selection from the photos I took;

[gallery columns="2" ids="4229,4230,4231,4232,4233,4234,4235"]

I took the photos in RAW, then post processed in Photoshop for small adjustments like exposure and a kick of contrast. Most of the photos had to have the saturation reduced as the vibrant colours were so punchy! Photo's copyright Adam Plowden Videography 2014.

Cat-pics from my break today

[gallery type="slideshow" ids="4191,4192,4193,4194,4195,4196"] Taken with the Canon 5D mkIII and Samyang 35mm T/1.5 cine lens and Sigma 70-200mm F/2.8 DG APO HSM telephoto lens while I took some time out from pre-production and drawing for another animation!

Working with the new Panasonic GH4

We had another toying test day yesterday, with new glass too; the Panasonic/Leica 25mm F/1.4 (equivalent to 50mm F/1.4) and the Panasonic 100-300mm F/2.8 (equivalent to 200-600mm F/2.8). We keep finding great features and little things that make this camera wow us!  

[gallery ids="4182,4184,4185,4186,4187,4188,4181,4180,4179,4178"]

We were out filming and testing out the capabilities of the camera at Epsom's Thai festival taster, we used the 14-140mm F/3.5-5.6 OIS lens recording in 4K. The video will be uploaded and shared soon!

Meet the Panasonic GH4

We've been waiting a few months for more info on the Panasonic GH4. It briefly appeared at BVE, and only 8 were shown at The Photography Show. Due to Panasonic UK announcing the launch of the GH4 early from the trade show and professional demand, more people are asking the whats and hows of the GH4's video capabilities; in regards to 4K. It is the first consumer DSLR to offer 4K, which is a fantastic leap forward into the future of video production that will inevitably get bigger (Moore's law). We have seen recent demonstrations of Super Hi-Vision (8K) at the London Olympic games from collaboration between NHK and The BBC, but for the first time have we seen 4K possibilities coming home with us. It is now in reach.

Today, John from JHWF, his son Sam and myself headed down to Park Cameras in Burgess Hill for the Panasonic GH4 demo. Eager to try out the camera, and by that I mean actually get your hands on it and play with it, checking out the range of functions and lenses that can be used (something not so easy at trade shows), it was the perfect opportunity to get a glimpse into the reachable future for us as producers. Even more so for John, as he as already invested!

panasonic gh4 demo day dslr 4k camera dslm video

Adam from Panasonic was on hand to answer our many questions, and to demonstrate the innovative features the camera has to offer, which include continuous auto-focus in video mode, as well as how the 4K is achieved from an MFT sensor, and many more..

First of all, the body is tiny. If you compare the body to that of my Canon 5DmkIII it could easily be half the size; which for run and gun videographers, and to keep discreet is a perfect solution. Not only that, but like the Sony A7, you have a large pixel count/density sensor so regardless of the body size the image result will be incredible.

panasonic gh4 demo day dslr 4k camera dslm video recording format screen

The sensor offers the two 4K resolution standards; cinema 4K at 4096 x 2160 and UHD 4K at 3840 x 2160 up to 30fps at either 200Mbps (All-intra compression) or at 100Mbps (IPB compression), which is much better in terms of .mov image quality in comparison to the 5D mkIII max 90Mbits at All-Intra compression. Essentially this means that your image is being recorded in a better quality format, giving richer colours, wider dynamic range and more latitude for grading in post. The HD video format is top notch, offering up to 200Mbps in MP4 format, much better than nearly all DSLR's on the market today.

Due to the MFT sensor, the focal length of the lenses you mount are doubled for the equivalent. For example a 12-35mm F/2.8 is equivalent to  24-70MM f/2.8 ON A Micro Four Thirds sensor. This means that suddenly the size of the lenses you use get greatly reduced, meaning a smaller kit bag and less back ache at the end of the day.

panasonic gh4 demo day dslr 4k camera dslm video recording format screen mft lens 100 300mm

A run and gun kit using the GH4 could include the 12-35mm as mentioned above, and the 14-140mm F/3.5-5.6 is enough to cover your indoor and outdoor shots, and can fit in a small shoulder bag. What more could you ask for?

The dual OLED screens replicate the live sensor beautifully, with such clarity too. Now a live view finder has been implemented into the view finder, you get an incredible 10,000:1 contrast ratio which is extremely high speed, unlike LCD which refresh rate is much slower. No need for a Z-finder anymore! Oh by the way it is touch screen too, and you can focus and take a photo by tapping the area of the screen you would like to focus on!

IMpanasonic gh4 demo day dslr 4k camera dslm video recording format screen mft lens OLED dual live view finder touch screen

Another incredible feature was the built in Wi-Fi which can be used to control most of the cameras functions INCLUDING touch sensitive focusing and recording (in 4K) via your Apple of Android device! So, leave your camera set up with the Wi-Fi connected to your device and set up your shot from elsewhere! In the right situation, this feature could be killer, much like the GoPro's wi-fi function for those awkward and obscure shots!

panasonic gh4 demo day dslr 4k camera wi fi

More professional video features include; zebra bars for setting exposure, center marker for image composition, colour bars and 1KHz tone, synchro scan which is useful for suppressing TV and fluorescent light flicker and a Cinelike gamma curves which can be applied. This would come in handy for productions where heavy grading and LUT's can be applied.

There is also the YAGH interface, which was not at the demo, but its functionality is to provide a DC-12V power input to the camera and interface, which allows 4:2:2/10 bit recording with XLR inputs, timecode, VU meters, which turns the camera from a pro-videography/cine camera to a full system camera for broadcasting. Adam showed us some setups on his phone from recent Hollywood productions using the GH3.

As you may know, I purchased my 5D mkIII in December, for videography/cinematography. To me, I don't know if I should feel pissed off that I should have waited for the GH4 to be released so I can future-proof my productions, or whether I should jump in and get another A camera right there and then. But then I thought, I have an incredible camera system right here already, and just because this (yes rather amazing) new resolution has become available, doesn't mean my potential clients will want it. At the moment the current structure and system for broadcasting 4K in the mainstream media of television is non-existent, until the big change happens which means either updating current HD systems to cope with the greater requirements of 4K, or a completely new 4K network is created, the only channel for viewing will be the internet, or cinema. So, if your deliverables are all for YouTube, then go for it, you have a way to get your work out there in its native resolution already. Otherwise, be prepared to down-scale to 1080 HD for normal playback. This may have fantastic results for you, and keeps the incredible clarity, colour richness and the 'wow' factor that 4K is now being renown for.

http://www.youtube.com/watch?v=hHKJ5eE7I1k

If you are a current Canon/Nikon or other brand shooter, then the answer to your question is not "You will need to buy new lenses for this camera". A few manufacturers haave designed and produced many workarounds to lens to mount converters; famously Metabones, but also LensAdaptor are worth checking out if you currently shoot with non-MFT lenses. These adapters fit onto the body and lens and effectively allow the lens to be used with a different lens mount.

To conclude, if I had the money I would happily invest in the Panasonic GH4 and not only for the 4K. The high data rates even for 1080p HD are high enough to be broadcasted which opens up what I can deliver for my clients, the kit is smaller so I get less back ache, the Depth From Defocus system allows continuous auto-focus during video, up to 96fps slow motion recording in 1080p HD, Wi-Fi control. I'd be really interested in testing this camera out in a 'Great Camera Shootout' review, so clear up the rest of the questions I have about not only capturing video in 4K, but also to see how the MFT 16Mp sensor holds up against the Canon 5D mk III which with Magic Lantern can record RAW.. We shall see, only the future will tell!

panasonic gh4 4k dslr camera demo test day park cameras 1

Please bear in mind that I have never captured footage in 4K, or worked with a 4K camera, footage or system. So what knowledge I am basing this on is my university dissertation in implementing 4K programming into the current UK broadcasting industry, copious research into 4K cameras, technology and productions, attending IBC and many other trade shows to understand the up-to-date technology available.


Update from Adam!

It has been a very busy couple of weeks since BVE, which by the way was great this year. I was over the moon to see the new finalized range of Manfrotto LED Spectra light panels which I got to test out a couple of years ago. Seeing products develop over a long period of time is interesting, even more so when your opinion is considered in how the final product should perform. Manfrotto also had their re-designed SIMPLA rig to demo, a much lighter and more ergonomic model I must say which is compatible with 15mm rig accessories like their matte box and electronic remote control.

schneider kreuznach optics lens for cinematography bve 1

As well as that, Manfrotto have also joined forces with Schneider Kreuznach optics (page in German), who have a new range of cinema lenses, specifically designed with ease of use in mind. All of the lenses from 24mm to 135mm have the same filter size, length and focus rotation to make filming with a range of the lenses effortless, simply change the lens and your peripherals stay in position. The optics of the lenses blew me away. Even in the well lit Excel, the background bokeh was stunning, soft yet so crisp. I cannot wait to get my hands on them. I think the combination of the new Manfrotto 055 tripod, the SIMPLA rig and Schneider glass will be a killer cine kit, delivering incredible visuals, making your shoot run smoothly, and at a low cost. Give it a year and this will be the go to package for production rentals, and part of every kit bag.

schneider kreuznach optics lens for cinematography bve 2

In other news, I've been working with EEBC on a couple of projects; a short video on recycling and another about a Wellbeing centre for those suffering with dementia and their carers. Both projects have messages that are close to me, so I've been working hard to blow my clients expectations out of the water. For the recycling video, I'm combining video with animation to show why recycling food and material waste is ever more important today; generating renewable electricity and resources. The Wellbeing centre video will be live action video, featuring the range of activities available to those in the community as well as the vast benefits to carers and visitors to the centre.

So, busy busy at the moment. I'm also meeting some designers from the fashion label ACF (Art Comes First) next week about another video featuring the design process here in London. Very exciting, I've been patiently waiting for an art-collaboration project to come along, it's what I started the business for!

I've had no #videoquestions for a while, so remember to keep them coming to @Plowman91!

Remember, inspiration is everywhere so take your camera with you!

excel centre bve london photo camera dslr inspiration

EDIT!!!! Just remembered to include this, I spoke to an un-named informant about the new Samyang/Rokinon VDSLR cine lenses and whether any new models are going to be released. Our brief chat resulted in confirming rumours of a 50mm and 135mm cine lenses coming very soon! I think it's exactly what the lens range needs, and I will certainly be investing in the 135mm if it is at T/2.2, or pushing it at T/1.8 would be a dream come true. So hear my thoughts Samyang/Rokinon!

All new #VideoQuestions is live!

Todays VideoQuestions - Image Stabilization

Image stabilization, vibration control, optical stabilization or whatever you wish to call it is an -in lens- operation that reduces pan and tilt vibrations and shake that would blur the captured image. It works by using electromagnets to align a floating lens element, which corrects the shake and vibration over the two axis; left and right, up and down. Image stabilization is included in a range of lenses from manufacturers, but you will notice the heftier price tag in comparison to a non-IS version due to the extra element in the lens. I will try to clarify the importance of using IS when you're out filming, and why I use IS lenses for my work.

ef_70-200mmf4_lusm[1] The Canon 70-200mm F/4 without IS = £519

ef-70-200mm-f-4l-is-usm-fsl---1258b005aa[1]This Canon 70-200mm F/4 with IS = £894

When choosing your camera body, tripod, mic and all of the other accessories that seem to be required for DSLR videography, one of the hardest will be choosing the right lenses for what work you would like to do, to cover a wide range of focal lengths and apertures, and how much money you want to spend. All three of those points will affect each other in your final purchase choice, but I hope to help narrow down your choices.

What will you be filming?

One key point to consider, as if you are filming live action sports you will require a different set of tools compared to model and fashion videos. Both however will benefit from at least one IS lens in your kit bag. I work in many different areas and styles of videography, so the kit I carry is an all round solution to whether I'll be at the back of a conference hall, or only centimeters away from my subject so being prepared before you know what you are shooting on the day is key - also where IS lenses come in handy!

It isn't recommended to use Image Stabilization when you are filming on a tripod as this can cause frame-by-frame jitter, where the lens attempts to correct smooth movement. But for all the times the camera is not on a steady support like a tripod, having IS will correct any major shake and blurring that occurs in the lens.

So, imagine holding the camera on a monopod with a lens and then tilting or panning. Inherently some shaking will occur from you moving the camera. Depending on your focal length or how far you have zoomed in, this will also multiply the visible blur, also remember DSLR's rolling shutter which will also be added too if you're not careful! Is that too much to think about when shooting video? Yeah it sure is. But having an IS lens will correct a good portion of the errors.

Another great example is sports, and running and gunning with the camera (wedding videography for example) where you are moving around a lot.

What focal lengths are you working with?

IS lenses come in a range of focal lengths; the standards are the 24-70 range and 70-200 range. If you are working with subjects closer to you, in the wide and portrait range, then having a 24-70mm with IS can be operated pretty well hand-held or on a monopod (I'd always recommend using at least one support method to achieve steady shots, either a tripod, monopod, rig etc). However if you are going to be further away from your subject then the longer focal length of 70-200 will work better for your needs.

The focal ranges in between the wide and telephoto can be achieved either by zooming, or by using prime lenses which traditionally do not have IS so will have more shake regardless of your mounting or grip method.

Price

You will have to pay more for an IS lens, it is an additional function that works to correct the image before it is recorded, but it is worth the cost. You may only end up purchasing one lens with IS, but I recommend choosing the lens you will use the most to future-proof your purchase.

Models of Lenses and Manufacturers

Presumably, if you are filming on a DSLR you'll have a Canon body with an EF-mount for the lenses. Canon manufacture very high quality L series lenses with IS, but if you are starting out in this game they will blow your budget immediately. 3rd party manufacturers like Sigma, Tamron, Tokina and Samyang produce incredible quality lenses too, and just because they aren't Canon doesn't mean you can't use them with the camera you have; many 3rd parties allow you to choose the correct lens mount for the camera.

I went down this route when choosing my new equipment, and after plenty of testing and research I chose the Tamron 24-70 F/2.8 VC and the Sigma 70-200 F/2.8 OS, and for me they perform outstandingly.

In many cases you will be using an APS-C size sensor camera like the 60D, 600D, 70D which also have their own range of lenses that are considerably cheaper than their full-frame brothers, some that I have worked with in the past that I can recommend are -

Budget solution - Tamron 17-50mm F/2.8 VCNext best thing if you have the money - Canon 17-55 F/2.8 IS

For a longer focal length, above 100mm you'll have to dig a little deeper in your pocket to get a good quality lens with IS. I did purchase this lens when I started, but because I purchased the NON-OS version it has pretty much been gathering dust in my bag, as at 200mm the image was too shaky and had quite a bit of chromatic aberration. Sigma 18-200 F3.5 to 6.3.. a semi pointless purchase for me, so follow this lesson!

How does using a steadicam affect the stabilization?

Good question. A steadicam is a device that counter balances the weight of the camera and lens to achieve a smooth flowing motion to movement, and takes lots of practice. Using a stabilizer won't imitate image stabilization, or make the image less shaky - so to speak. This depends on the lenses you are using, how fast you are moving and the experience of the steadicam operator. Using an IS lens on a steadicam will certainly correct shake over the two axis, but a steadicam works on 3 axis so shake and blur is inherent unless you shoot at a higher frame rate or apply stabilization correction in post production.

I tend to shoot most of my steadicam footage at 50fps, capturing double the frames which when played back in slow motion smooths out any jitter or quick movement. Shooting in slow motion is a really cool and creative tool, so it is worth playing around with, but remember you will be recording at a lower resolution of 720p, not 1080p (darn you Canon hurry up and give me this!!).

I shot the example material today, so will top and tail the clips and get them up tomorrow, so watch this space!

Conclusion

Get a lens with IS, or VC or OS as your standard, go-to lens. If you're going to use a steadicam too, having stabilization on a wide angle lens will be doubly effective and means less stabilization in post!

How do you make a timelapse? Video Questions

Finally got round to this!! A time lapse is a method of photography and videography that captures sequential images from a static camera over a certain period of time, and then sped up in post production to create the illusion of time moving fast.

There are so many reasons why you'd want to use time lapses in your work; from establishing locations to capturing a long event like the northern lights or sunrises and sunsets. Time lapses create a visual spectacle in which time speeds up, you see nature at work and things you would normally miss or take for granted.

If you want to check out some awesome time lapse films, please watch Ron Fricke's Samsara which includes awe inspiring cinematography captured in 70mm film.

http://www.youtube.com/watch?v=P0xVp3N-M84

There are a couple of ways you can create a time lapse, dependent on the length of time you wish to capture, the changing exposure settings of the location, and the kit you have.

Cameras and Kit

I assume that most people interested in this post own a DSLR or video camera of some kind, as it is difficult to capture a time lapse otherwise. In all honesty, what model of camera you use won't make a big difference on the overall video. Whether it is a Canon 110D, 550D or 1D-C, Nikon D3200 or D90, Sony A-7 or Olympus OM-D EM1 your photos and video will look great. Just make sure you have your exposure and focus point set correctly. In regards to what lens you use, in general wide angle lenses give a better perspective of the environment; we've all seen GoPro videos, that is ultra wide, but you don't need a fish eye or specific lenses to do this. Usually the standard kit lens that comes with your camera has a wide angle, whether it be 11mm on MFT cameras or 16mm on full frame, keeping a wide field of view is key to achieving the perspective of a time lapse.

Lets start with time. The longer you wish to capture, the more memory and battery you will need so ensure you've got a fresh card and charged batteries, or even better a battery grip. Depending on what camera you are using you may also need an intervalometer; a device that plugs into the camera and releases the shutter for a pre-set duration at a pre-set interval.

Here's one made by Canon - Canon-Intervalometer1[1]

So, if you wanted to capture a sunset, you will be shooting for a couple of hours. This little device will release the shutter and take a picture for you, however you need to set the interval duration. The longer the interval, the greater the difference between each image as the objects in the frame move and change. For a sunrise or sunset, an interval of 10 seconds should suffice, as the sun and clouds move slowly.

If you were in a city shooting a TL of a busy public place, a shorter interval should be used so the objects or people move smoothly through the frame and don't jump around.

What are you capturing?

Where will you be shooting the time lapse? Bright daylight at the beach, or in arctic winter? Or star trails and fireworks at night? Your DSLR's shutter speed will allow you to control the amount of time the shutter is exposed to light, so a longer shutter speed (anything under 1/30 can be used when the sun or bright light is not available) should be used at night when light levels are low. You can also use the BULB setting I believe to capture exposures longer than 30 seconds if you are capturing star trails.In the opposite situation, you can set your shutter to a reasonable speed depending on the light available; but remember changing light is inevitable and uncontrollable in nature so using shutter priority mode (T) or aperture priority mode (A).

REMEMBER YOUR TRIPOD! Shooting for long periods of time need a steady support, to keep the camera locked off and weighed down if needs be! My Manfrotto tripods work a treat.

Experiment and test at the time to judge your exposure settings. Keep your aperture or F stop small so that all objects in the frame are in focus; something like F/11 down to F/22 if in bright light or you can increase the aperture to F/4 up to F/2.8 if you're working at night. Increasing your ISO to 1000 or 1250 is perfectly fine if your doing a night-lapse, so no worries about that.

Also use the digital zooming capabilities on the camera to get critical focus on a key static point.

If you have less time for a time lapse, then you can always hit record on your camera and film continuously for as long as it can. This is an easy option for those out and about shooting as you can simply wait for 10 minutes or so. Obviously here you have the time restriction to only 10 minutes, so this works best for short burst time lapses of clouds, people & crowds and quick changing landscapes.

For any other setting it would be better to use an invervalometer, mainly as keeping your camera recording will suck the juice out of your battery like anything.

For savvy videographers and photographers alike who may have Magic Lantern already, there is an intervalometer built into the ML firmware which acts just like an internal one. If you don't want to pay for an external device then Magic Lantern which is open source and free is your best option. Plus having ML on your camera expands its video capabilities greatly.

Post Production - If you have taken a series of photos

You've captured an amazing sunset, it has taken you hours and all you want to do is see the finished product. Some methods of editing time lapses are long, boring and not neccessary; taking the photos into After Effects for example, its not needed!

Adobe Premiere Pro is a much simpler and quicker method of getting your TL into a video. Firstly, create your project as you would normally, setting scratch disks to your project folder where the photos are stored. Next, create a sequence dependent on what resolution you would like the video to be. Nearly all photos taken on a DSLR are larger in size than 1080p high definition, so this is a good place to start.

Depending on where you are in the world, your frame rate should be 25fps for UK/EU/Rest of world, or 30fps for USA. This will play your video back at the same frame rate as television and internet, so the time lapse will be smooth.

Now you have your sequence open in the timeline, go to Edit>Preferences>General. Here you can set the default 'still frame' (picture) duration to ONE frame; in timecode this will appear like: 00:00:00:01. This sets the sequence of images to play one after the other with 25 pictures in each second.

Now you are ready to import your photos! Simply Ctrl-I or Cmd-I to open the import window, select the folder with your time lapse images and click 'Import Folder'. Premiere will now import all the photos in the folder and set the duration. You can now simply drag the folder with the photos into the sequence, and your time lapse is now a video. Make sure you render (hit Enter) and watch it back in case you need to correct any frames.

If it looks like the photos are going too quickly, you can change the duration of all the photos very simply; select all the photos in the sequence, right click > Speed/Duration. Here you can increase the frame duration from 00:00:00:01 to 02 frames instead. Here you will need to see what suits your time lapse best. One last tip is to highlight/select all the photos in the sequence, right click, and click 'Frame Blend'. This calculates the interpolation (movement) of subjects between two images, so it fills in the gaps so to speak.

Post Production - Long Video Files

So you've taken the easy road! This method is just as simple as above, and is a quick way of processing a short time lapse. Once you have followed the steps to create your sequence, you can import the video file like you would the photos, instead you simply click the video file needed and click 'Import'. Then drag the video file into the sequence; here if you have been videoing in a different video format Premiere will let you know that the video and the sequence do not match. It is easier to stick with the format of your original video, so if this happens click 'Change Sequence Settings'.

video time lapse adobe premiere tutorial

With the video now in the timeline, right click and click 'Speed/Duration'. Here you can increase the speed % to make it faster, and again will need some experimenting to see which looks the best. Remember the higher the speed increase percentage, the faster the time lapse happens.

Colour Correcting

You can add any colour correction to the time lapse by creating an 'Adjustment Layer' and adding brightness and contrast, curves, levels, tint, whatever you like to make the time lapse look great.

timelapse videography adobe premiere pro colour correction

For a 'tilt-shift effect - like the incredible New York Sandbox video you will need to use additional plug ins like Magic Bullet, or add the effect in Photoshop before importing to premiere.

http://www.youtube.com/watch?v=Fk9EBOOAYiU

Exporting - finally creating the time lapse video!

timelapse premiere pro export settings tutorial video

Once you are all done, with the sequence selected go to File>Export. If you are uploading to the web, then the H.264 format will work the best for quality and compression. From the drop down menu select H.264 and the Vimeo, Youtube or any other format you wish. There are loads, and plenty of confusing settings so don't get bogged down in the different types for now. When you think you are ready, and have chosen your file destination and name, you can hit 'Export', or if you wish to carry on working in Premiere on another project you can 'Queue' to export to Adobe Media Encoder which will export it in the background!

[youtube=http://youtu.be/QMwpA02IKdI]

A little example of a video time lapse I shot at Epsom Downs!

I hope this covers your time lapse photography and videography questions? If there is anything I've missed or if you have other questions please send them in!

[contact-form][contact-field label='Name' type='name' required='1'/][contact-field label='Comment' type='textarea' required='1'/][/contact-form]

Video Questions; Choosing the right camera, picture profiles and using ND filters!

Heyo all! Thanks for sending in your questions, I will try to answer as many as I can will practical, real world examples! If you have any more, please send them my way! Question from Chris via Facebook: "Can you recommend any camcorders for HD video and good low light performance?"

Answer: A DSLR for video is not the right choice everytime. Why do you think television broadcasters use camcorders and system cameras? For broadcasting, there are regulations and legal limits that must be followed for the final video to be shown live; there are many including the compression of the video signal, the black and white level (check out waveform monitors and video signal) to name a couple. DSLR's do not adhere to these regulations hence we don't see TV crews running around with 5D's in London.

Where DSLR's produce a great image due to the large CMOS sensor, they have big restrictions such as needing to change lenses, poor audio support (unless you invest in audio equipment), rolling shutting, aliasing, moire.. I could keep going.

So, taking camcorders in the equation; most have long zoom ranges (20x and more!) at wide apertures, with additional digital gain, in built ND filters, built in stereo microphone and audio in/out. The sensors are different too, some using CCD (which splits the 3 colour channels) for better colour rendition and less compression.

These days, manufacturers such as Sony, Canon, JVC produce ENG (electronic news gathering) camcorders with those above features, meaning no extra kit to carry, most are hand held or shoulder mount for ease of use. Therefore it is seemingly easier to video on a camcorder, until you require a large sensor camera for artistic video.

Product recommendations for camcorders - Sony AX and VG range, Canon Legria, XA and XF range, JVC produce great camcorders too and have stepped up their game over the last year with the GM-HY range including a 4K model too.

If you want to spend a little more, the Sony HXr-NX3 (recently reviewed by Den Lennie) looks incredible for what you get in one camera - http://www.sony.co.uk/pro/article/broadcast-products-get-close-up-hxr-nx3

Next question from SAHIB on Twitter: "Do you use a neutral picture style when shooting, and do you use neutral density filters?"

Answer: For those unaware of picture profiles on your camera, check them out in the 3rd section of the movie shooting (red) menu (for Canon users). There are a number of options listed, which alter the way the picture is recorded depending on your choice, you can also customize these profiles too using the INFO button.

Canon picture styles - Standard, Portrait, Landscape, Neutral, Faithful, Monochrome.

I will not be detailing the ins and outs of all the picture styles, more of a visual comparison.

What does a picture profile do? Much like LUTS, picture styles adjust the intensity level of the; Sharpness, Contrast, Saturation and Colour Tone in the image, so what picture profile you use can change the 'look' of the video you capture.

Check out this video I put together today showing the results of the cameras picture profiles, and others I have loaded onto the camera. You can see a clear change in the image, but it is subtle differences that will make your video work stand out.

https://vimeo.com/85655816

I previously used the Neutral picture profile, customized to reduce the contrast, saturation and colour tone to produce a very grey and flat image. I was using this profile to achieve this look, as it is how RAW footage is captured to then be graded in post production. Neutral does replicate this 'flat' look, but after doing research into other profiles, Neutral reduces the data that is required in the picture (the contrast and saturation) that I would then put back in in post. This causes noise to be generated in the image, and can cause it to look unnatural and crushed, as the contrast and saturation that had been removed by the picture profile is being added back in later in the workflow.

That was long, but I hope it makes sense. If you compare the 'Standard' to 'Neutral' there is an evident drop in saturation and contrast, with a loss of detail in the top of the trees. If you compare 'Neutral' to 'VisionColor', there is an increase in saturation and contrast in the shadows and highlights.

The 'Neutral' picture style, similar to Technicolor CineStyle reduces the data the sensor captures, so I would not recommend using it if you plan to do colour correction and grading in your workflow. REMEMBER - whatever you capture when out filming will 'burn in' the detail, colours, sharpness and contrast into the image, making it harder to edit and remove unwanted errors. So, it would be better to use a profile that holds the data and detail so if wanted, you could work on grading the footage later.

From tests and experimenting, I favor the VisionColor profile; it is not as destructive as Neutral, holding colour and contrast without making the image flat. I definitely recommend checking them out here.

Next Question from SAHIB on Twitter: "Can ND filters change the style of video?"

Answer: This does depend on what and where your video shoot is. If you are working indoors, or with lighting that can be controlled by you then neutral density filters may not be required as you can alter the brightness of the scene by reducing the intensity of the lights. However, if you're out filming in a situation where you have little to no control over the lighting, then ND filters are key.

Personally I use variable ND filters, currently from Polaroid but much better filters are available from Hoya & Tiffen. The function of these filters is to reduce the light entering the lens, meaning camera settings can be kept the same. This allows you to follow the 180 degree shutter rule, which means keeping your electronic shutter speed at 1/50th to reproduce film-like and realistic motion blur.

So, with your shutter speed locked at 1/50, and your chosen aperture has been set, the only other exposure altering options you have is to ride the camera ISO to make the image brighter or darker.

PROBLEM!

With a fast aperture of F/2.8, and you are currently shooting in sunny daylight, your image is going to be very over exposed. Reducing the aperture to F/8 or F/11 may correctly expose the image but you have lost your depth of field! What to do!

Get some Variable ND Filters!

These ND filters rotate, allowing a variable ND amount to be set externally, without changing your cameras settings! This means that you can keep your cinematic depth of field and realistic motion blur without reducing the shutter speed to 1/250th or your aperture to F/11.

I recently shot this video using an ND filter on an 85mm T/1.5, which allowed me to shoot continually at T/1.5 for extreme shallow depth of field.

Making a quick edit: Variable ND filters are one of many options. ND Filters also come in stops; increasing by a factor of doubling so 2, 4, 8 etc. If you can stretch to separate stop ND filters they work just as well, and with the lower end (under £100 products) they will be better quality than one under £100.

In videography and cinematography, ND filters are applied in the matte box in front of the lens. So if you plan to use one, look in to matte boxes with the ability to add filters, but prepare to pay for it!

http://vimeo.com/84790518

Well, that covers Video Questions for today! I hope to have answered and covered all bases, and remember they are from my personal knowledge and experience.

Got any more? Send them my way!