There is no stronger method of transforming brand identity than through video and animation. We worked with ACL through their rebrand to develop and produce content that represents the new company direction and look.

Our Video Production Blog
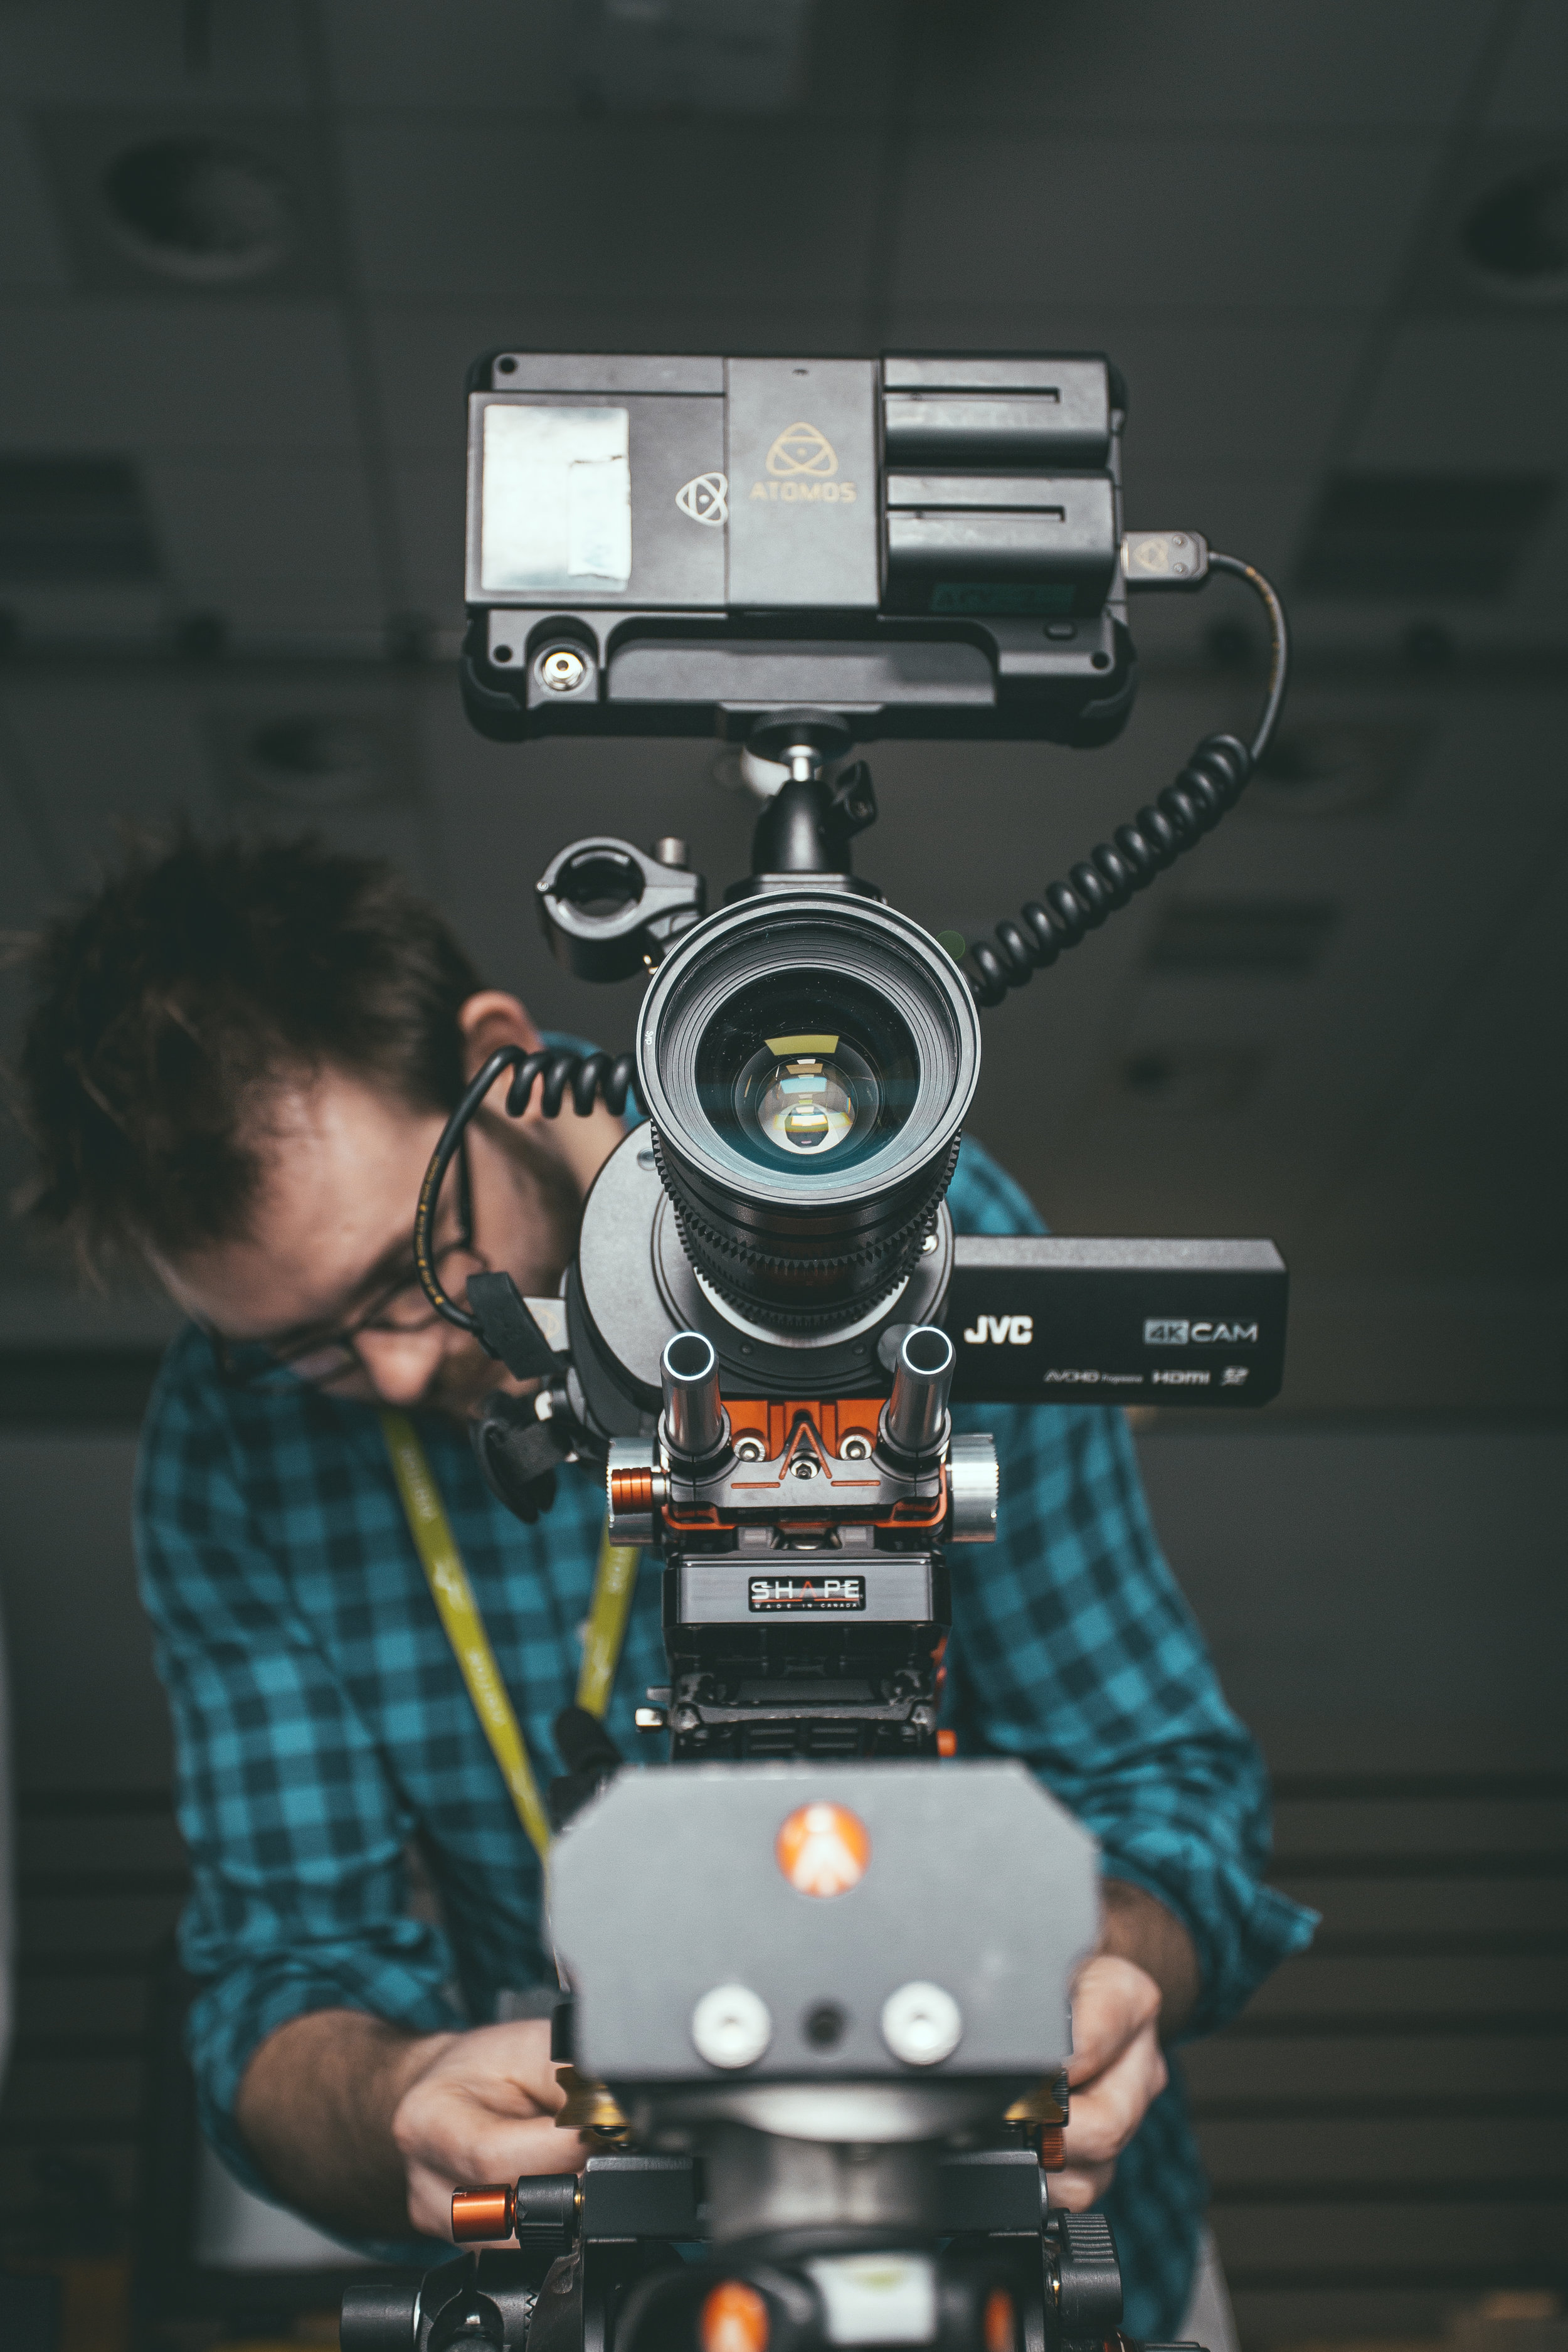
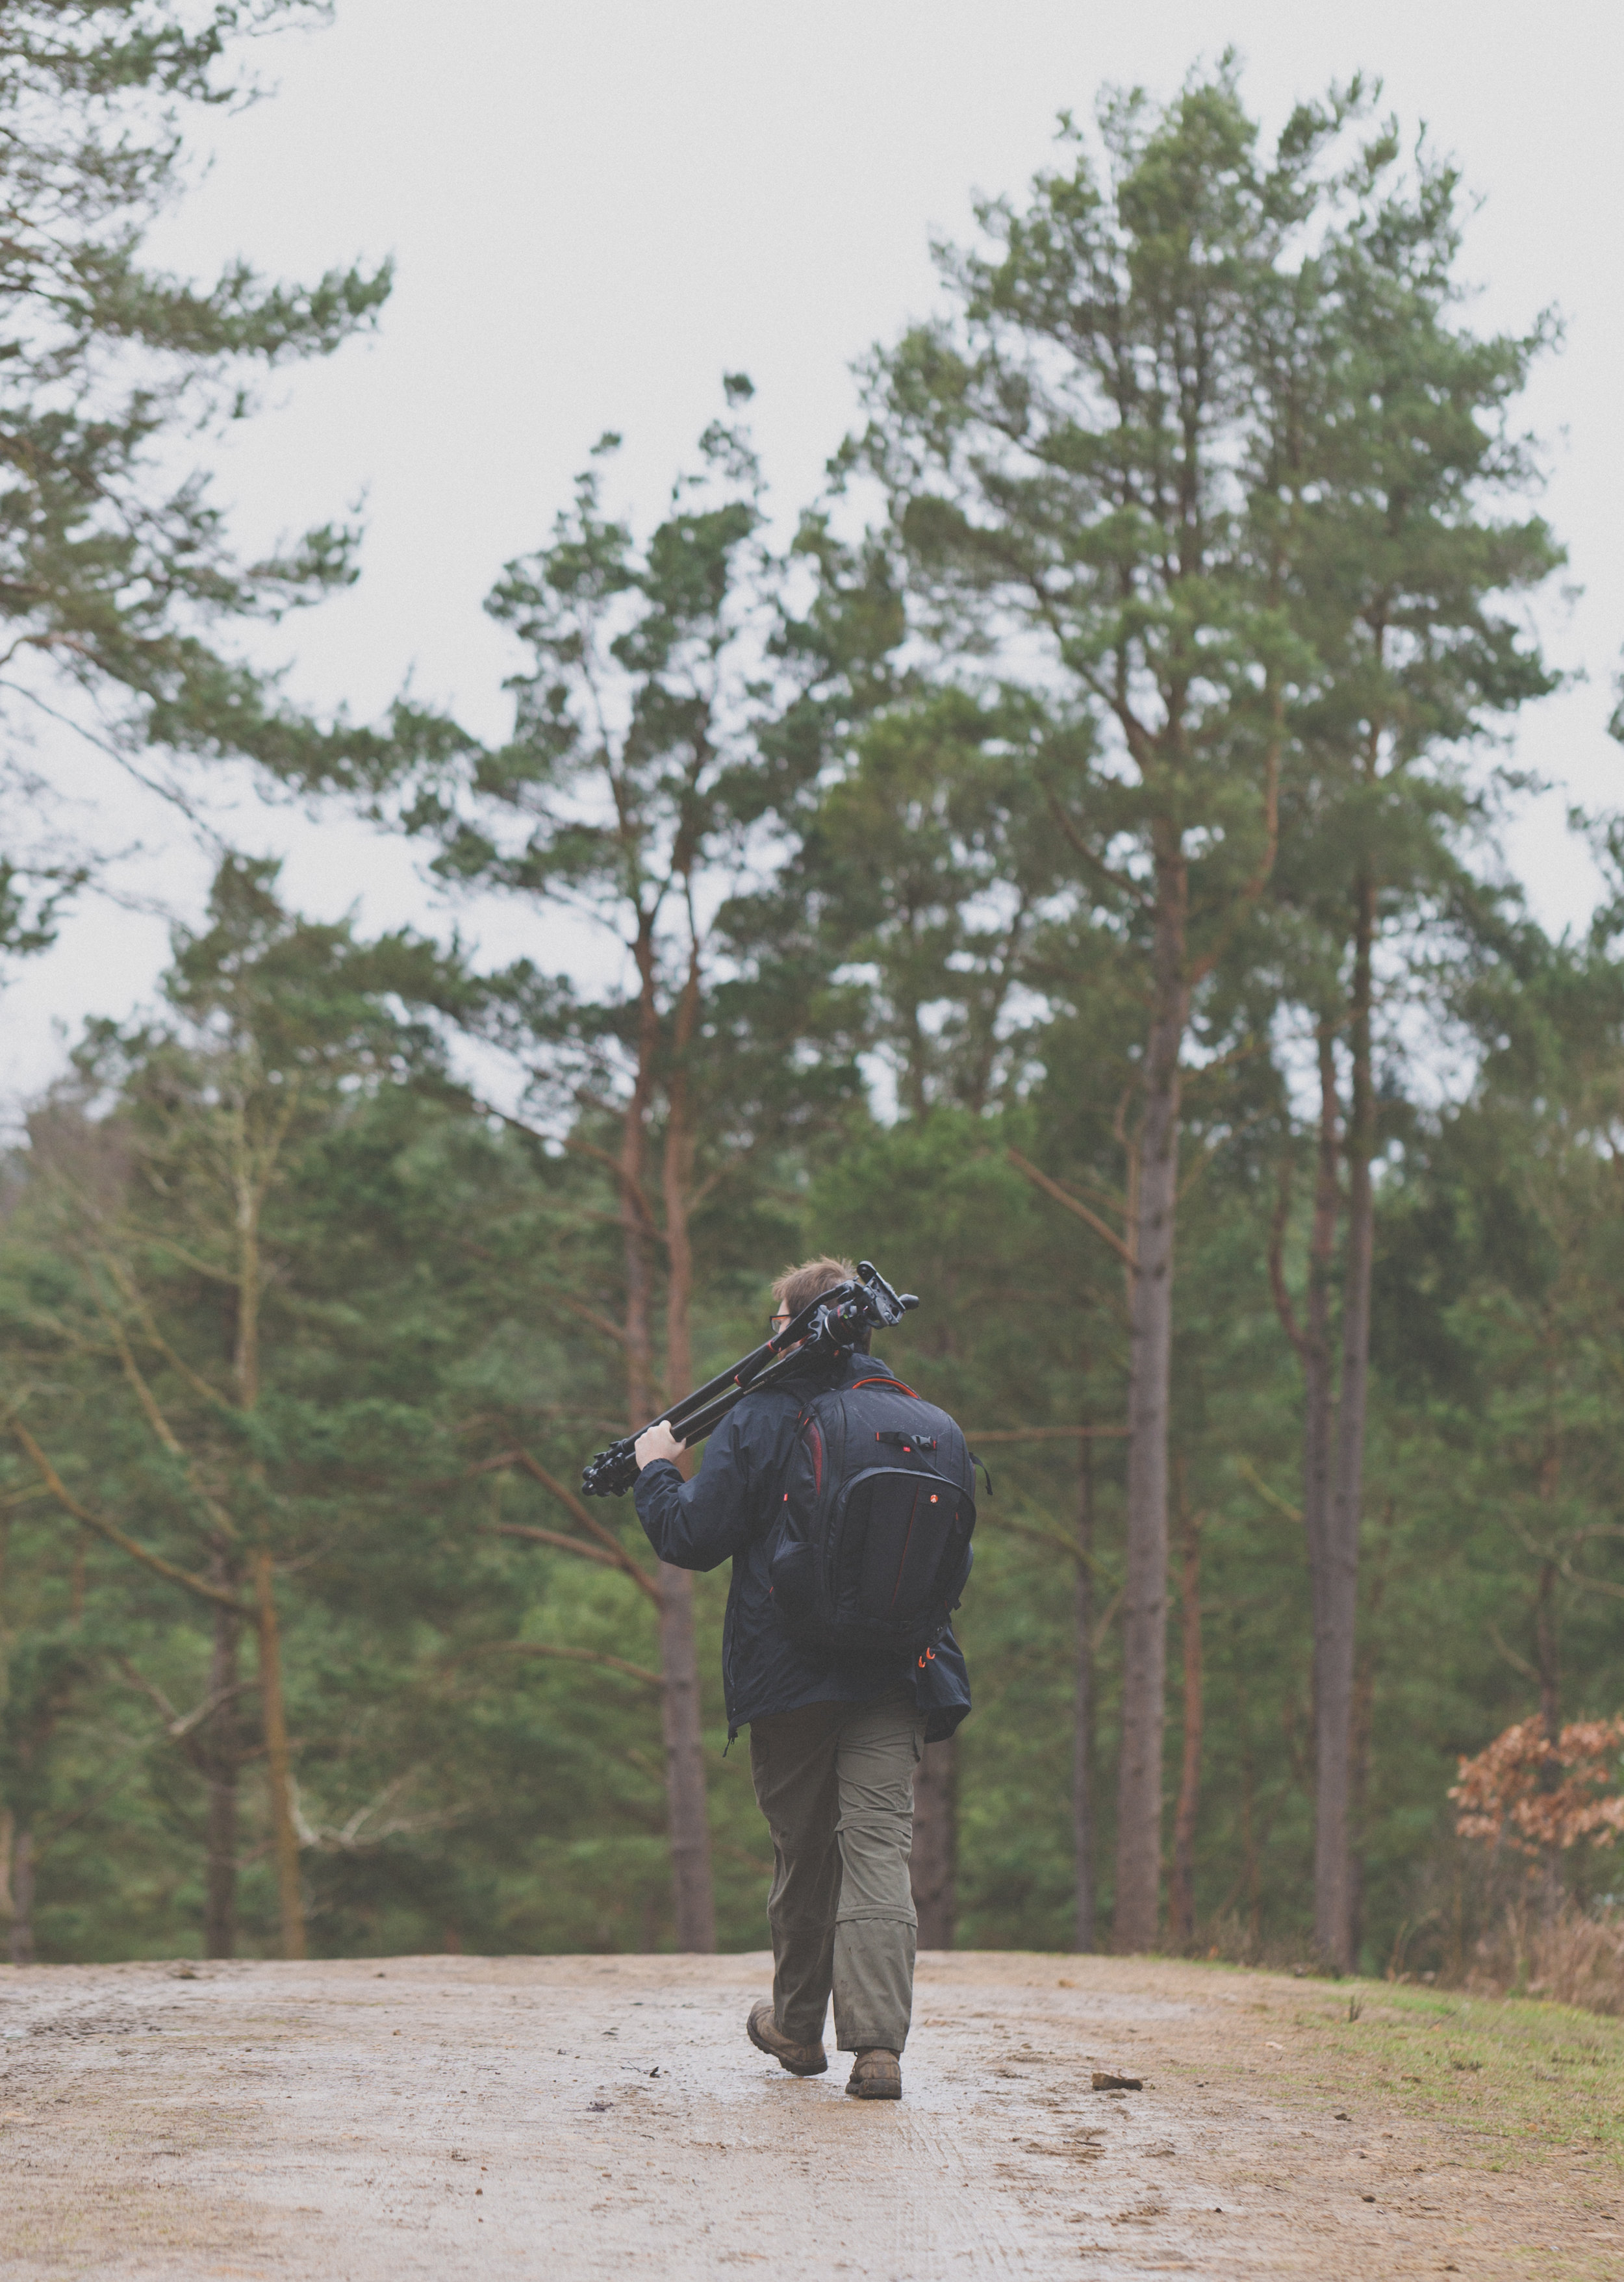
Behind the scenes photo by Lizzie Page
Looking back at one of my most popular blog posts dating back to 2015 ‘Out Filming With The Sony a7S and Atomos Shogun in 4K’, I thought that it was about time to put together a new review looking at a nifty high resolution setup, with the addition of Blackmagic RAW.
I have been filming with the Panasonic EVA-1 for a number of years. As an all-round cinema camera capable of internal 10-bit 4K, super slow motion and exceptional colour science. The additional feature of external RAW recording in 4K and up to 5.7K in BRAW was why I chose the camera over the Sony FS7, which is of course a fantastic camera in it’s own right. Please do keep reading, there is some essential information and links later in this article.
Before we look deeper, let’s first check out some sample footage from the EVA-1 and VA 12G setup. When the camera sends the RAW signal to the VA, it is always in V-LOG.
For the best viewing experience, click the cog and watch in 4K.
The footage in the video above was shot in Constant Quality Q5 RAW compression with a mix of 5.7K, 4K DCI and 2K DCI (upscaled).
The VLOG linear correction LUT was first applied to bring back the contrast in the image. Minor corrections to the exposure, highlights, shadows and white balance were then made to aid in matching the contrast and colour. Lastly, a creative LUT was then applied to make the rich heathy colours or the bracken and evergreens pop.
There is some noticeable noise in the up-scaled 2K 200fps footage as you would expect, but I thought that it would be beneficial to include it in this example.
For ease of writing, I’ll be referring to the Blackmagic Design Video Assist 12G 5-inch (such a mouthful) when I mention the ‘video assist’ or VA 12G for the rest of this piece.

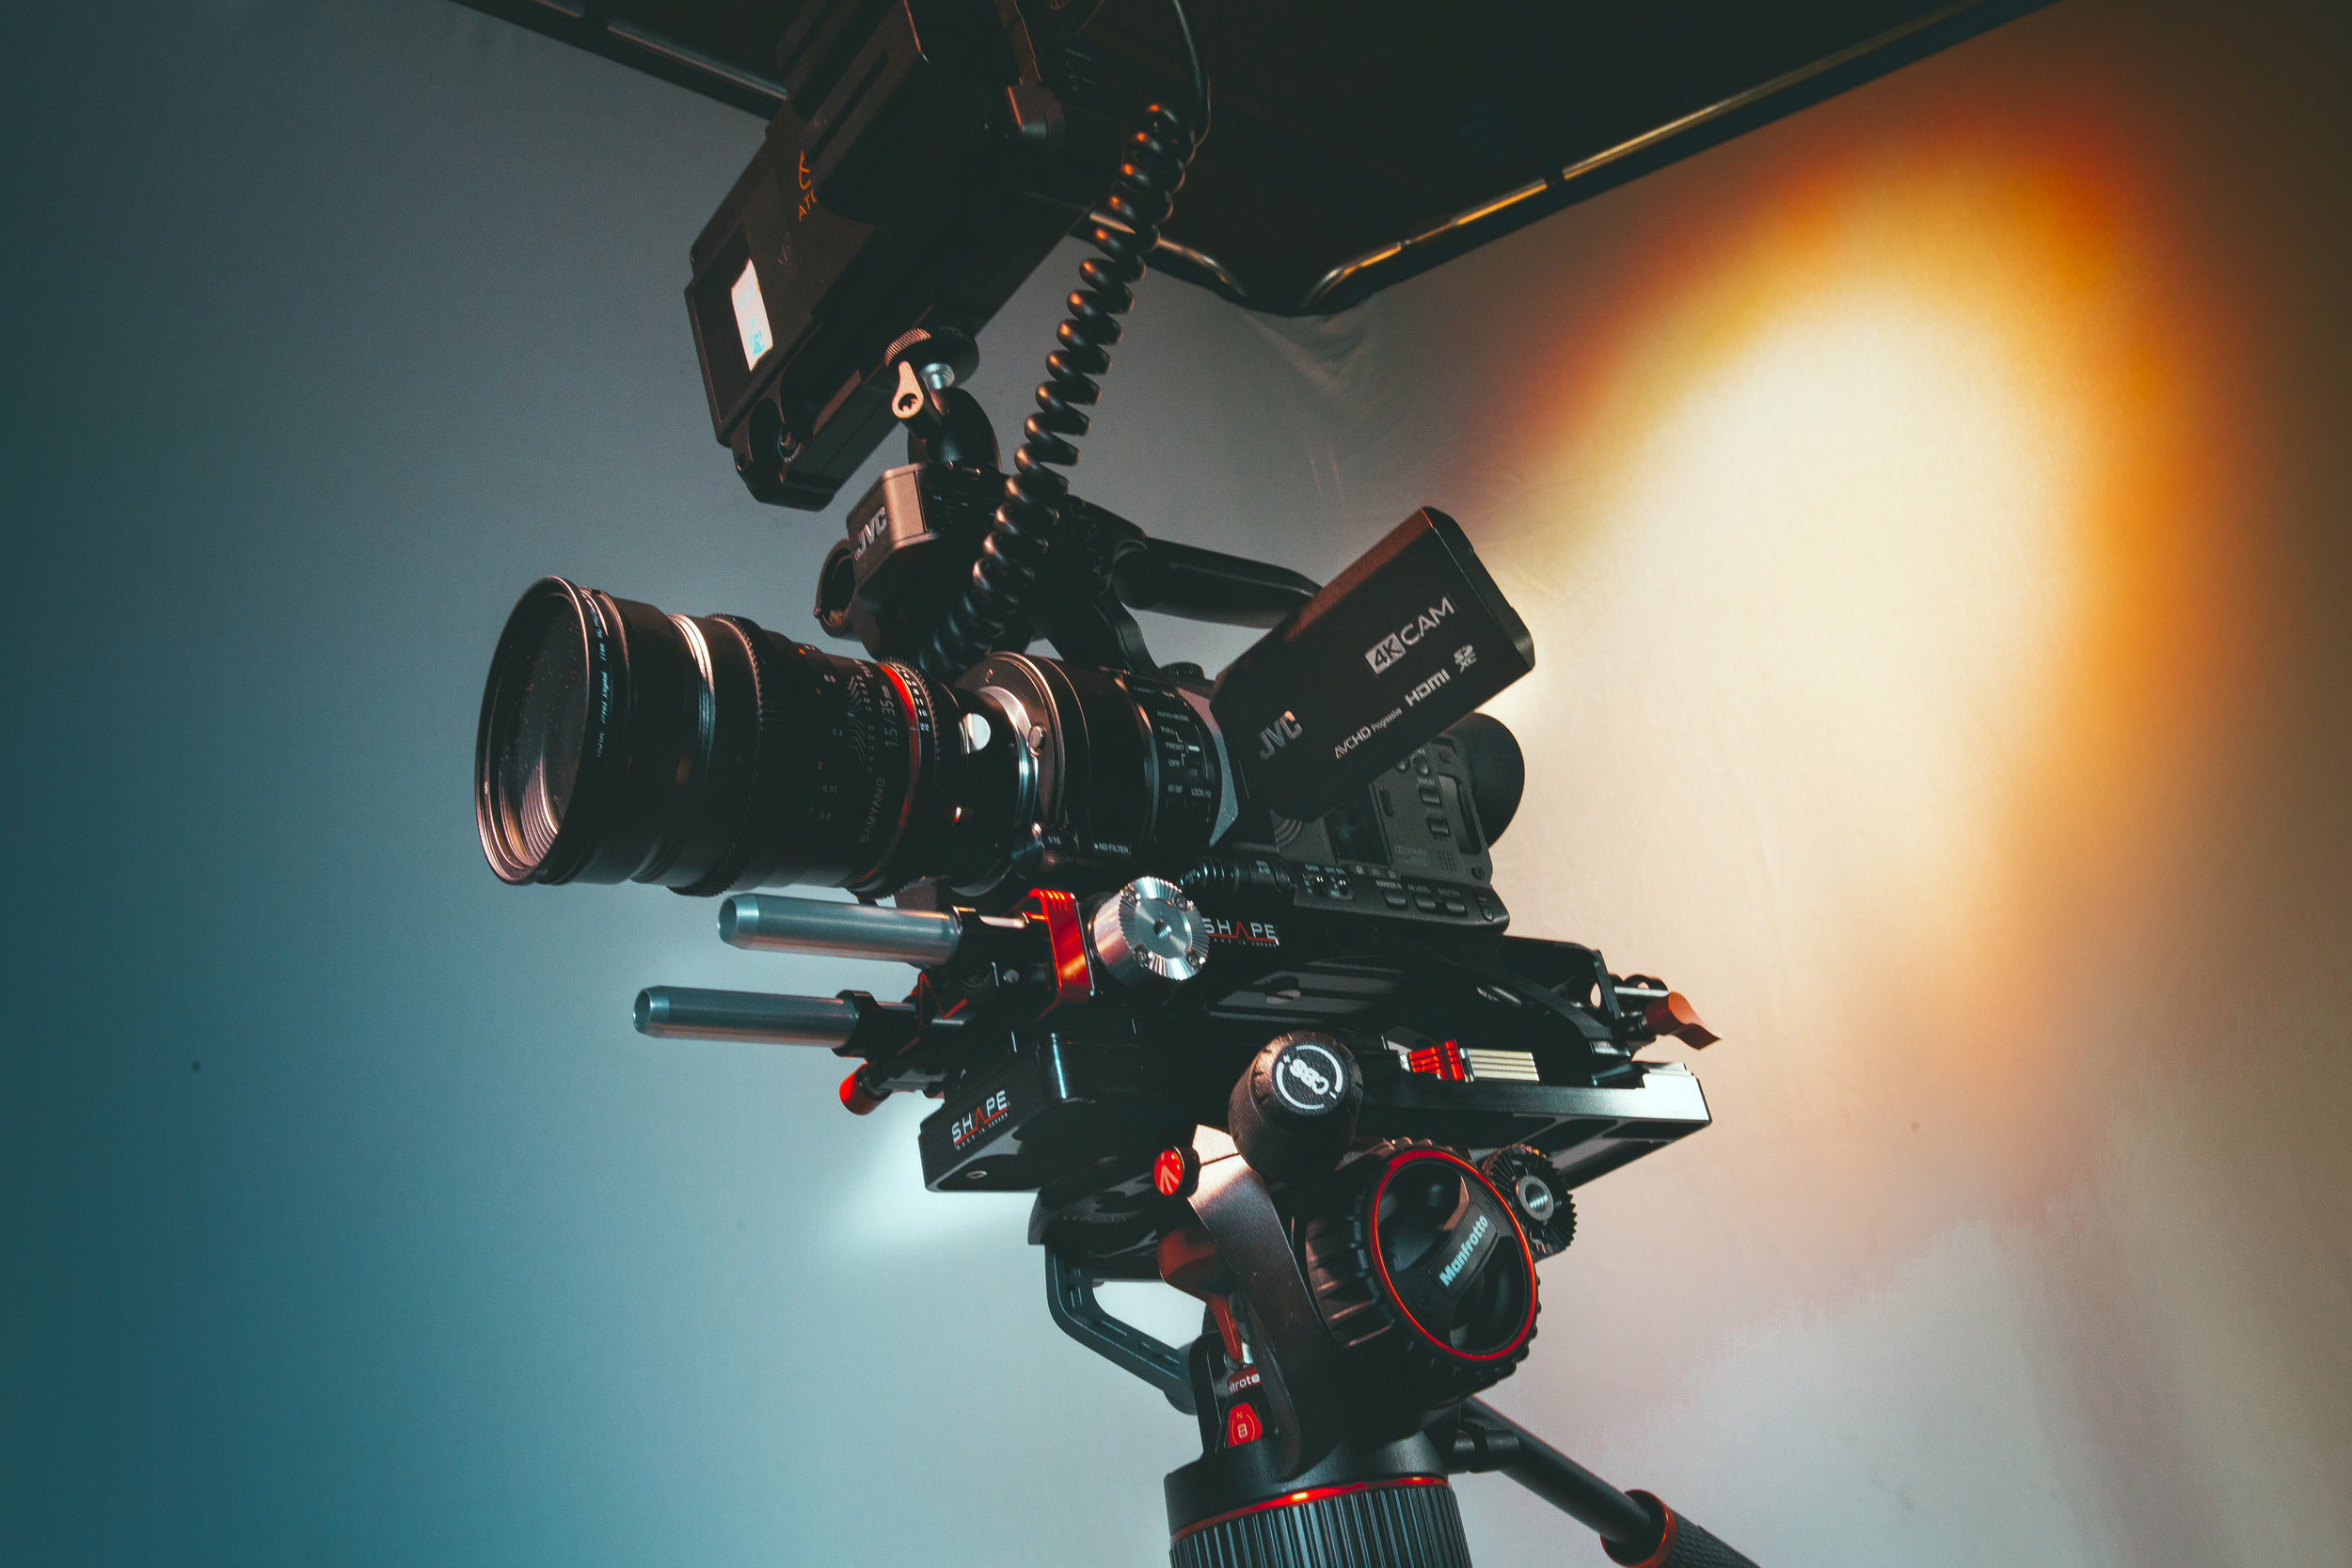
Behind the scenes photo by Lizzie Page
First off, I’m writing this just after the Atomos Ninja V Pro Kit update which enables up to 5.7K ProRes RAW recording via the SDI module. That overall package costs £990.00 (inc VAT) if you want the whole package. For existing Ninja V users, the Atomos SDI module is just over an additional £190.00. To compare, the VA is around £700.00 plus the cable.

Behind the scenes photo by Michael Westcott
Both the Video Assist and the Atomos Shogun 7 (now Ninja V Pro Kit) can record up to 5.7K from the EVA-1. I decided to use the Blackmagic VA 12G 5-inch model purely because of it’s size. I find 7-inch monitors too large and heavy on smaller cameras, and puts it off balance somewhat. The Video Assist 5-inch is a superb external monitor (considerably better than the EVA-1 viewfinder), with all of the regular features such as scopes, frame guides and LUT overlays. As you can see in the photos, rigging or handholding the EVA-1 and VA 12G 5-inch is a comfortable setup size in hand, and not as heavy as a 7-inch monitor would be.
The key differences between the VA and Atomos recorders are:
Recording format: BRAW/ProRes and DNx on the VA.
Recording format: ProRes RAW/ProRes and DNx on Atomos.
Recording media: SD card or external drive on the VA.
Recording media: On board, removable SSD on Atomos.
One NPF type battery on the Atomos Ninja V Pro.
Two NPS type batteries on the VA and Atomos Shogun 7.

To make it much easier to switch between system settings, I highly recommend setting up shortcuts that are stored on an SD card in the camera. This tip was given to me by Jonathan Warner. I set user button 3 to a settings memory which recalled the 7 common RAW/HDMI system settings saved. That way it is much easier and considerably faster to navigate between 5.7K, 4K, 2K 200fps etc while shooting.

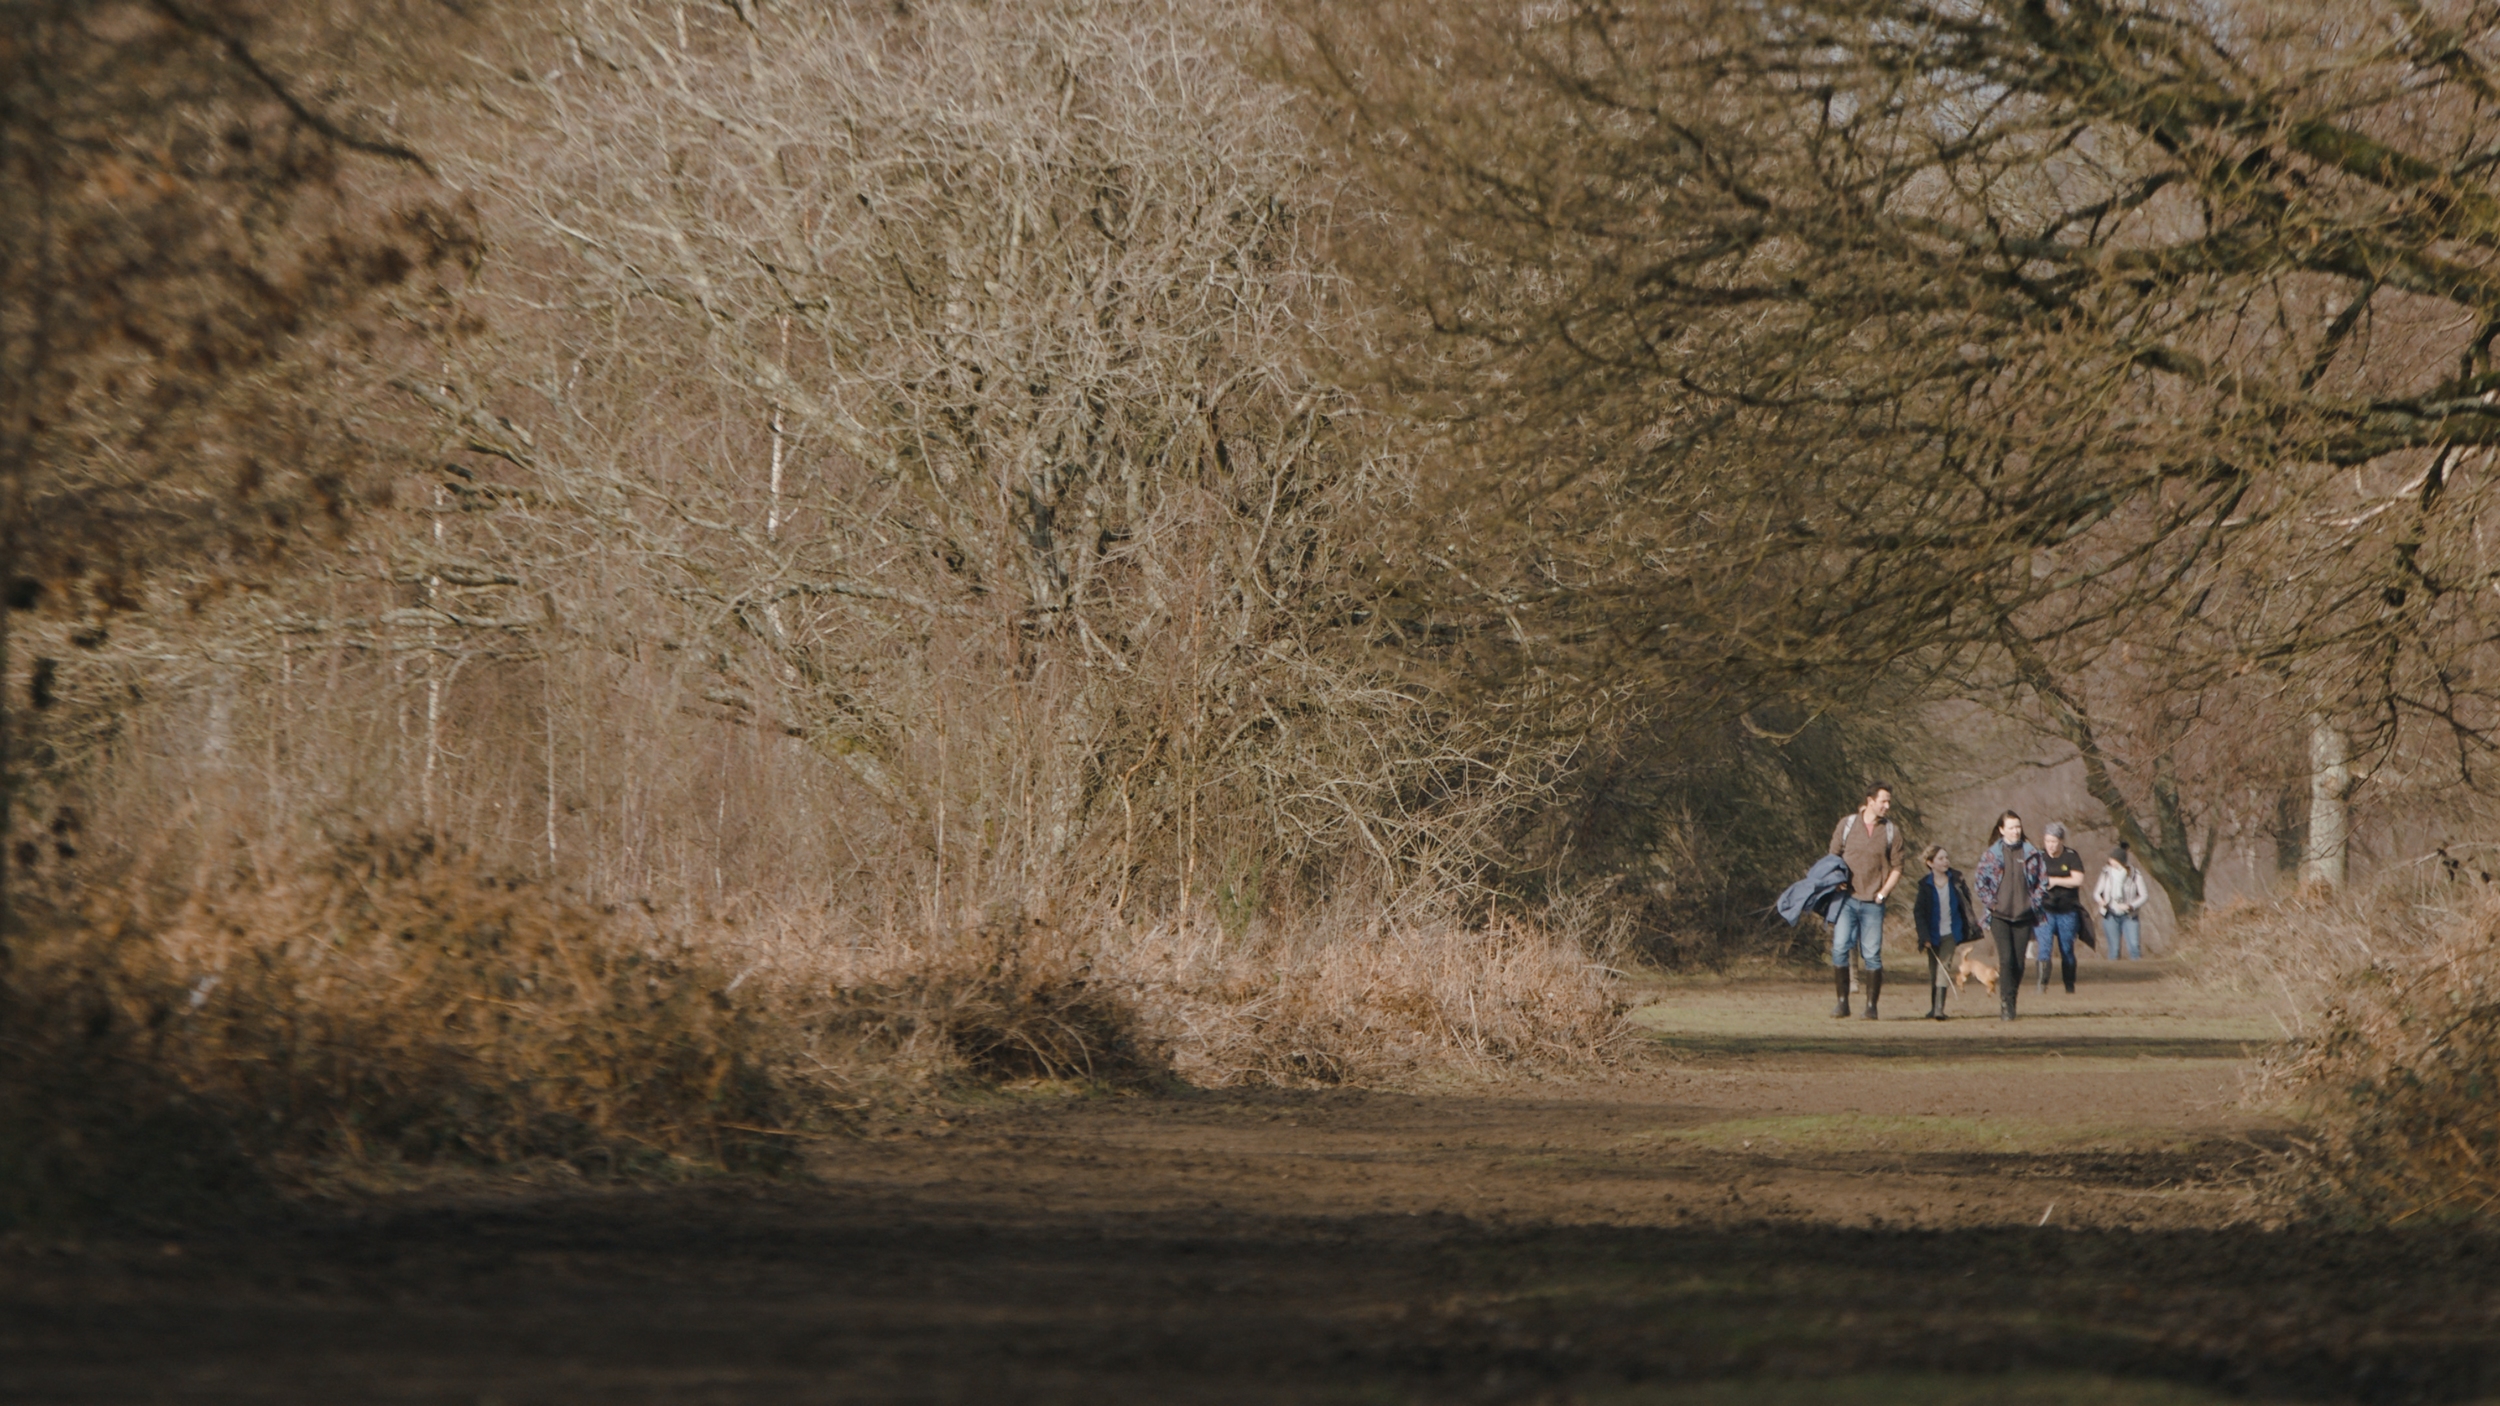
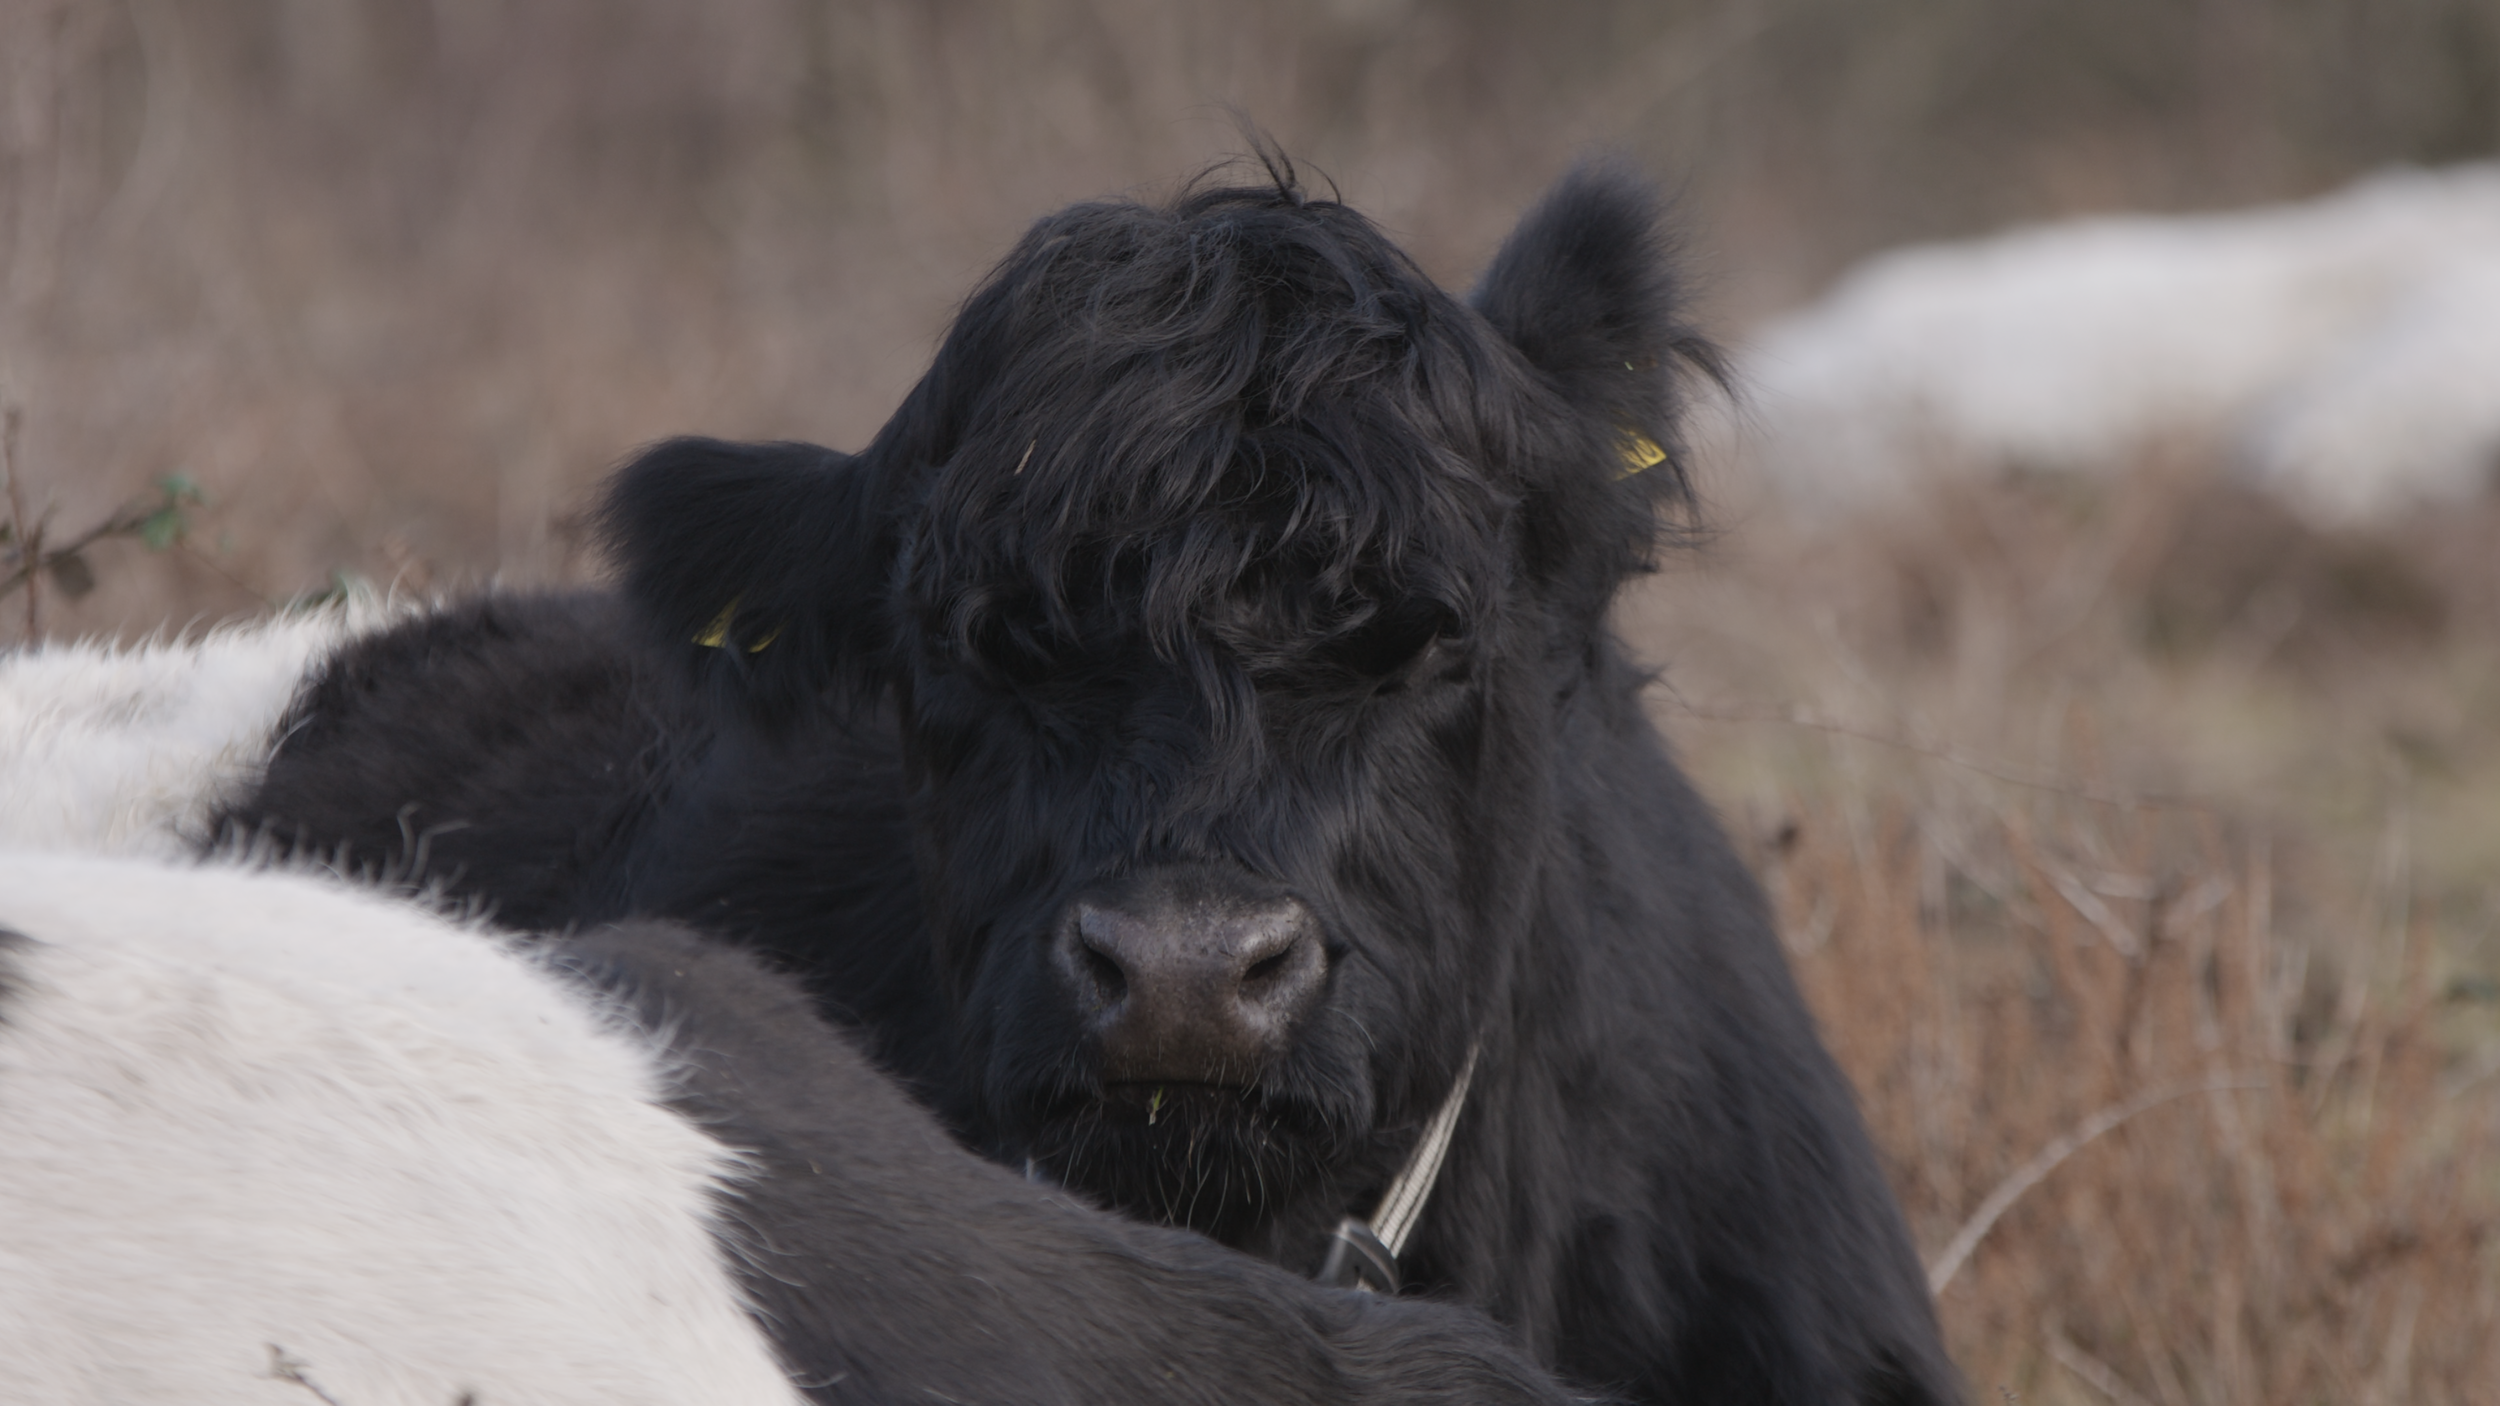
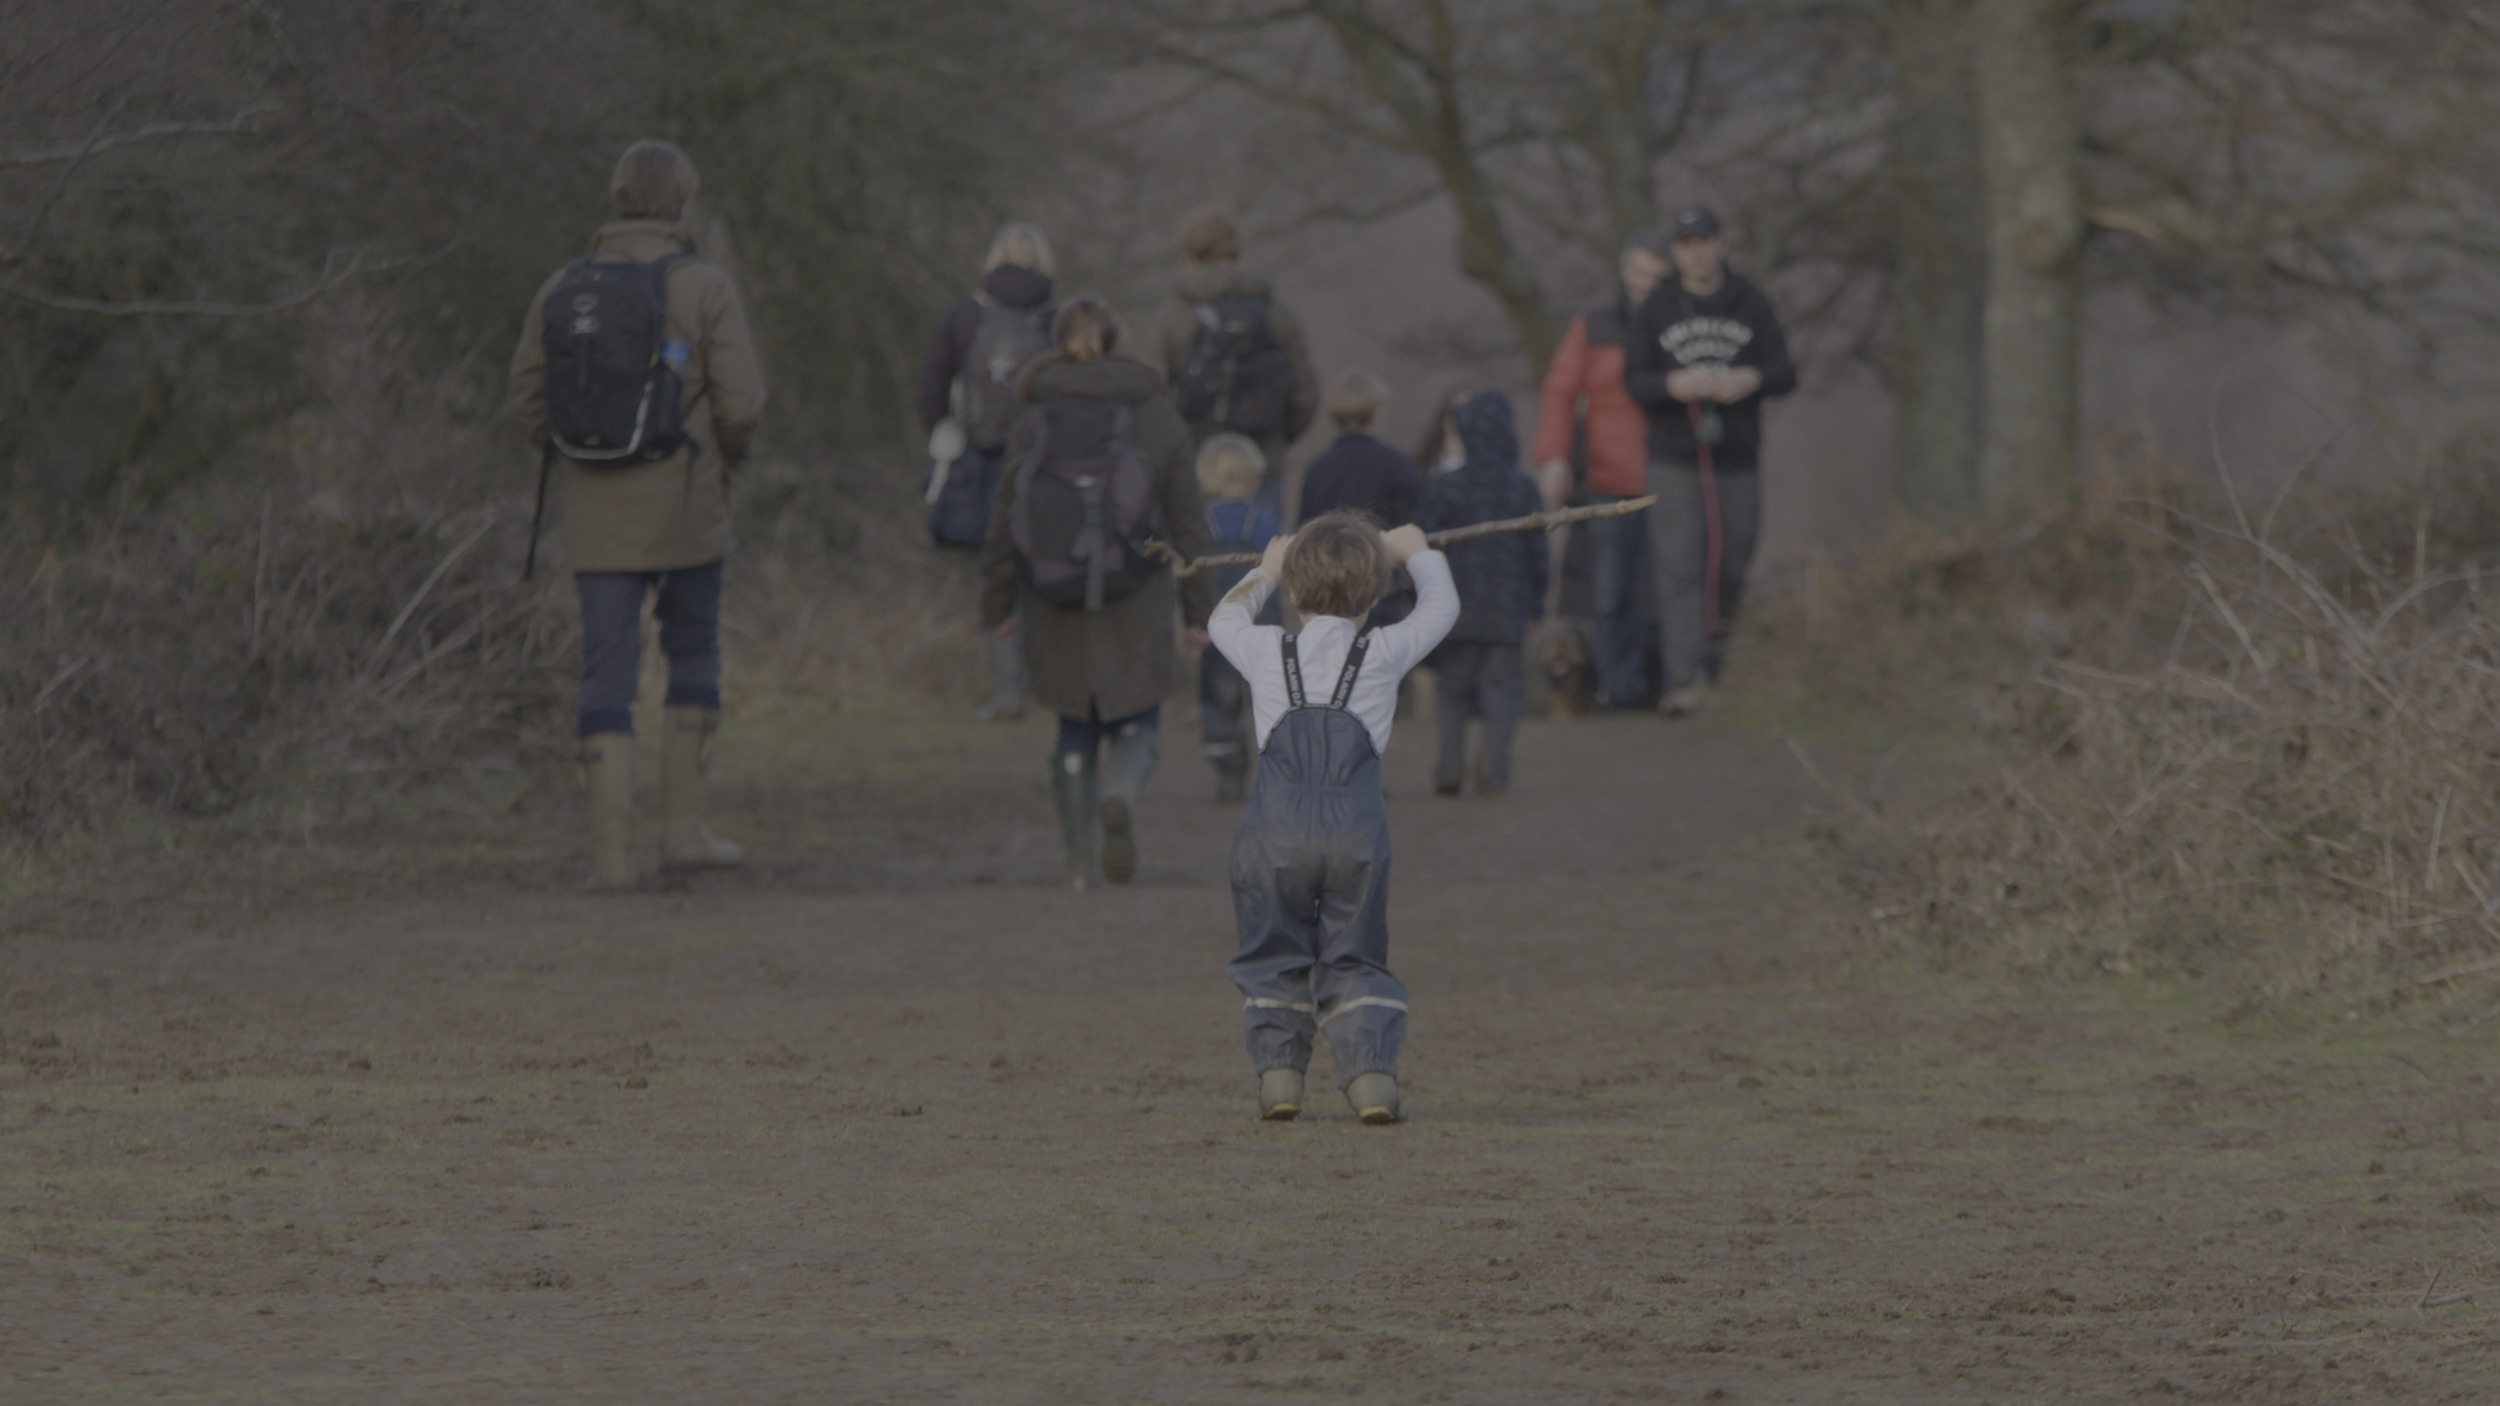
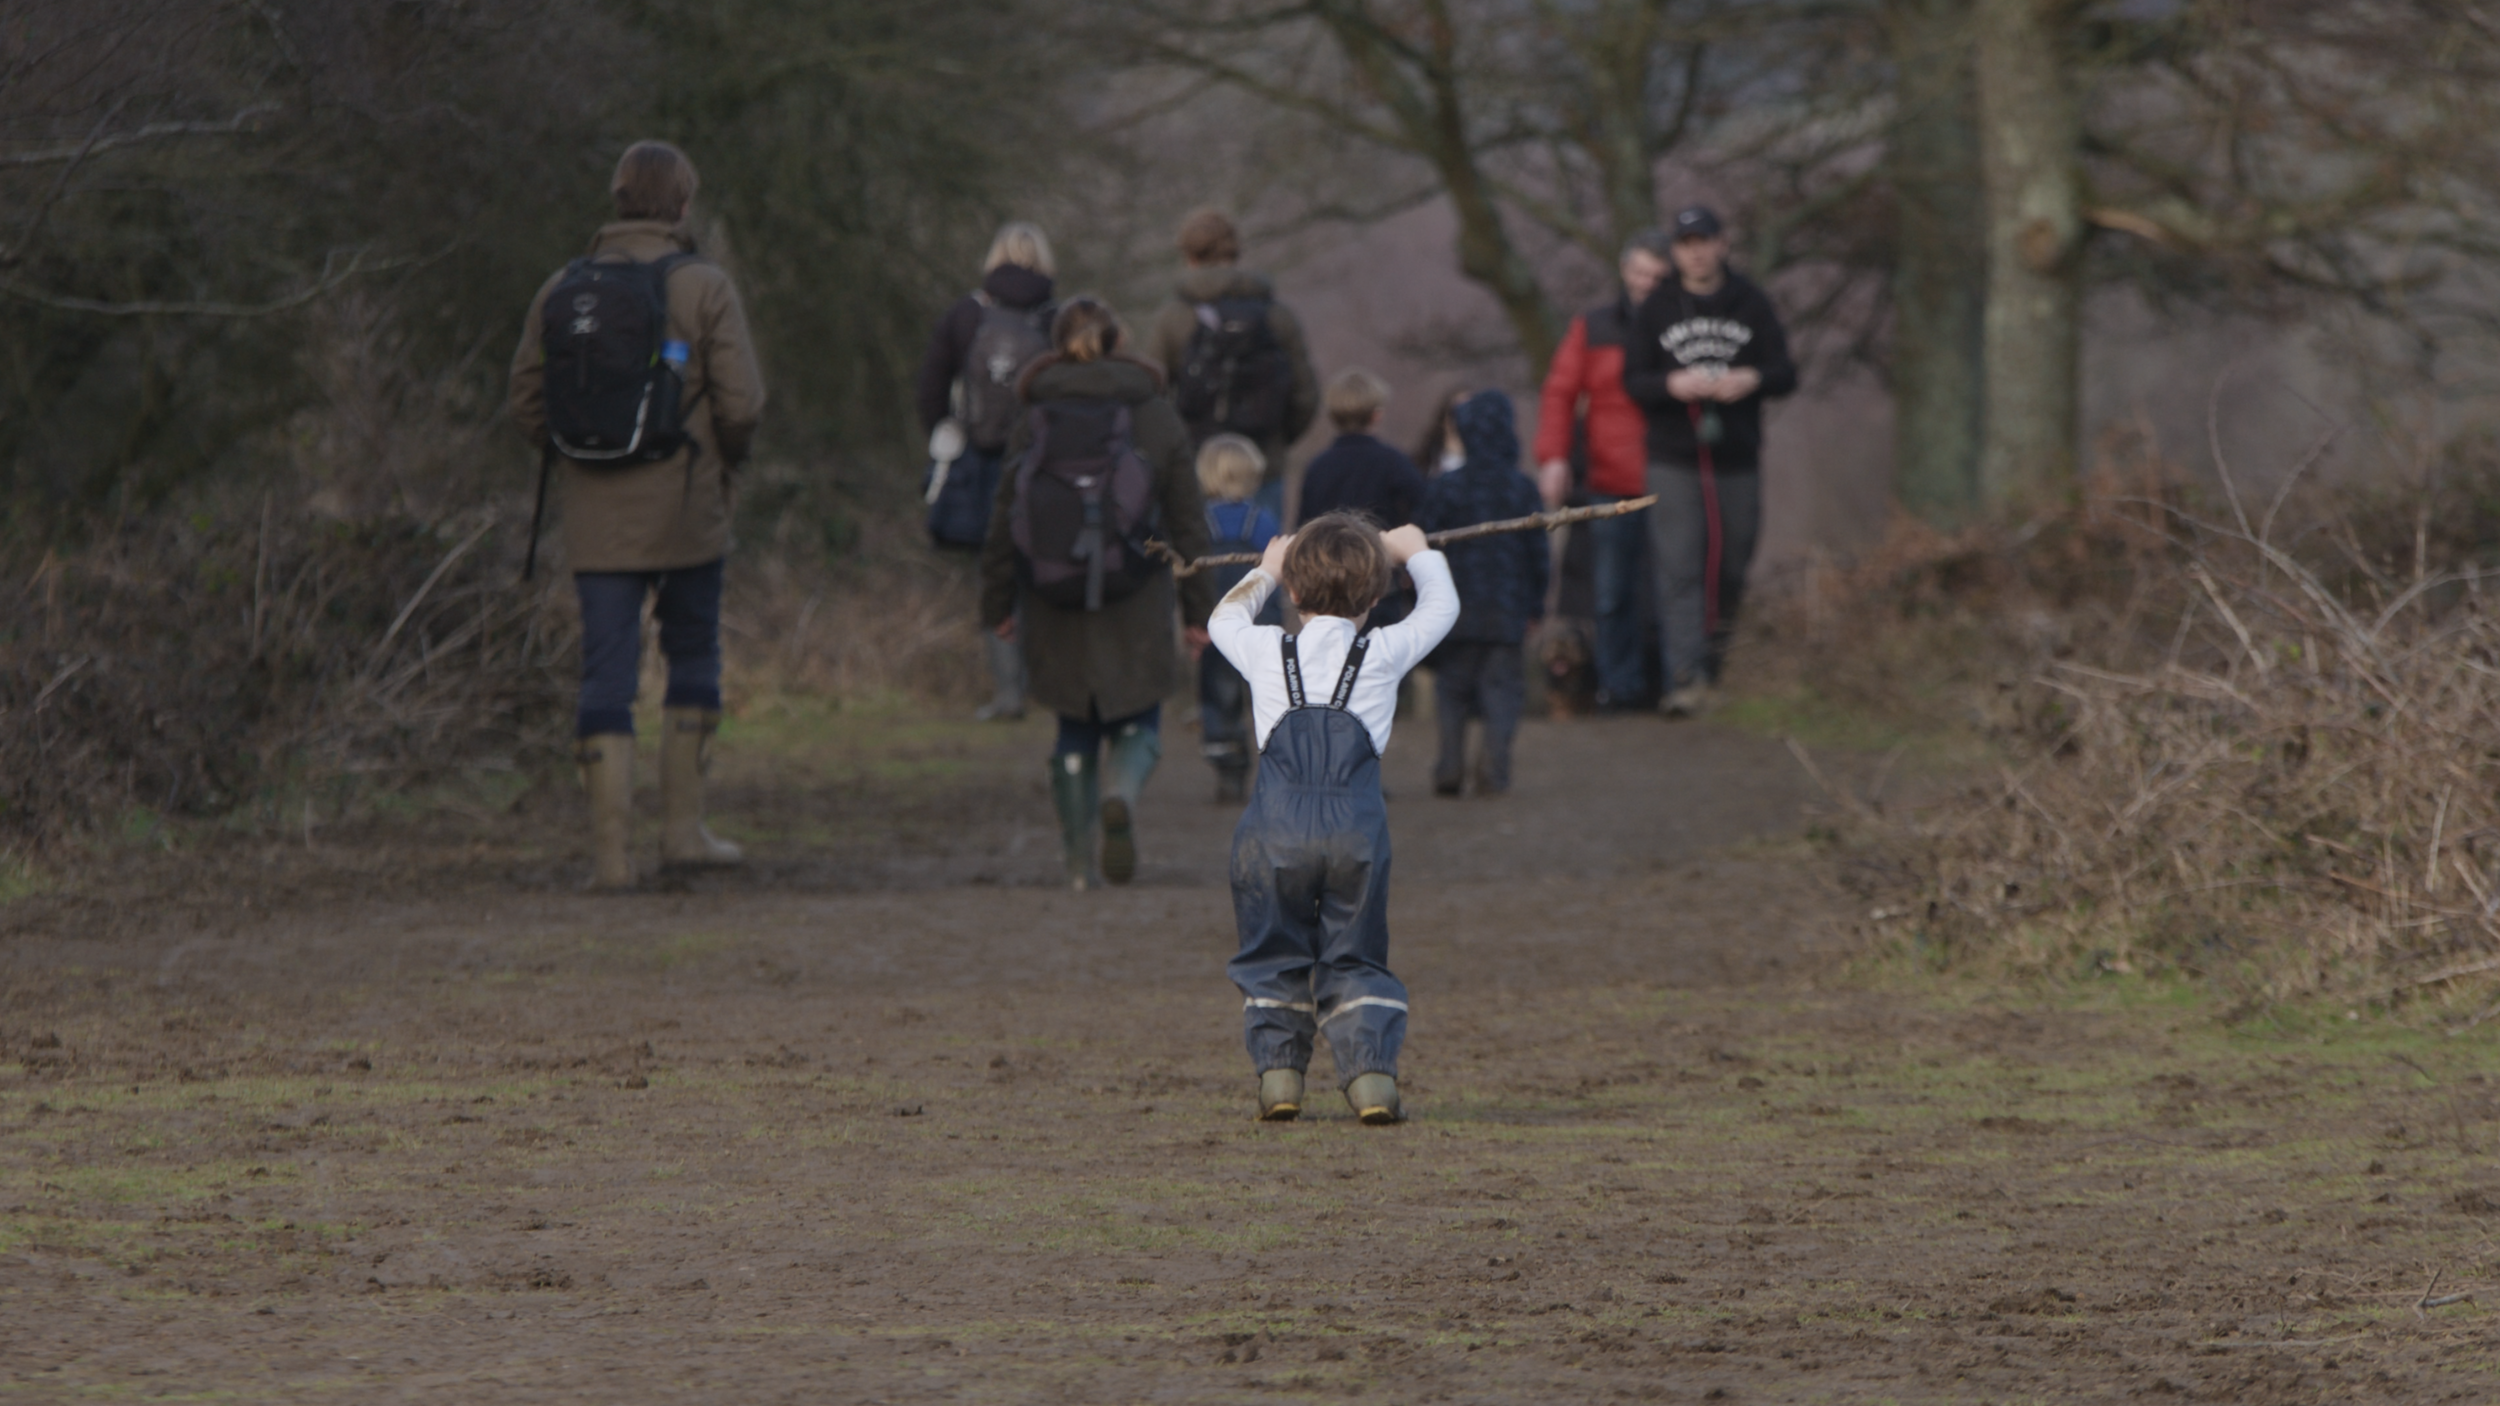
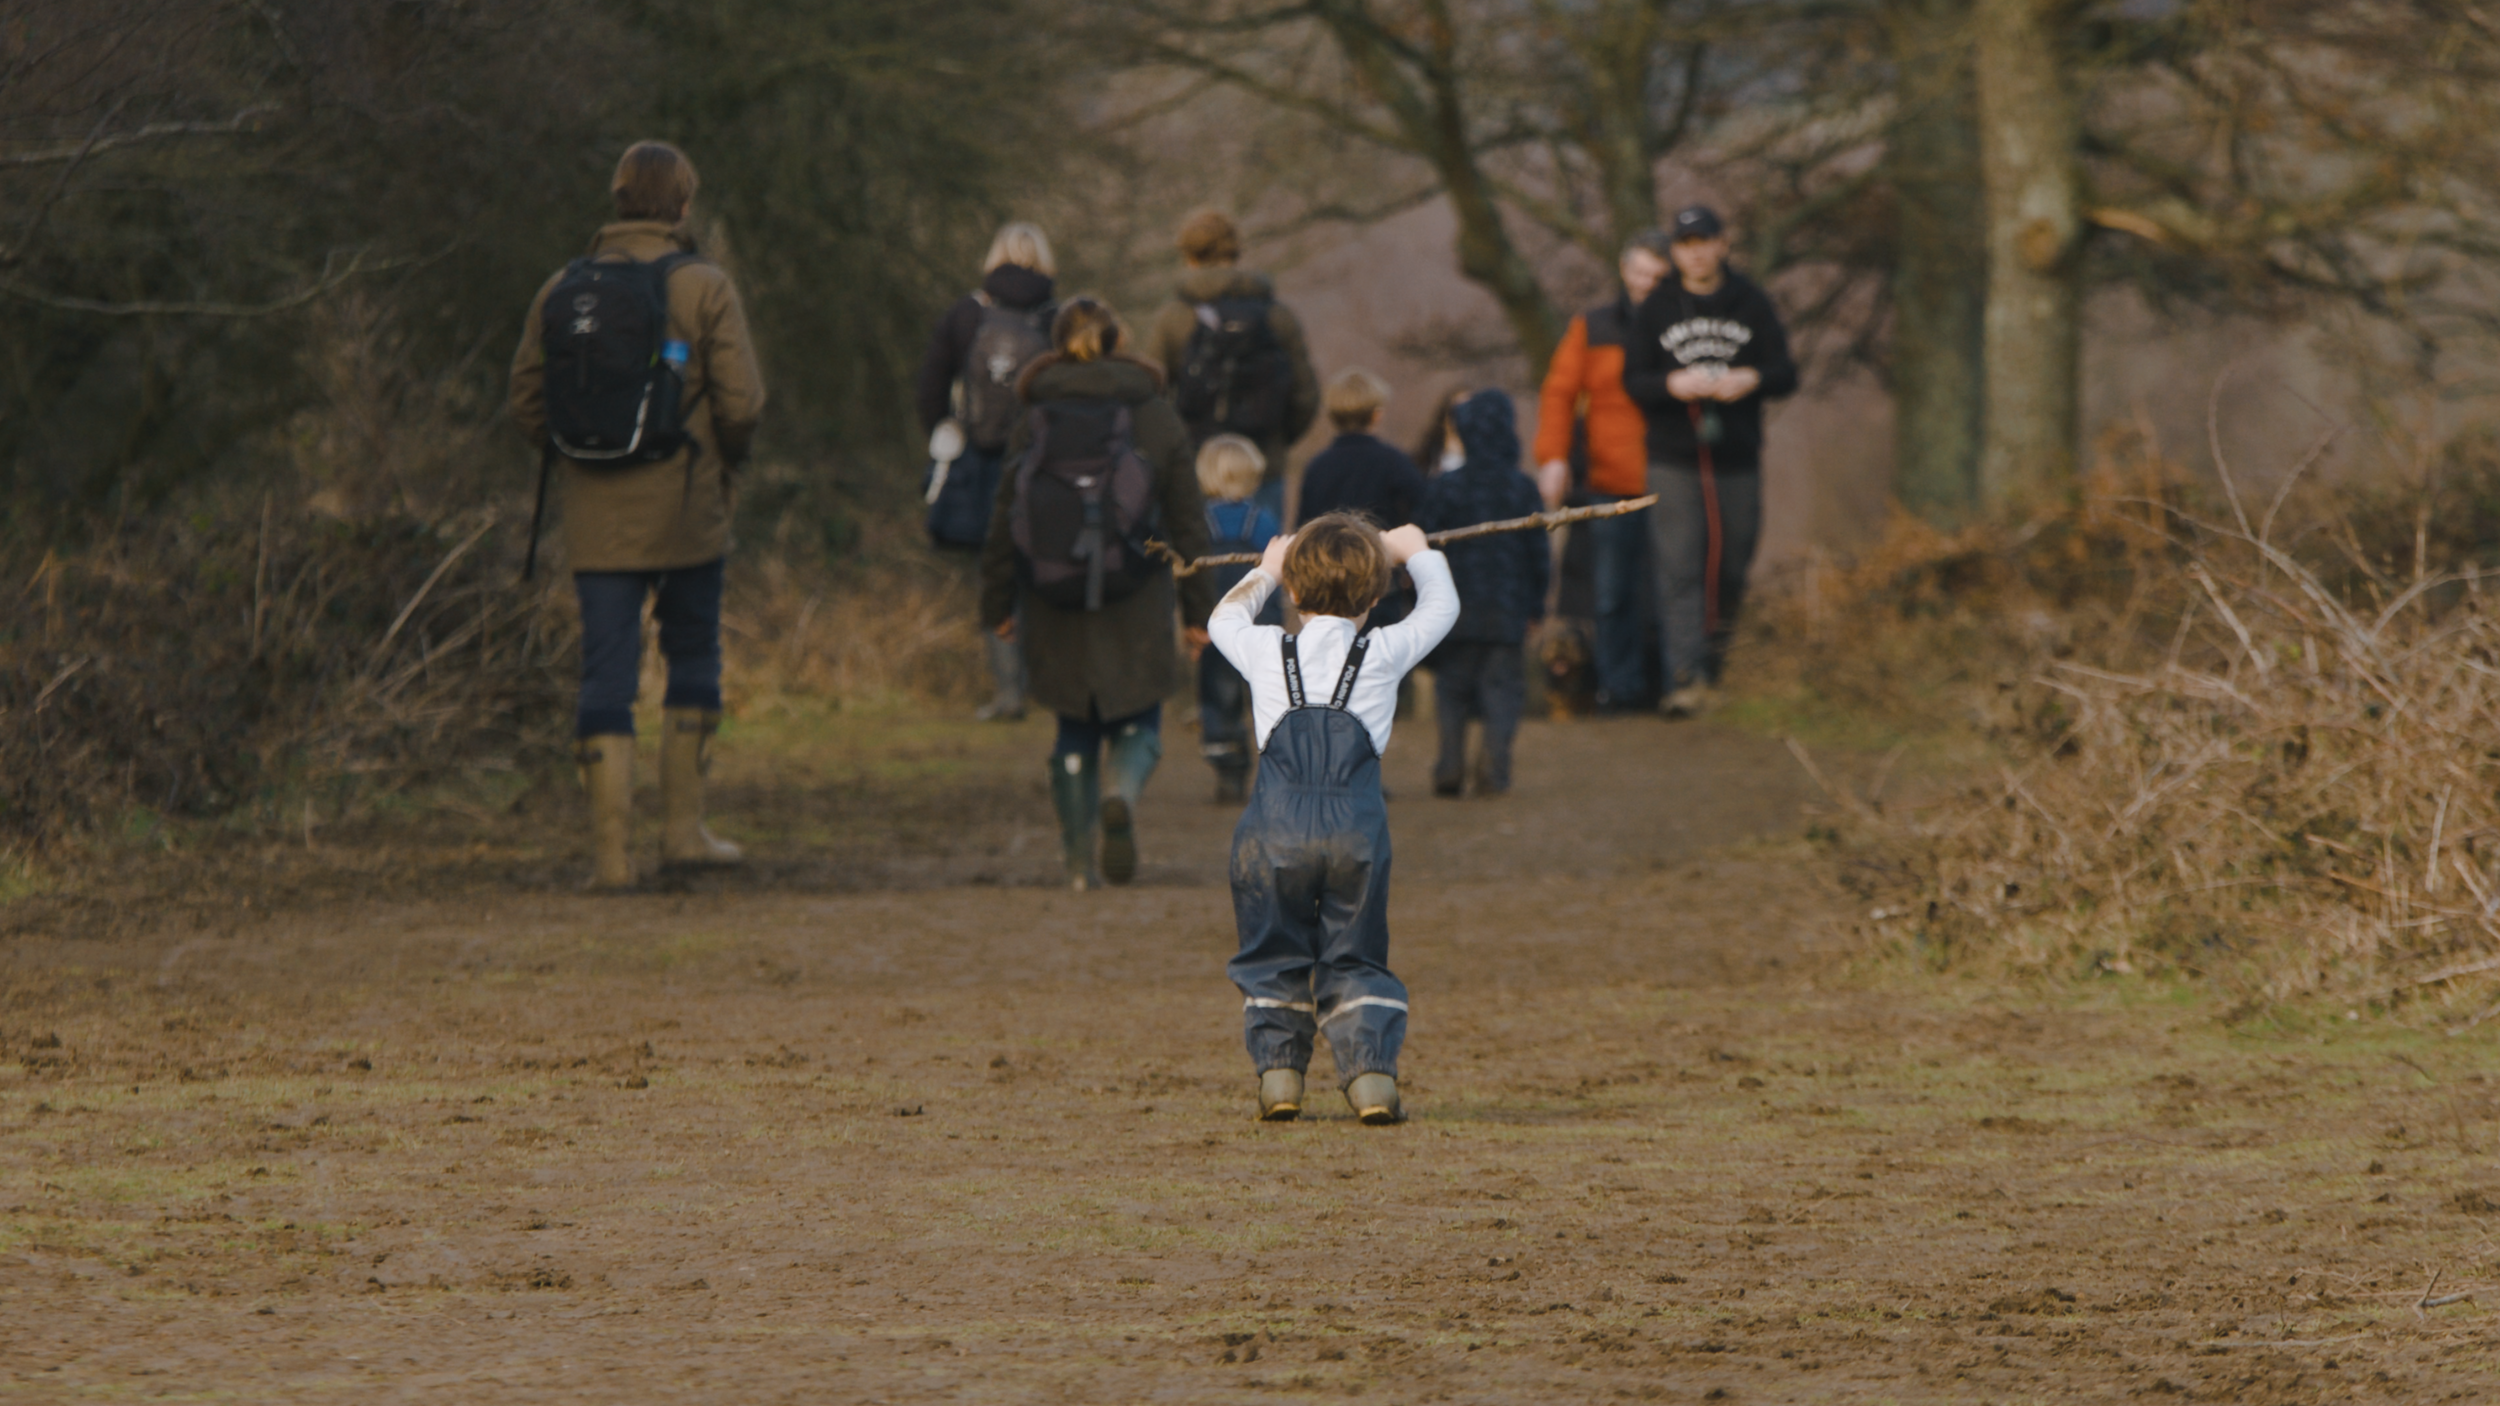
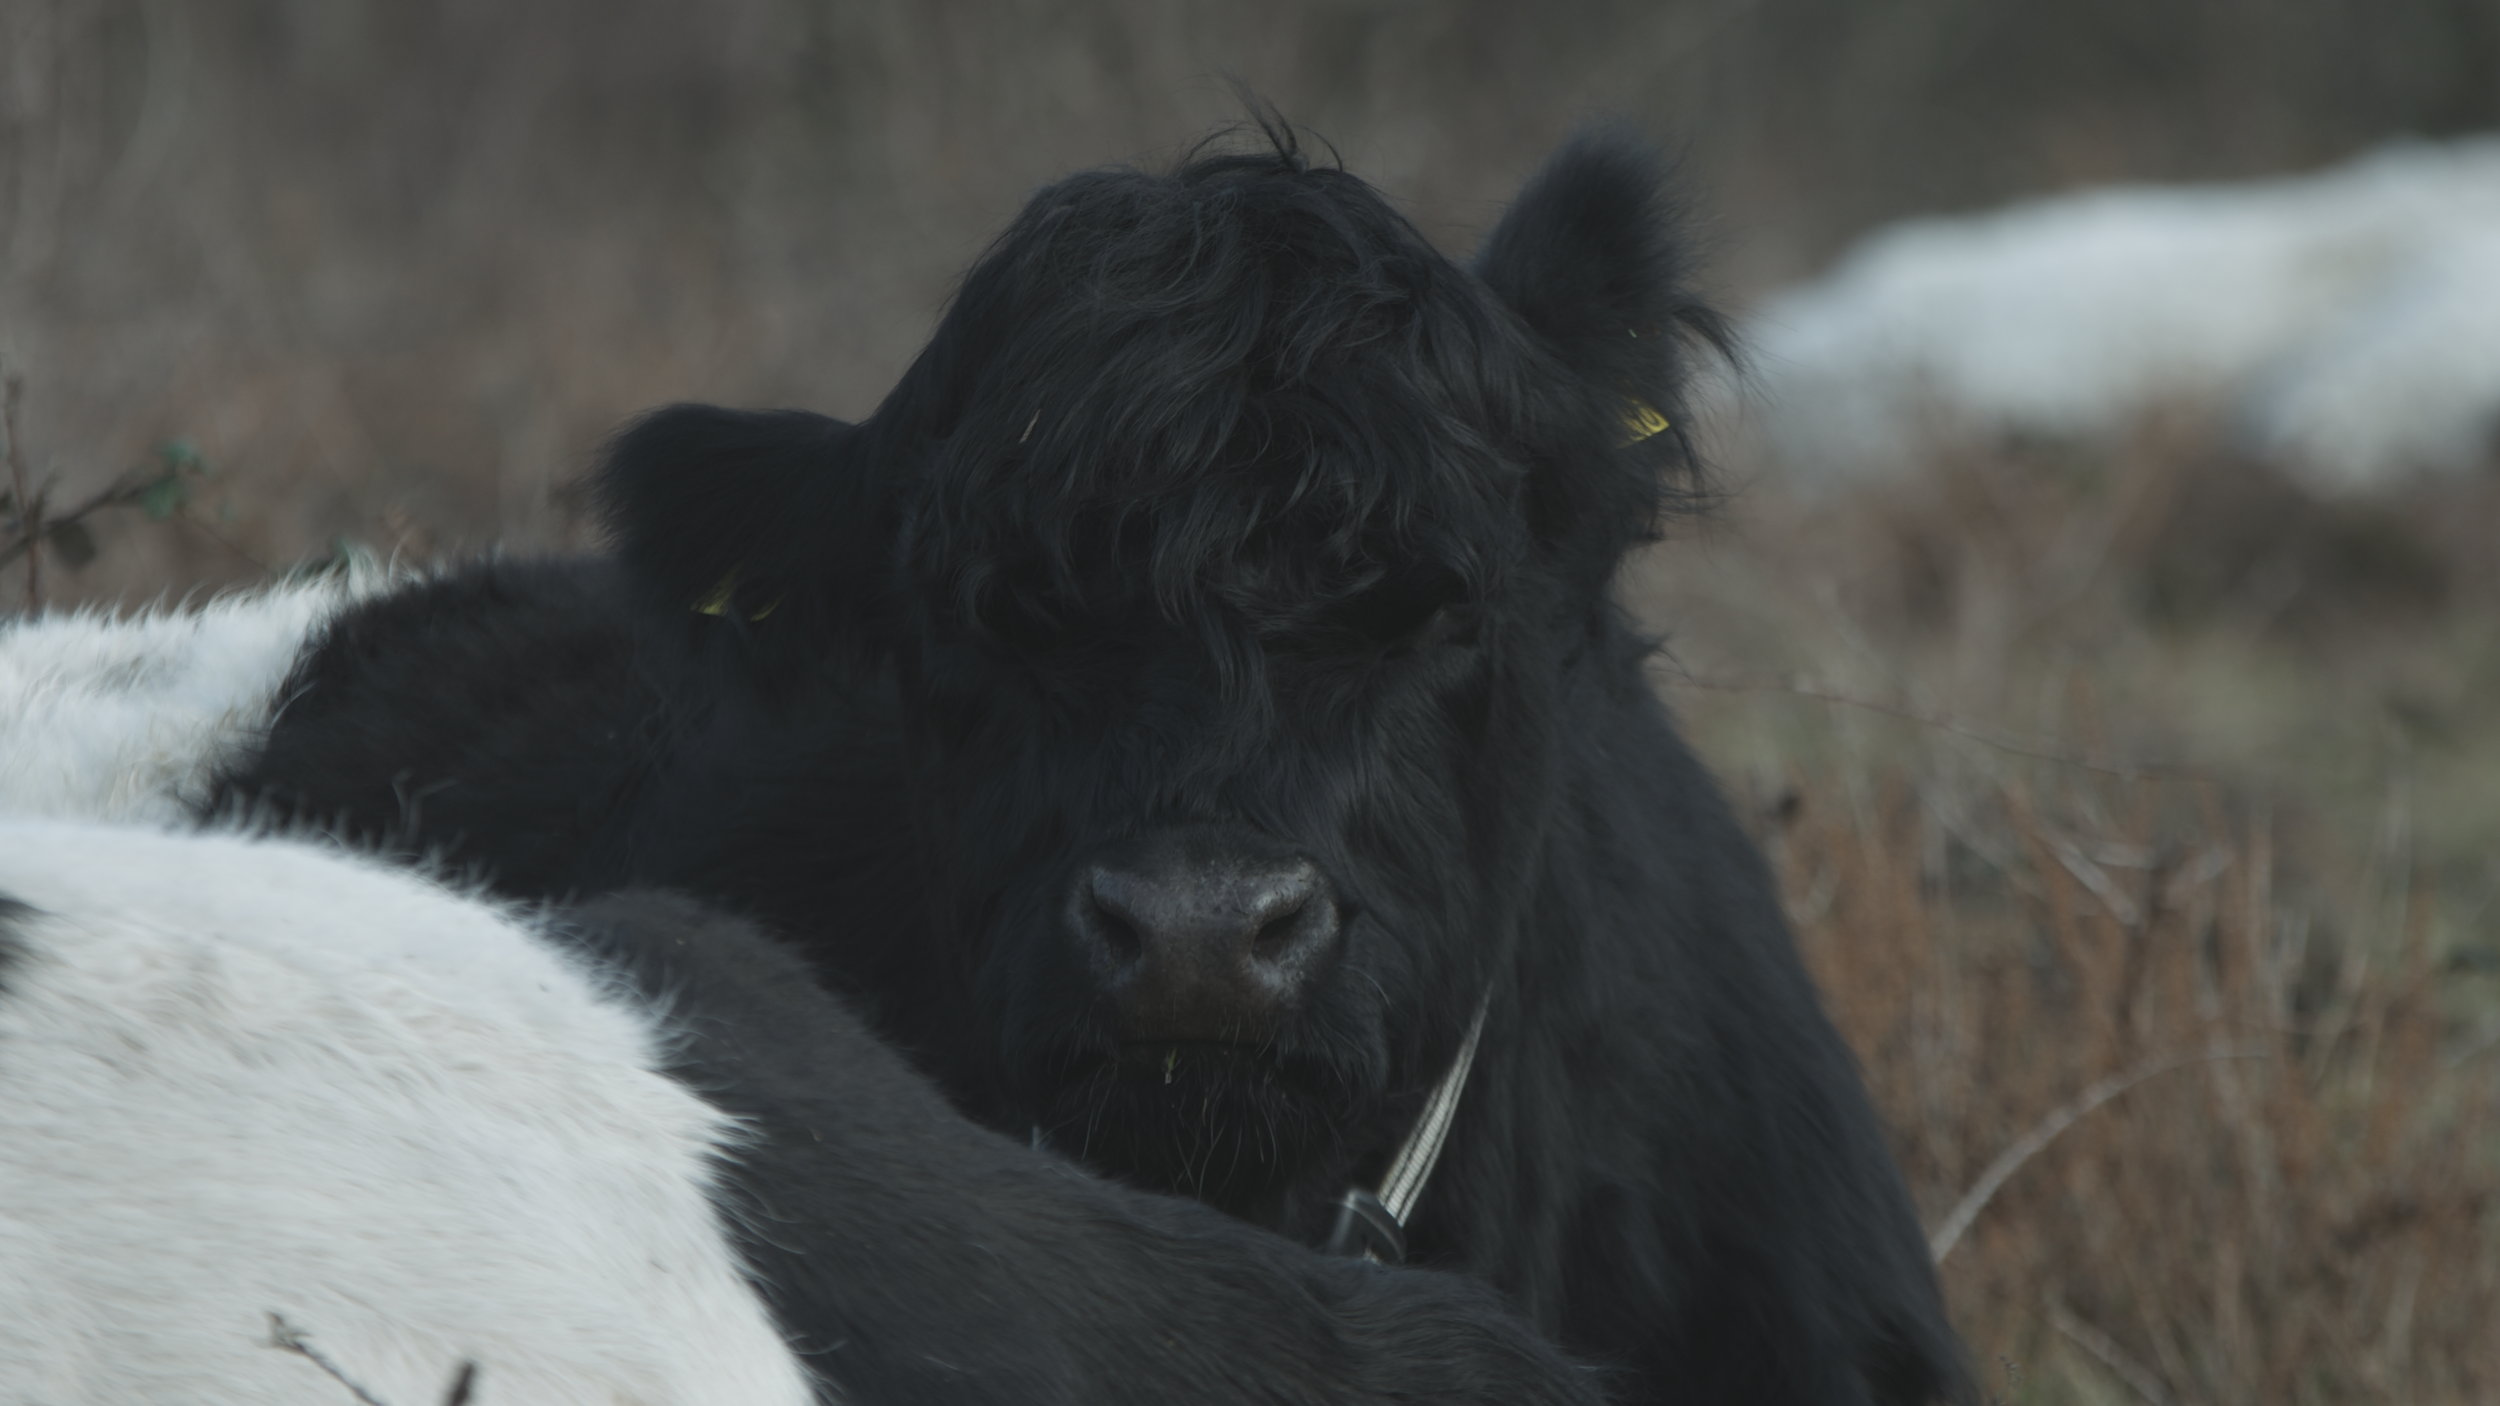
Unlike Slog which often requires the exposure to be raised two stops over 0 to increase detail in the shadows, VLOG is a bit more sensitive. When I have previously shot in VLOG I have made this mistake and often over exposed the highlights in the process. Depending on the composition, I used the full screen waveform monitor to set the highlights to between 50% and 70%. This retained detail in the highlights while providing enough information to increase detail in the shadows. As you can see from the images below, and the belted Galloway cattle with their white and black coats, this was a good example of retaining said detail.


I would of course recommend testing and trying it out for yourself, but of course be mindful of what you are filming. For scenarios with a wide dynamic range, yes use VLOG, but remember that RAW will only be recorded in VLOG externally; no internal proxies to a REC.709 colour profile.
The footage is really nice to work with, and I did come up with a few alternative looks for the video that showed how flexible it is. The brown bracken and trees with no leaves lended itself to a warmer, autumnal feeling. It could also be a colder scene with a bleach bypass look. I would be curious to know what version you prefer.

I used two lenses for this; the Sigma 18-35 F/1.8 and 70-200 F/2.8. Despite the pleasing bokeh, I never shot wide open to retain better image sharpness and depth of field control. The wider shots on the 18-35 were mainly at F/2.8 and F/4, while the telephoto shots on the 70-200 were also at F/4 and F/8 for the shots with much more depth.

Behind the scenes photo by Lizzie Page
Yes, they can me huge, but even RAW is going through some kind of compression. The Video Assist has a number of Blackmagic RAW flavours to choose from in Constant Quality and Constant Bitrate settings. Both have varying levels of compression and therefore varying file sizes too. For this video I chose to use the Constant Quality Q5 setting to make the resulting file size manageable. I had no need for huge files, and truth be told I haven’t the storage for it either! Please check out the table below for a breakdown of common RAW formats and the resulting amount of footage that can be captured on a 128GB V90 SD card and a Samsung T5 1TB SSD drive.


First off make sure that you have the sidecar file installed, which allows Premiere Pro to work with the BRAW file format. They are not recorded as common ProRes files which can be opened in VLC or without converting.
When imported, the clips have a sub menu allowing the editor to adjust the Master file. Depending on camera metadata or clip setting selected, the white balance, colour spaces, exposure, colour temp and tint can be adjusted. Your primary adjustments can be made here.
In the Colour workspace and Lumetri, you can then apply the linear curve, further adjustments, creative looks and secondary corrections. This is particularly useful for matching clips.
When it comes to playback and rendering, it is comparatively faster than internal camera files which are encoded in .MOV or .MP4 formats (much more compressed). This did make the post process more enjoyable and less time consuming.
First off this depends on whether you have sufficient information across the image; in the shadows, mid tones and highlights. If that information hasn’t been recorded due to incorrect exposure setting, it won’t be possible to ‘recover’ it. To give you an example of this, I have selected a clip which has sufficient detail across the image with no crushing or blowing out. It should give you an idea of noise in the image when the exposure is adjusted.
Again, make sure that you set to watch the video in HD.
IMPORTANT NOTE
You must choose the correct SDI to micro-SDI cable for the VA 12G 5-inch model, as it is DIFFERENT to the original 3G cable.
You will need THIS type of cable - Micro BNC to Male Full Size BNC. Not THIS type of cable - Male BNC for Blackmagic Video Assist. So be very careful that you purchase the correct one.

Size Comparison…
That is the ANDYCINE C7 (7-inch) 4K monitor on the EVA-1. It still takes 2 x NPF type batteries, but does not have an internal recording feature.

Compar-ed to the Video Assist
5” monitor (with 2 x NPF type batteries).

Formats and resolutions
There are quite a few…
The different sensor readouts and whether you are outputting via SDI or HDMI will determine the range of formats the EVA-1 can send to the VA 12G to record. I have done my best to list them all below.
As the title question poses, what are the benefits?
First and foremost is the full sensor readout in a higher resolution. Yes the camera can record a down-sampled 4K image internally but at a considerably lower data rate. You can take the full resolution of the EVA-1 and pair it with a manageable RAW file for post. That goes for the other resolutions available too, albeit a small crop in 4K DCI and 2K DCI.
There is also the 14 stops of dynamic range to make use of too, which if exposed correctly can be fully taken advantage of.
If you don’t really need RAW, you can always output HDMI from the EVA-1 to the VA and record in ProRes 4K/25, 4K/50 et al (no crop). That is a solution that I used I have employed in the past.
But I get 6K from the Blackmagic Pocket Cinema Camera 6K, with RAW internally?! Yes! But you also don’t have internal ND’s, professional audio and a form factor that suits multi-use filming scenarios.

Behind the scenes photo by Lizzie Page
I will be selective when choosing to shoot in BRAW. Extensive post workflow, yes. Wider dynamic range situations, yes. Productions that don’t necessarily warrant the storage or colour work, probably not. That being said, if you are being selective with your shots or are in a controlled environment, you will have more time to compose the lighting, movement and talent. That will result it a more efficient flow of image capture, where the amount of data handled can be reduced.
As I use BRAW more, I will make sure to update this post and our social channels. Keep up to date by giving us a like or follow. You can also ask any questions, or leave comments at the bottom of the article too.
Its always interesting when you come across new pieces of tech that surprise you. I’ve been on the look out for a camera monitor for quite a while, and have always had the smallHD Focus at the top of the list, while previously using the Atomos Shogun and Ninja Inferno.
That’s why I was pleasantly surprised when I came across the Andycine A6 4K monitor, a sub £200.00 HDMI monitor which would fit perfectly with my filming setup (in this case the Sony a7SII, SmallRig cage, Sennheiser AVX). Let’s take a look at the monitors performance and features.

Andycine A6 4K monitor with a Sony a7SII and SmallRig cage.
Straight out of the box, I was impressed by the build quality of the monitor. I've used (lets call them) budget monitors in the past and this way surpassed the design and construction of those.
All of the menu and function buttons are accessed by the top of the monitor, and there are three mounting points for the bracket arm, or if you choose to use a ball head. The menu is simple to navigate using the left/right/up/down buttons, although this could be somewhat larger on screen. The image quality is sharp, and the brightness can be adjusted to suit indoor and outdoor filming.

Filming with Ellie Goulding in Switzerland

Modular Filming Setup With The Sony a7SII and Andycine A6
The screen (5.7inch and 1920x1080) itself is brighter than expected, rated at 460nits and 1400:1 contrast ratio, again much brighter than other budget monitors, this is compared to the nearest popular competitor, the smallHD Focus monitor, that is rated at 800nits which has a display resolution of 1280x720 but higher pixel density. When filming in the snow and in bright sunlight, I was pleasantly surprised that I could still preview the image with ease.

Andycine A6 4K monitor interview setup with the Sennheiser AVX.
The A6 is feature-full, well, the tools that you would expect in a field monitor including;
Focus assist
False colour
Histogram
Over exposure (zebras)
Markers
Frame guides (2.35:1, 1.85:1, 16:9, 15:9, 14:9, 13:9, 4:3)
Anamorphic mode (letterboxes the image)
Audio levels display
There are four function buttons that can be preset to any of the features for quick access.

Andycine A6 4K monitor with the Sony NPF-750 battery and Sennheiser AVX.
From initial use, I was pleasantly surprised at the battery life. I use the NPF-750 (Sony/SWIT) type batteries with the monitor brightness at 50%. After four hours, the battery life was at 40%, so I’m confident you could get a whole days shooting out of a couple, if not one large NPF battery.
The colour reproduction was accurate for use with the Sony a7SII on this setup, but I would certainly look for a higher quality monitor if shooting in HDR, HLG or with a 10-bit O/P camera.
I did notice two downsides; the position of the HMDI port on the left side isn't convenient if you would like to use additional hot shoe mountable accessories on a cage. Of course there is the option to mount the monitor on the left of a cage and use the built in cold shoe to mount additional accessories like a microphone.
The other downside is that there are no LUT overlays or previews, which would make shooting in Log profiles a bit tricky. For a 4K monitor that is under £200.00, there has to be a shortfall somewhere, but this would be an ideal feature to include in future models.
However, the colour rendition, brightness, build quality, features and of course the price make up for that.
In the box, the A6 monitor comes with a mini HDMI cable, sunshade and bracket arm. If you're hoping to power your camera via the DC output, remember to purchase this accessory separately as it doesn't come with the monitor.

Sony a7SII 4K camera rig setup.
If I needed a small monitor and was on a budget, the Andycine A6 4K monitor is a great choice. It is easily rigged into a camera setup and performs as you would hope and expect. The battery life is a winning feature for me, but if you’re looking for LUT overlays, head for the smallHD Focus or Swit S-1053F. The monitor is light, and with a small NPF battery would be a great combination with a gimbal like the Zhiyun Crane 2.
Want to get your hands on the Andycine A6 4K monitor, follow the link to Amazon here.
Earlier this year we were very excited to release the three videos we produced for CVP, promoting their Pro Repairs department with a rebrand. We worked with the CVP engineers to capture the intricacy and details of deconstructing Cooke cinema prime lenses, stripping the Sony F55, and analyzing the optical performance of lenses in the testing room.
The video content was paramount to the marketing campaign which included showing the 30 second edit before and after every presentation at BSC 2018. We’re really proud of this production, and CVP love it!
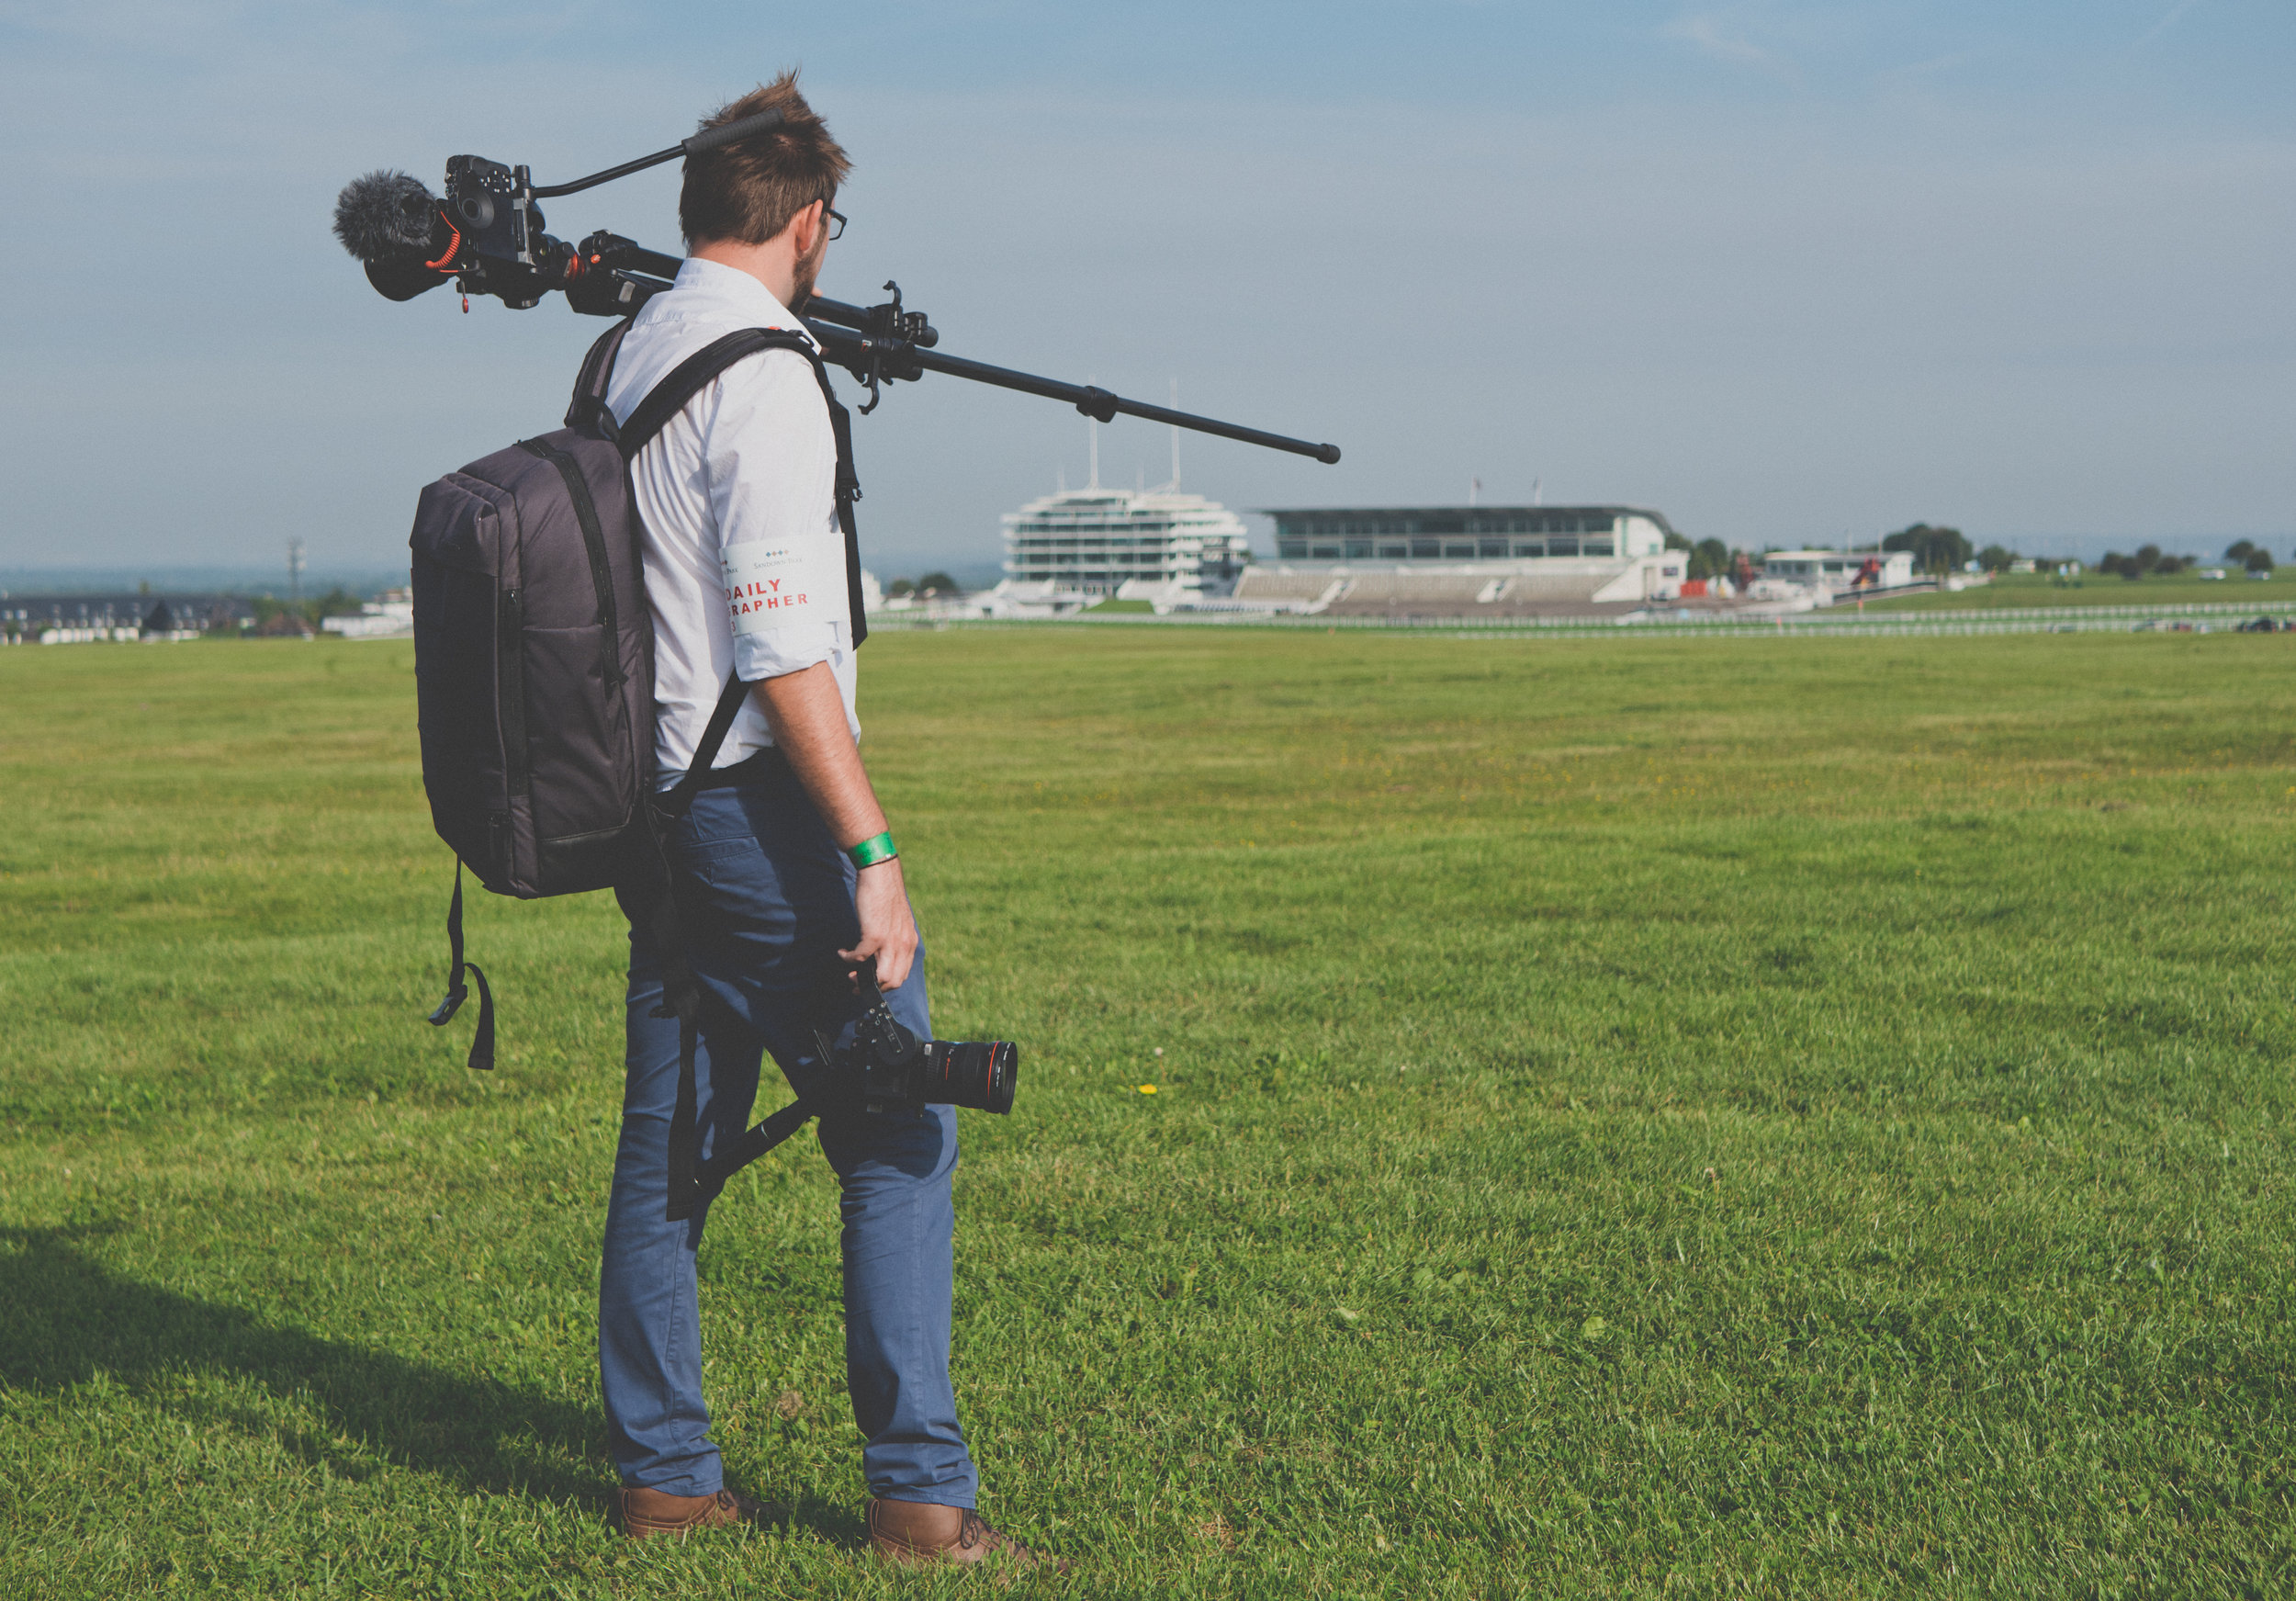
At the beginning of the year we also began working with The Jockey Club, in particular Epsom Downs Racecourse to produce a series of fashion based videos to support the Investec Derby campaign. The series featured local milliner, Jessica Rea. We also edited the videos in 16:9 and 1:1 aspect ratios so the videos can be published on a variety of social media platforms.

Preparing for the world class racing at Epsom Downs.
We embarked on a large studio production for JVC Professional all about their professional video and broadcasting products. Based at South Essex College, we took over the theatrical space and shot the footage for 5 videos that will be used online and at trade shows across the world.
We also collaborated with Atomos, Shape, Bright Tangerine, SoftPanels and Manfrotto to bring the production to life.
We’ve worked with Screen Subtitling Systems for a number of years, producing bespoke animations for a range of their leading global subtitling products and solutions. The products are complex, so animation was the perfect medium to communicate what the products do, and why broadcasters need them.
Additionally, we produced a series of software walkthroughs to demonstrate how to use their ‘WinCaps’ software. The series is based upon screen recordings and voice overs that go through the software operations step by step.
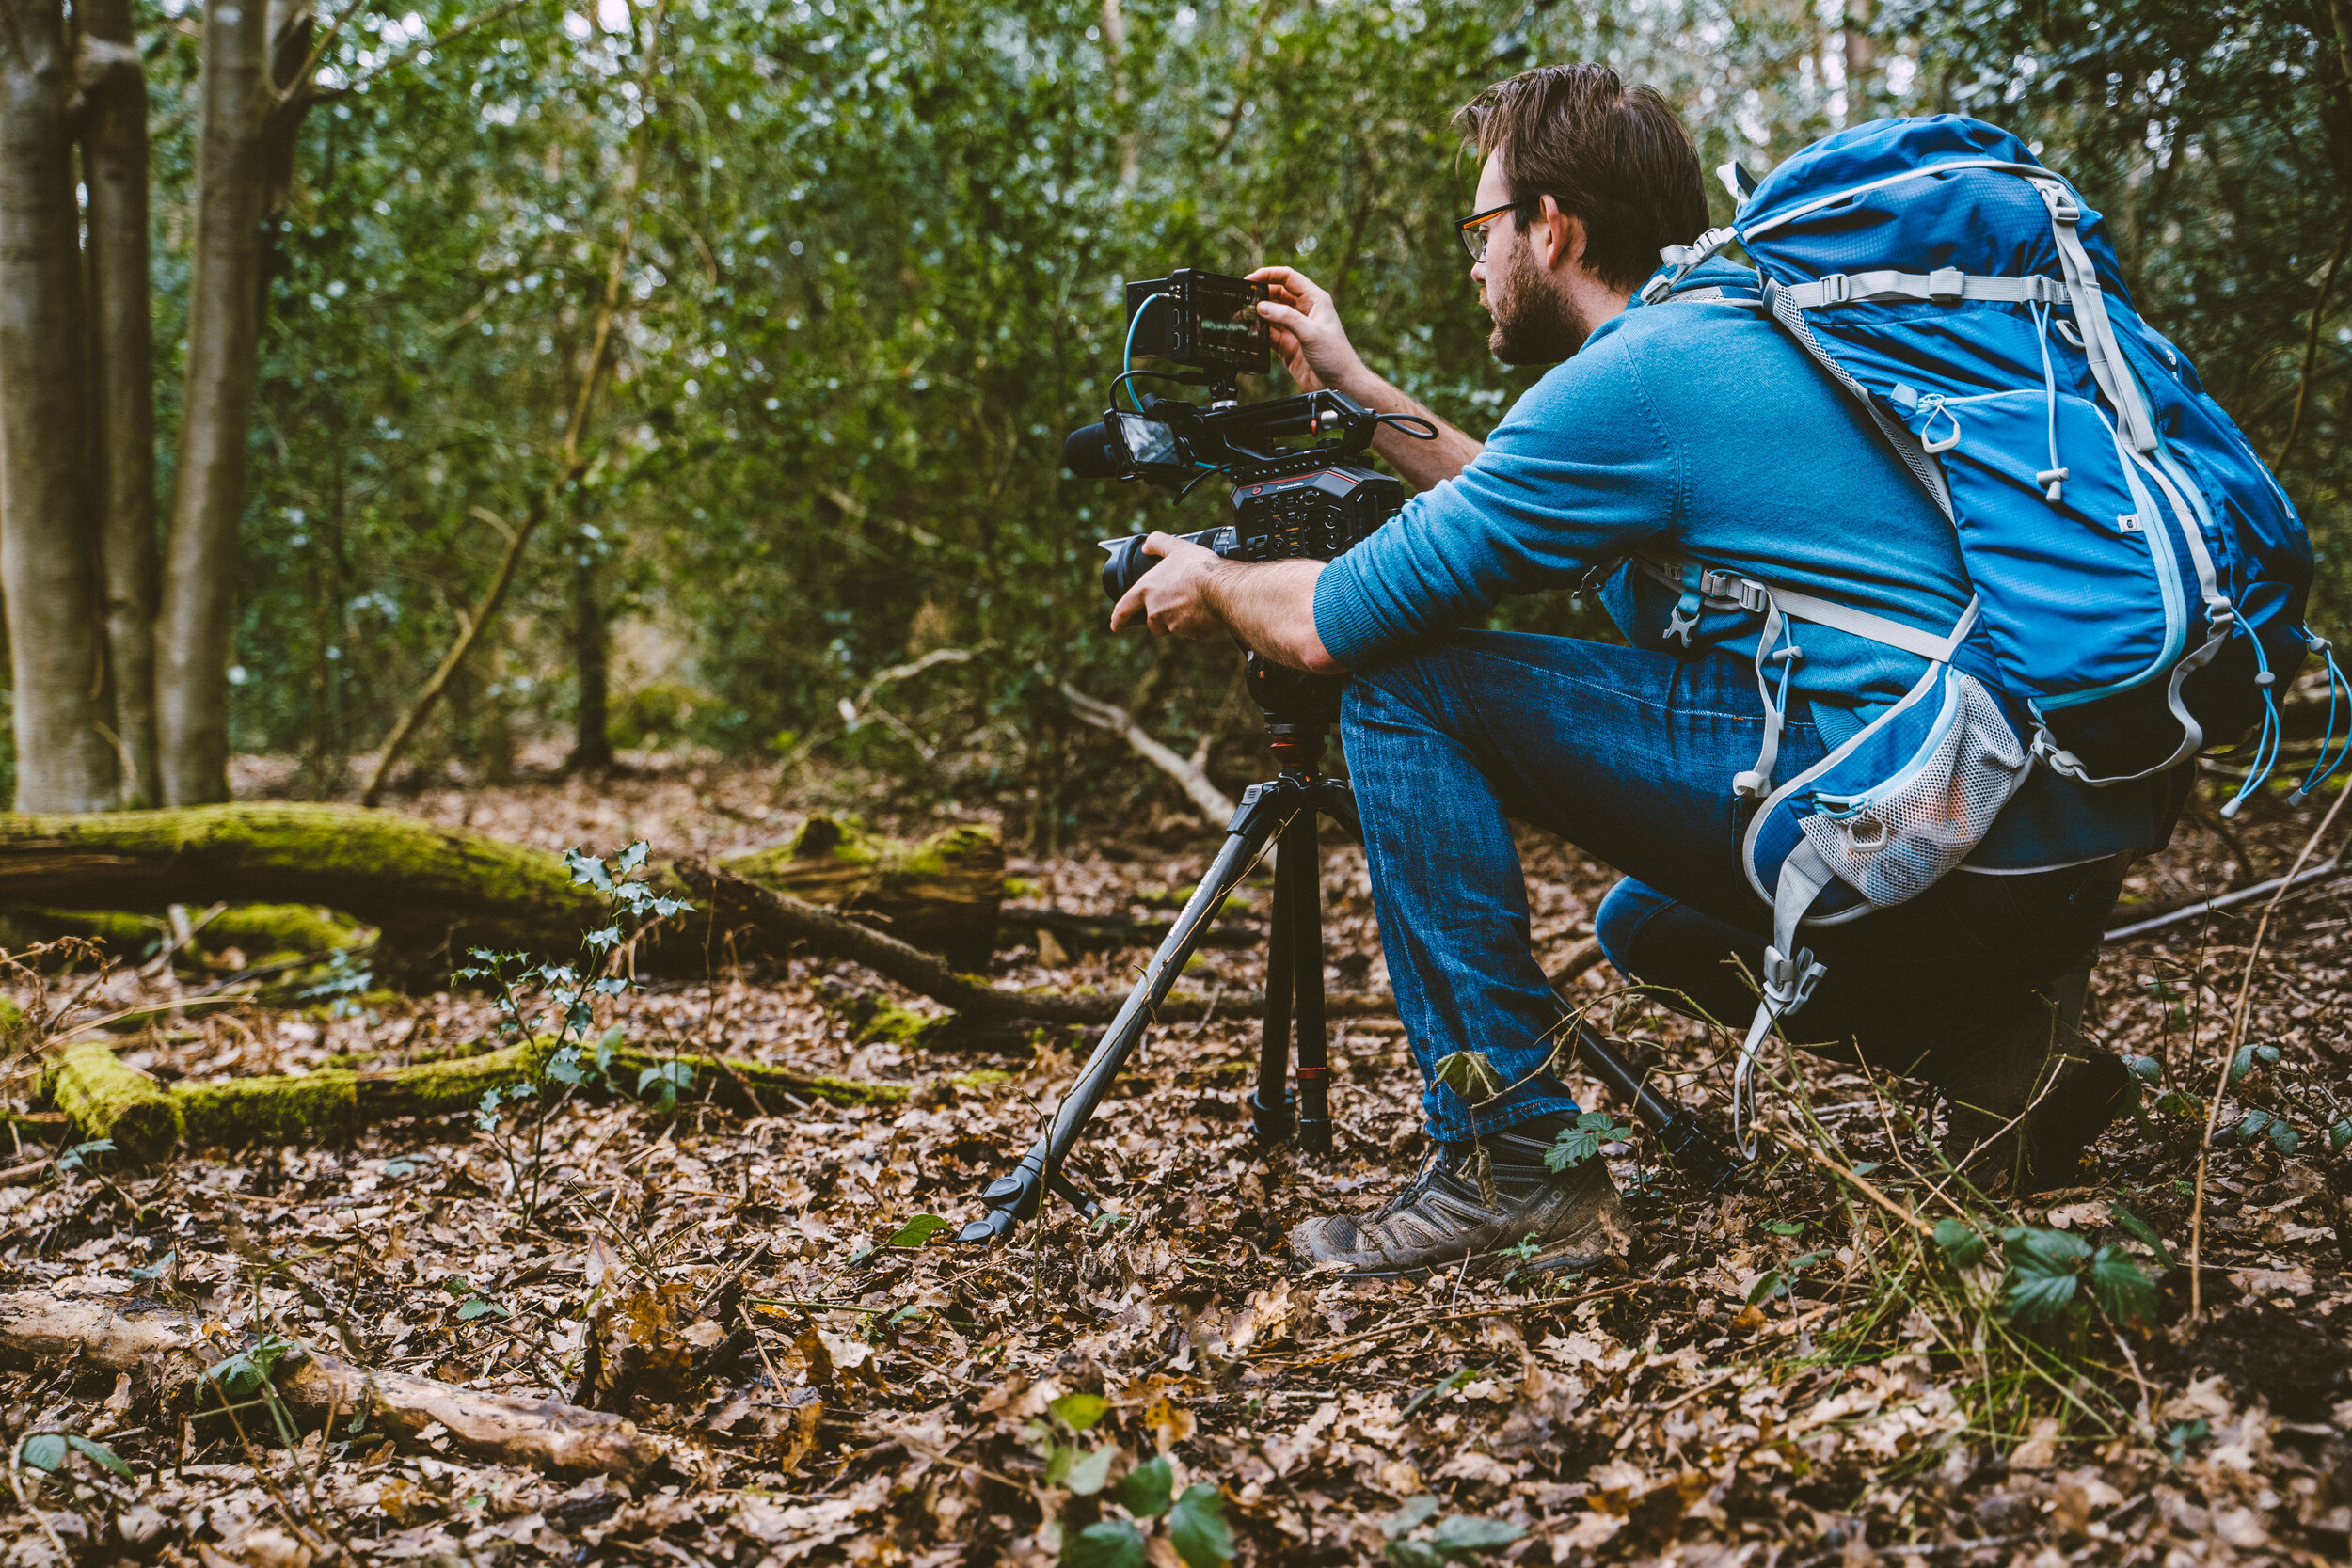
As part of the global photography and filmmaking equipments Spring marketing strategy, we worked to produce an adventure based video about bushcraft and stand up paddleboarding while demonstrating the use of the new Pro Light Cinematic Expand Backpack.
We also collaborated with ZEISS on this production, and reviewed the Milvus Super Speed prime lenses, as well as contributed to their Lenspire blog.
We LOVE filming events, so it was really exciting when Sandown Park Racecourse approached us to create an after movie for The Jump Finale Raceday. It’s exhillerating filming live events like this, that’s why producing event video content is our speciality! (We do film conferences, presentations and award ceremonies too).
Shot on Sony a7SII, a6500, Manfotto grip year, Zhiyun Crane 2.
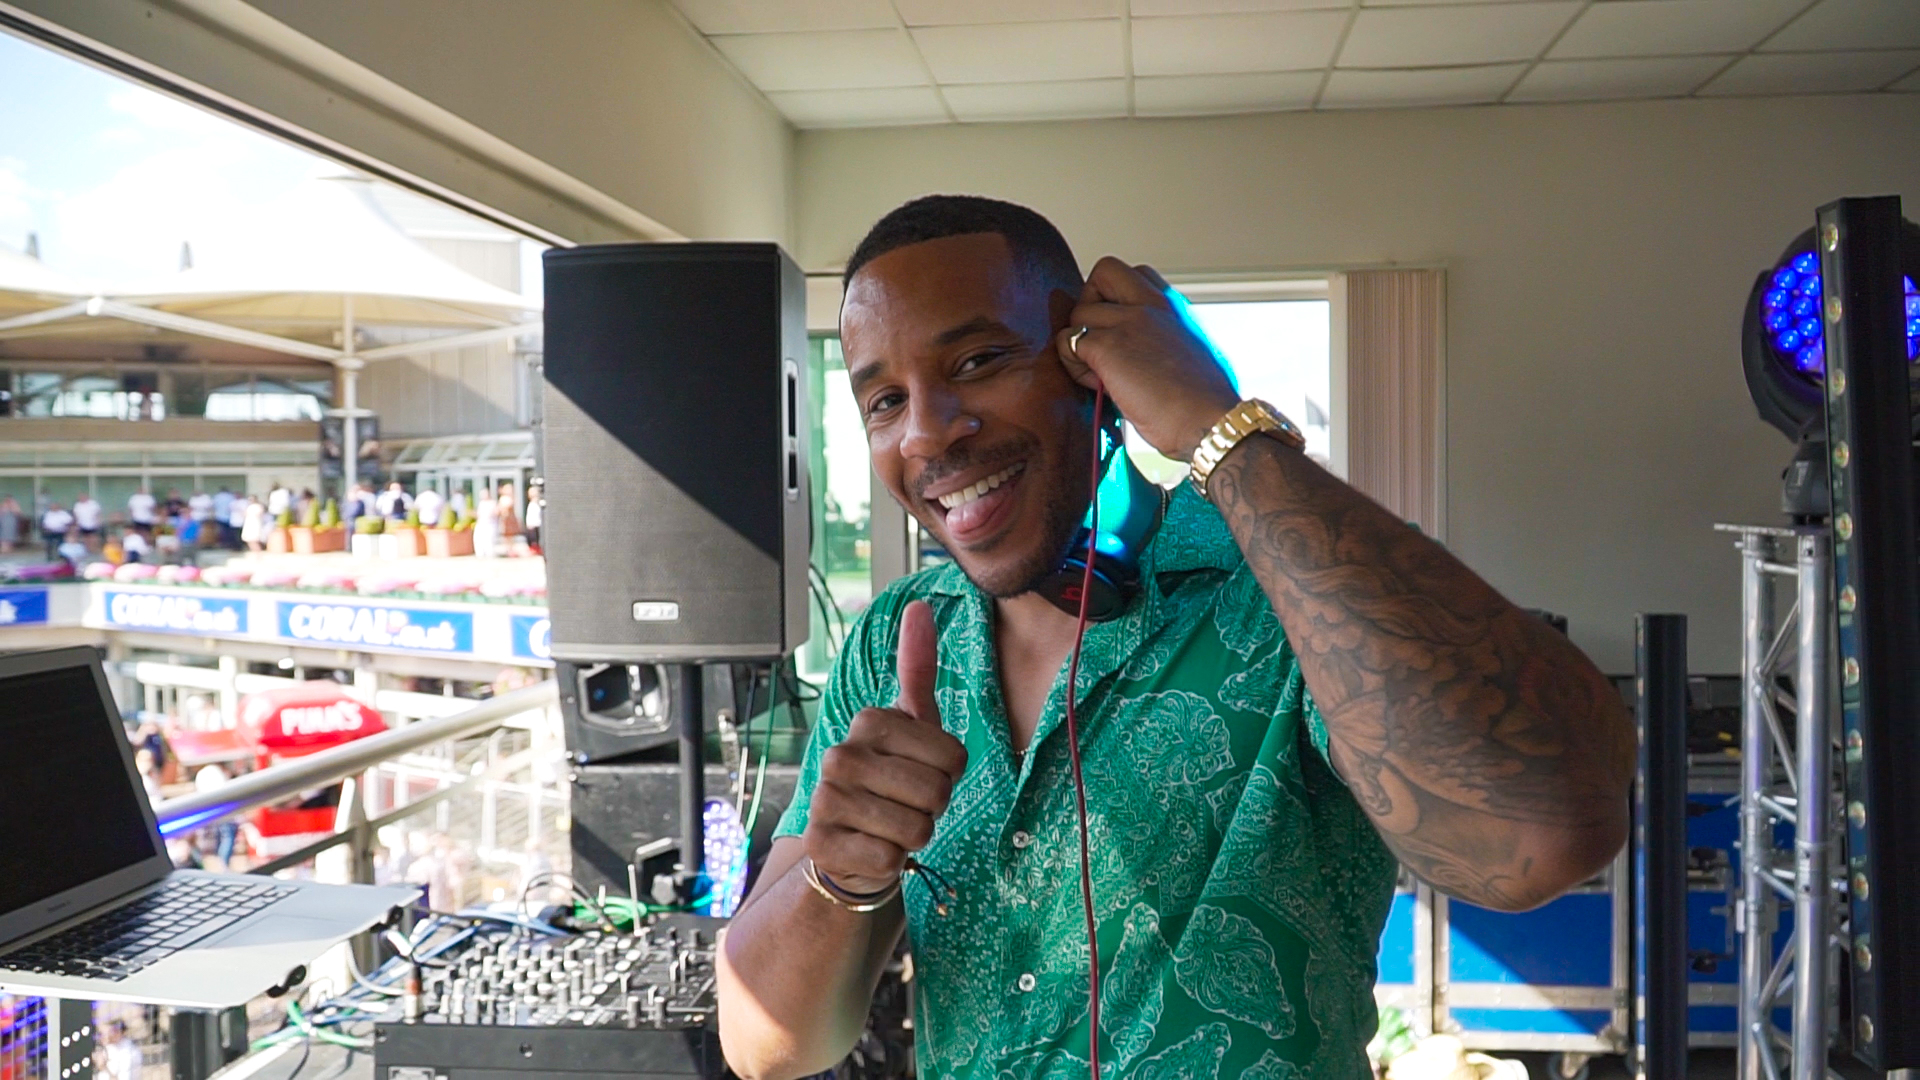
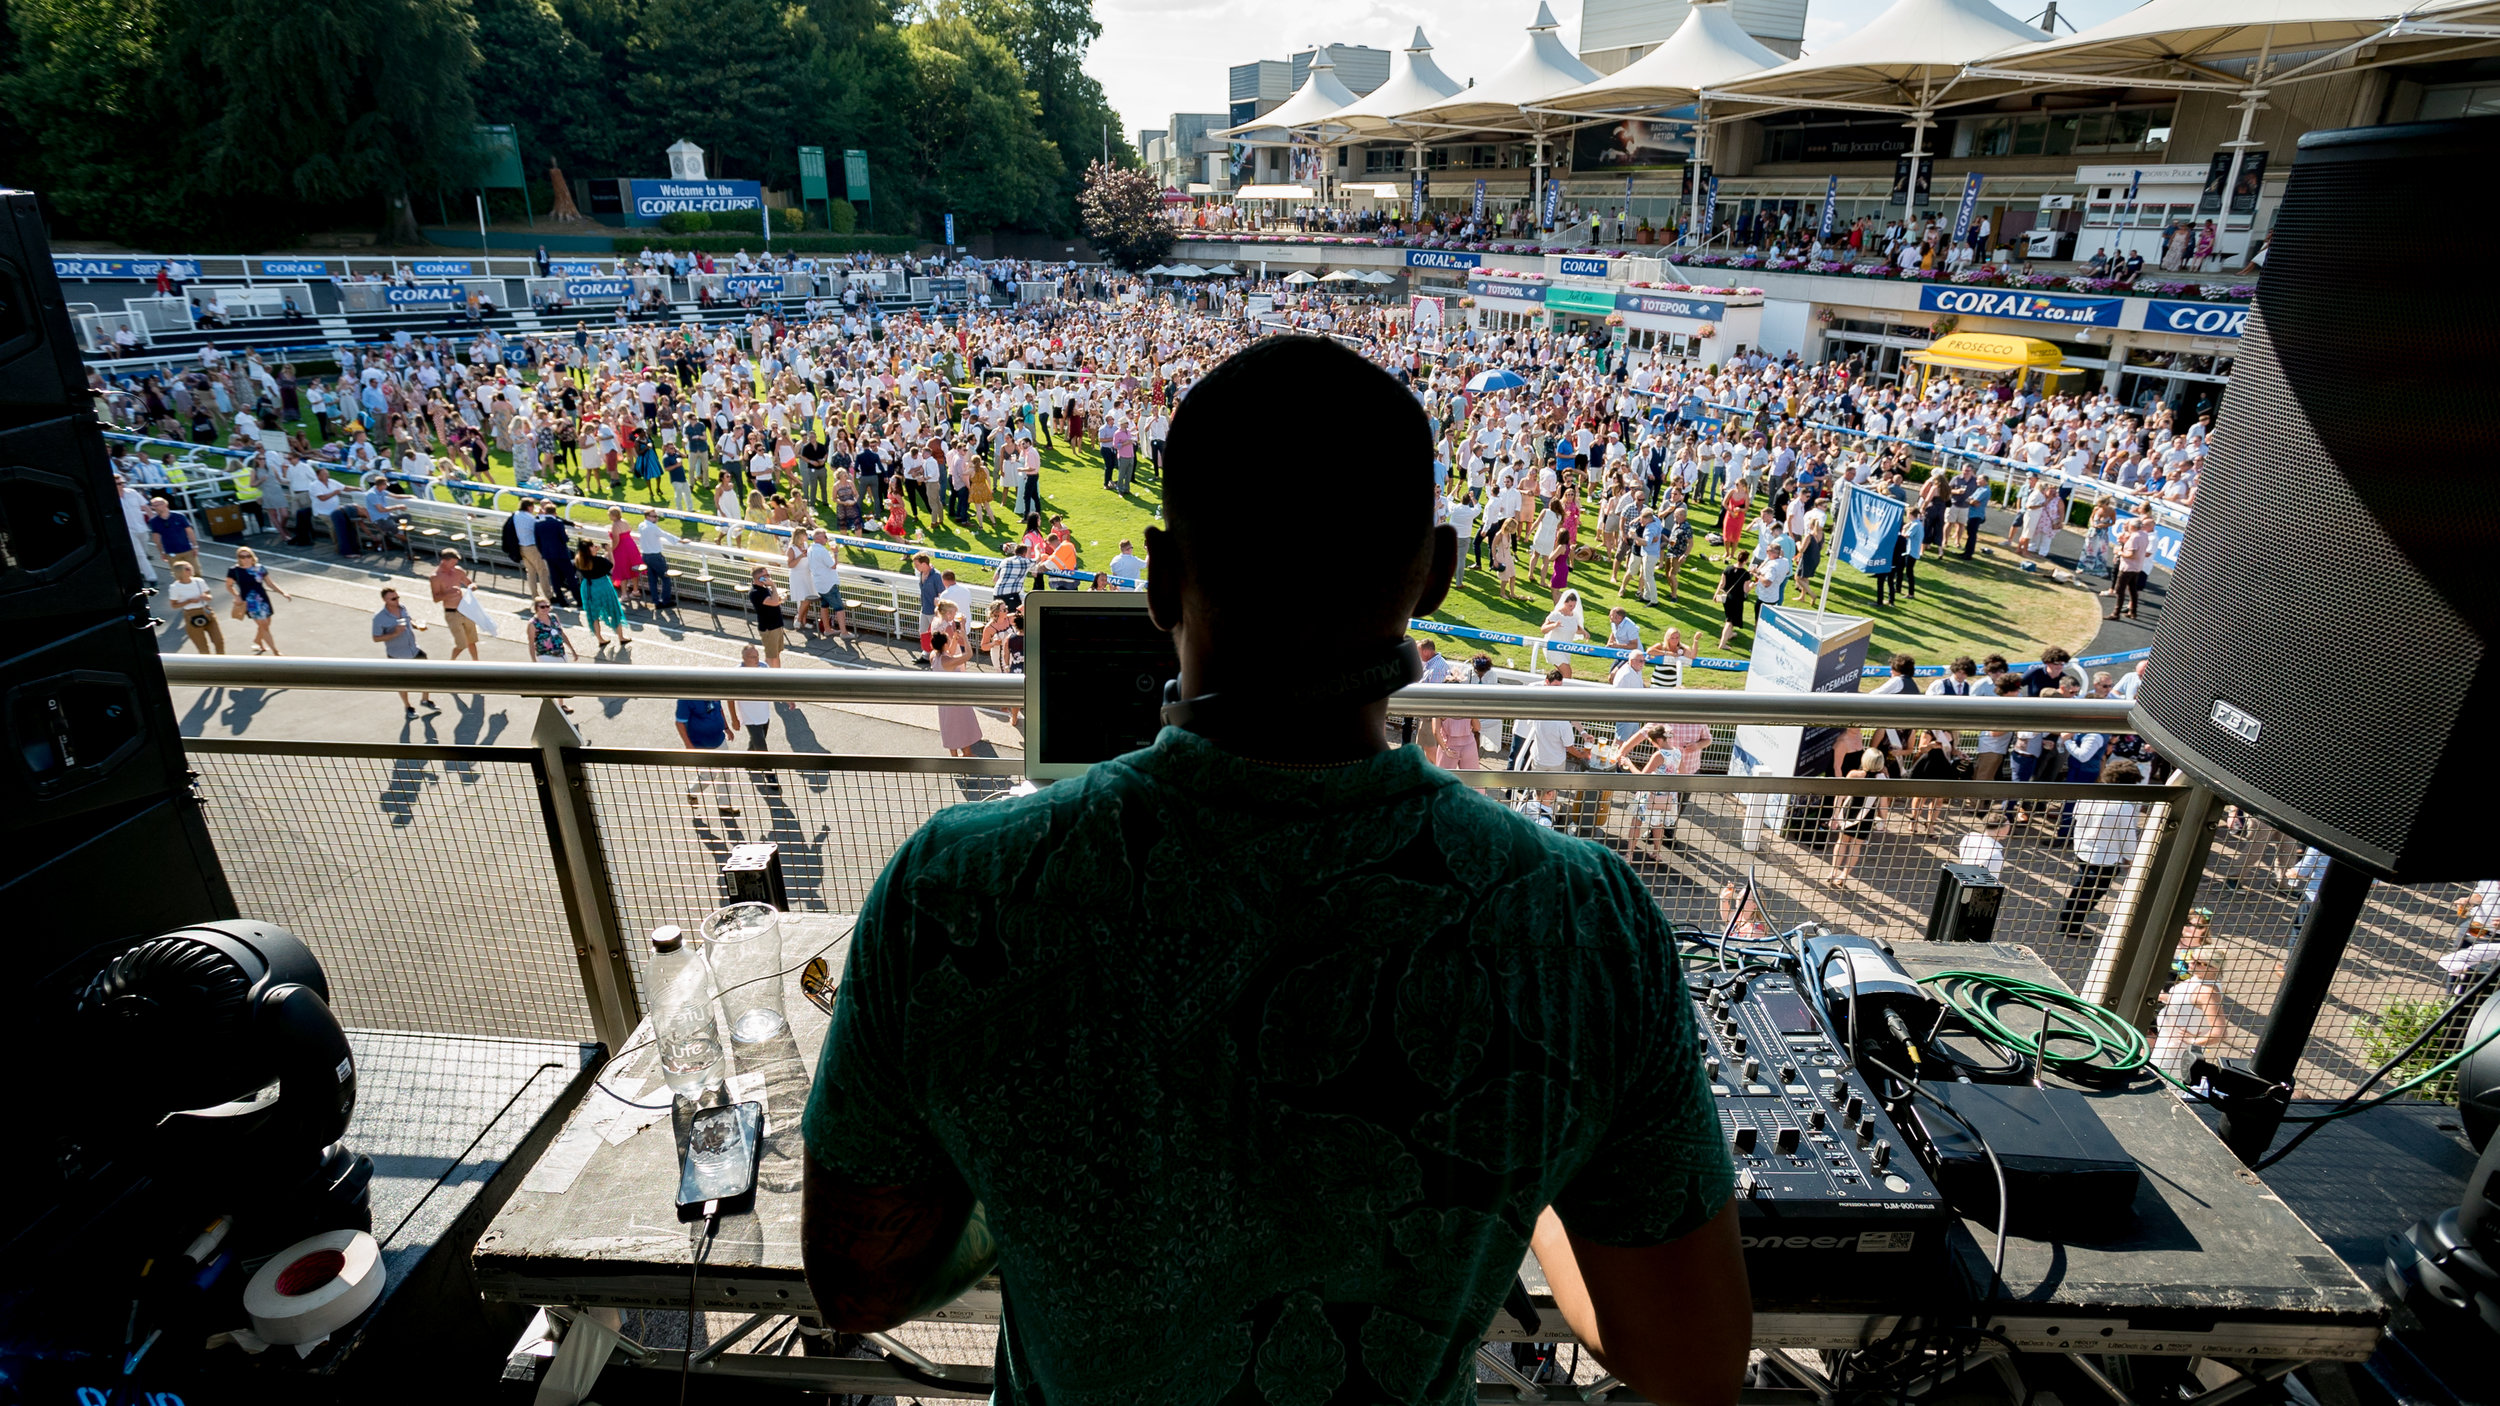
After the success of The Jump Finale 2018 video production, we returned to Sandown Park Racecourse to capture the Brigadier Gerard raceday and the Apres area. To promote the Coral Eclipse Summer Festival we also produced a series of videos with members of the GB Ladies Hockey Team! This was great fun, but a challenge to keep up with the ladies! DJ Reggie Yates gave a sterling set after the racing, he was great to film.
Continuing our relationship with The Jockey Club, we were asked to film at the world famous Investec Derby 2018. This involved visiting the many areas and attractions of the racecourse and ‘The Hill’, capturing content for sponsorship purposes.
Later that month we also produced four videos to play on the racecourse CCTV and giant screens around the racecourse. This included using archive footage from Derby winners throughout the decades, and creating bespoke animations for iconic moments too.
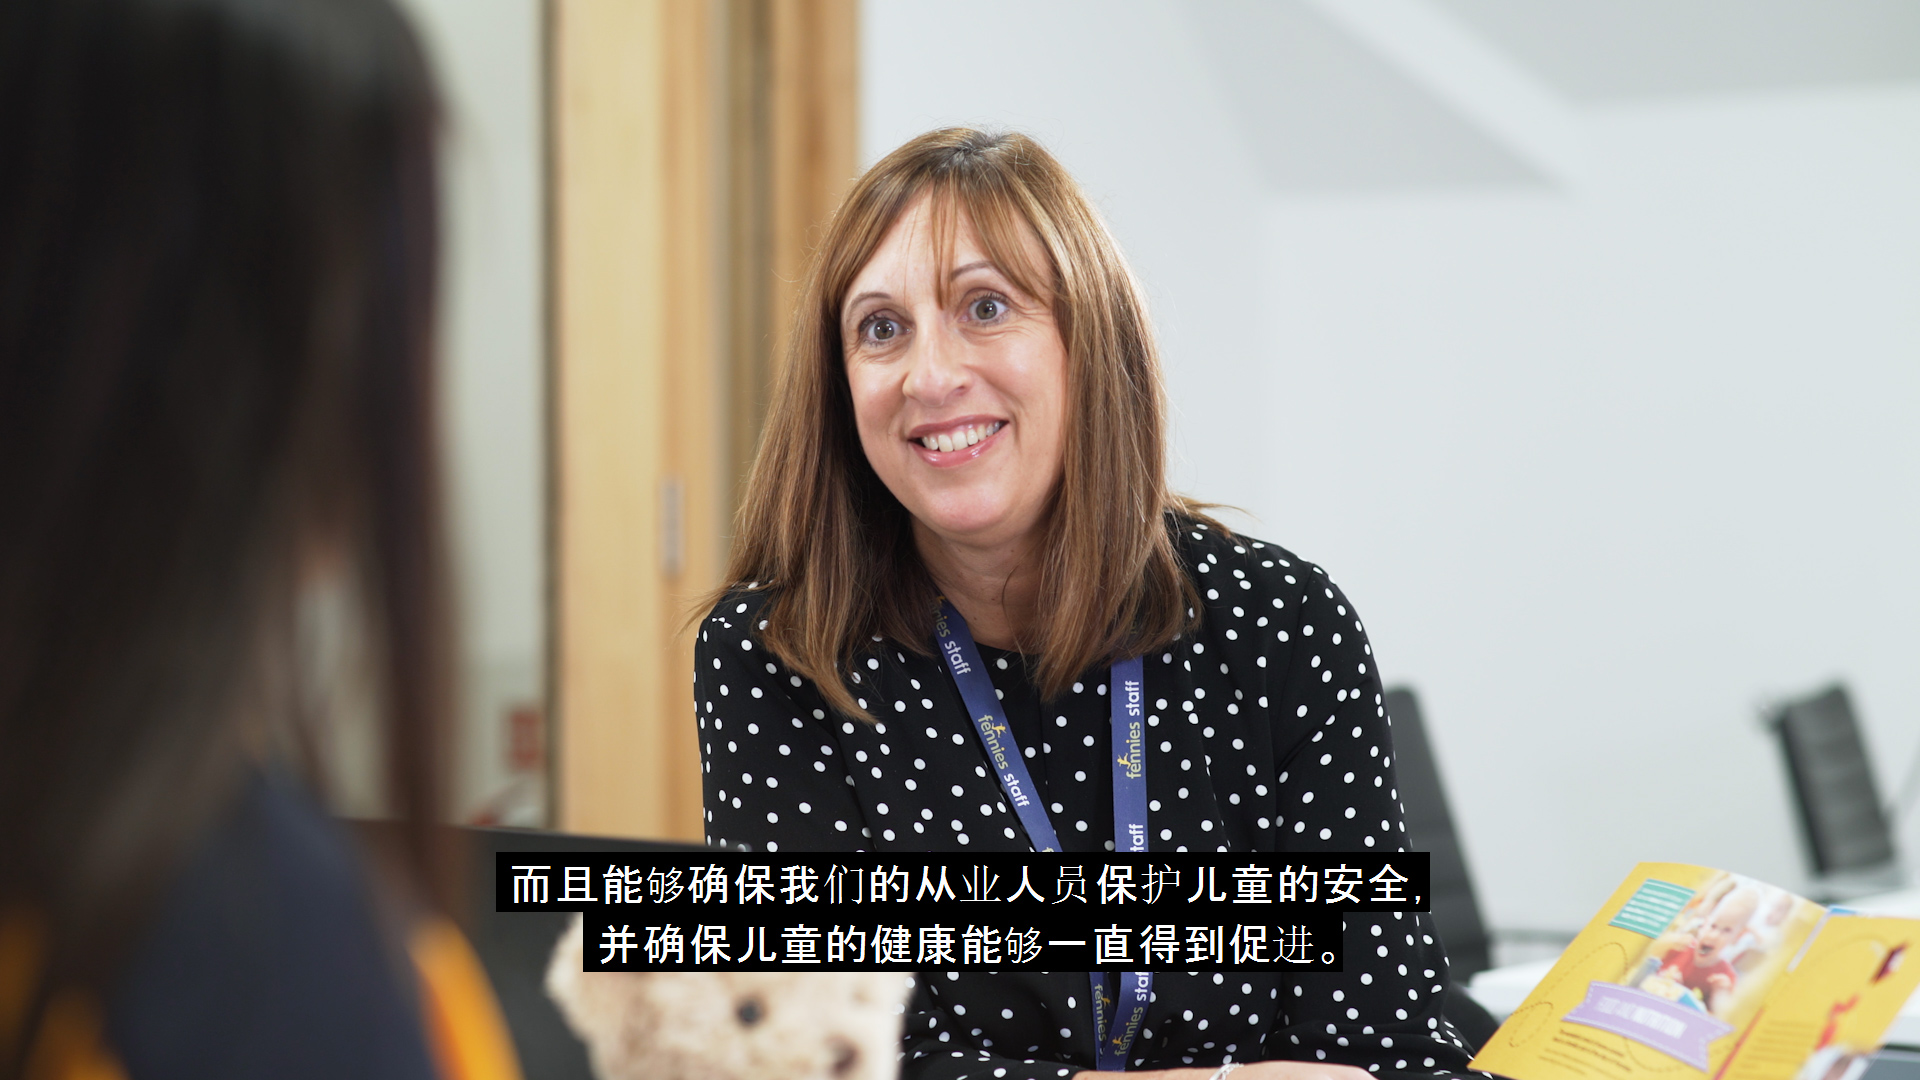
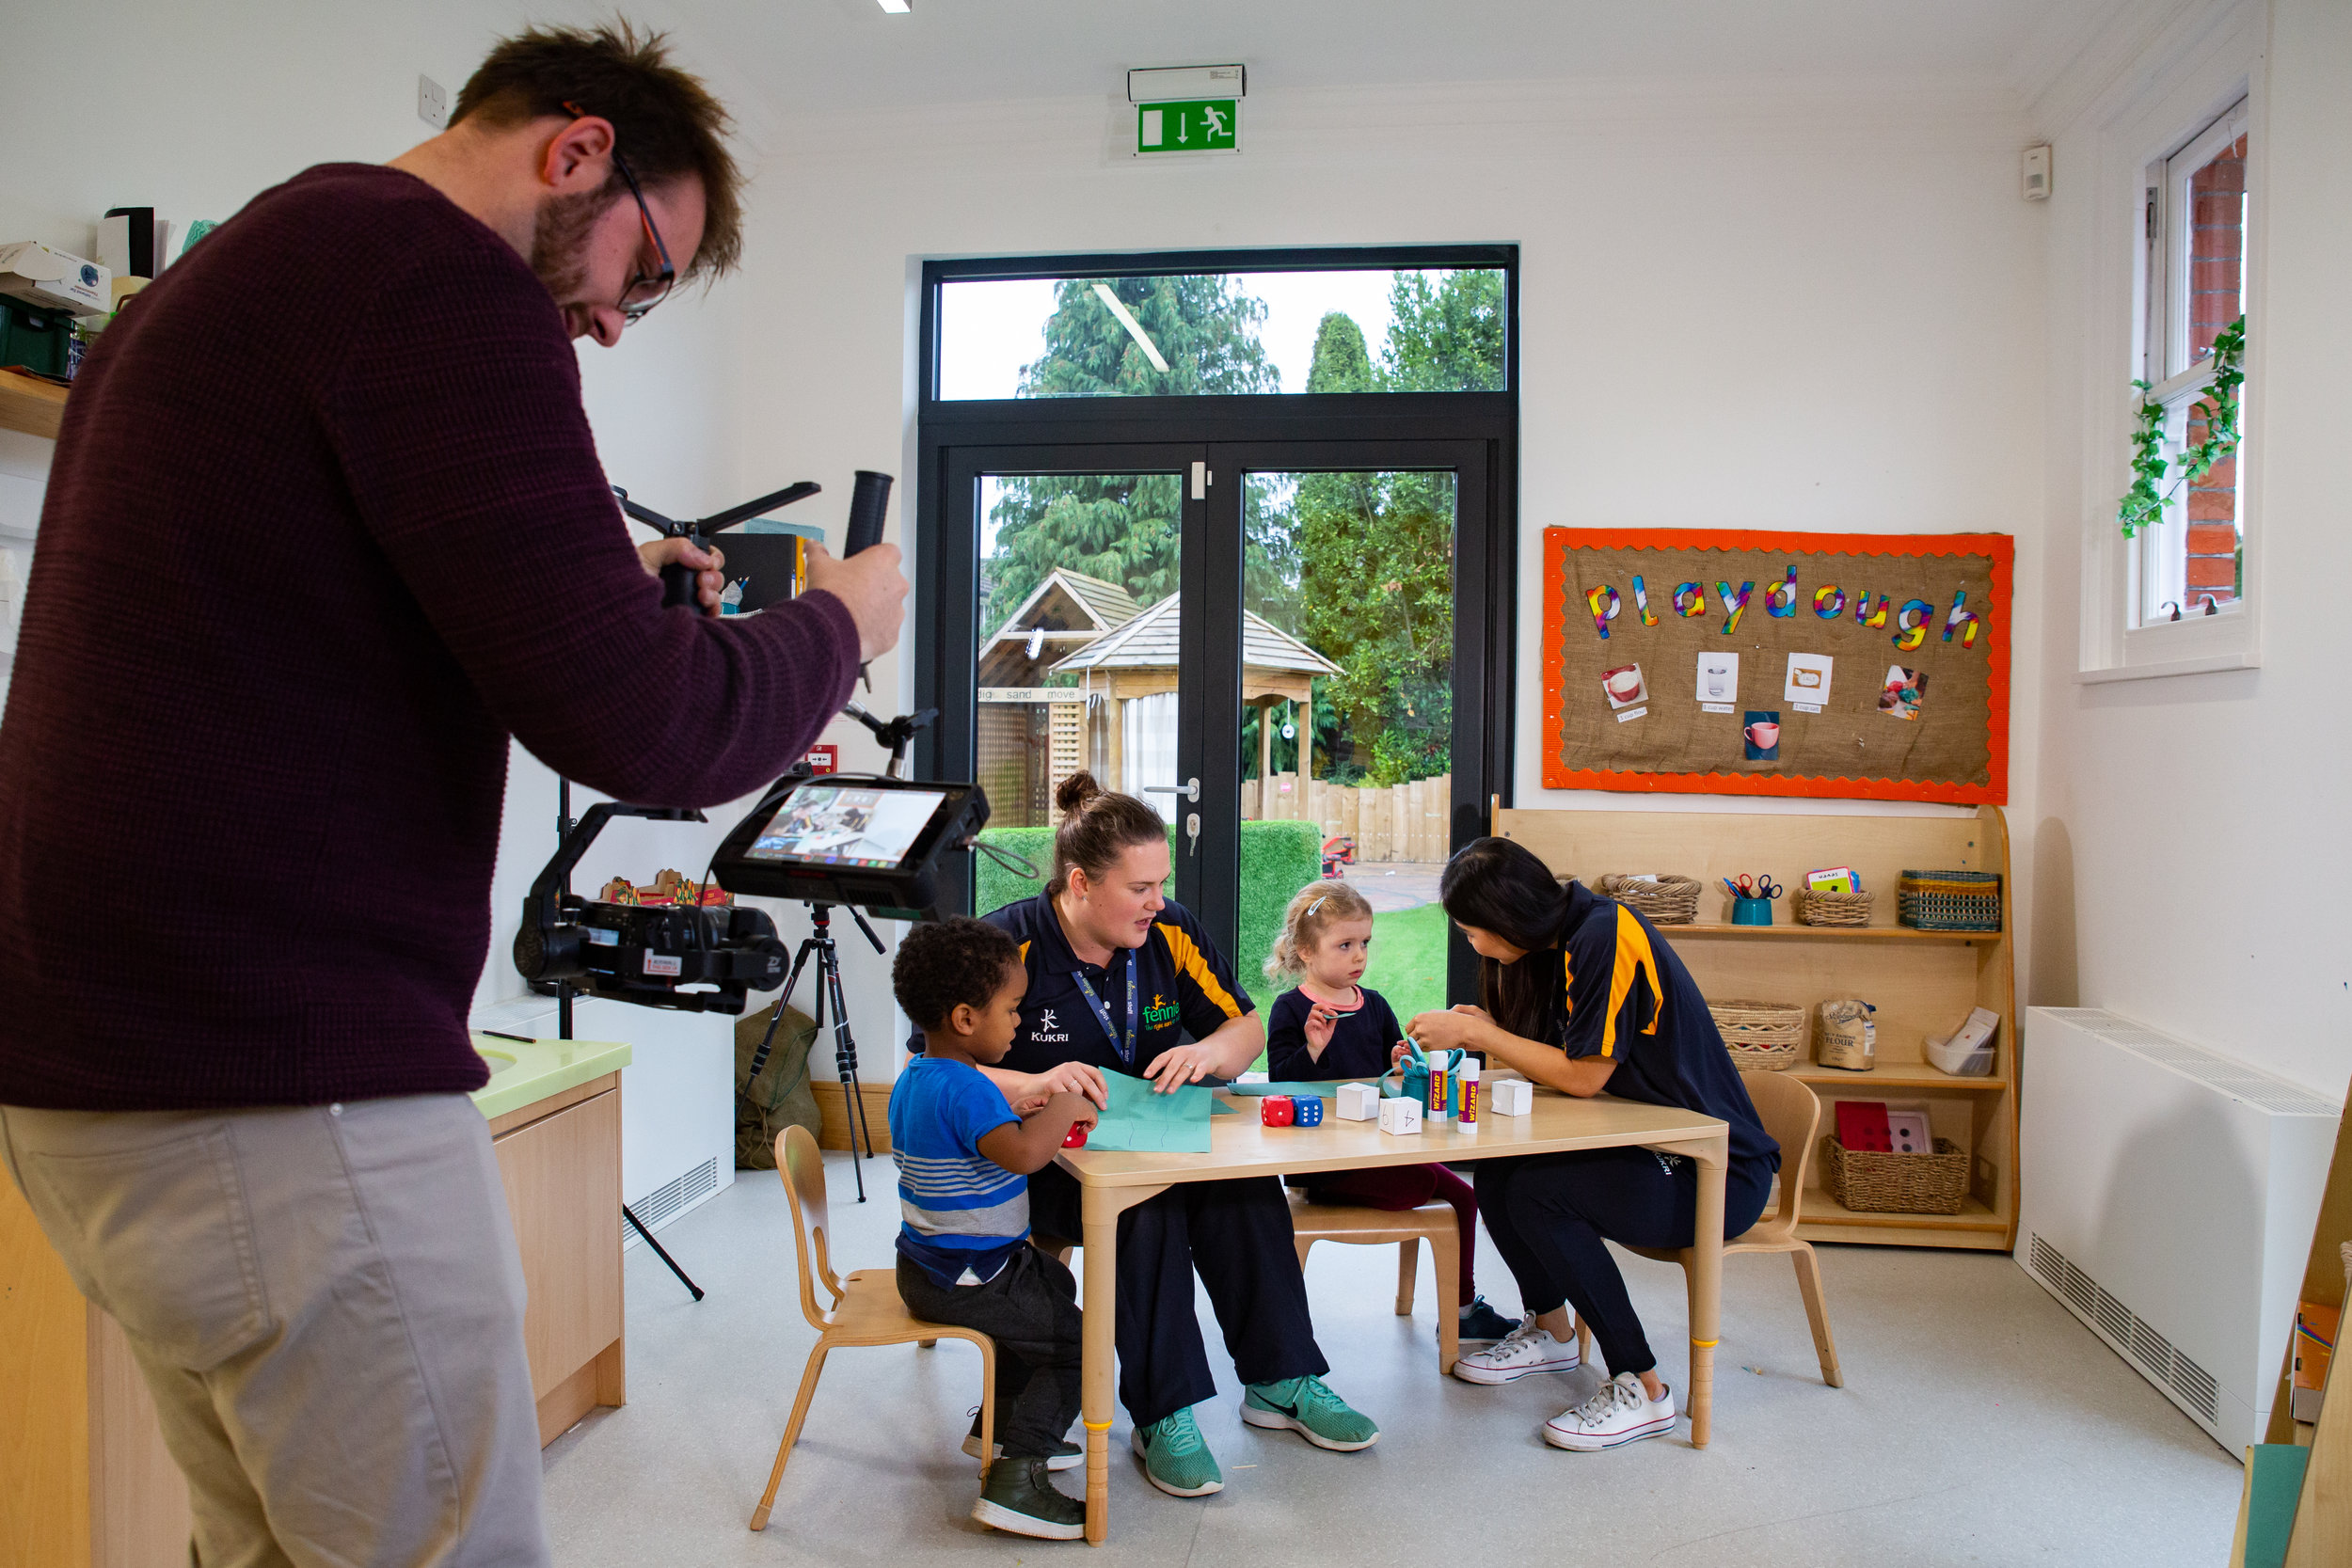
In 2017 we began producing video content for Fennies, a leading nursery group based in the South of England. This summer we were invited back to produce a range of videos to promote the nurseries and it’s facilities, to show their staff in action, and to capture their staff ‘Day of Inpiration’. It’s great fun filming at the nurseries, all of the staff are extremely friendly and the results really work for the nursery group.
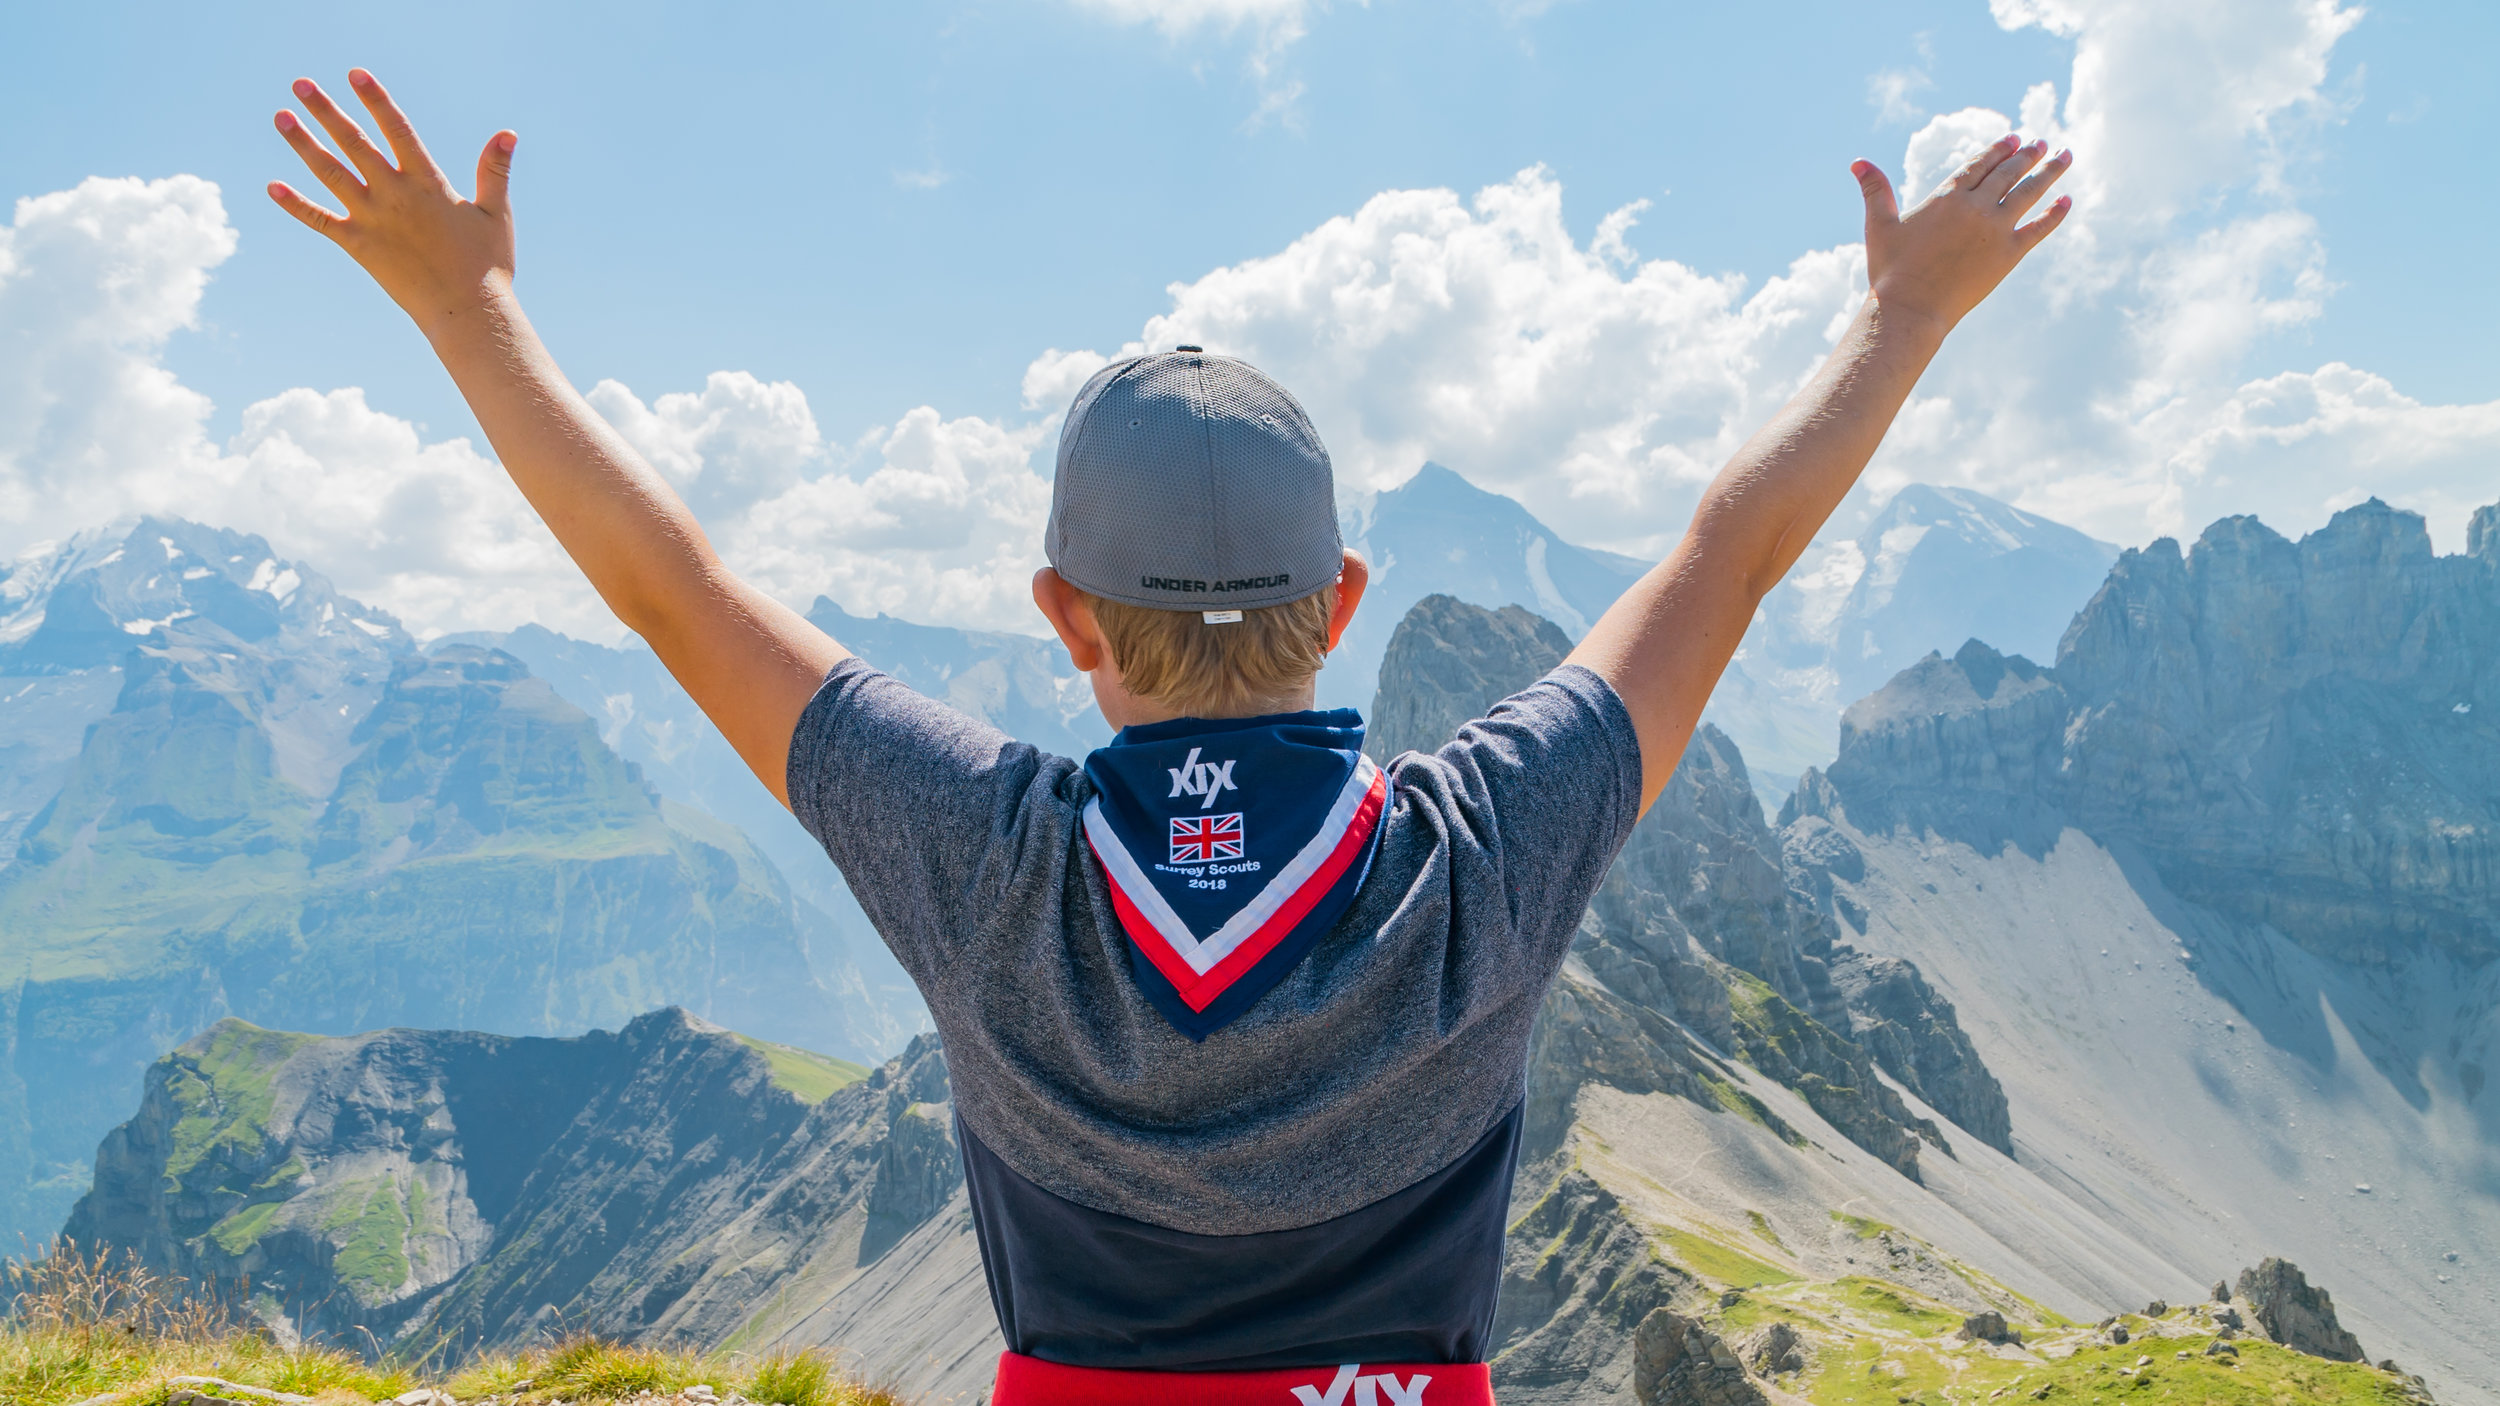
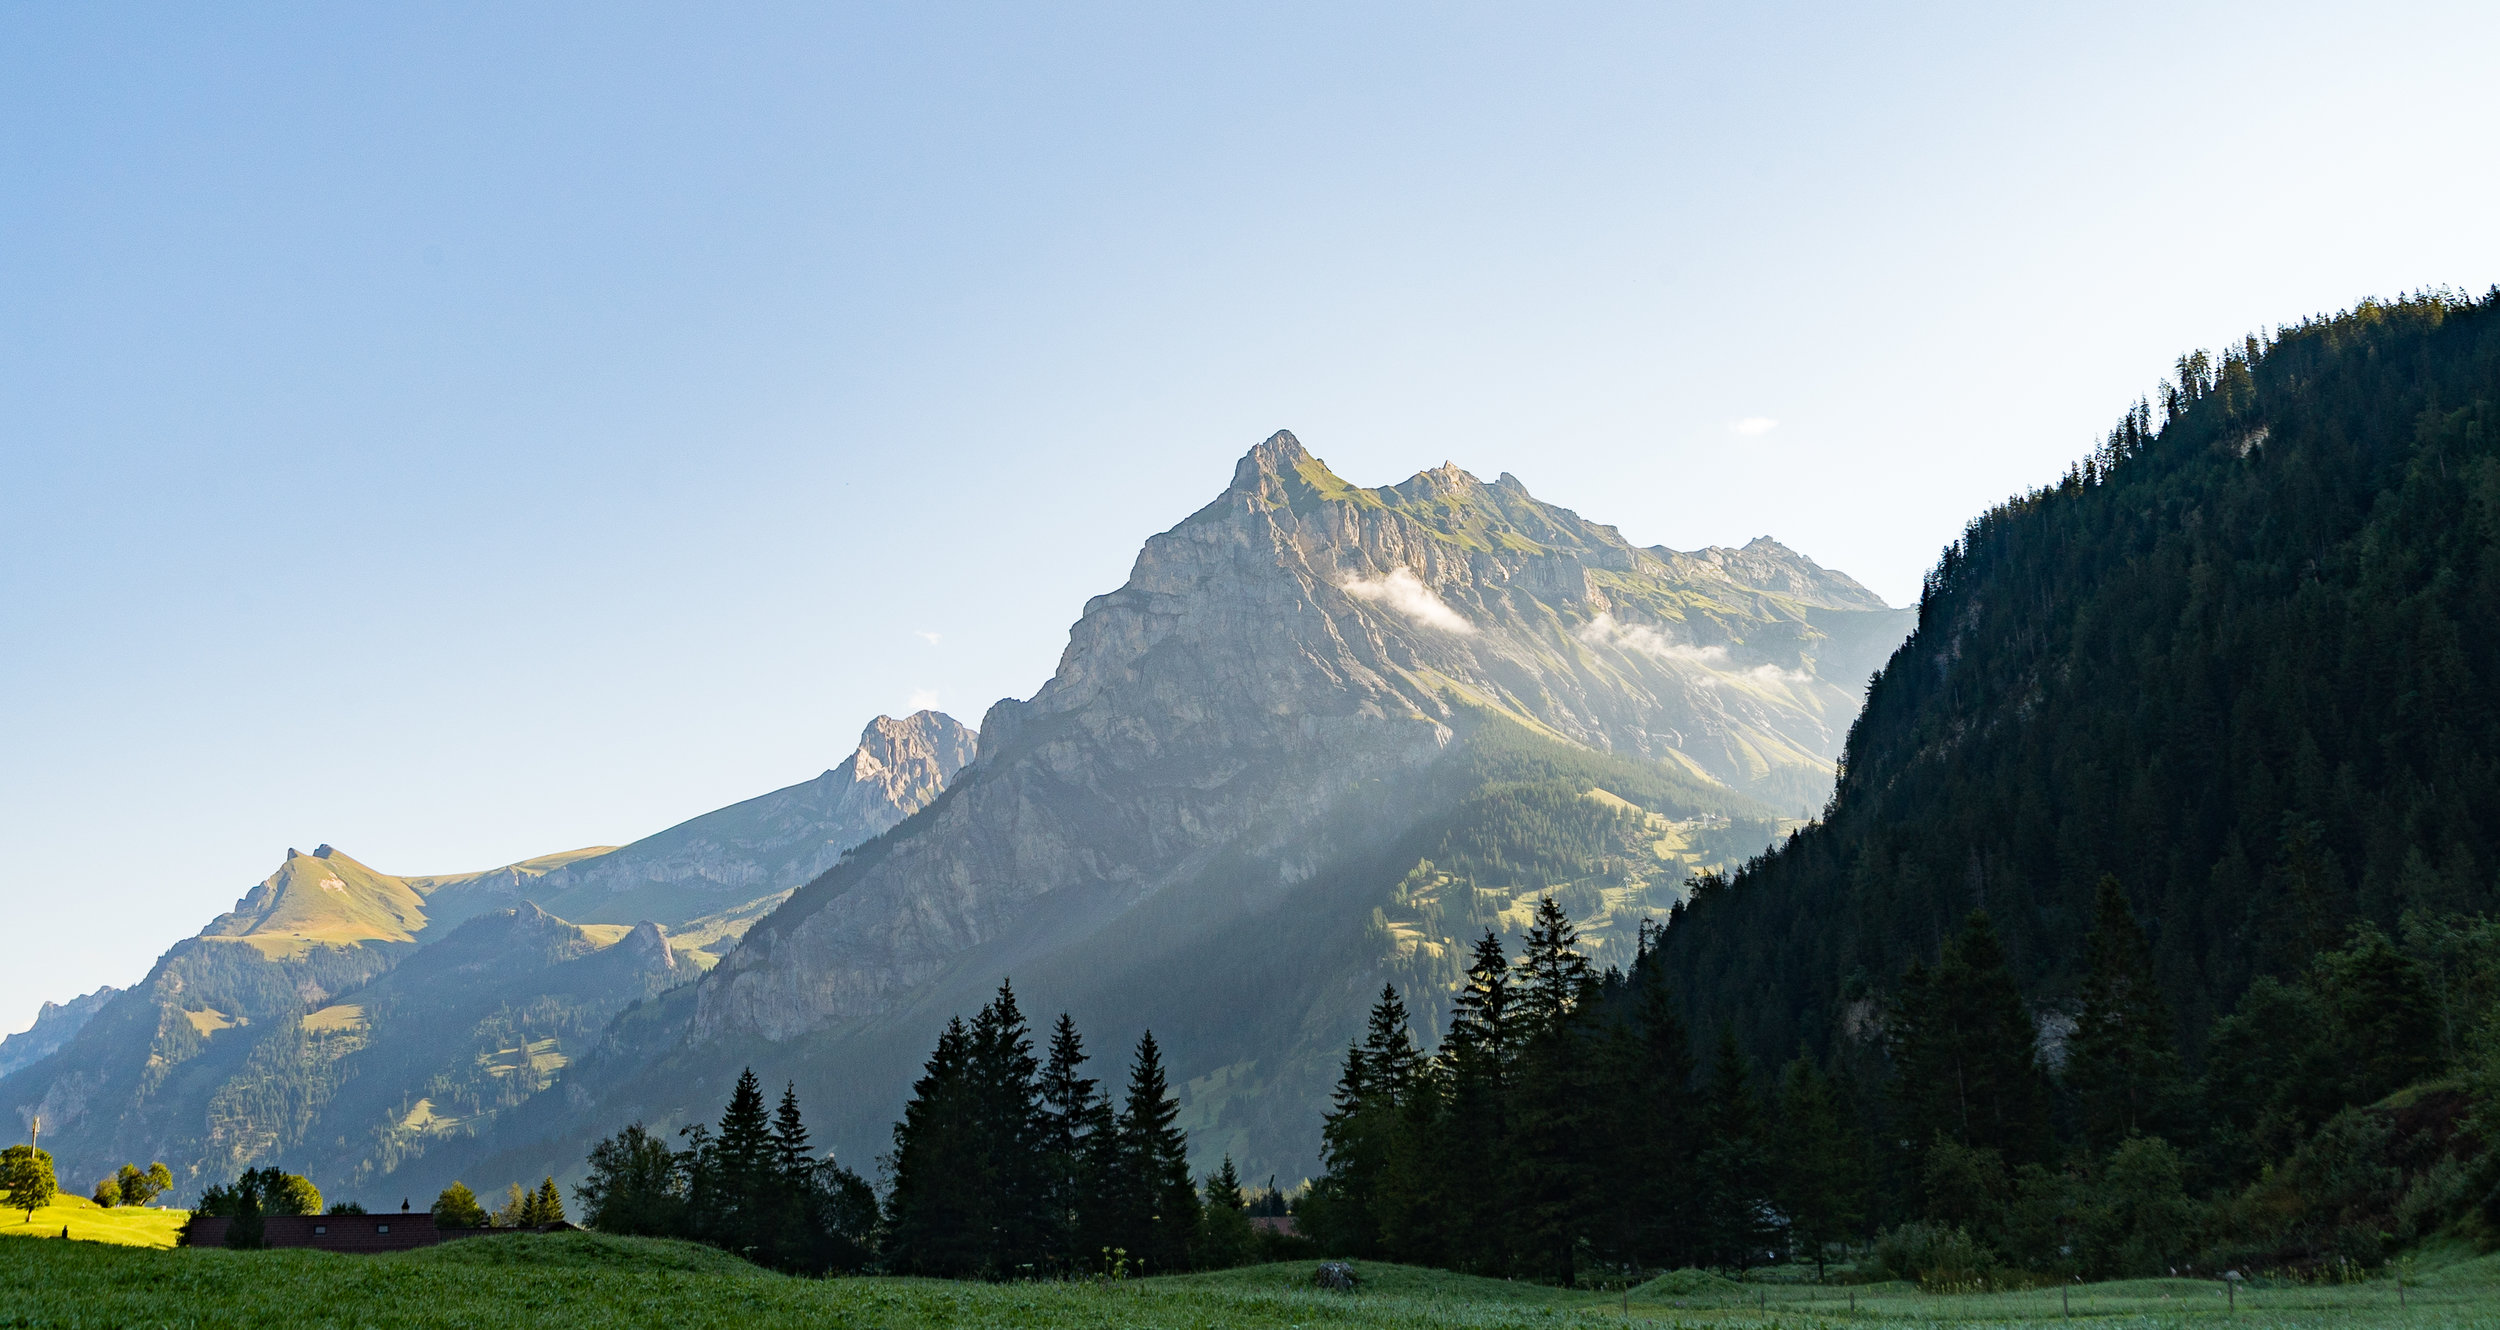
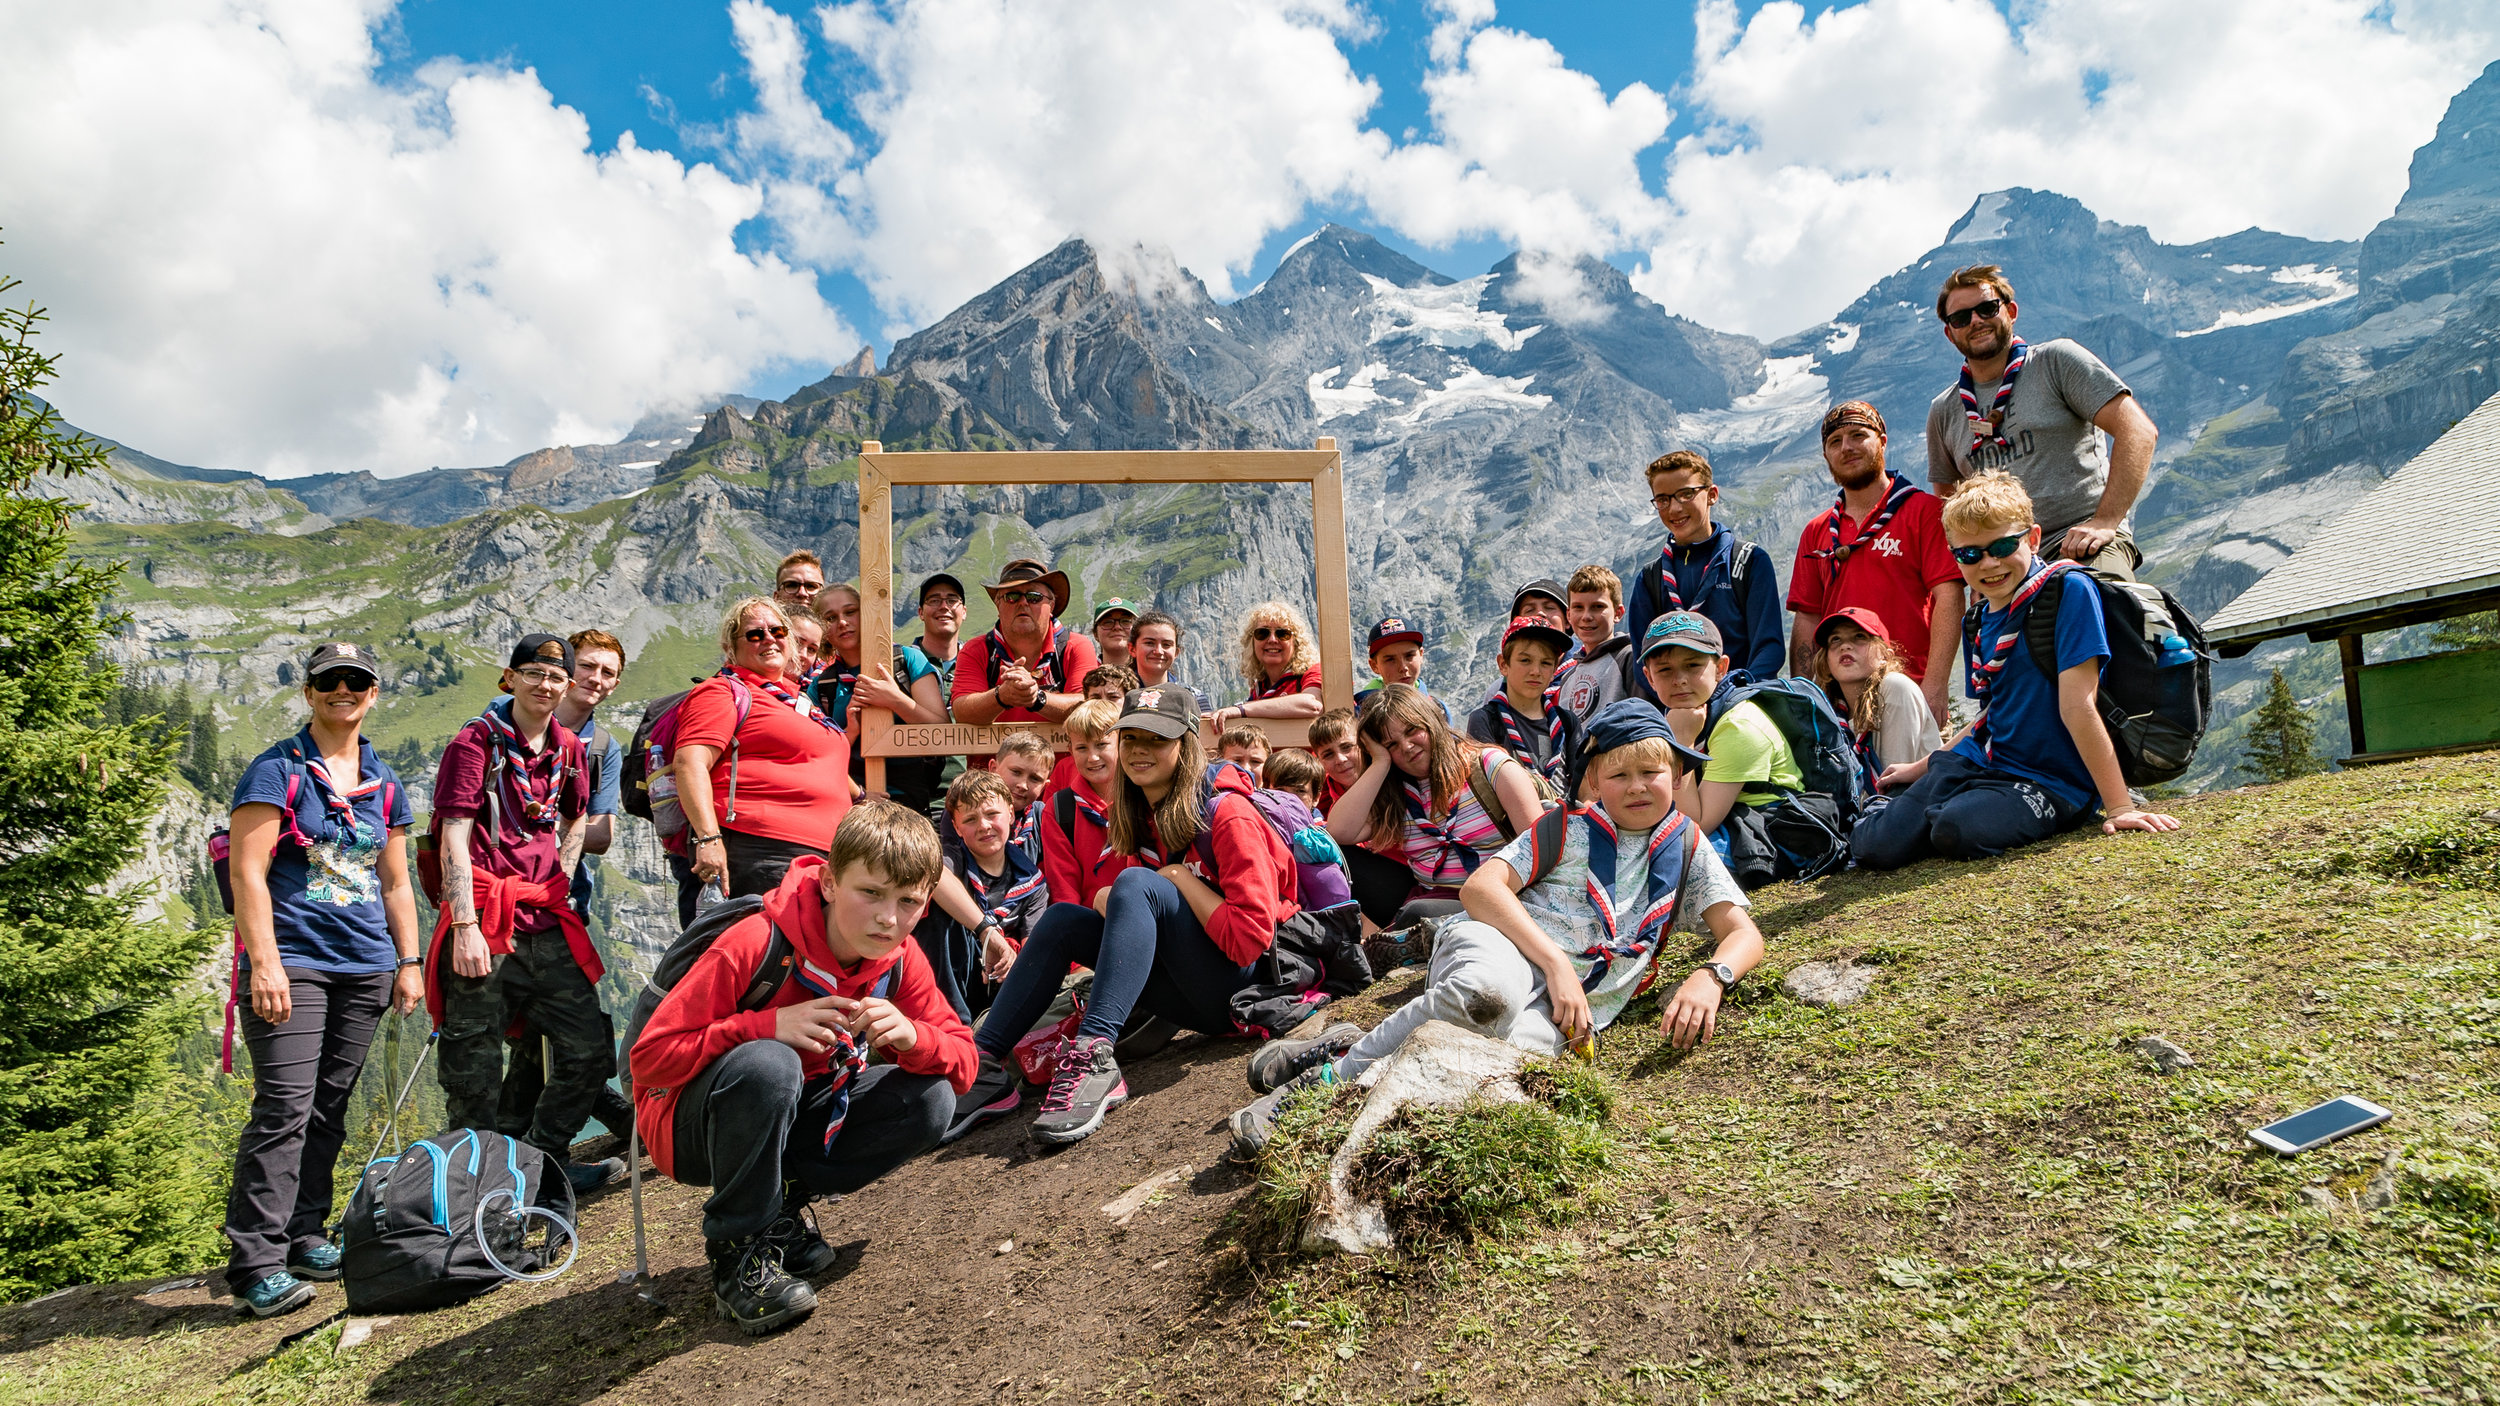
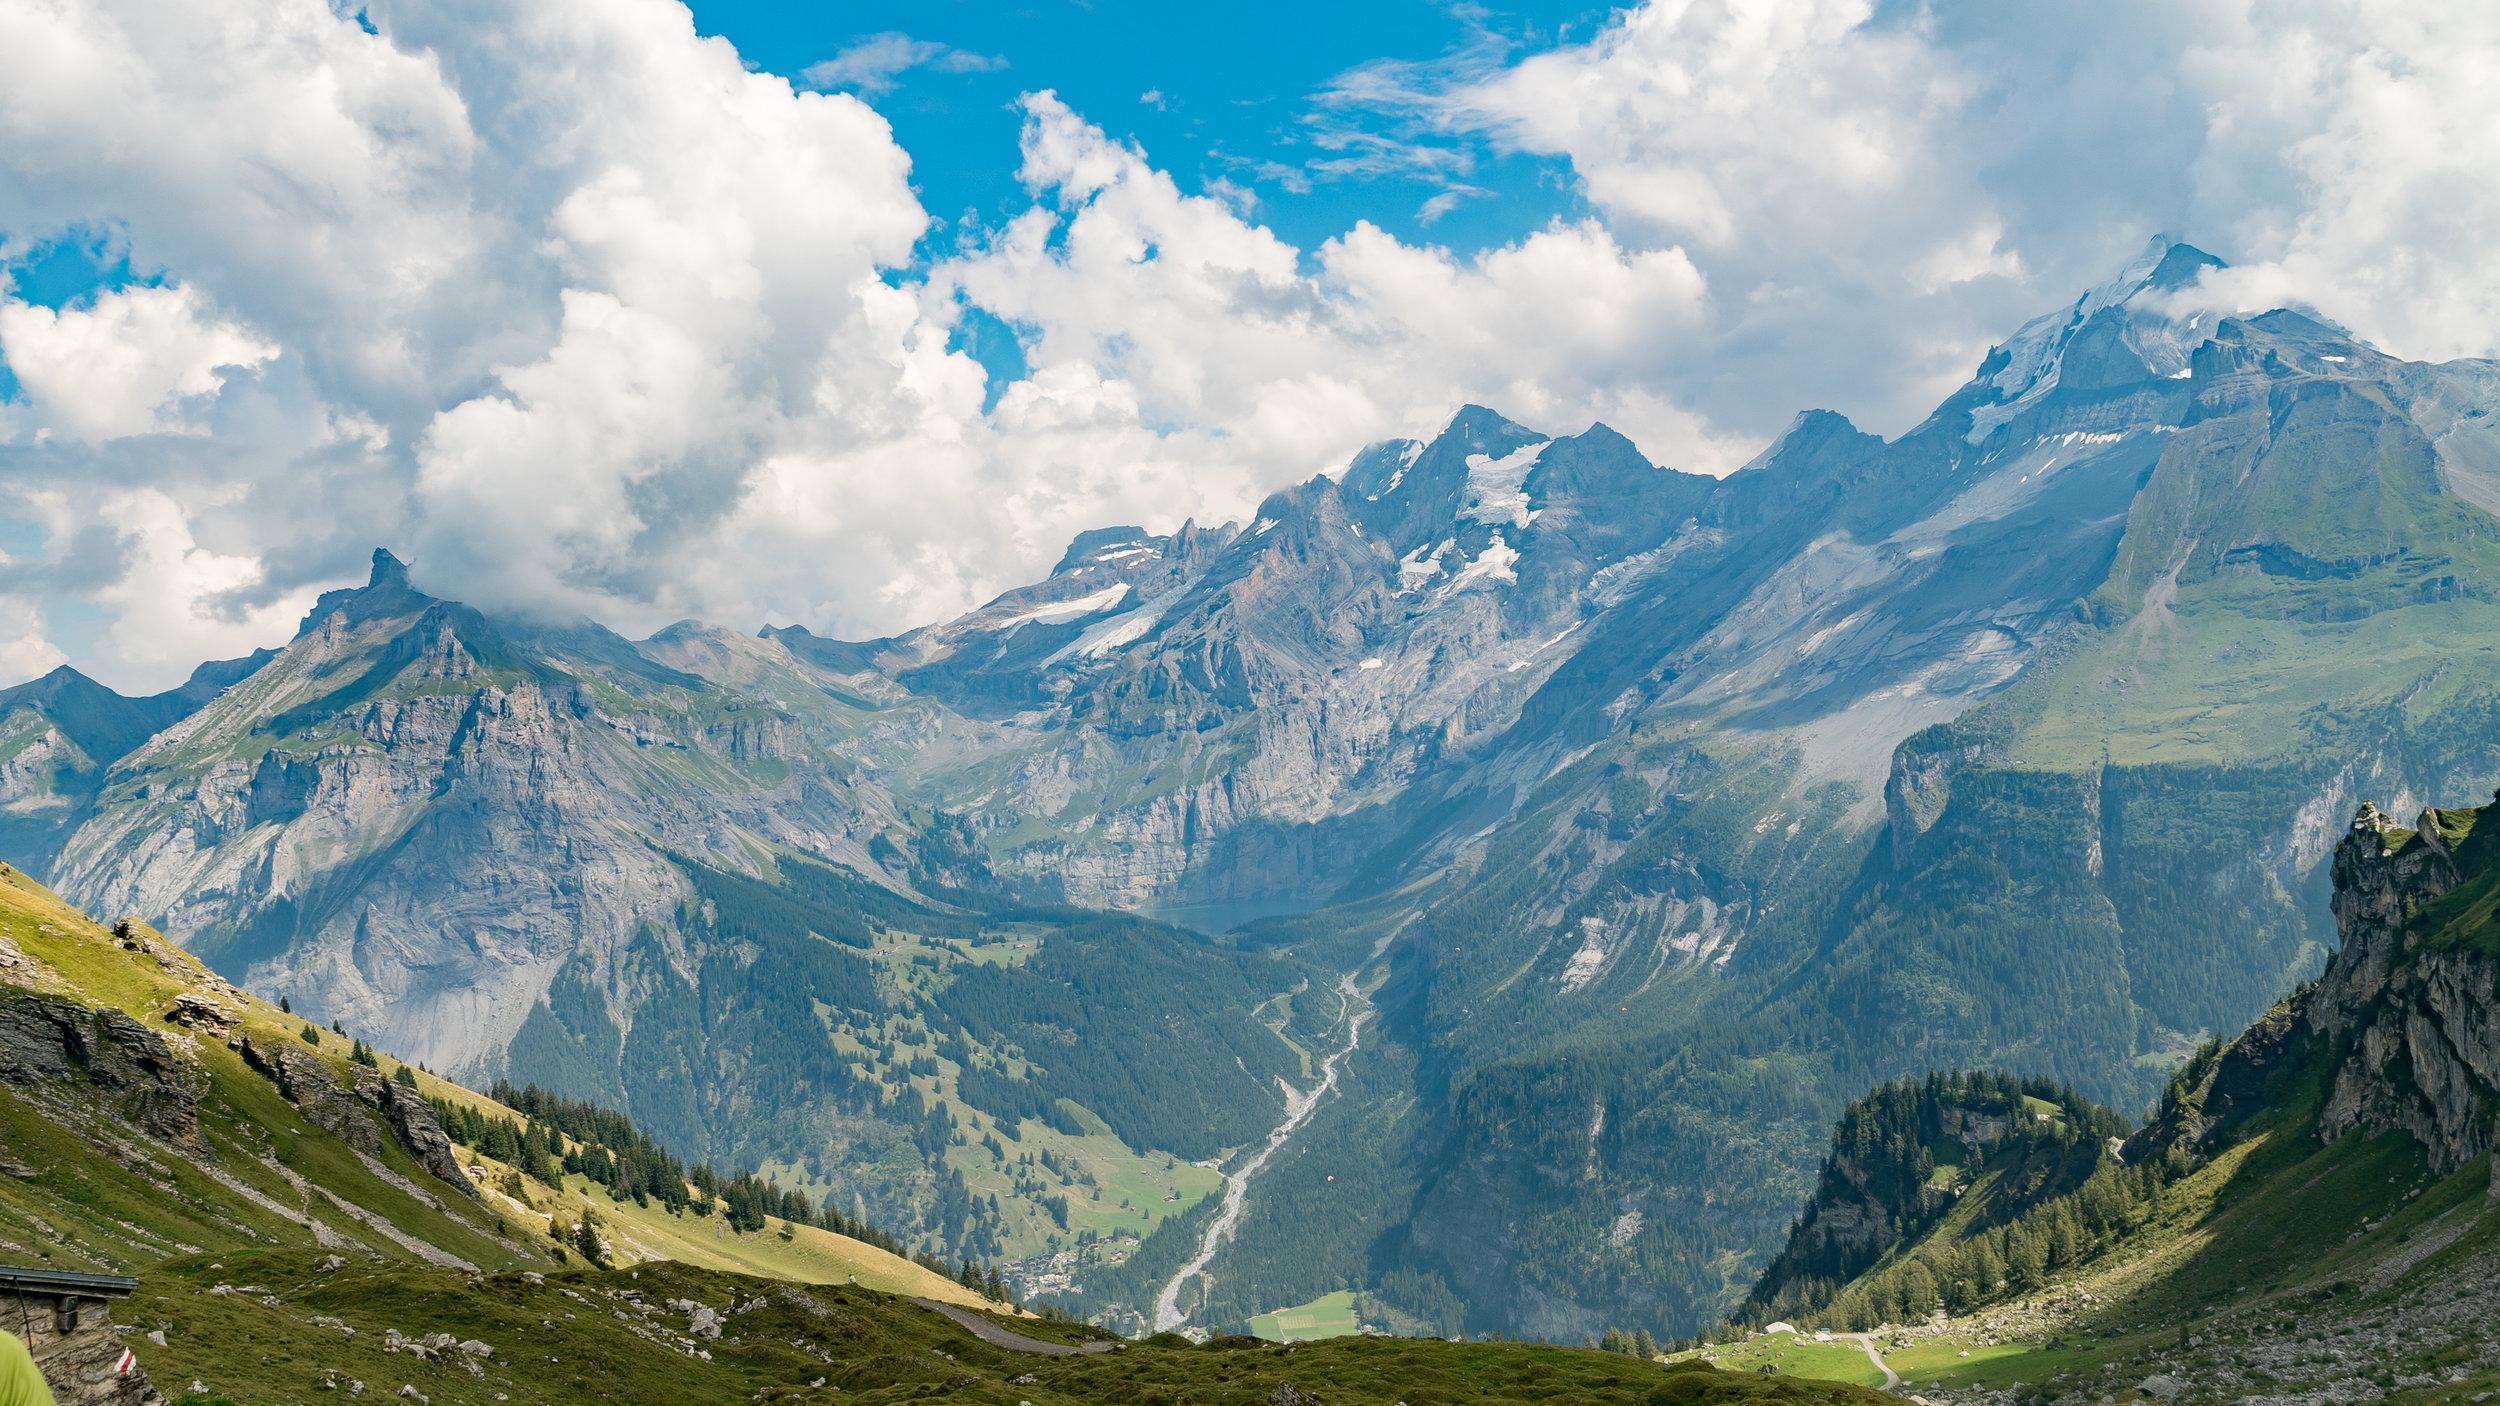
Adam is a Scout leader and member of the Surrey Scouts media team. This Summer, Adam travelled with 500 Scouts and leaders to Kandersteg, Switzerland, and captured the journey and adventure all of the young people (and adults) had!
You can read the ‘Sense Of Belonging’ blog post by The Scouts here.
We’ve contribued to the worldwide online cinematography and filmmaking website, cinema5D.com for a number of years. Part of the role includes reporting all of the glorious tech news from global trade shows like IBC and Photokina. We produce fast turnaround video edits and articles during the trade shows to ensure cinema5D covers the news extensively and to the highest quality.
As it’s written above, we work with Screen Subtitling Systems on a regular basis which includes updating their animations with new products. This animation is core to the global companies marketing and promotion at worldwide tradeshows.
We were over the moon to expand our video productions for The Jockey Club into Kempton Park Racecourse. On Boxing Day and the 27th, Kempton Park Racecourse will play host to the infamous Winter Festival, sponsored by 32Red. We were tasked with producing a range of stings to count down to the festival. The shoot was challenging; a lovely sunny day when we really wanted cloud!
We adapted to meet the racecourses needs by grading the footage and applying effects to give the stings a wintery feel. This was accompanied by custom graphics, again, following the wintery theme.
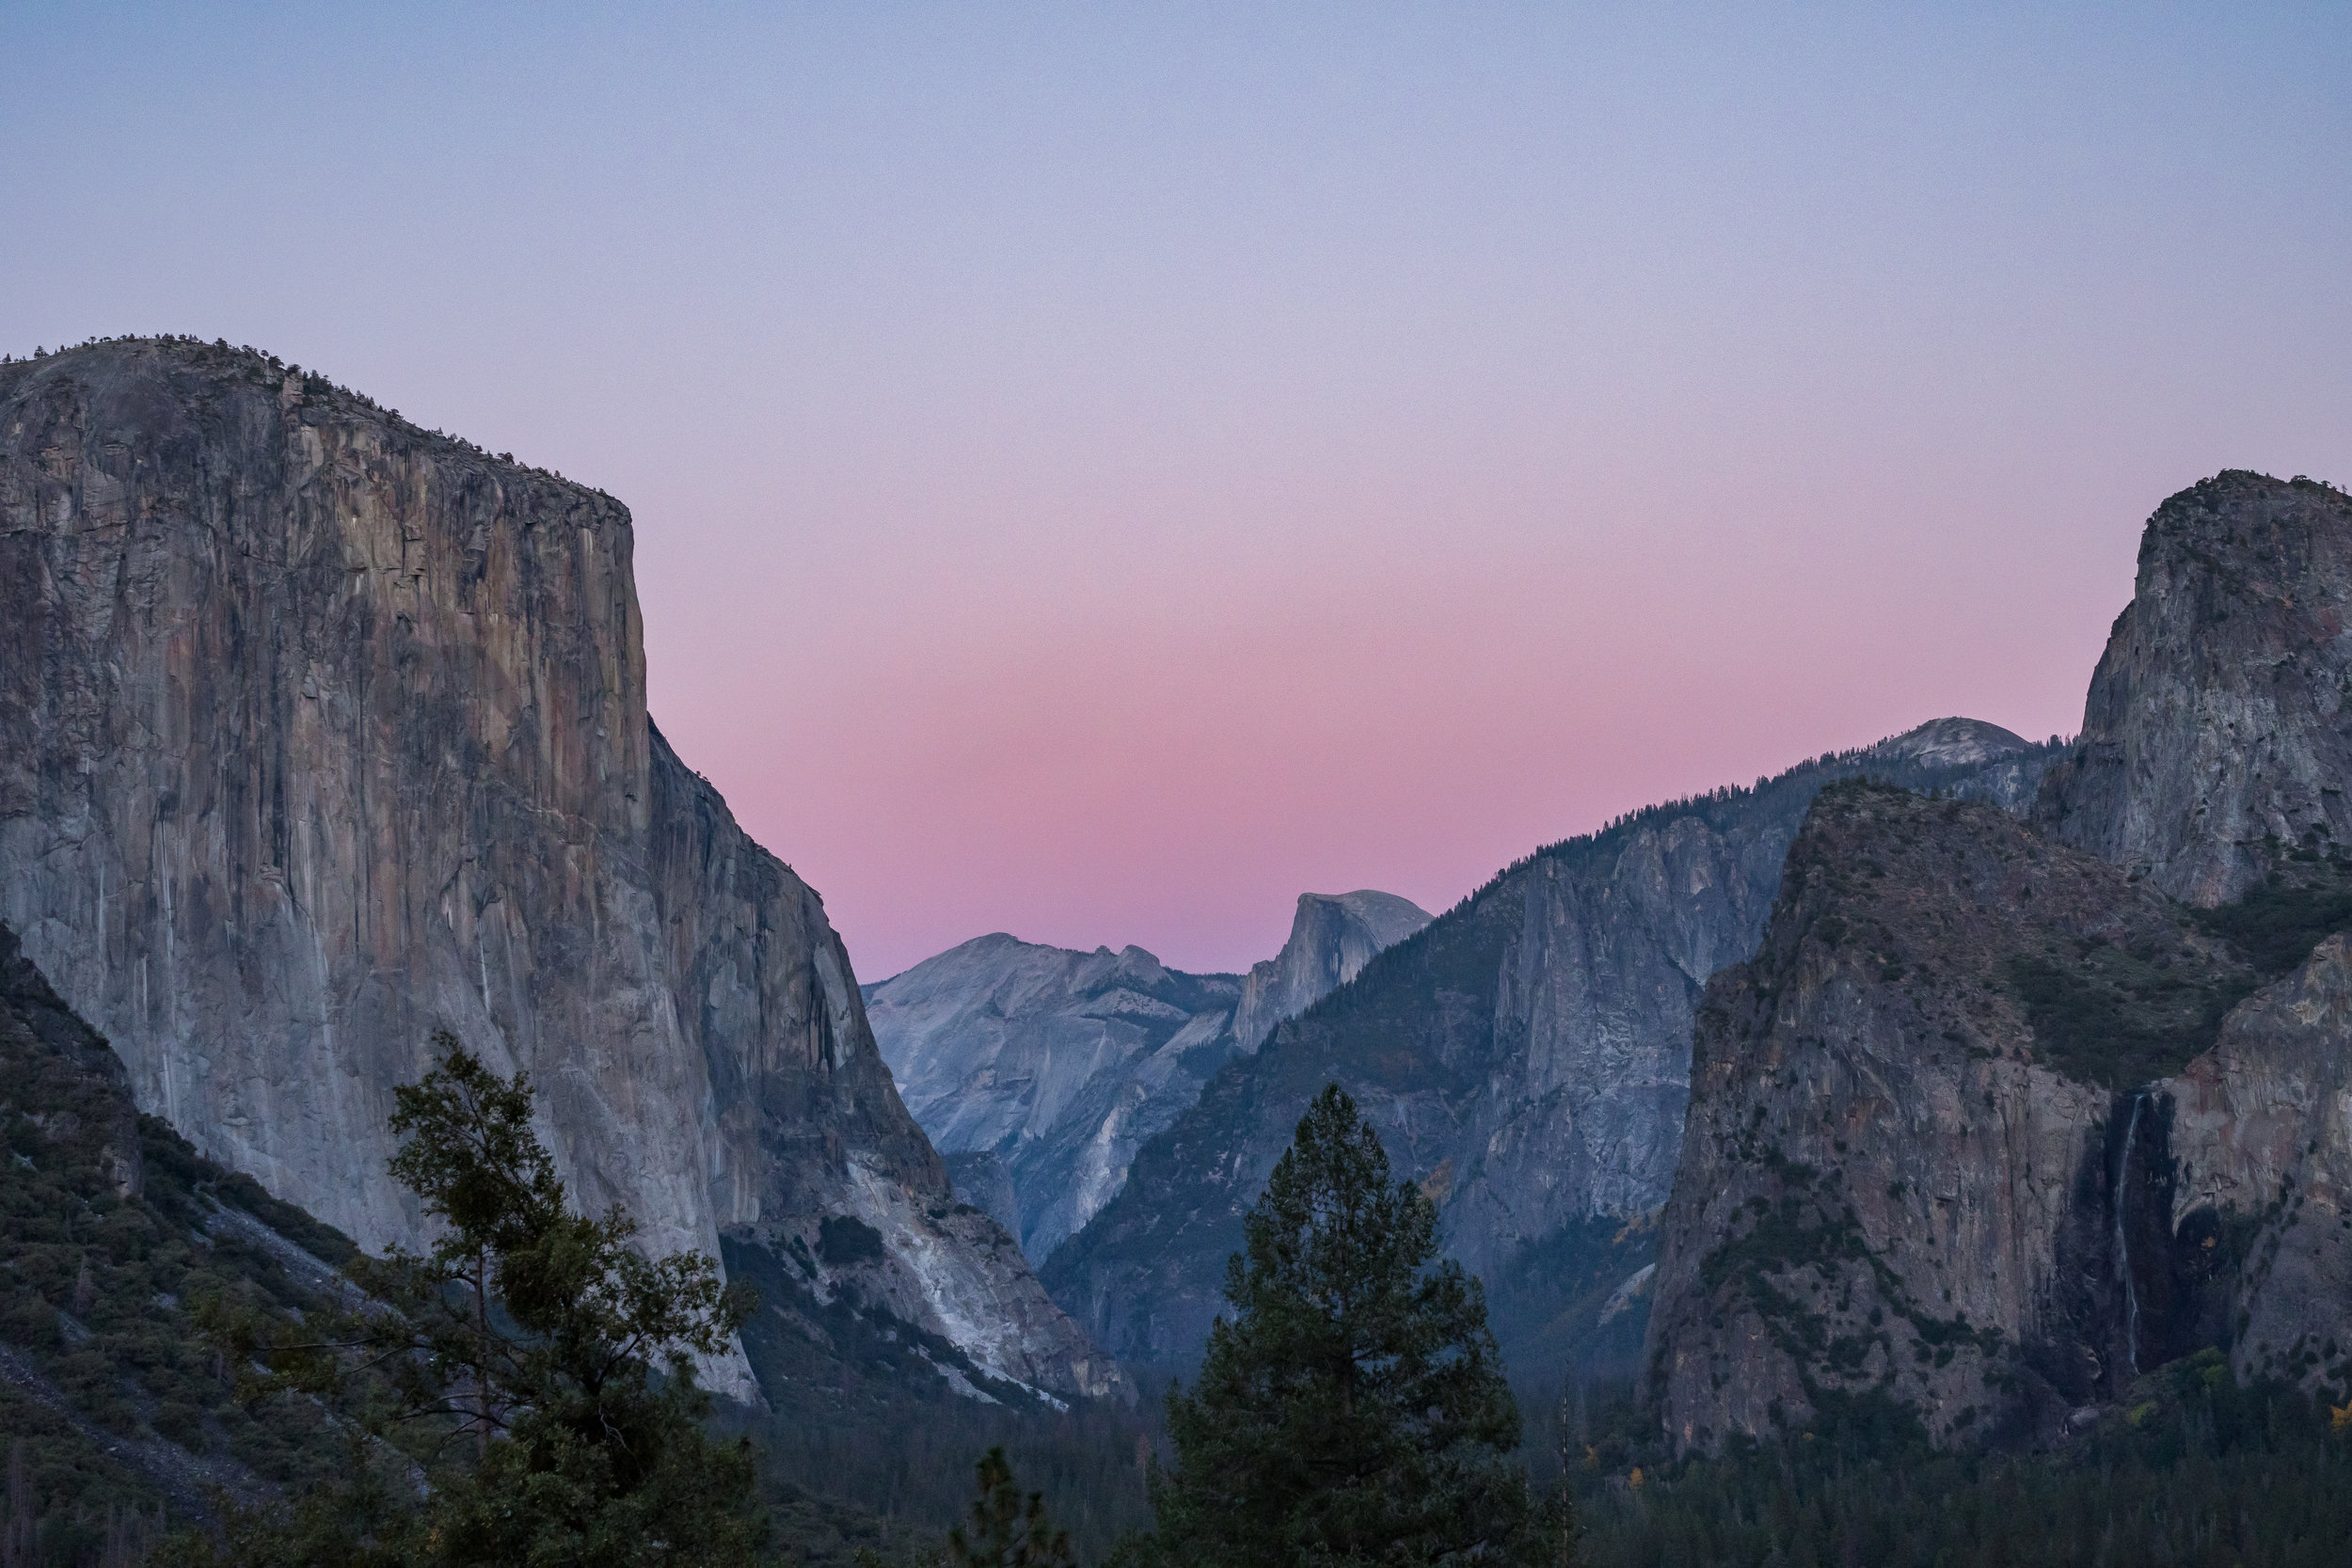
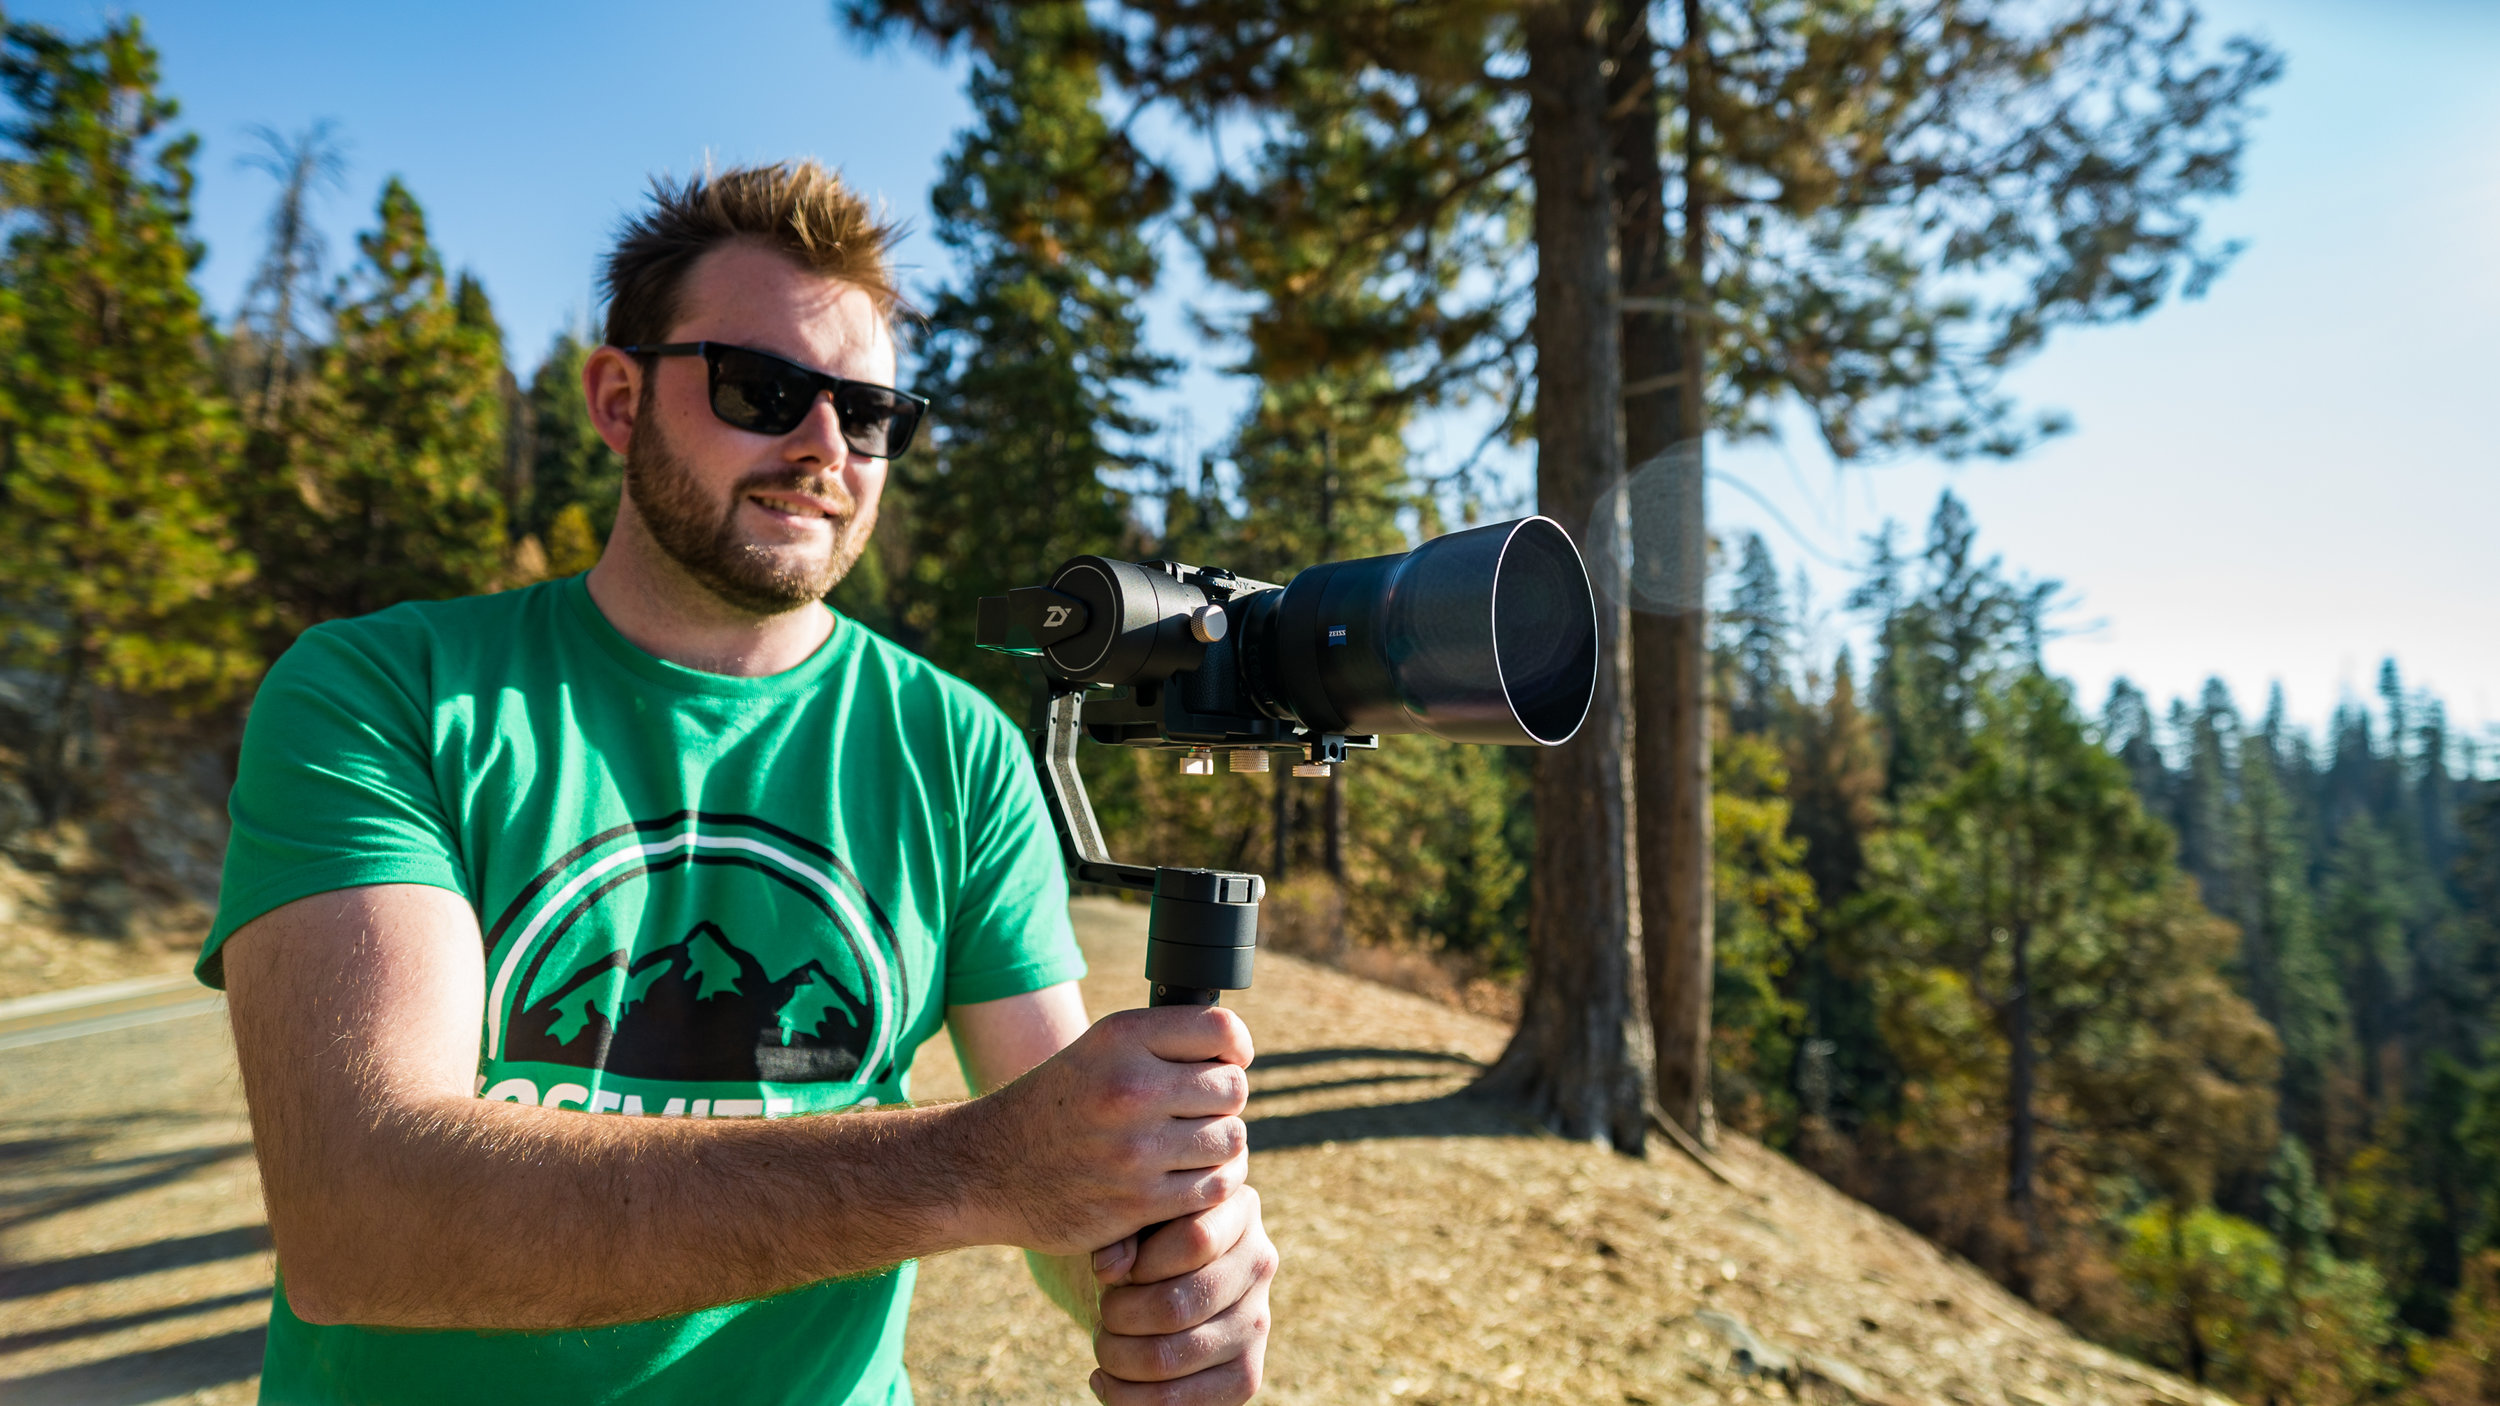
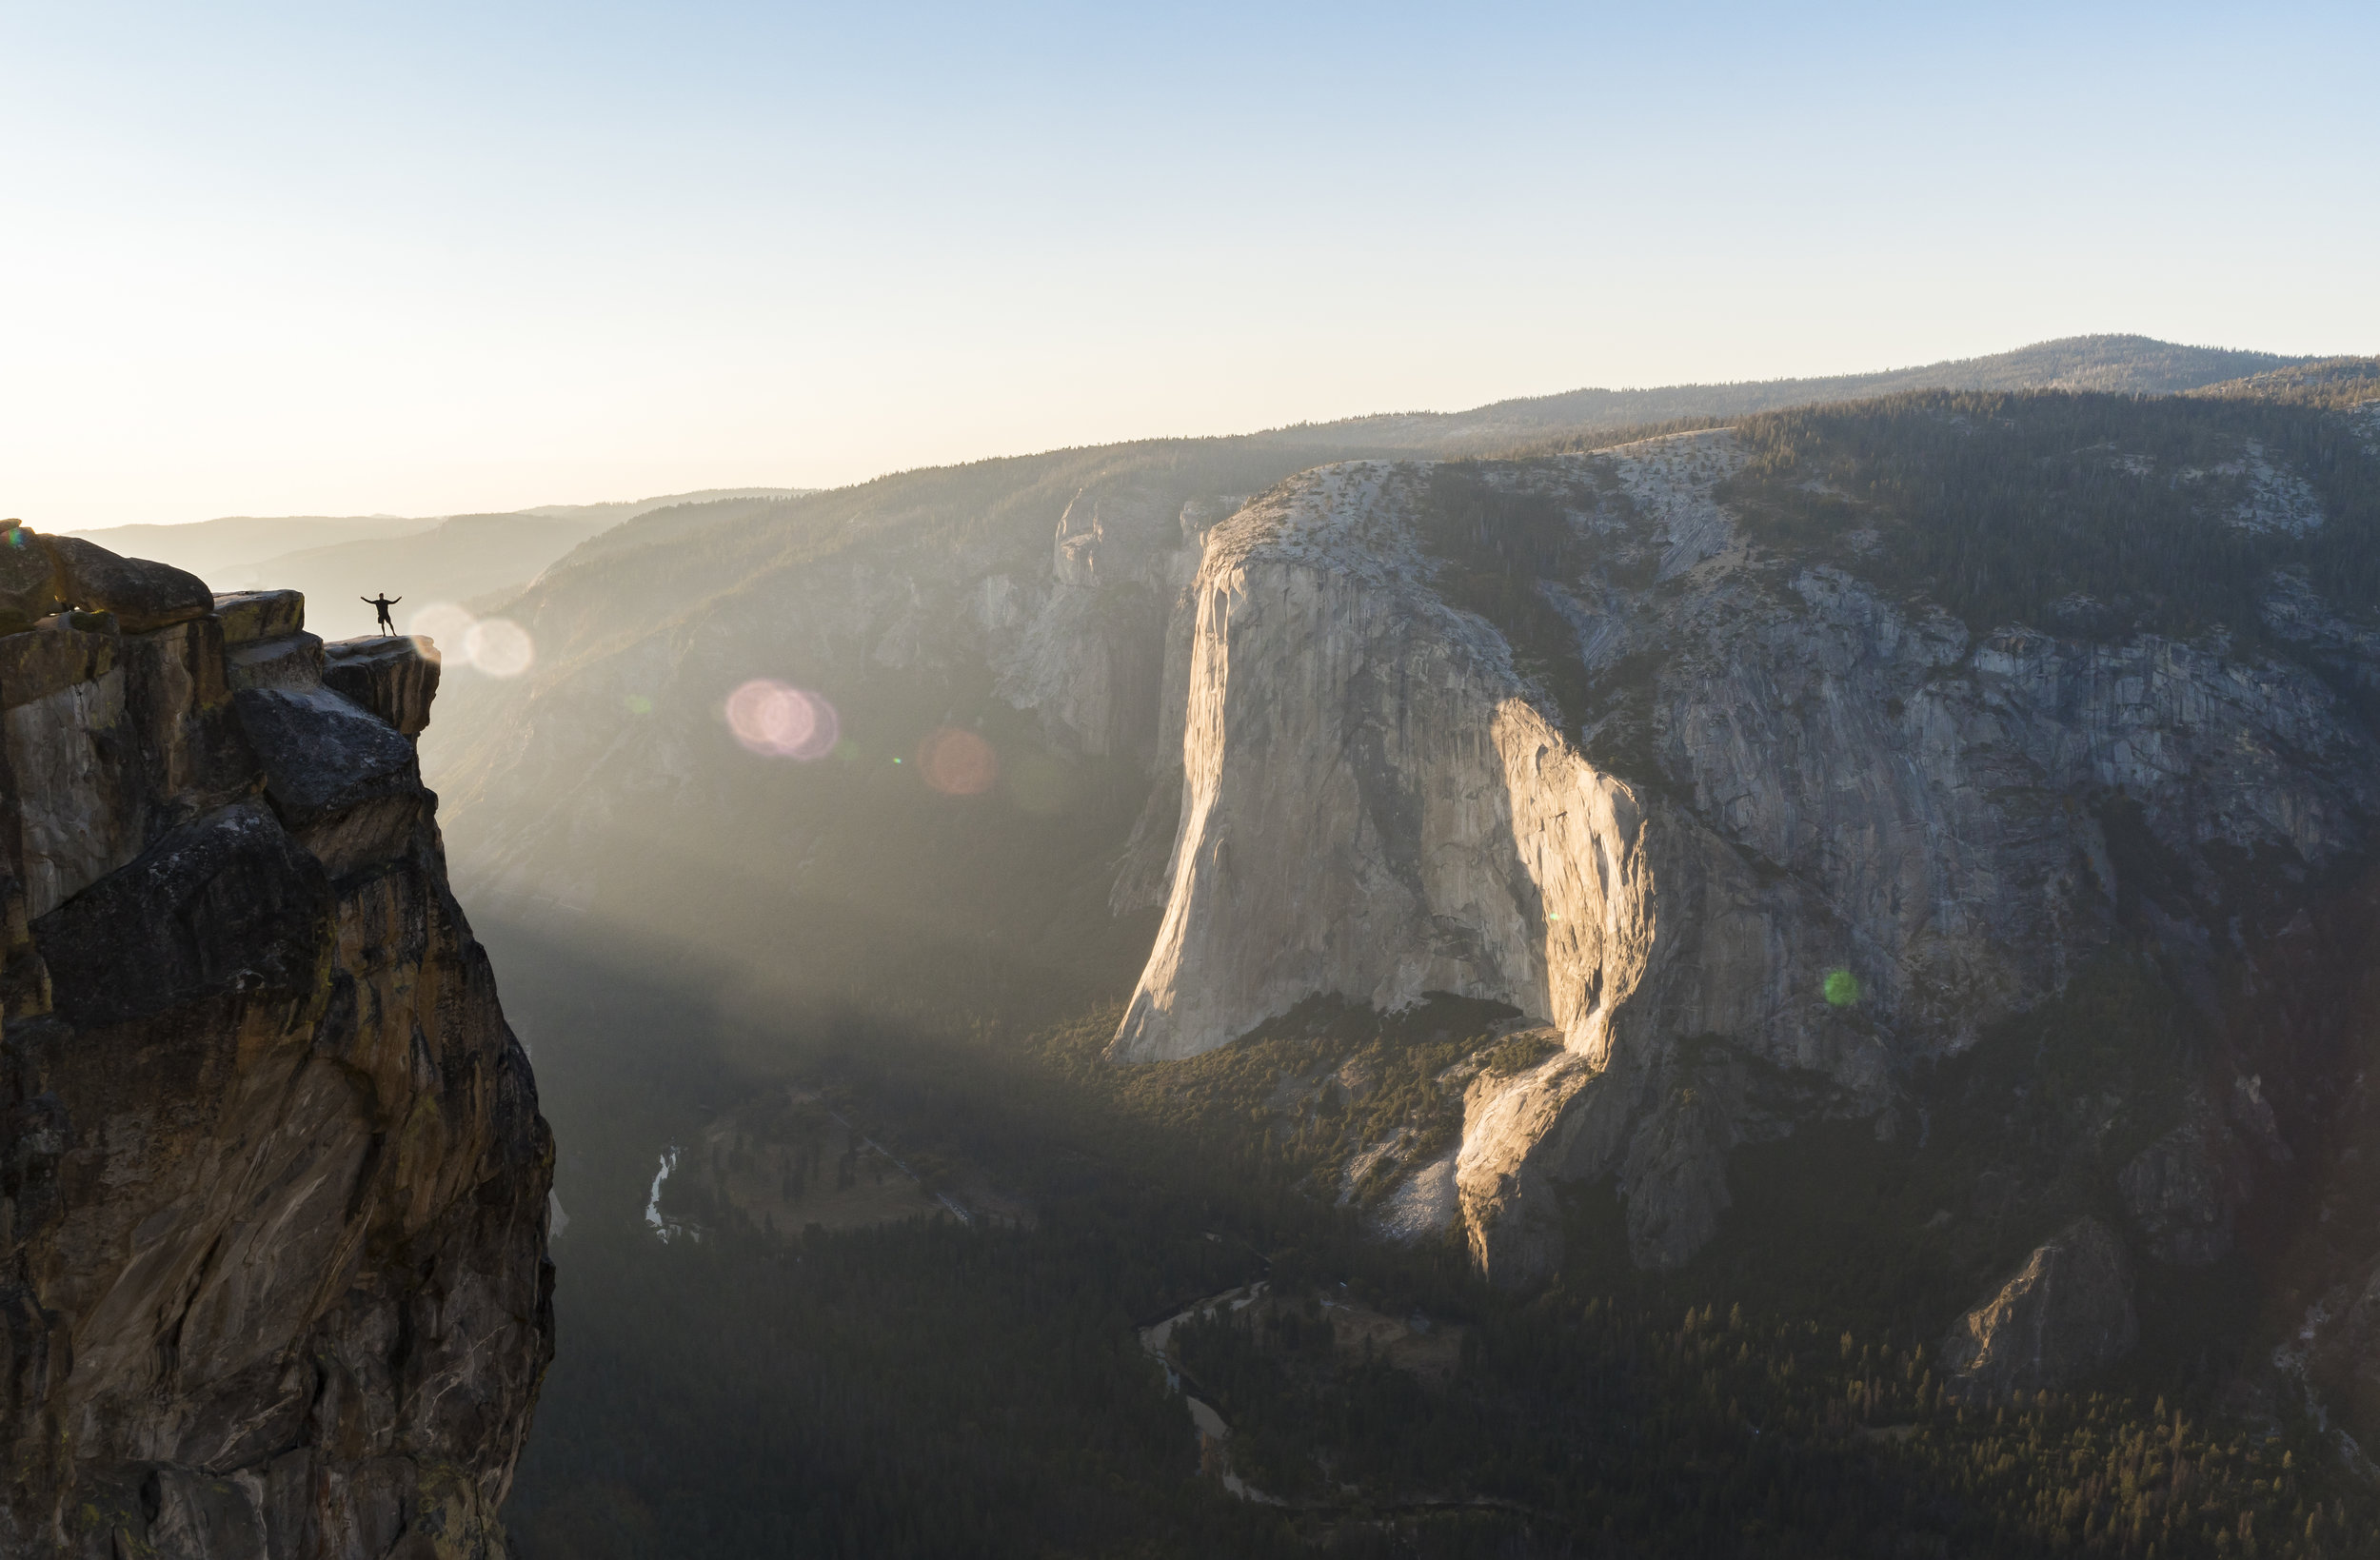
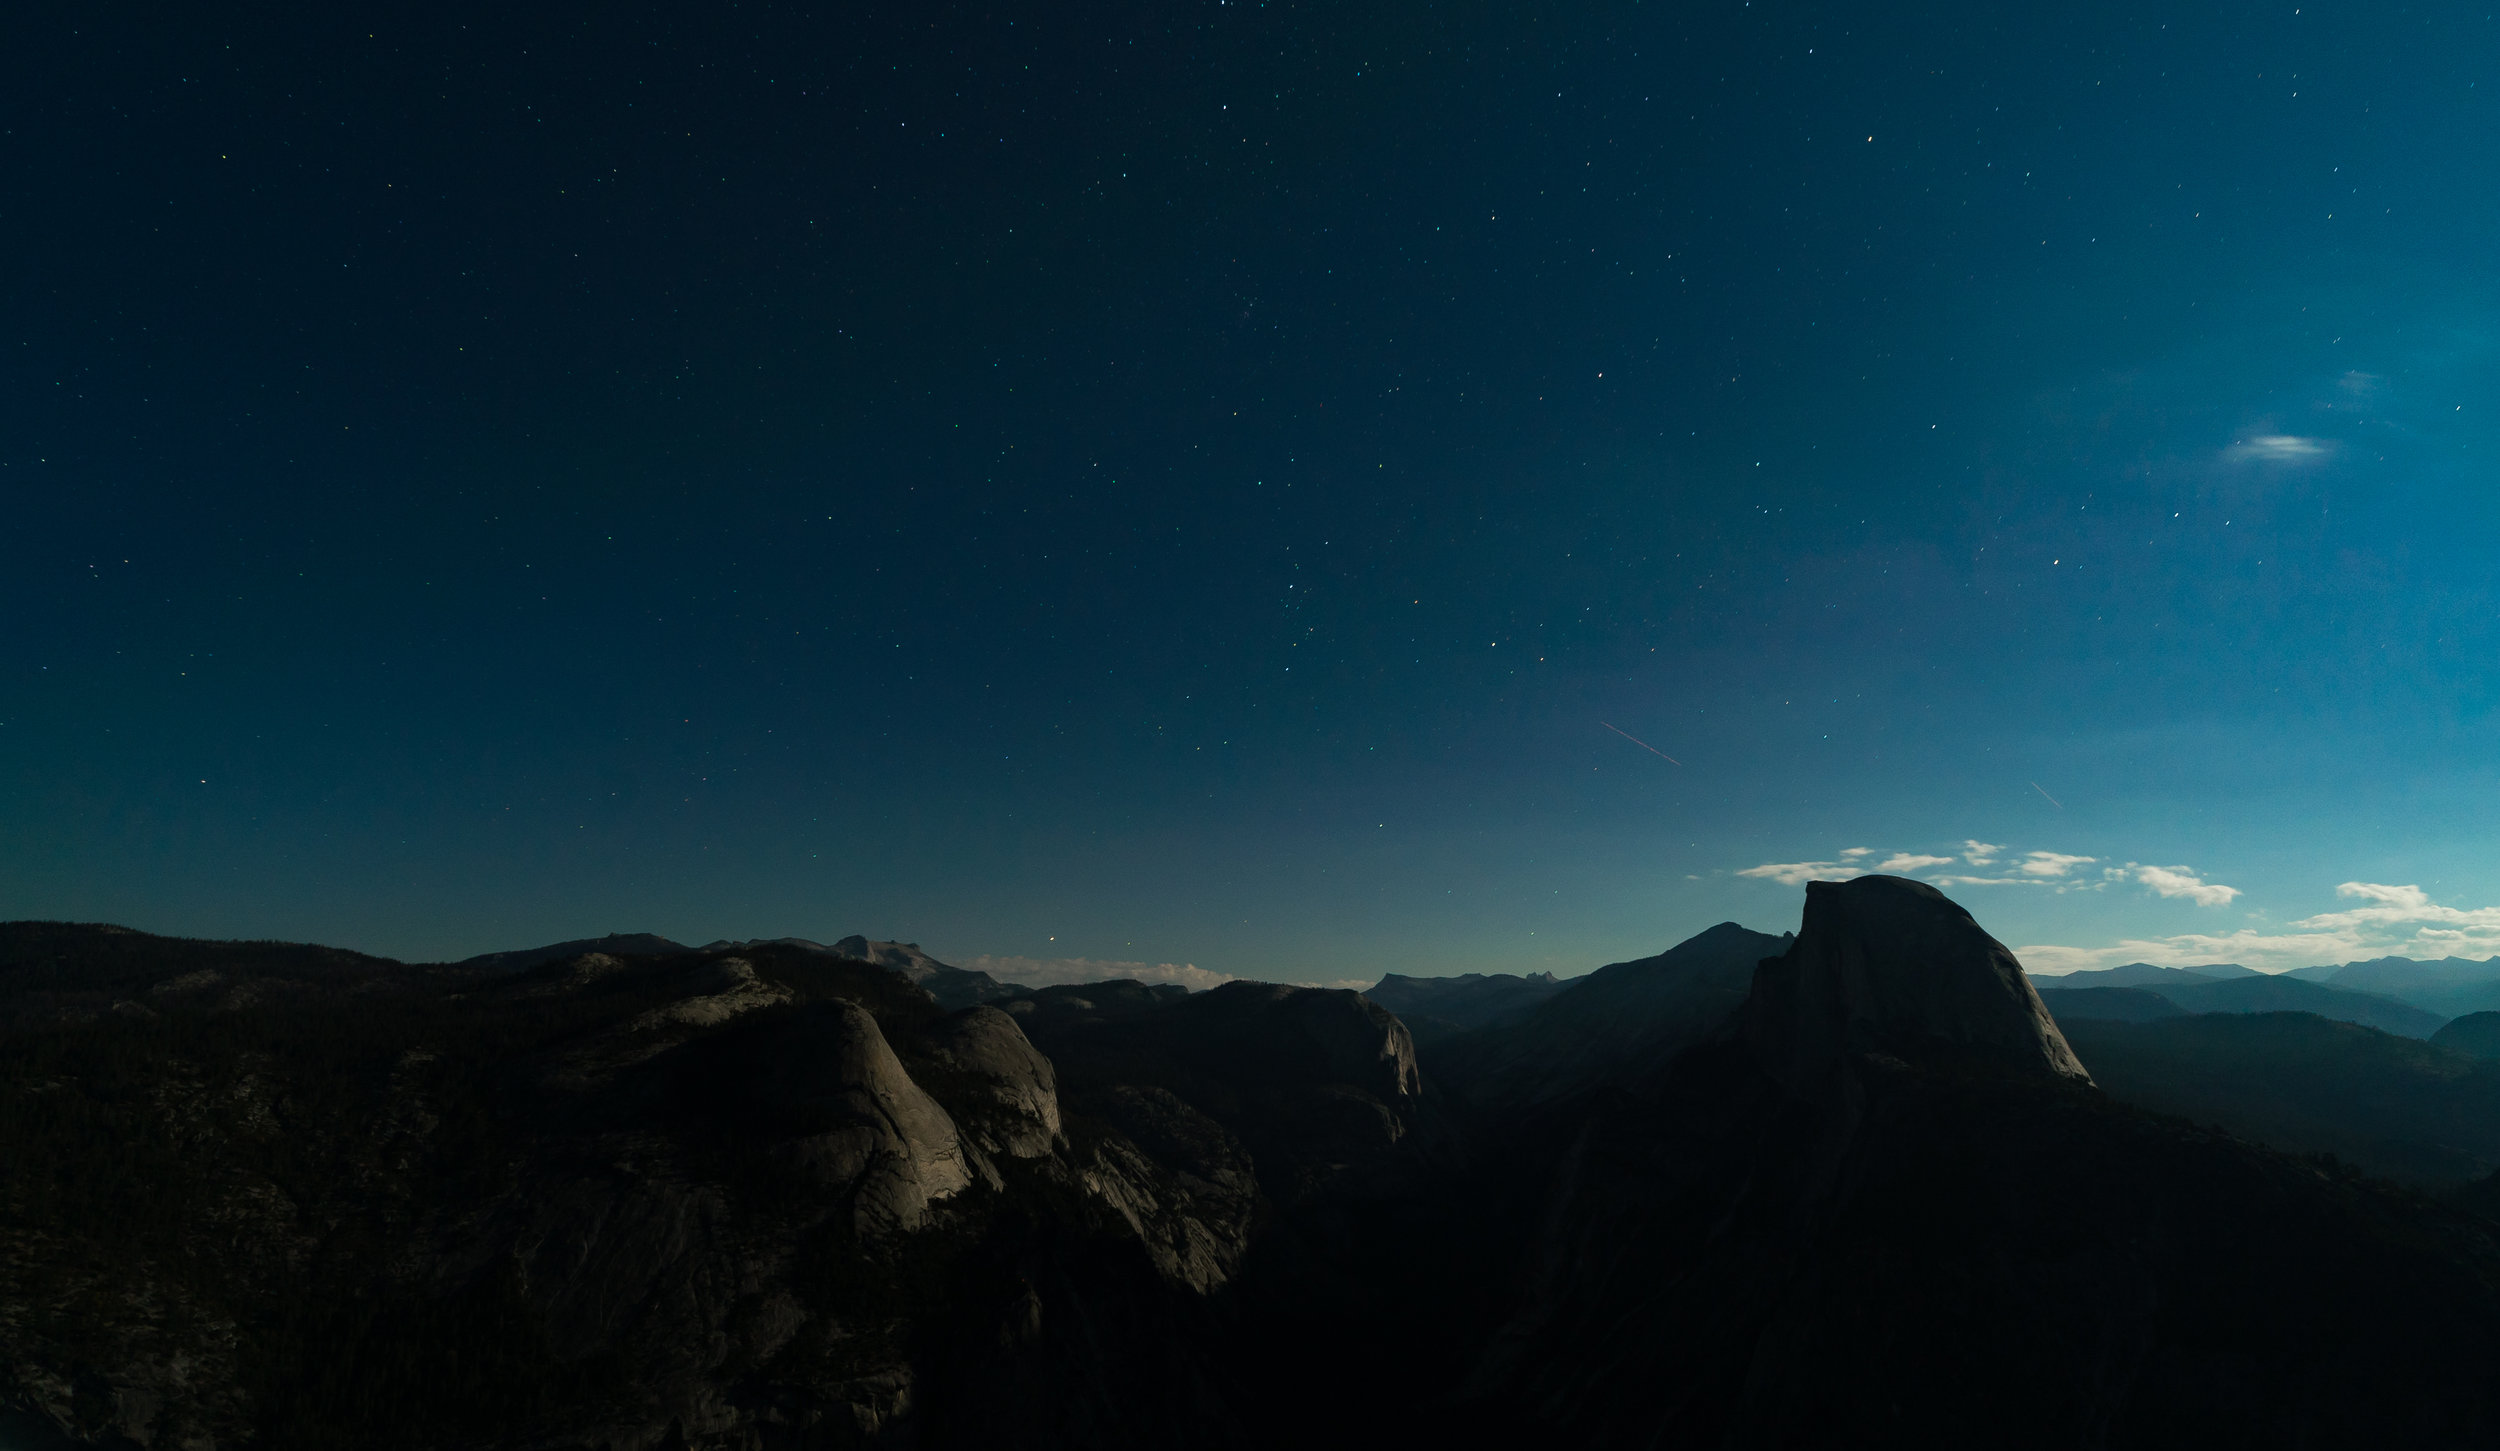
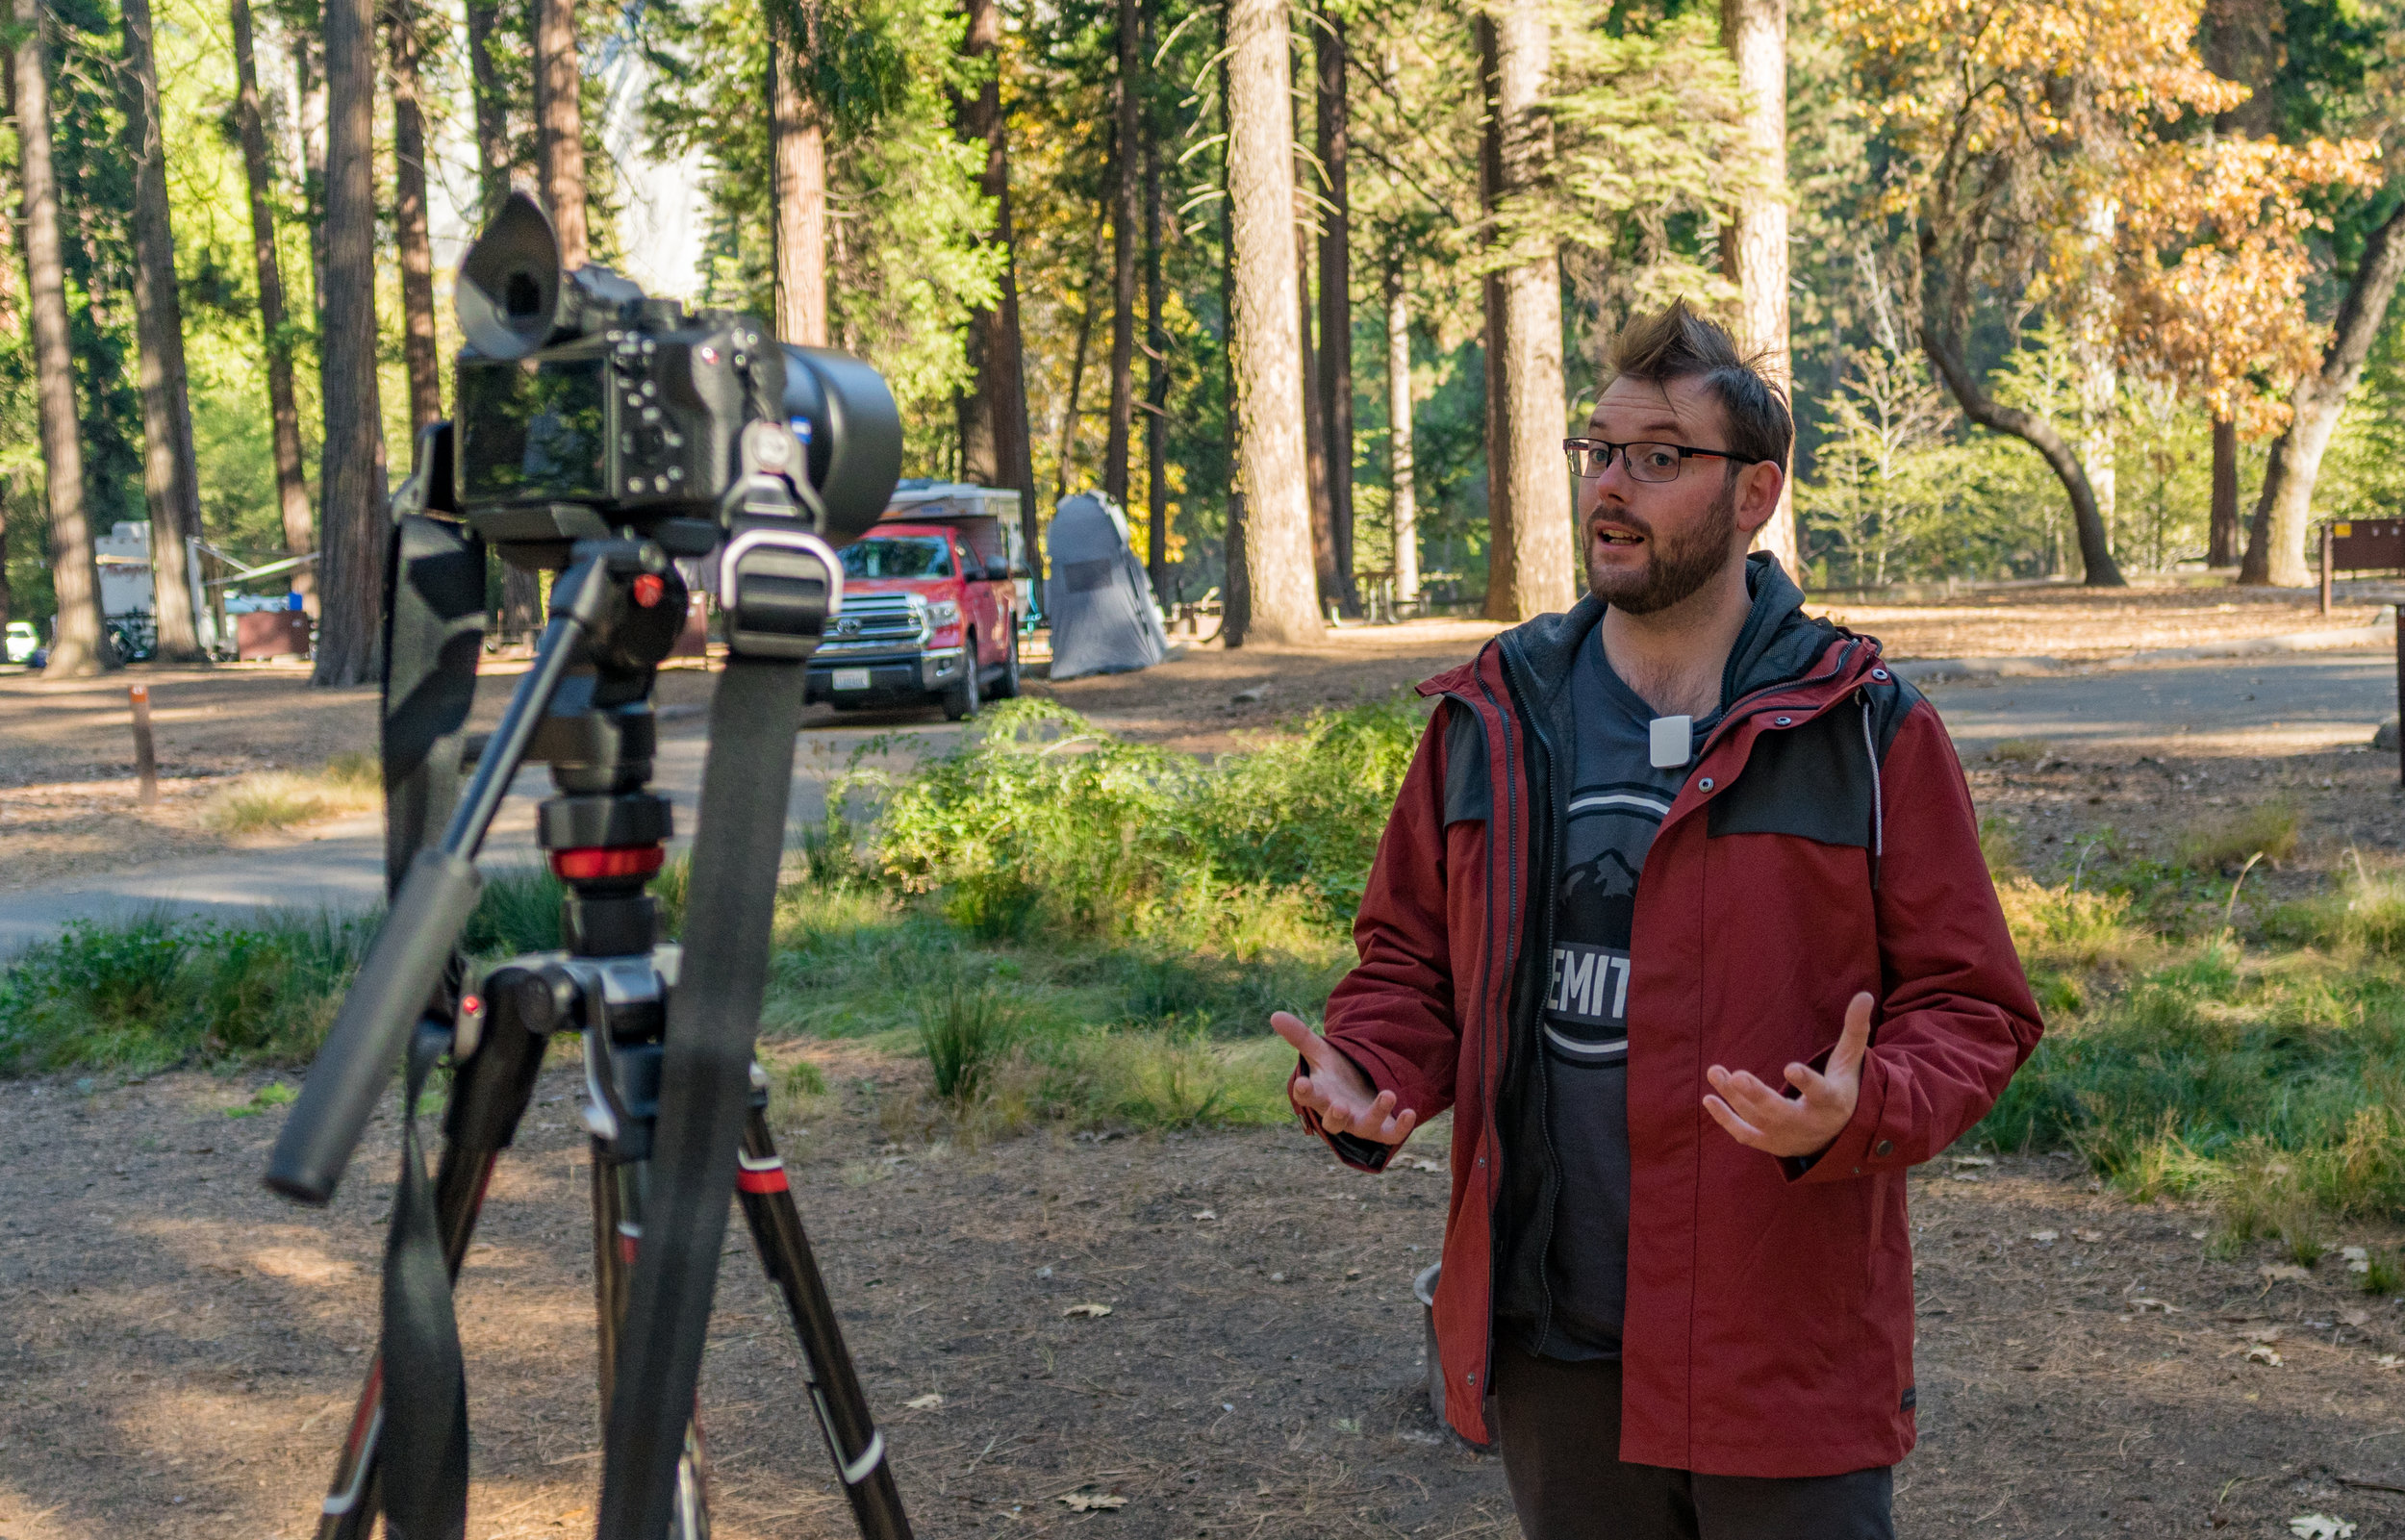
In October we travelled to Yosemite National Park on a collaborative project between APVideo, Manfrotto, ZEISS, Sennheiser, GoPro and Zhiyun-Tech. We wanted to demonstrate how to capture incredible photos and video while having an adventure. We were priviliged in using one of the first ZEISS Batis 2/40 CF lenses available, as well as capturing 360 degree sound using the Sennheiser Ambeo Smart Headset. This project is currently in the post production stage.
We are over the moon to have been recognised for our hard work at the business awards! We support both local and global businesses, organizations and events with bespoke video content, and getting the award brought home all of the hard work we put in for our fantastic clients.

For the last four years we’ve worked with The Ashley Centre, another local business in Epsom to capture the Christmas Light Switch On. It’s family fun at it’s best with entertainers, the pantomime cast and of course Santa! It’s wonderful to support another local business.
Fennies is expanding internationally, and with that they wanted a narrative based video production with multi language subtitles. From start to finish, we worked closely with the Fennies marketing team to develop the storyboard, narrative content and the creation of the subtitles in both English and Chinese. We provided a range of video delivery options including ‘burnt in’ subtitles in both languages, as well as the subtitle text files for use on online video platforms.
As you can see, APVideo has had an incredible year, and we can’t wait for 2019 to start so we can continue the filmmaking adventure. We’re looking to invest into more equipment, expand our team and continue to grow to be the most successful video production company in Surrey.
As well as all of those video productions (and more we can’t share just yet), we’ve also been very grateful to work with our filmmaking friends like Teralon, Warner Vision, JHWF and providing guest lectures and workshops at Kingston University. Collaboration is key in this industry, and we’re always looking to join new teams and crews to produce fantastic content.
We shoot in 4K, HD, in slow motion. We integrate with your teams, work together, collaborate and have adventures. We experiment, we create, we succeed. We are APVideo and love making video content. If you haven’t got yours, get in touch with us now!
The above quote is taken from The Scouts blog post.
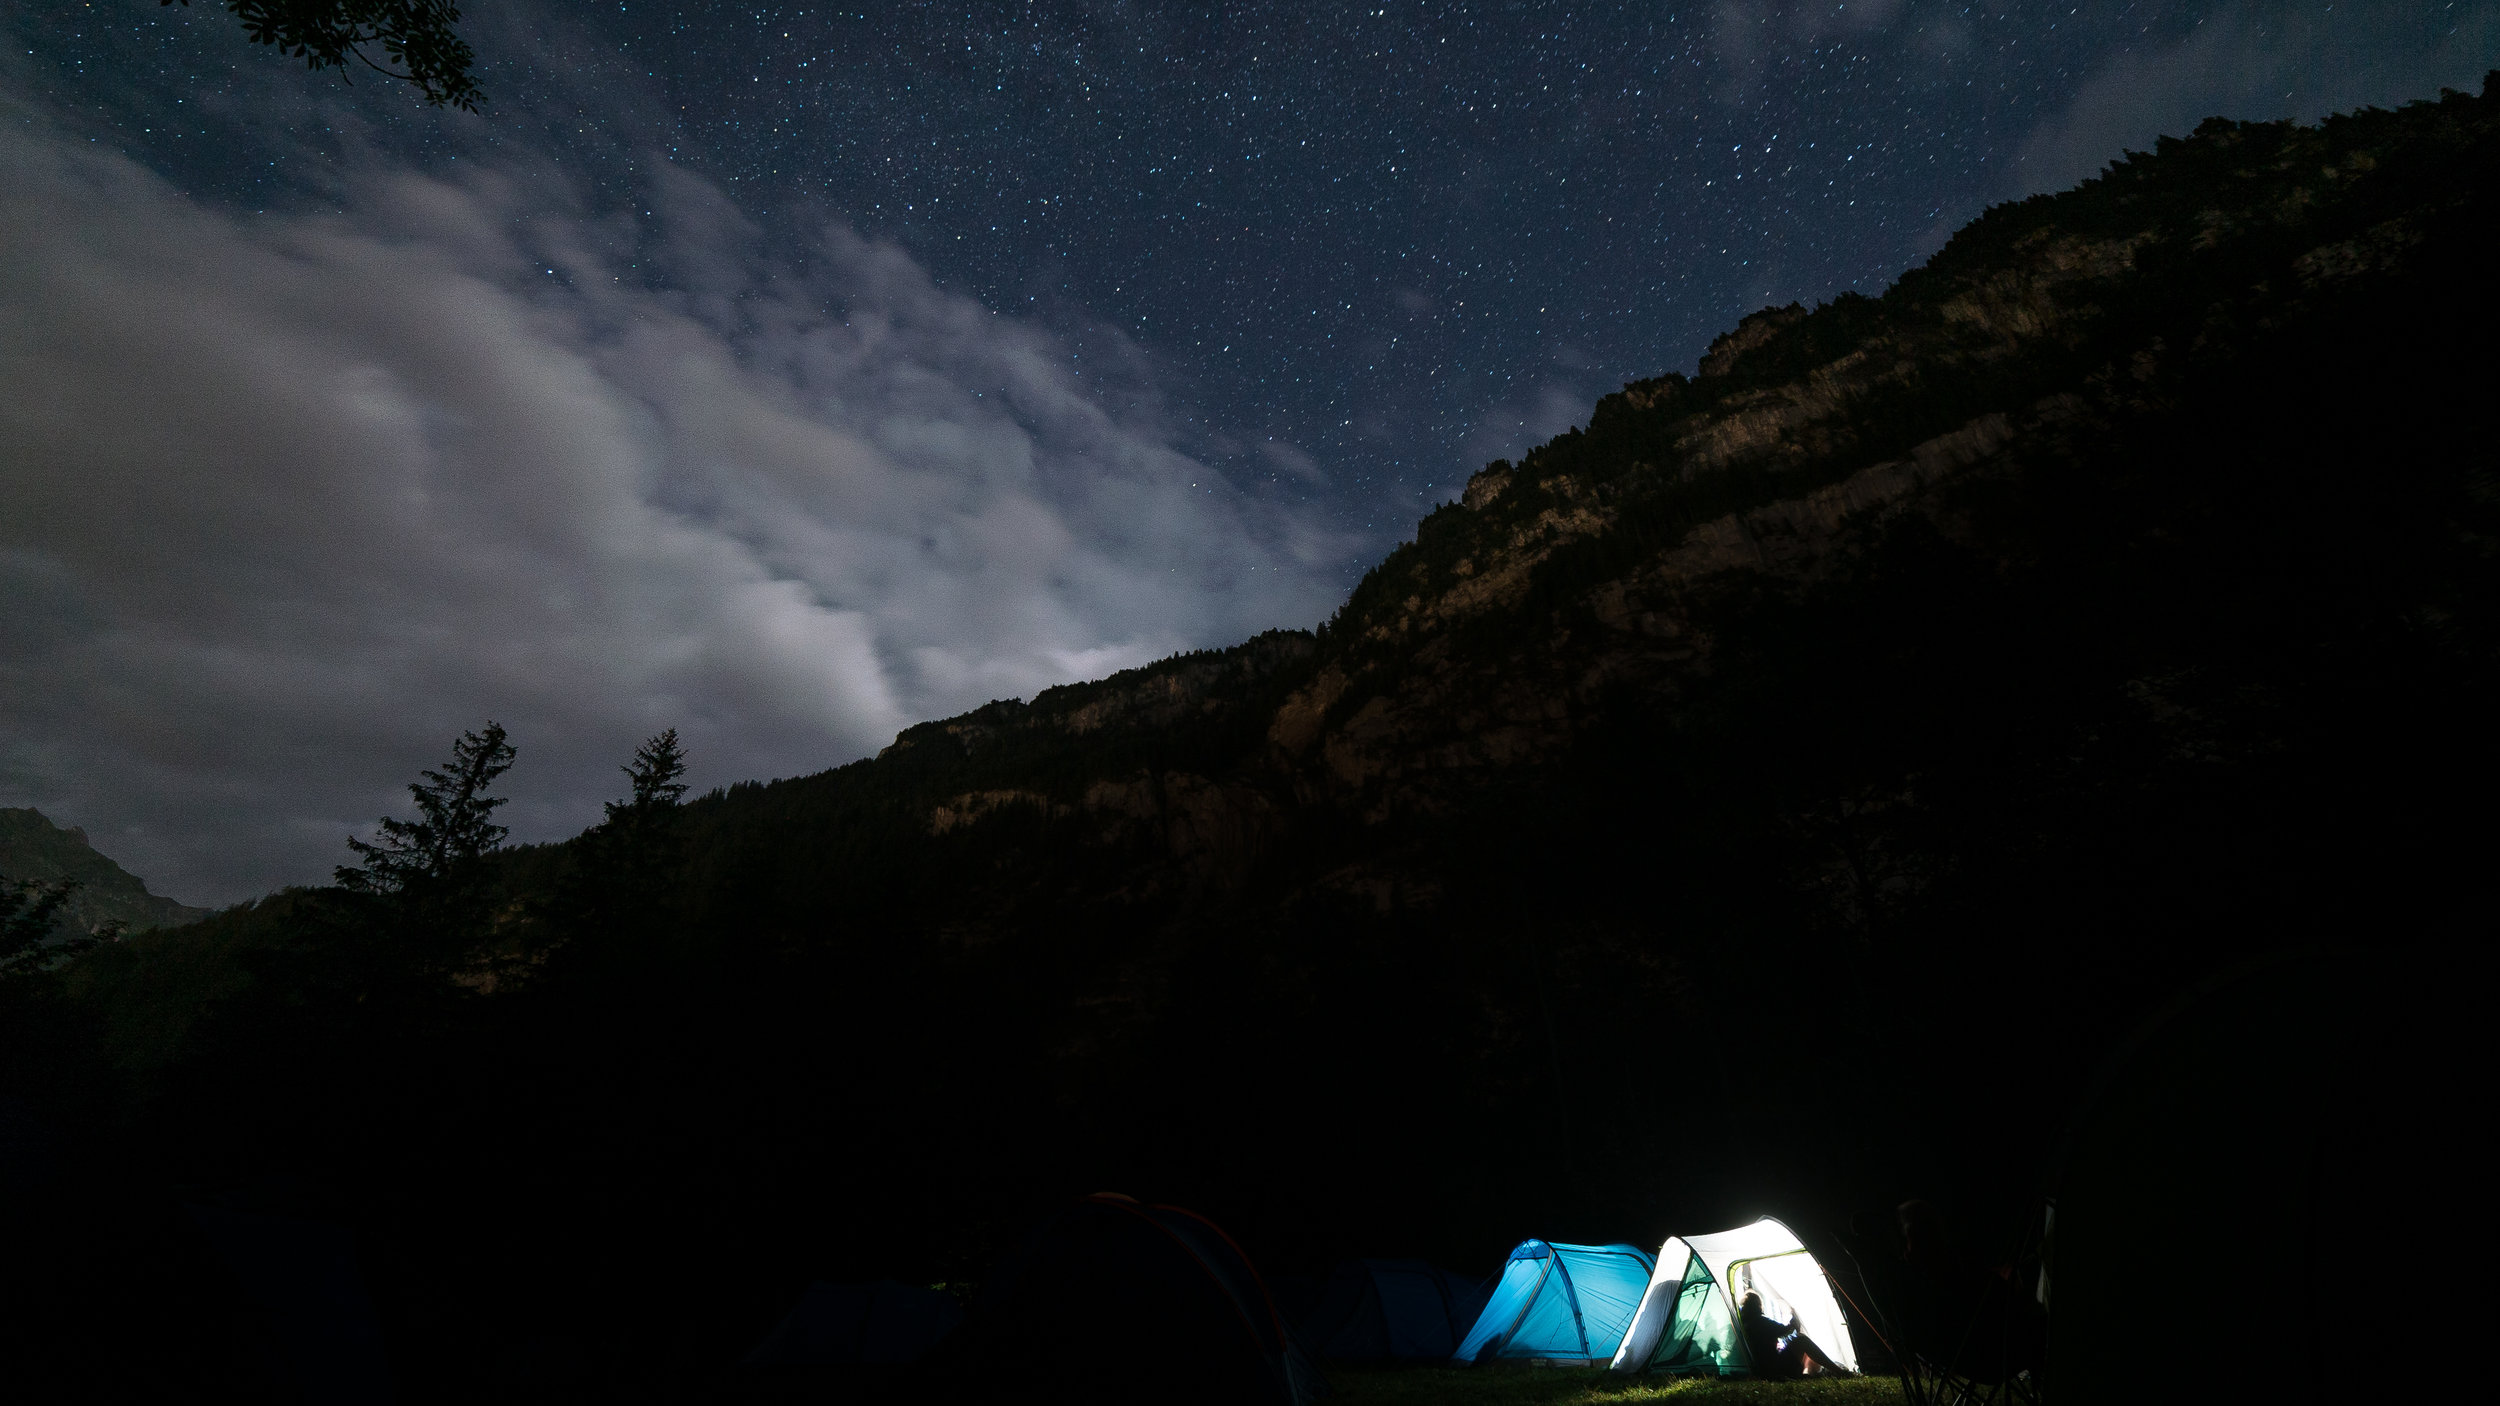
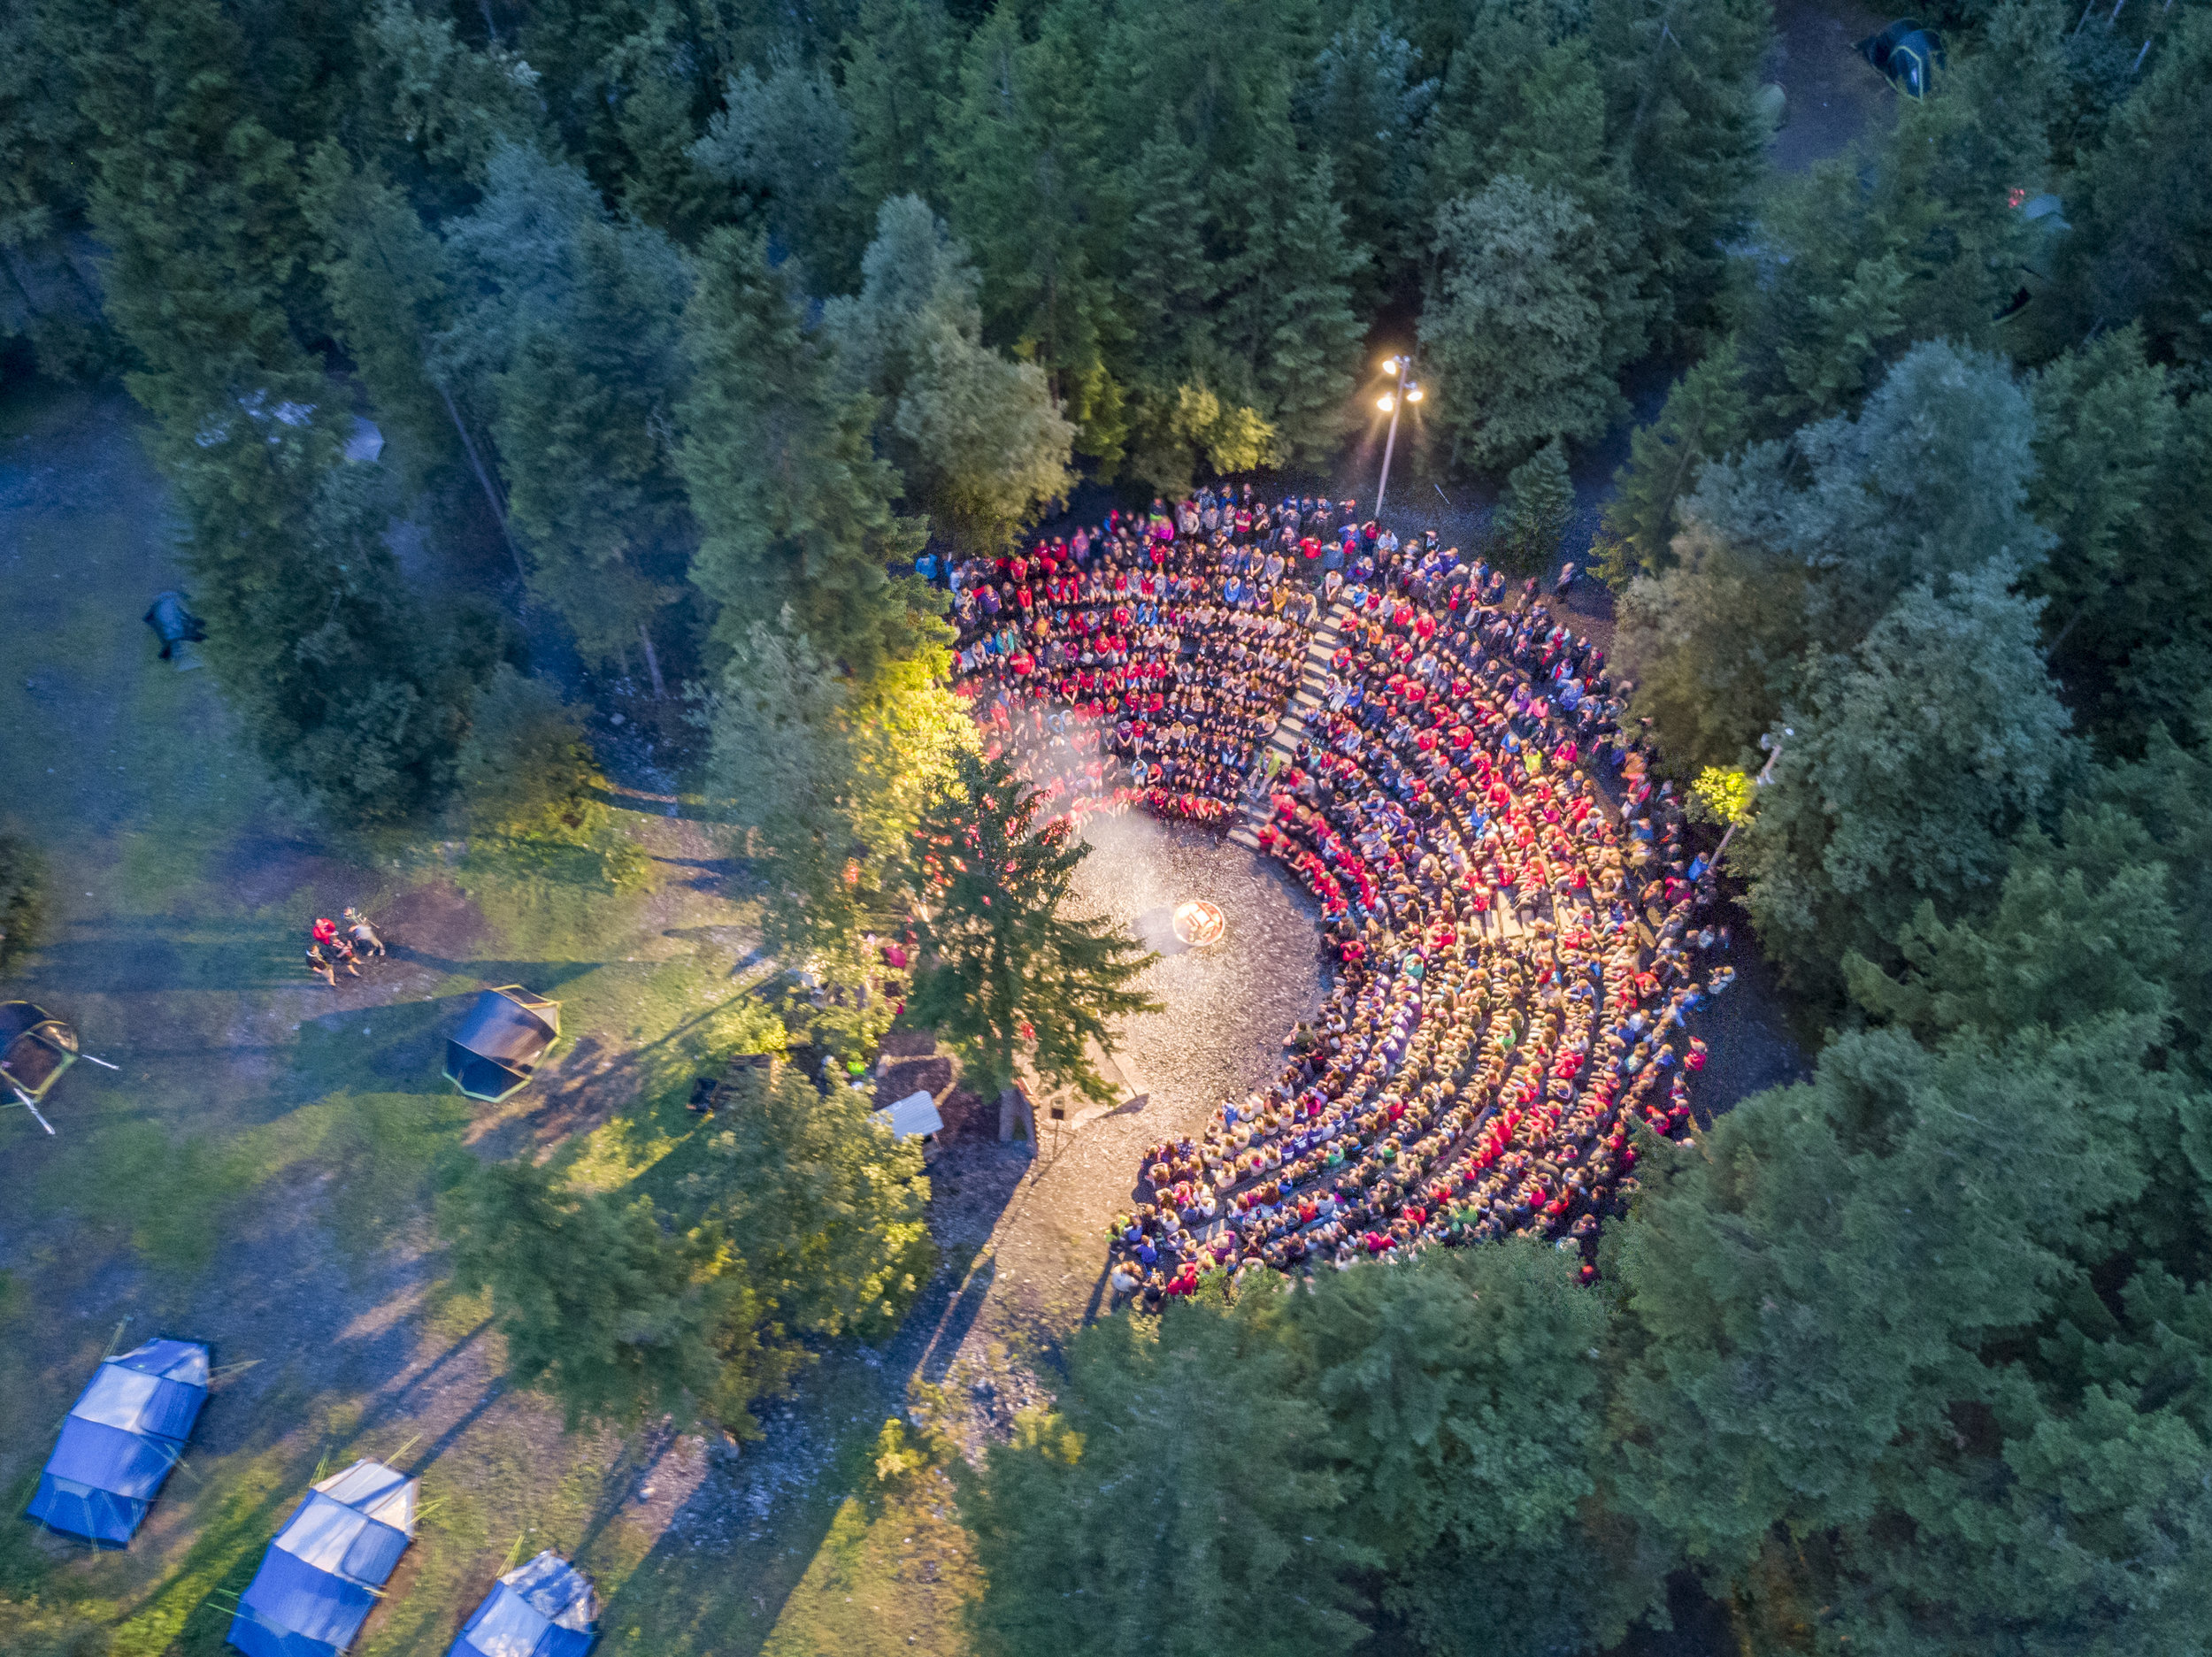
During the Summer of 2018, over 500 Surrey Scouts visited the Kandersteg International Scouting Centre in Switzerland. Part of my role in the County media team was to document the trip and share the amazing experiences with the world.
Little did I know that the above photo would become so famous. It’s been used extensively by The Scouts as it embodies everything that Scouting is about; worldwide friendship, adventure and a sense of belonging.
“The shot was captured using a drone.
I could see the camera downlink from the drone to my phone, which helped get it into position to capture some video footage. You can’t fly directly over the top of people for safety, which is why I composed it with the group slightly off centre, getting the tents and parts of the forest in there too. The drone itself can only fly for 15 minutes before you have to change the battery, which doesn’t give you a lot of time to fly, film and take photos! In the mountains it gets dark very quickly, so it was quite a challenge to get the drone to the right height, the right angle and in the right position – I was battling against the fading light and fast-moving cloud, which would quickly cover the drone.”
You can read the full article by The Scouts here.
Check out our KIX18 highlights reel:
The aerial photograph was captured using the DJI Mavic Air in HDR mode just as the sun set. The flood lights made the sea of red and surrounding forest glow out of the darkness.

The photo resounded with The Scouts so much that it has been selected as an ‘Image Of The Year’ and has also been included on the first Scout Monopoly board game, which is on sale now in the Scout Shop.
Spring is here, and so are Manfrotto's new backpacks in the form of the Pro Light Cinematic Expand, and Pro Light Cinematic Balance. They are larger than the original Pro Light range which makes them ideal for carrying a plethora of filmmaking gear, in this case the ZEISS Milvus Super Speed prime lenses, DJI Mavic Air and Zhiyun Tech Crane 2.

Checking out the views with the Manfrotto Pro Light Cinematic Expand backpack and ZEISS Milvus Super Speed 1.4/25.
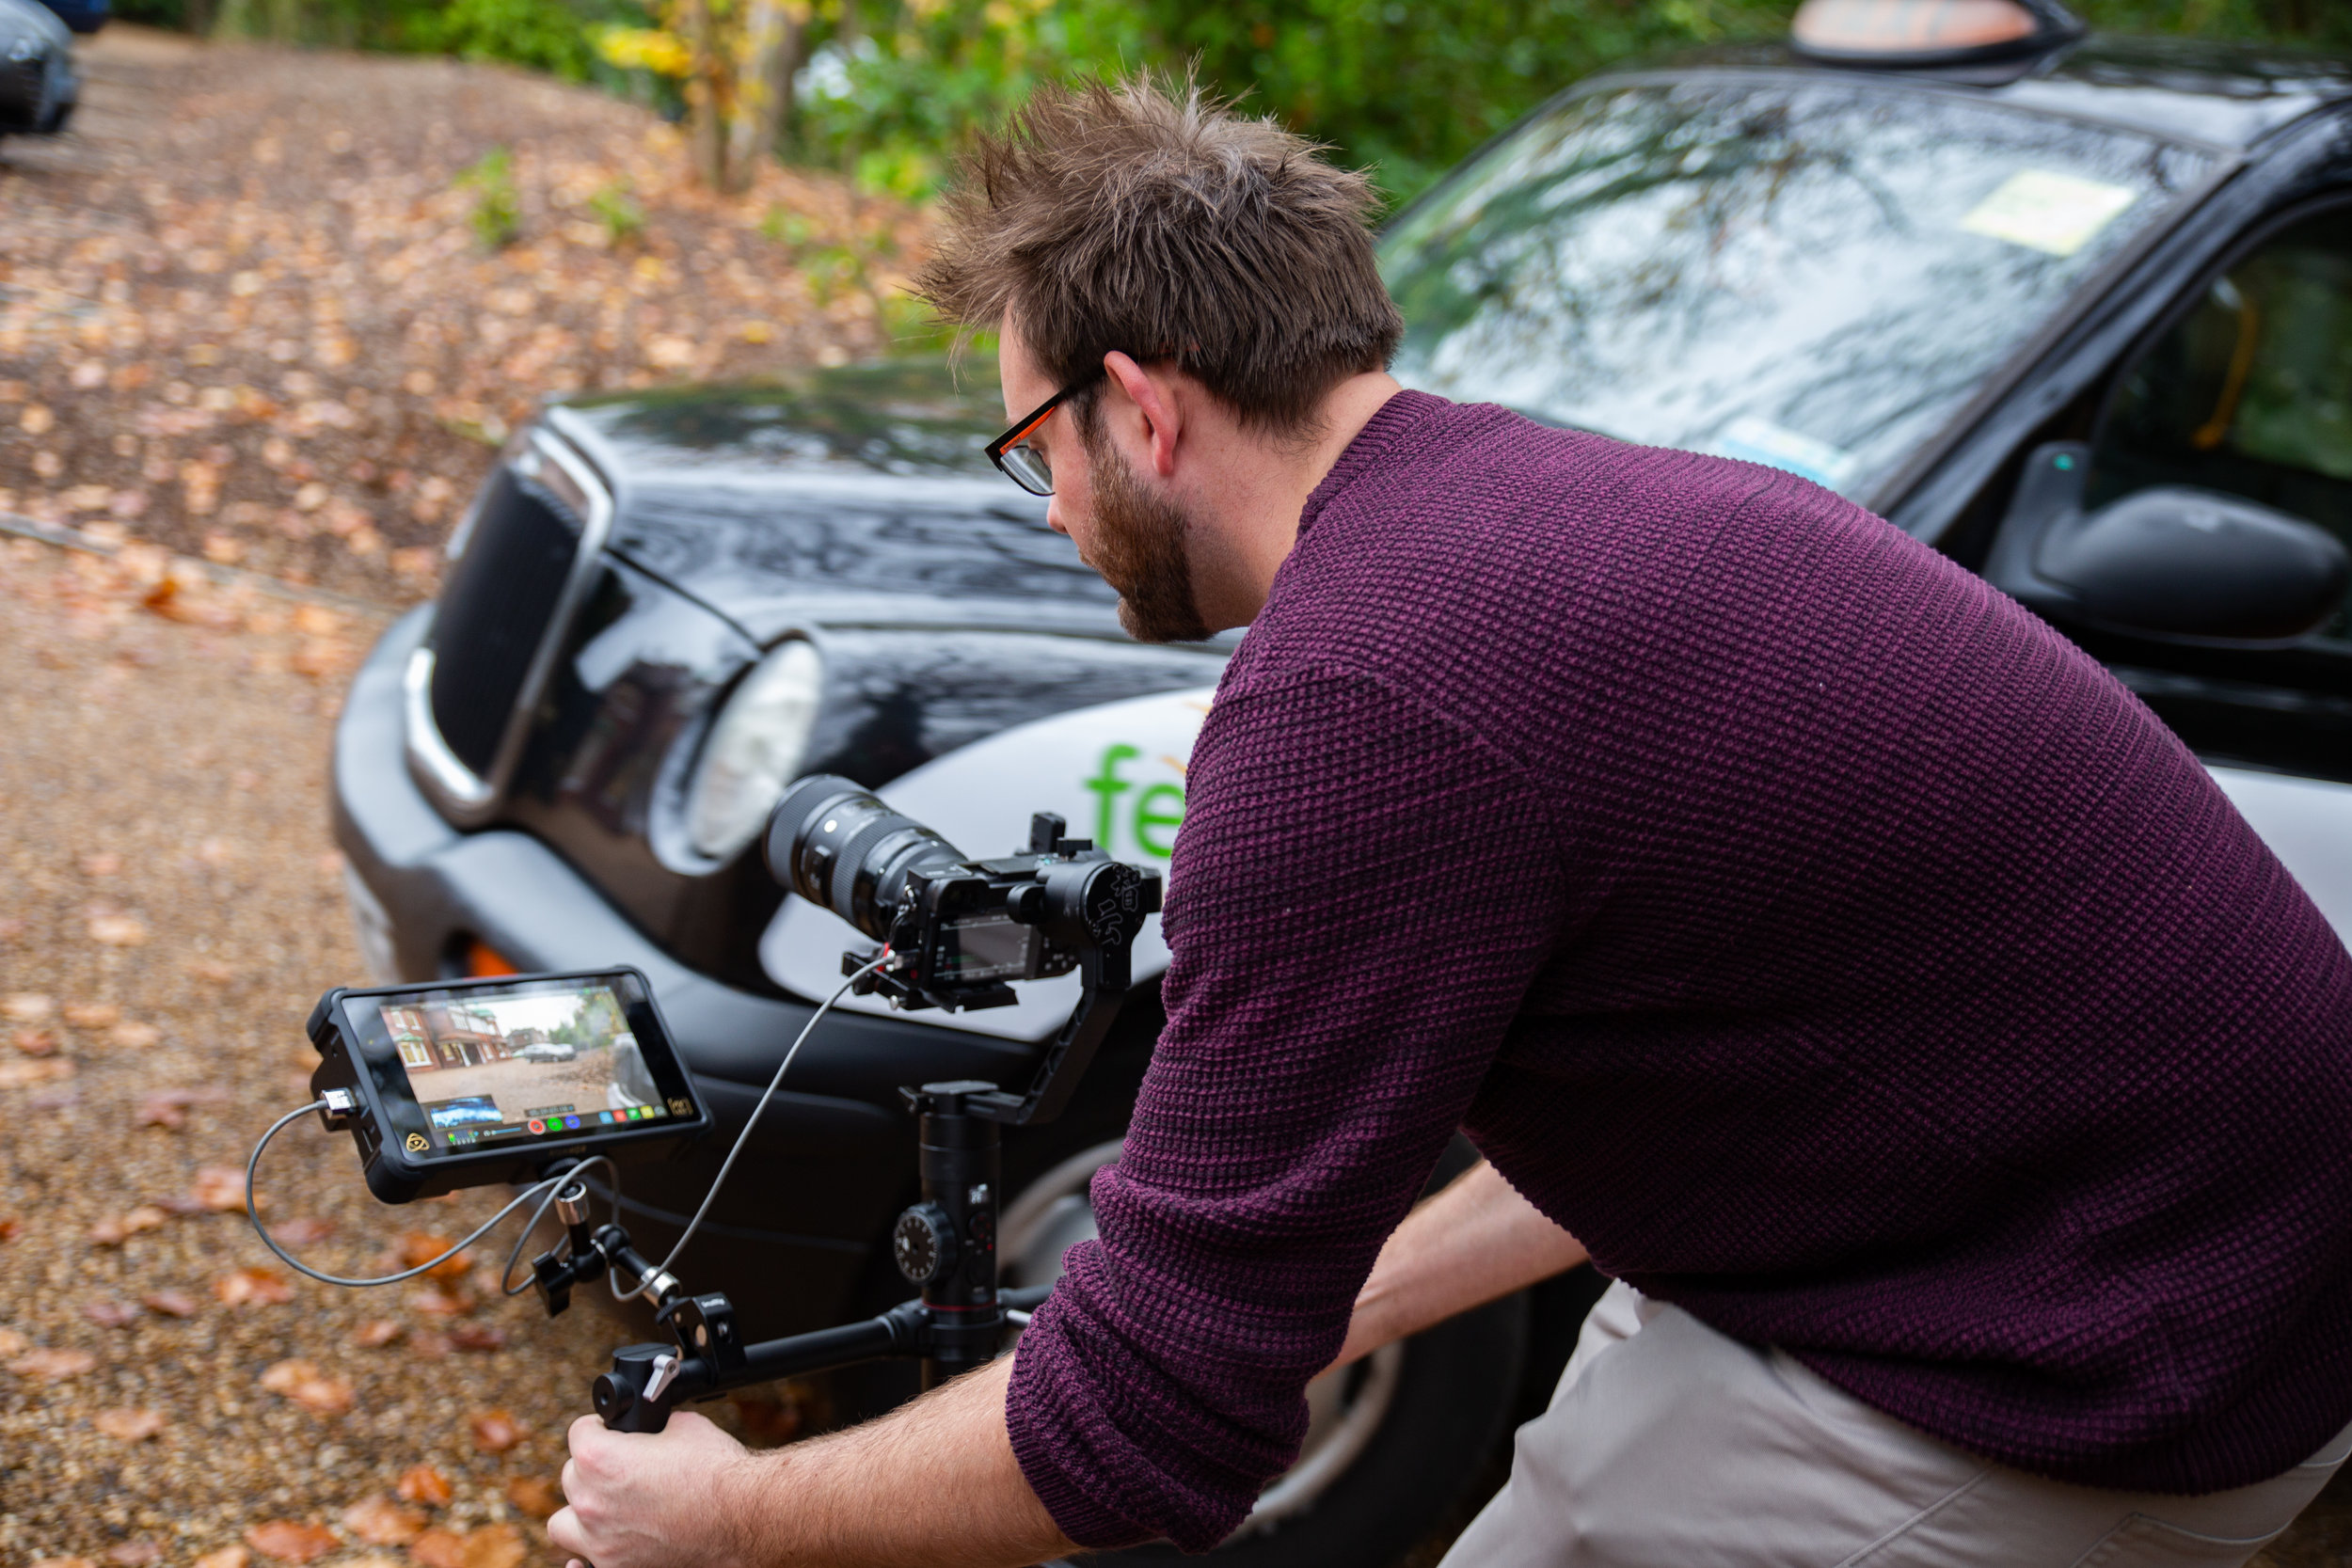
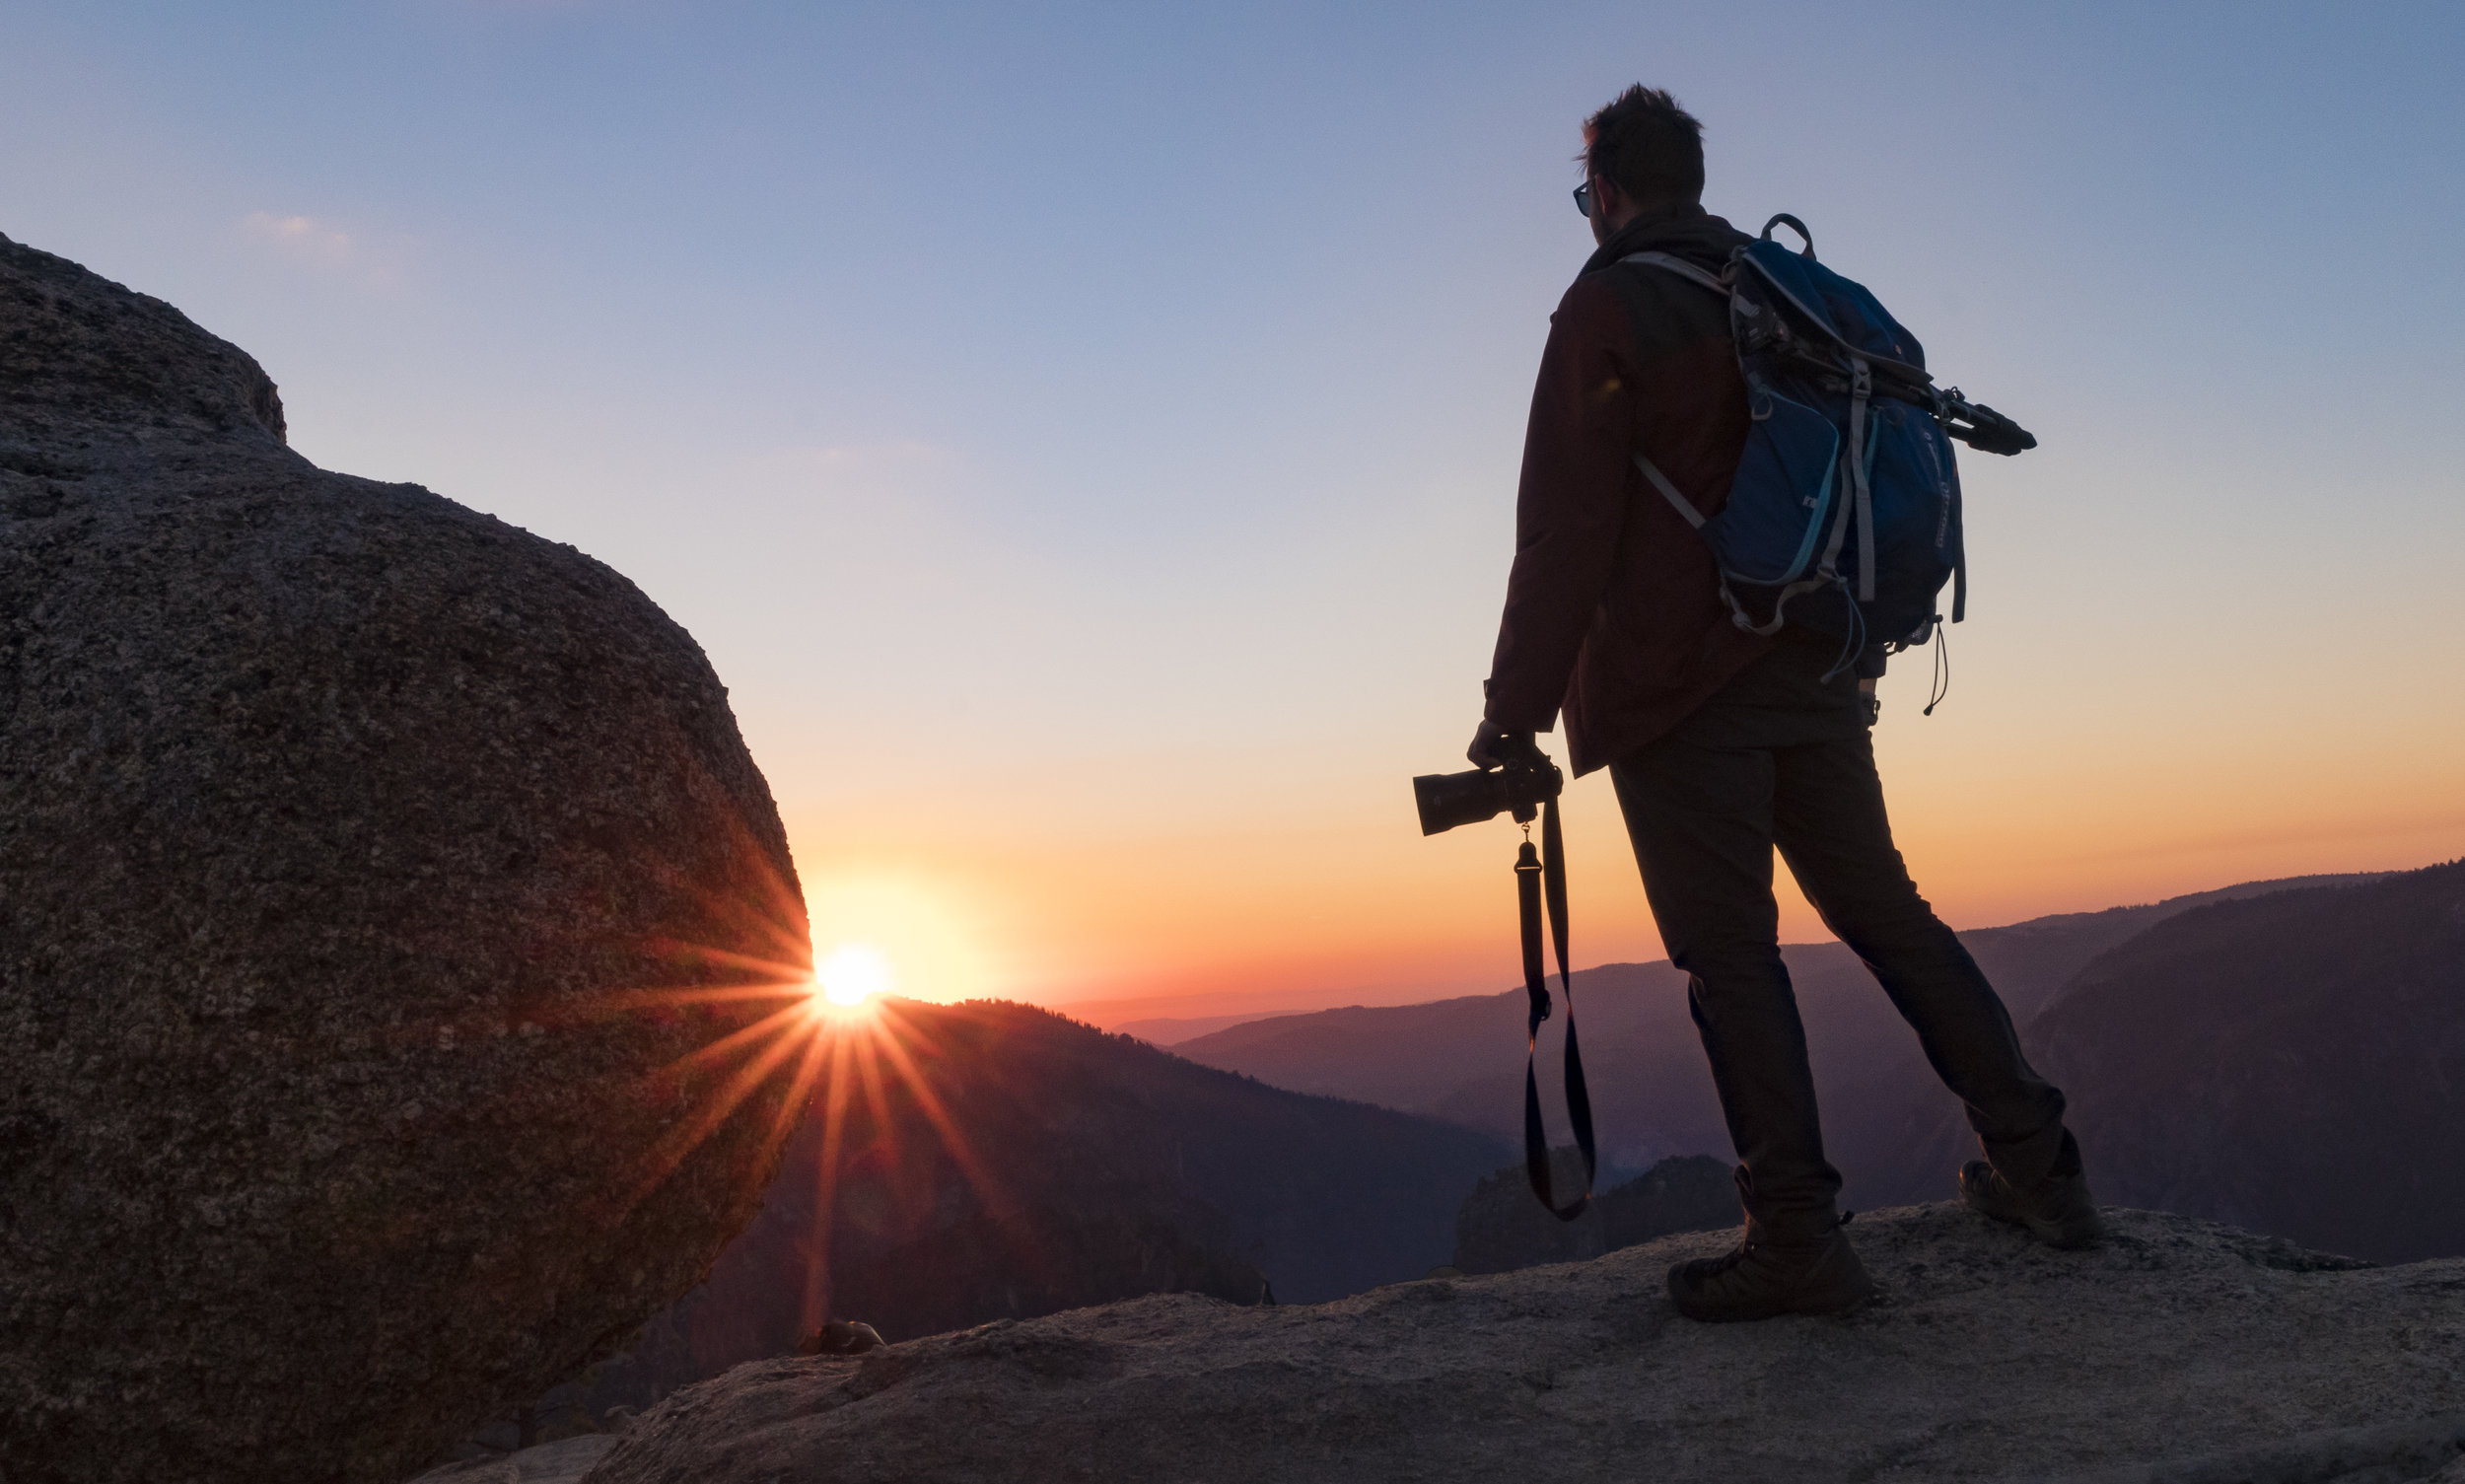
I headed out to the beautiful Surrey Hills to test out the new backpack and absorb the landscapes while out filming. Rich accompanied me to capture some awesome behind the scenes photos and video content too.
We spent a rainy day wandering around Holmbury St Mary and Leith Hill, recce'ing locations for filming that week. Luckily for us, the sun shone through the clouds for our 3 days filming!
Here is the kit list for the shoot:
Sony a7S II (with the SmallRig cage)
Sony a6500
Canon 5D III (BTS stills)
ZEISS Milvus Super Speed Primes (1.4/25, 1.4/35, 1.4/50, 1.4/85)
Zhiyun Crane 2
DJI Mavic Air
Canon 25-105mm F/4
Canon 17-40mm F/4
Samyang 35mm T/1.5
Manfrotto NITRO N8 video head and 535 MPRO tripod
All of the main filming kit fitted into the Manfrotto Pro Light Cinematic Expand.

The range of equipment used in The Great Outdoors filming. Inc Manfrotto NITRO N8, 535 MPRO, ZEISS Milvus Super Speed Primes
We captured some fantastic shots around the hills, featuring well known beauty spots like Leith Hill. Going on an adventure around familiar and unfamiliar territory, capturing the environment and landscapes that surrounded us was a great way to test the kit.
To add to the narrative of the production, Scott from The Surrey Hills Adventure Company invited us to the lagoon where he instructs SUP (stand up paddleboarding) as well as bushcraft, to shoot some material there. The weather wasn't the best, but Scott headed out on the paddleboard which made for some great aerial shots.
The sharpness of the ZEISS Milvus Super Speed 85mm was ideal for getting shots of the boat house, which was deliberately framed like a Wes Anderson shot!
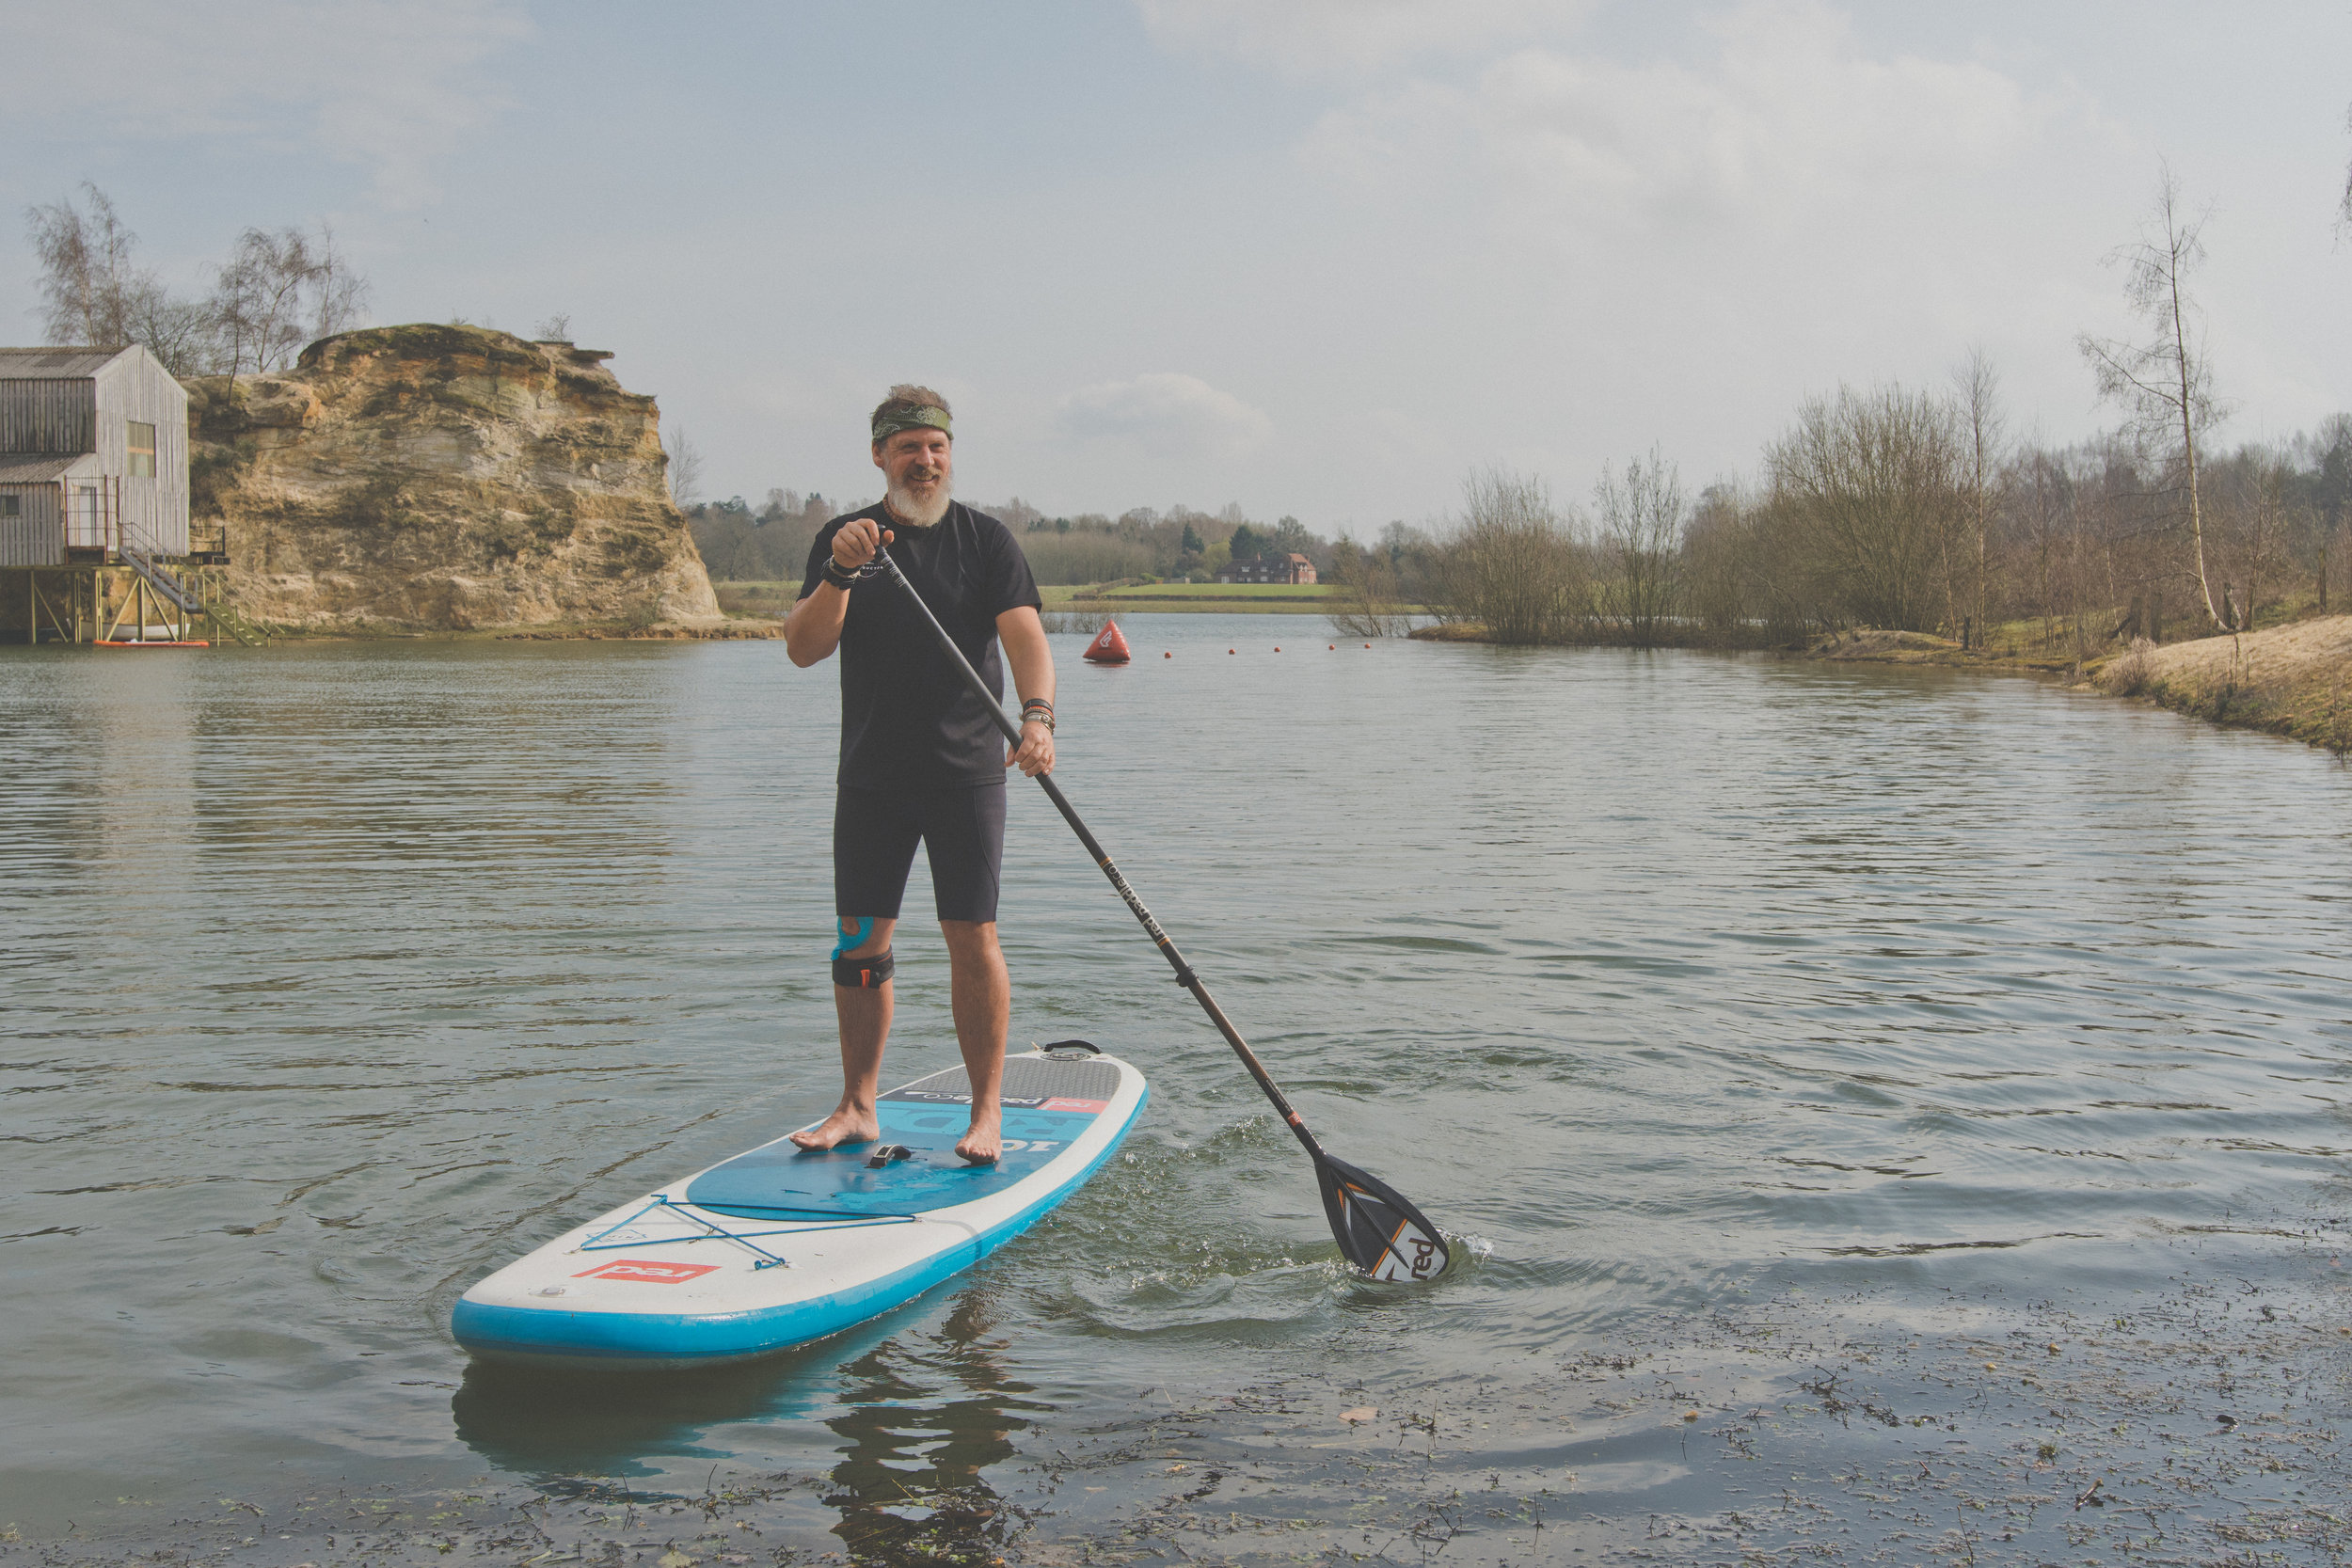
Scott from The Surrey Hills Adventure Company taking his SUP for a spin.
The ZEISS Milvus Super Speed Primes have a constant aperture of F/1.4 and can have the gear ring attached for use with a follow focus system. The lenses are of incredible visual quality (rendering 6K plus resolution images), and were ideal for filming on the Sony a7S II with the Sigma MC-11 adapter. I rigged up the camera and lens in the Small Rig cage, and attached the Manfrotto Follow Focus too, for precise focus pulling control at wide apertures.

The gear ring attached to the ZEISS Milvus 1.4/85 for a Manfrotto follow focus unit
For the silky smooth motion shots, the a7SII was rigged up with the Zhiyun Tech Crane 2, and even with the heavy ZEISS Milvus lenses, the gimbal performed very well (upon balancing correctly). The stabilised sensor aids greatly to reduce the up and down motion of walking, with the Crane 2 keeping everything else lovely and steady. As a handheld gimbal, I cannot recommend it enough.
I had the opportunity to shoot some lovely aerials around the area too on the DJI Mavic Air. This is my first little drone venture and is fantastic fun. The Fly More combo has enough batteries for between 45 minutes and 1 hours and comes with a nice carry bag too. I've managed to fit the drone, 3 batteries, controller and a set of Polar Pro ND filters in there too.

The DJI Mavic Air is a fantastic addition to the kit bag (Manfrotto Pro Light Cinematic Expand), and fits into the bag very well!
By the way, those Polar Pro ND filters are really needed to keep the shutter at 1/50 or 1/100 for slow mo. I've set the drone to Cinelike-D profile with reduced contrast, and then applying an S-like curve in post to bring back the colour and contrast. Shooting in 4K and 2.5K resolutions is great for post-production flexibility, when delivering a HD sequence.
Another technique to improve the colour richness, especially in the sky is to export the Mavic Air footage from your NLE as a PNG sequence, and then import it into Lightroom to apply the 'Dehaze' tool, which makes the colours more vibrant. It's a bit of a round-trip, but this effect/feature isn't available in Premiere Pro CC, yet.
One downside to the DJI Mavic Air is that the shadows are quite noisy, even when the image is exposed well, so keep an eye out for that. Below are some of the outtake drone shots of the Surrey Hills from the campaign.
The edit was where the story of 'The Great Outdoors' was to be built, and with some voice over recording and subtle soundtrack, the first part of the video began to come together. There was a lot to say about the shoot and the Pro Light Cinematic Expand backpack, in such a short amount of time. The visuals had to tell the story more than just what I was saying.
Rather than making the campaign video just a review, I chose to make the second part of the video different; changing the soundtrack and pace. This part was showing what you can do with the kit, what you can create and what stories you can tell.
I must say a massive thank you to Rich Tarr who accompanied myself on this production, capturing the BTS photos and video content. Without him, this couldn't have been possible! Also to Scott from The SHAC, if you're into outdoors, seriously check them out!

Rich Tarr, BTS producer
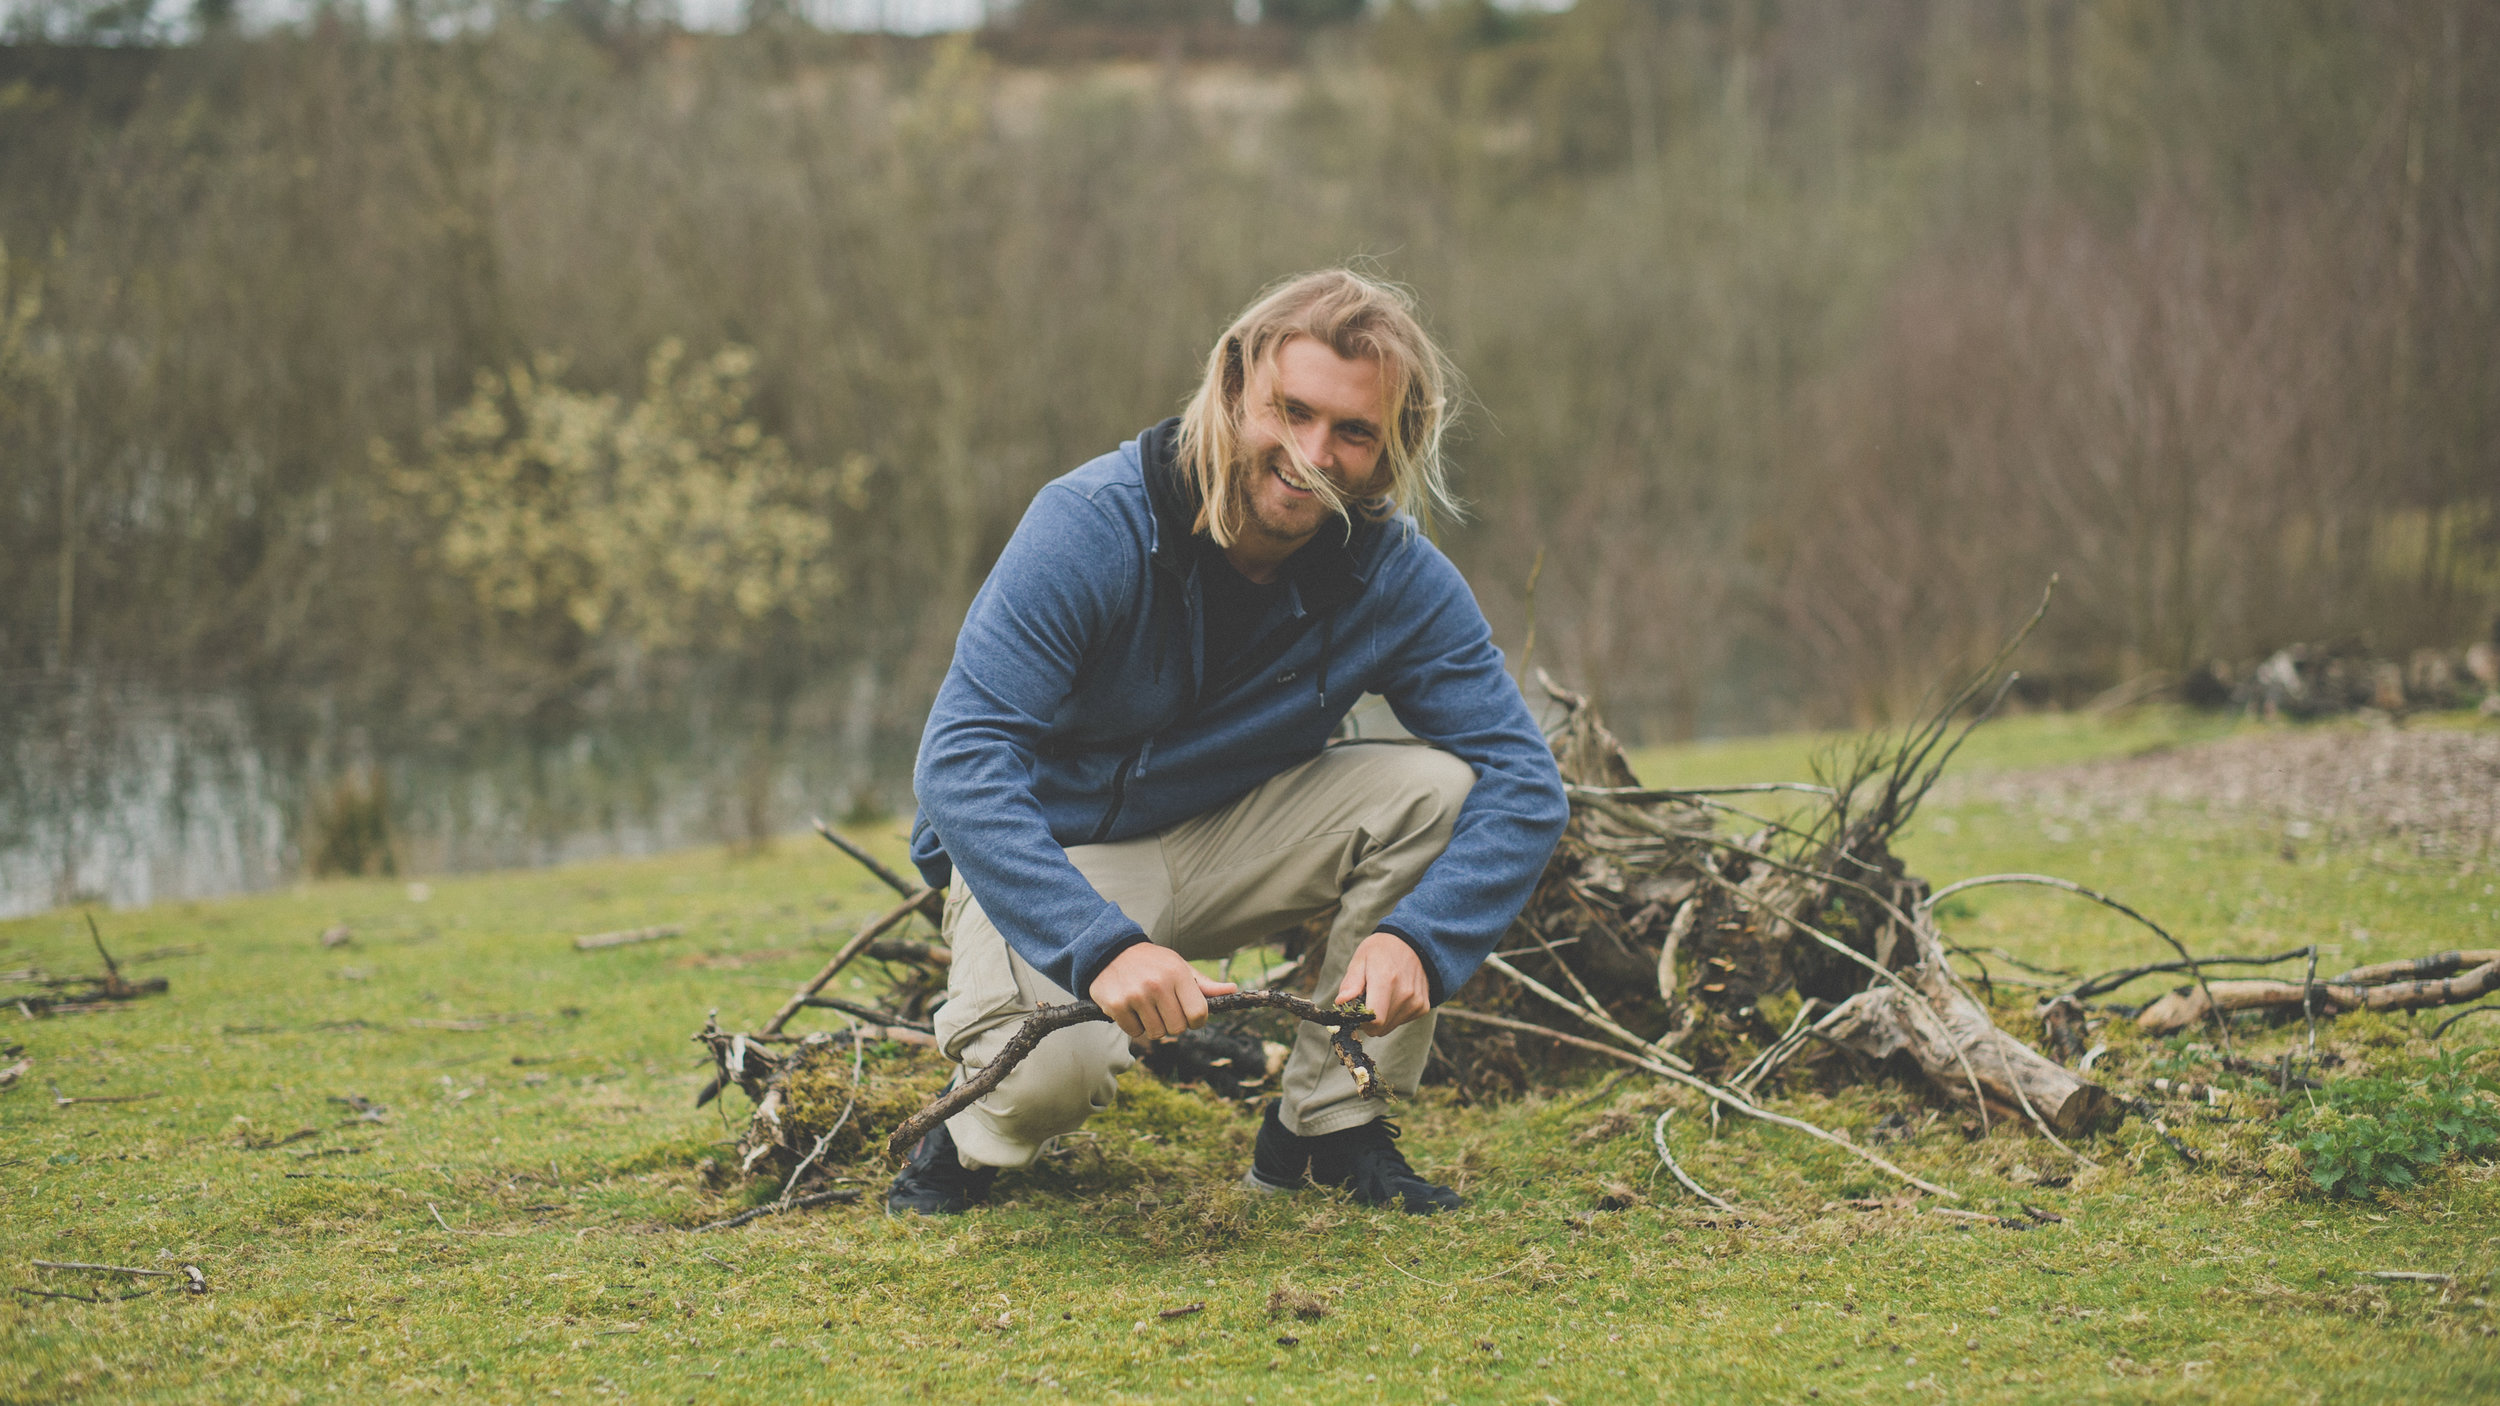
Rich getting back to basics
My verdict on the Pro Light Cinematic Expand? It's come with me for every shoot since this campaign. It's large and comfortable enough to carry a two camera setup with a set of 4/5 lenses and a telephoto. There is always extra room for mics and clamps, stands and the like by expanding the bag or making use of the quick access pockets. Try the bag out for yourself, it really suited my filming kit choice.
Overall, the campaign had a great reception and myself, Rich and Scott were really pleased with the result. To add to that, ZEISS will also be featuring a blog post and unique video about using the Milvus Super Speed prime lenses on their LENSPIRE website, so keep an eye out for that soon!
If you've got any questions about the Manfrotto Pro Light Cinematic Expand, filming with the ZEISS Milvus Super Speeds, flying with the DJI Mavic Air, then just get in touch!
Note: I am a Sony shooter so won't be looking in depth at the capabilities of the Crane 2 with other manufacturers, I have done some follow focus tests with the Canon 5D III as an example.
Feature wise, the Zhiyun Tech Crane 2 packs much more into the gimbal than the Crane 1 and Crane v2 combined. It's increased payload means that shooters using Canon 5D's or Sony a7's with Metabones adapters can comfortably operate the gimbal with less stress on the motors. I've even seen Canon cinema cameras, RED cameras and Sony FS5's rigged on them!

Using the Zhiyun Crane 2 while filming for Manfrotto
A brand new feature is the follow focus, in which I've seen some great examples of Crane 2 operators pulling and tracking focus on moving subjects. Zhiyun Tech has since updated the gimbal firmware so that a number of the camera control features are now available when filming on Canon, Sony, Nikon and Panasonic cameras!
The biggest improvement for me has been using a Manfrotto standard quick release plate, that simply slides on and off the gimbal. It means you can go from filming on a tripod or monopod straight onto the Crane 2. No hassle, no screws to undo and then re-balance the gimbal. It's simple, and it works.

On a recent shoot, I swapped between filming with the Sony a7S II and Sony a6500 on the Crane 2, which was ideal!
Dual handles for the Crane 2 allow for more accessories such as a monitor or microphone to be added to the setup. There is also a follow focus unit now available too, that hooks up to the focus wheel on the handle. For more info about the gimbal and accessories, check out the product page here.
I use the Zhiyun Crane 2 on pretty much all of my video shoots, and combining it with 4K or slow motion really adds a level of production value that I hadn't been able to achieve before. Check out the next blog on the making of 'The Great Outdoors' for more gimbal action with the ZEISS Milvus Super Speed Primes!

The F Word Creative Technologies Guest Lecture at Kingston University
Here are the lecture notes and podcast entitled 'The F Word'. Can you guess what the F word is?
You probably guessed it, freelancing was the topic of the guest lecture at Kingston University for students in the 'Creative Technologies' courses. I graduated in Television and Video Tech (a course that is sadly no longer running) back in 2013/14, and since then freelancing has been a big part of the journey I'm currently on.
I showed a number of films that I worked on, including the BTS film for 'OSTRICH' which was created to promote the Tokina Cinema Lenses;
More recently, I worked with HaZ Dulull on his latest feature entitled 'The Beyond';
Later in the lecture, I showed a diagram that a TV producer showed me on a packed DLR train after BVE a couple of years ago. It's a graphical way of working out the steps to get to where you want to be, whether that is for work or for creativity. I've called it 'The 4 stages of career development and creative enlightenment!'

The 4 stages of career development and creative enlightenment!
Enjoy the podcast and videos, it was great to go back again and I look forward to the workshops that are in the plans.
DIT, Digital Imaging Technician, Camera Operator, Camera Assistant, TV Crew, TV Production, Film Production, Film Crew, UKTV, BBC Studios, Channel 4, Channel 5