vdslr

New Rokinon/Samyang 12mm lens!

Rokinon/Samyang have been pioneering high quality photography and VDSLR lenses for a number of years now, and with the introduction of their Cine lens range they are a must have for intermediate kit choice for a number of reasons:

  • Incredible build quality results in top images; compared with Canon L series, this glass holds up nicely.
  • Price; cheap enough to get a whole kit for the price of one L series lens.
  • Manual control; much better for video, allowing subtle aperture changes and precise control.
  • Small size; I've got 3 and they all come out with me. They aren't large lenses to carry or use on camera.
New Rokinon 12mm cine lens

Rokinon announce another cine lens to their line up; the 12mm F/2.8 (digital photo) or T/3.1 in the VDSLR model. An ultra-wide fisheye, perfect for large landscapes, extreme perspectives, fast sports and music vids.

Personally, if I was to purchase this new lens I would go for the 12mm F/2.8 digital photo model for use on crop sensor cameras for an effective ~18mm focal length.

What are your thoughts?

Filming and editing the Soundbox opening video!

I thought I'd give you an insight into the production of my latest video release; the Soundbox studio opening!

The event took place before the summer, and I took along Sam to help me out with the gear and eat delicious cupcakes! We arrived with about an hour prior to the opening so I could capture some of the establishing shots and BTS of the final touches to the studio.

I had my standard video setup with me:

5D mkIII, Tamron 24-70, Sigma 70-200, Samyang 14, 35, 85.

Zoom H6, Roto-mic.

I also used the new Manfrotto Spectra LED lights, the bi-colour model is fantastic for a kick of soft light that can be easily controlled to daylight and tungsten colour temperature.

For the grip I had my trusty Manfrotto 755CX-3 and MVH-500AH as it is lightweight and easily maneuverable around small spaces, as well as the Manfrotto 681B monopod and MH054 ball head, Edelkrone slider plus and flycam nano.

Construction and tidying up was still under way when we arrived, so I captured some of the nerves and excitement leading up to the big launch. For the establishing shots I used the Edelkrone slider on the Manfrotto tripod, combined with the 14mm cine lens it gives a great moving perspective and shows off the space very well.

Natural light conditions

It was quite dark in the studio, so I struggled with aperture vs exposure and often shot very shallow to retain light. The beauty of the 35mm and 85mm cine lenses is that at T/1.5 they are extremely sharp and great for low light, however without image stabilization a tripod is recommended. I always have my 'go to' lenses on hand as they have good IS and are zoom, so for more run and gun style shooting it suits it much better than needing the time to set up and compose a shot.

soundboxstudioest1
soundboxstudioest2
soundboxstudioest3

The monopod became more useful when the eager visitors began arriving, and after a short and sweet speech, Matt and Jack opened Soundbox to the public!

soundboxopeningmatt
soundboxcupcakes

I captured the buzz and excitement of the event, you could feel the anticipation in the air to see the hard work all finished! I worked with the 5D on the monopod and tripod for most of the time, and occasionally used the Flycam Nano for some moving shots through the studio. I did have to balance the camera and lens when I arrived, as it was set up for a different body when I last used it..

One important skill that I've learned is to become invisible to the guests at the event, or if that tactic doesn't work, being a photographer is a good one too! Acting professional and friendly keeps your subjects in a relaxed and candid manor, rather than adjusting their clothes, posing or avoiding the camera all together. If your subject can feel your good aura, they should respond positively :)

soundboxrecordingstudio

The lead artist of Soundbox is Rebecca James, who was there to perform and support the launch of the studio too! She belted out some great numbers, accompanied by a group of ace musicians on bass, electric guitar and percussion. The track in the background of the video is Rebecca's new one, and will be on her upcoming EP!

rebecca james

Slow mo

As you've probably noticed, I shot a large majority of the event in 50fps (slow motion).. This was purely a creative decision on the day, and also a chance to work in a different format presents it's own set of challenges to overcome.

Now, on the 5D mkIII it will record 1080p 25fps and 720p 50fps. When recording in 50fps the picture appears much softer, and a little darker too due to the shutter speed reduction. In an already darkly lit location, either shooting shallow or with a high ISO were my options as I don't like using a light on camera.

You can push the 5D mkIII very far with it's ISO in video mode, and I often shoot at ISO 2000 and above in certain circumstances.

Gear

Shooting with the Manfrotto gear made me discreet in my filming approach, and provided me with perfect grip and stability for capturing the video. I could rest easy also knowing I stored by camera gear in the Pro Backpack50, so if anything happened to it; kicked dropped, moved, liquid spillage.. My gear is safe.

Post

Backing up the footage happened pretty much immediately after the shoot, onto both drives in my work station and a couple of EHD's. Then, in Premiere Pro I imported the footage, and split up the 25p and 50p into separate sequences so the slow mo footage can be slowed down to the right playback rate.

After cutting down the rushes to the best content, I imported the audio track which Matt from the studio sent over. It's Rebecca James' new track '1000 Roses', which will be on her new EP. To add to the rhythm and pace of the edit, I used the beat and some surprising cuts with the track, and adding in the slow mo shots of Rebecca's performance and the band playing looked good I thought!

latenightsoundbox

Anyways, I added an S curve to an adjustment layer over the whole of the sequence, which limited the black level at 16 and the white at 235. This added a neutrality and a different look I was eager to try out.

scurve

So, what are your thoughts? Got any questions about the production? Hope you enjoyed this post!


Capturing local beauty

Film making and videography isn't all about big budget productions with expensive kit. Its great to take time out to see what stories you can tell and images you can capture in your local area. Luckily for me, I live in Surrey which is full of green spaces. My chosen location for today's adventure was Epsom Common, I used to and hope to continue fishing at the lake. Since being a kid I remember it being a beautiful place in the winter, so despite the recent flooding I made my way down!

Image

Accompanied by the awesome Manfrotto 055 Carbon Fiber tripod and 055AH video head; my grip was sorted in a lightweight solution. I took my whole kit bag in case I wanted to record some foley audio or shoot on a range of lenses. I tried to stick to the Samyang Cine lenses I have (14mm, 35mm, 85mm), so I can test them out on a range of shoots. I also came across a 72mm variable ND filter that fits onto the Samyang 85mm, which means I can achieve T/1.5 and a beautiful bokeh in broad daylight.

Image

As you may have previously read, I also installed some new picture styles on my camera from VisionColor, today I used Cinelook to see what the footage looks like out of camera, without grading. So far, without adjustment the picture was punchy with a good colour tone present, not flat and neutral like I previously used. It certainly has given the footage a baked in 'look' while recording which will definitely speed up the post-production process.

ImageImage

It was great being in the outdoors, I often spend way too much time on the computer and neglect our very green, rural backyard, which deserves to be appreciated, remembered and captured in moving image.

ImageImage

I've processed all of the footage now, using most of what I shot. It is simply put to music, in this case the serene 1:1 by Brian Eno, which was very fitting for the scene. I have applied no colour correction, grading or effects to the clips whatsoever, to demonstrate the cinematography at hand.

I will post the link up later!

Image

I hope you like it, and please share around!!

Video on the Canon 5DmkIII and Samyang Cine Lenses

Many of you intrepid videographers may have come across a unique range of VDSLR Cine lenses from Samyang (Rokinon/Walimex) depending on your region. Have you had thoughts to invest in one, or a whole range of them? Focusing on video, having electronic focusing and aperture is not essential for me, and in fact gives more control over the light entering the lens due to the de-clicked aperture. You can create smooth transitions between light and dark situations with ease by pulling the aperture.

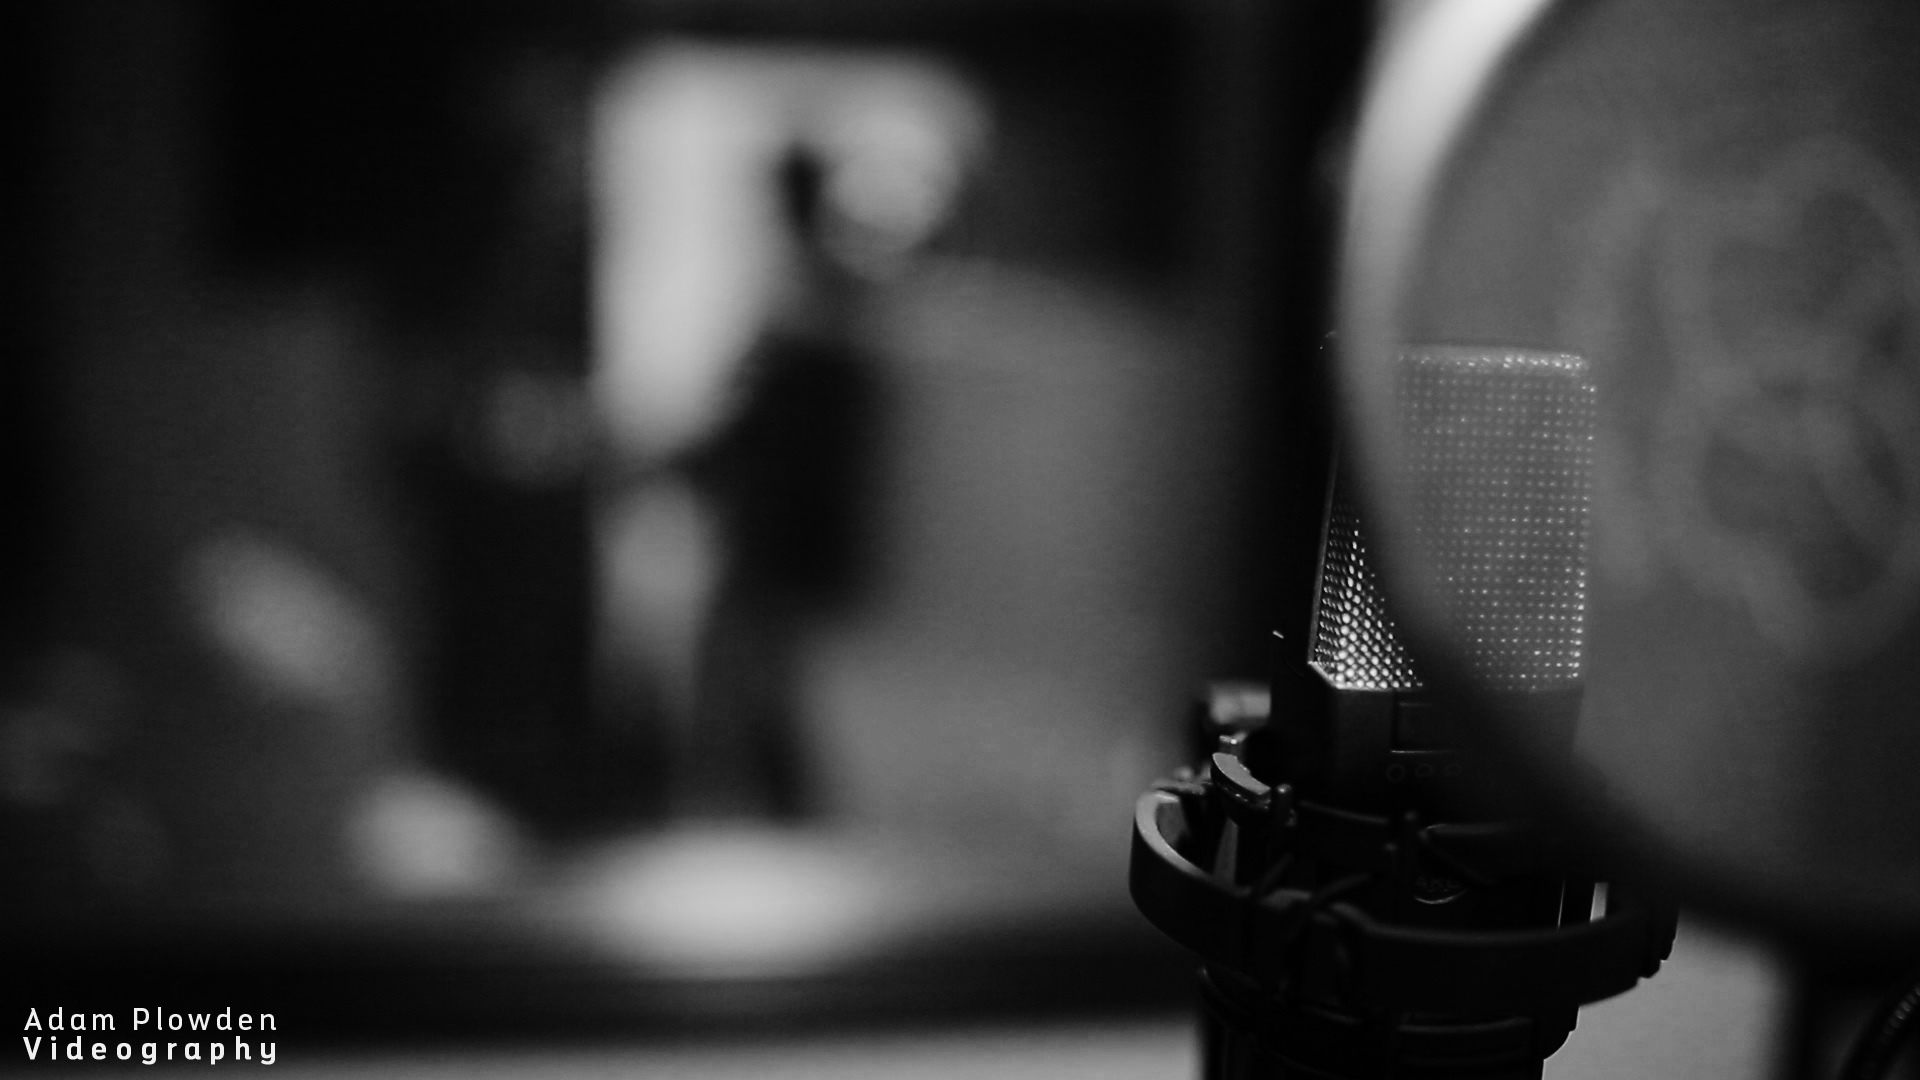
As I've only just got the 5DmkIII and cine lenses, I thought it would be a good idea to test the kit out individually; producing a short video of the results.

I began on the Samyang 14mm T/3.1, an ultra-wide lens that does have barrel distortion if subjects or distinct lines move towards the sides of the frame. Operating the camera handheld on the MODA rig, I was not left much choice but to capture the video in 720p 50 frames per second, to eliminate obvious camera shake. This did work in my favor come later in the day when I was hanging out of a car boot filming!

adam plowden video filming canon 5dmkiii samyang 14mm

To exaggerate the ultra-wide effect, getting close to the ground, walls or your subject will show how wide the image actually is, while offering exquisite sharpness throughout the depth of the image. Moving while operating an ultra-wide also gives a unique changing perspective to the viewer; one that is appealing due to it looking unnatural to our eyes - a great effect for establishing locations in film.

What I did notice was a very strong contrast, even when shooting in Neutral picture style (for a flatter image). This is causing issues in post due to burnt in detail in the highlights and shadows.. So I have adjusted the picture style to my needs by reducing all of the parameters to the lowest level.

Overall, I am ecstatic to finally get my hands on an ultra-wide as I had no way of achieving that perspective with my old kit.

My tips would be to keep the camera stable - use a tripod, shoulder rig or steadicam to operate the camera. This gives you better control and steady visuals that won't distract the viewer from the awesome visuals.

Judge your highlights and shadows correctly - this is a manual lens, so remember it is easy to stop down to F/6.5 or F/8.3 (uncommon electronic F stops) to expose the image perfectly. With this, always check your focus (use digital zoom!!). The worst thing ever would be to find an awesome flowing shot but it being slightly out of focus.

Experiment using the manual aperture, it will take some time to get used to!

Here is a draft edit that I chucked together from the test day -

http://www.youtube.com/watch?v=JN4tb8MJpEc

On to the Samyang 35mm T/1.5

london filming canon dslr video camsmart moda camera rig

This is a beautiful lens. I've only worked with a 35mm F/1.8 for my little Nikon D5000, so as far as experience with 35mm that goes out the window.

What can I say... The 35mm focal distance works so well with the 5D's full frame sensor, and even at T/5.6 the image was sharp and had a beautiful bokeh. To the other end of the spectrum; I also shot at T/22 to achieve a silhouette effect of Glen and the Houses of Parliament in the background. At this small aperture you would expect loss of detail and softness, but the Samyang 35mm excelled.

Another fantastic benefit of this lens is its minimum focus distance (the minimum distance from the lens to the subject for it to be in focus). It is very small at only 30cm allowing you to get very close to the subject and still achieve pinpoint sharpness and shallow depth of field.

I was filming up in London with my friend Glen, the light was hard when we arrived with strong sunlight beaming through the rain clouds, so to retain good exposure throughout the frame I found myself shooting between T/4 and T/8, varying the ISO depending on the location. For demo purpoes, I also filmed Glen constructing and using the new CamSmart MODA Rig, in innovative new video and photography product aimed at all level of users to achieve exceptional visuals in a cost effective solution.

For this close up, intricate video the 35mm lens was perfect for both wide and close up shots, I get more and more impressed as time passes!

My tips for using the Samyang 35mm T/1.5 cine lens - get yourself some ND filters, or even better variable ND filters as this will reduce the light entering the lens without changing the aperture, shutter or ISO. If you have a lens that is very fast, like this model at T/1.5, to retain a shallow depth of field in a multitude of locations and light levels ND filters are crucial and should be in your kit bag.

Here is the rough edit of the 35mm film! -

http://www.youtube.com/watch?v=g66CTm38SsA

Big shout out to Manfrotto for the 055CF tripod, video head and pro backpack, makes a world of difference to my old 055 aluminium model!

Good luck with your shooting, drop us a comment if you have any questions about using the lenses or kit, and be sure to like, follow and share!!